A big sandcastle is all about the right sand, firm packing and a few simple tools. This illustrated guide covers 3 methods and 34 steps, with a separate picture for every step.
This guide walks through the process in clear illustrated steps, from the first preparation to a finished result. Each step has its own picture, so you can compare your progress as you go.
How to use this guide
Work through the steps in order. Method 1 of 3: Find and Prepare the Sand covers the basics, and the later methods offer alternatives and finishing touches. If you only have a minute, skim the Quick steps box above and come back for the details.
Related guides
- How to Build a Sand Castle
- How to Make Sand Art
- How to Build a Model Lighthouse
- How to Build a Big Sandcastle
- Browse all Hobbies & Crafts guides
- All 52runoob guides
Trusted external resources
A note on sources
We check each guide against the official resources listed in References at the end of this article. External links open in a new tab; the related guides above stay on this site.
Quick steps
- Use sand that is wet enough to hold a shape but not soupy
- Pack each mould in layers and press firmly
- Work fast and keep a bucket of water close for repairs
Things you'll need
- A large bucket and a smaller pail
- A sturdy spade and a trowel
- A spray bottle of water
- A few moulds or plastic containers
- Shells and seaweed for decoration
Step-by-step
Method 1 of 3: Find and Prepare the Sand :: Good sand makes everything easier.
Step 1: Pick a flat spot above the waterline
Choose level ground close to the wet sand but safe from incoming waves.

Step 2: Check the tide timing
Build as the tide is going out so you have a damp work area that stays firm.
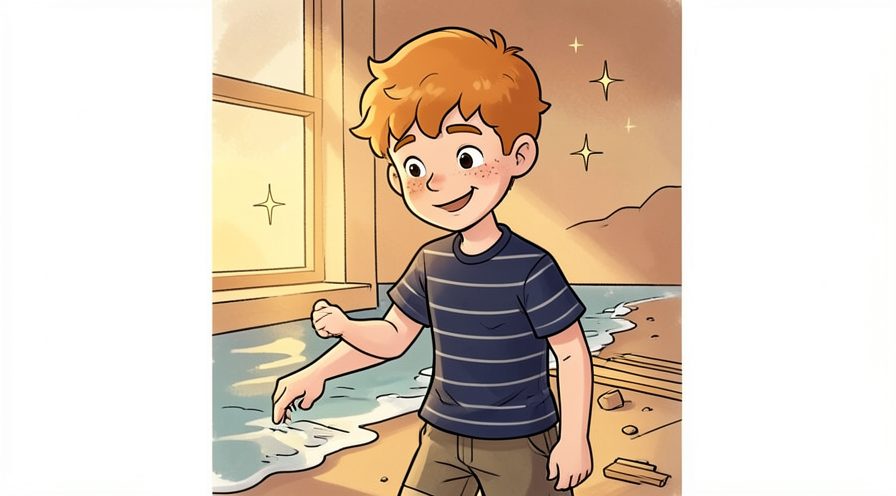
Step 3: Test the sand by squeezing it
Damp sand should clump in your hand and hold its shape when you open your fingers.

Step 4: Dig up sand from the wet layer
The sand a little below the surface holds more water and packs far better than dry top sand.
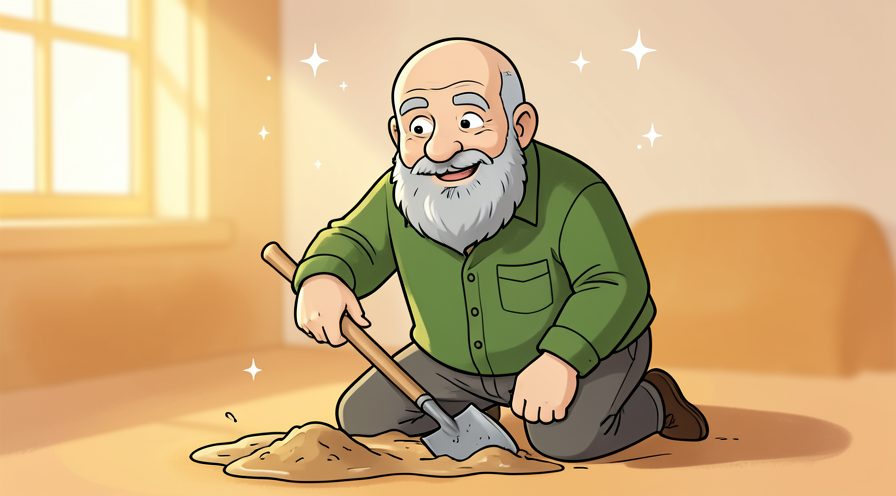
Step 5: Remove shells and stones
Pick out debris that would create weak spots in a wall or tower.
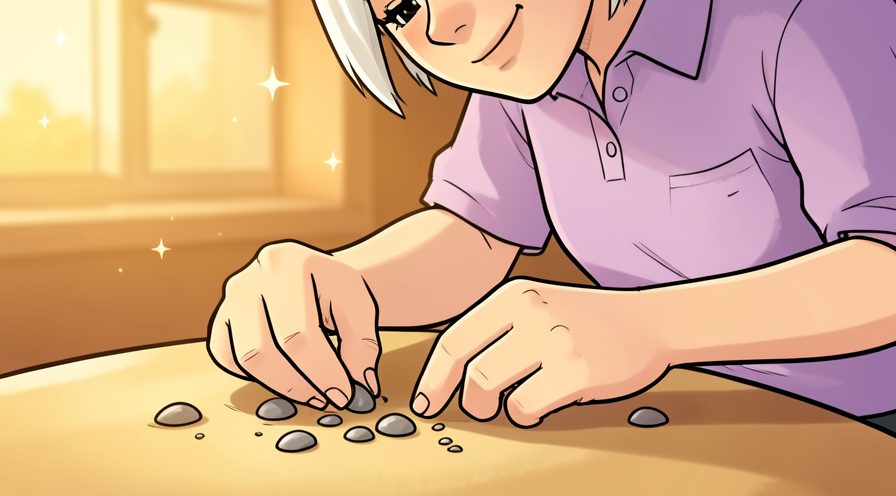
Step 6: Make a mound of working sand
Pile the sand within reach so you can scoop it quickly as you build.

Step 7: Wet the mound evenly
Sprinkle water over the pile and let it soak in for a few minutes.

Step 8: Mix until it holds together
Turn the sand with a spade so the moisture spreads right through the pile.

Step 9: Keep a water bucket handy
A bucket of seawater lets you fix dry patches the moment they appear.
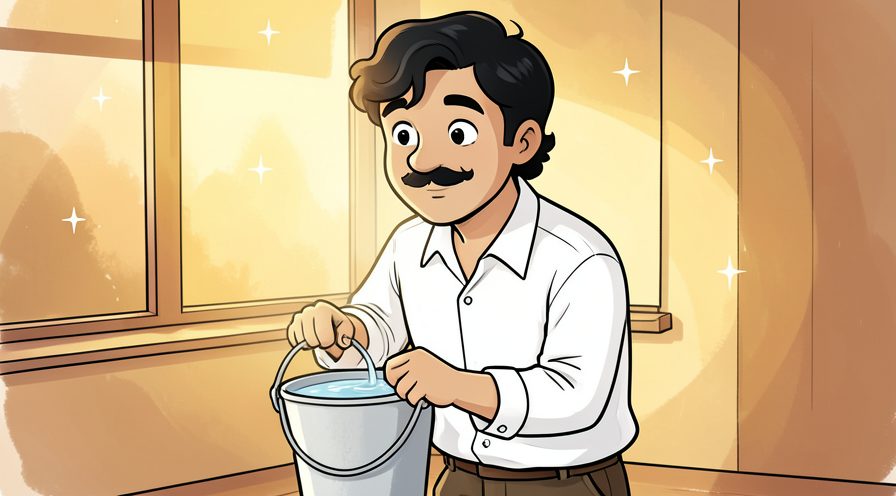
Step 10: Mark out the castle footprint
Trace the base in the sand so the walls and towers stay aligned.

Method 2 of 3: Build Walls and Towers :: Pack firmly and work in layers.
Step 11: Pack the base in thick layers
Press sand down hard a layer at a time so the foundation can carry the towers.

Step 12: Build a raised platform
Pile sand into a flat-topped mound to lift the castle above the surrounding beach.

Step 13: Compact each layer with a trowel
Firmly tamping the sand removes air gaps that would otherwise cause a collapse.

Step 14: Fill a bucket with damp sand
Pack the bucket tightly so it holds a clean, solid shape when turned out.
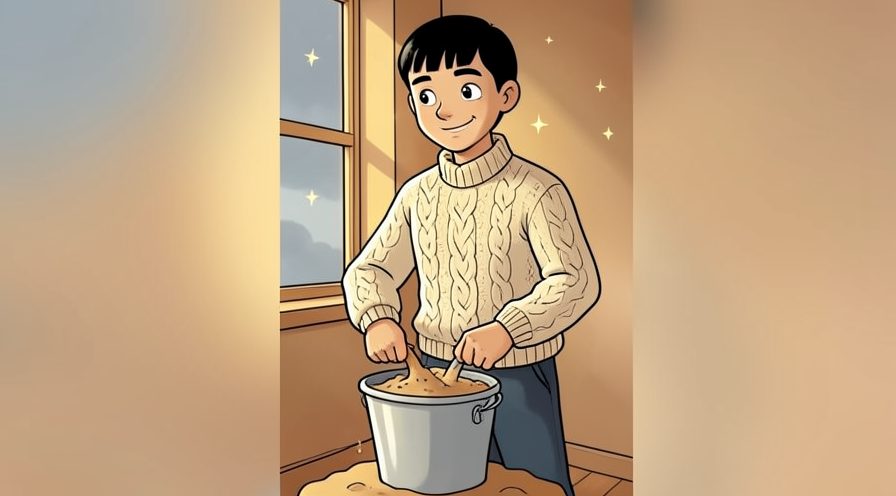
Step 15: Tap the bucket to settle the sand
A few firm taps on the ground remove pockets before you invert it.

Step 16: Turn out the first tower
Flip the bucket onto the platform and lift it straight up to leave a smooth tower.
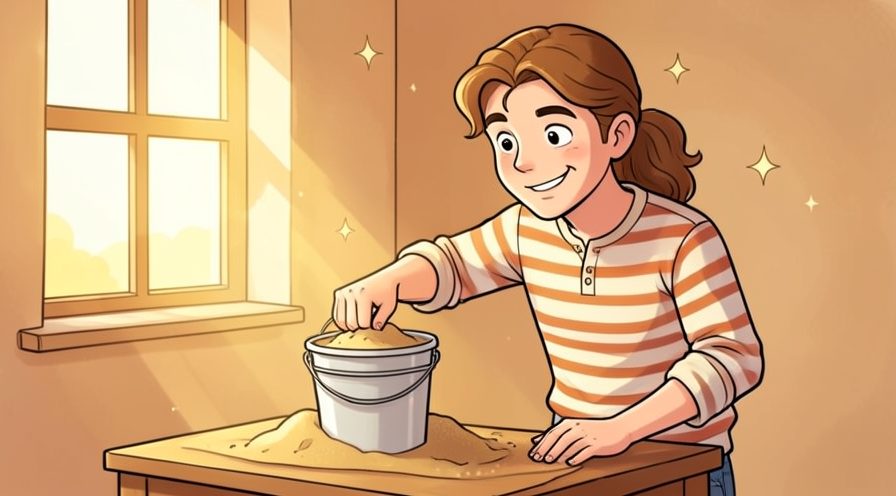
Step 17: Pack a second tower close by
Build towers near each other so you can link them with walls later.

Step 18: Make towers of different heights
A mix of tall and short towers gives the castle a more interesting skyline.

Step 19: Carve connecting walls
Use a trowel to build low walls between towers and smooth their faces.

Step 20: Smooth the wall tops
Run a wet hand along each wall to seal the surface and tidy the edges.

Step 21: Add a central keep
Build one larger tower in the middle as the castle's main structure.

Step 22: Repair cracks as they appear
Mist any hairline cracks with water and press the sand back together immediately.

Method 3 of 3: Decorate and Protect :: Add detail before the sun dries it out.
Step 23: Carve windows and doors
Use a small tool to press neat openings into the tower faces.

Step 24: Cut a pattern of battlements
Trace a row of square notches along the top of each wall.

Step 25: Press shells into the walls
Shells add texture and make a simple castle look detailed and deliberate.

Step 26: Make a path of shells
Lay a neat line of shells leading up to the main gate.
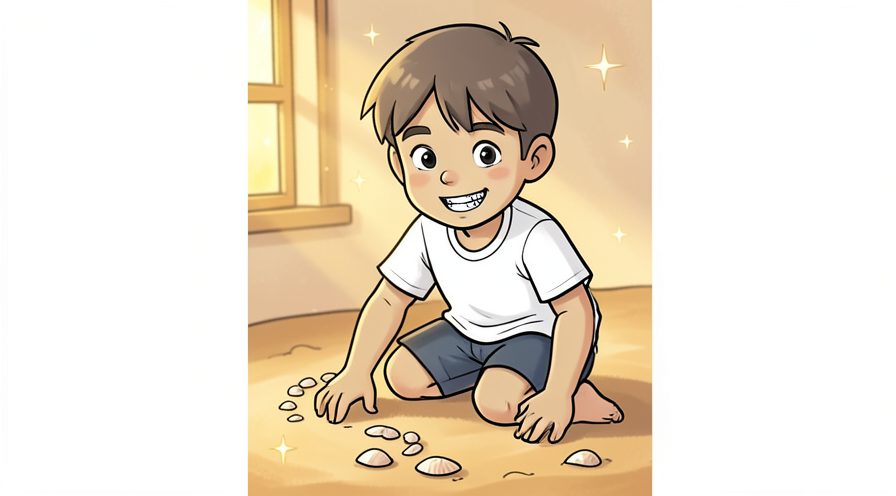
Step 27: Build small corner turrets
Use a cup to add little round turrets at the wall corners.

Step 28: Add flags on thin sticks
A tiny flag makes each tower easy to spot from a distance.

Step 29: Use seaweed for banners
Long strands of seaweed make colourful decorations for the walls.

Step 30: Carve steps to the entrance
Cut a few shallow steps so the gate looks welcoming and finished.

Step 31: Mist the whole castle
A light spray keeps the surface damp and slows down drying in the sun.
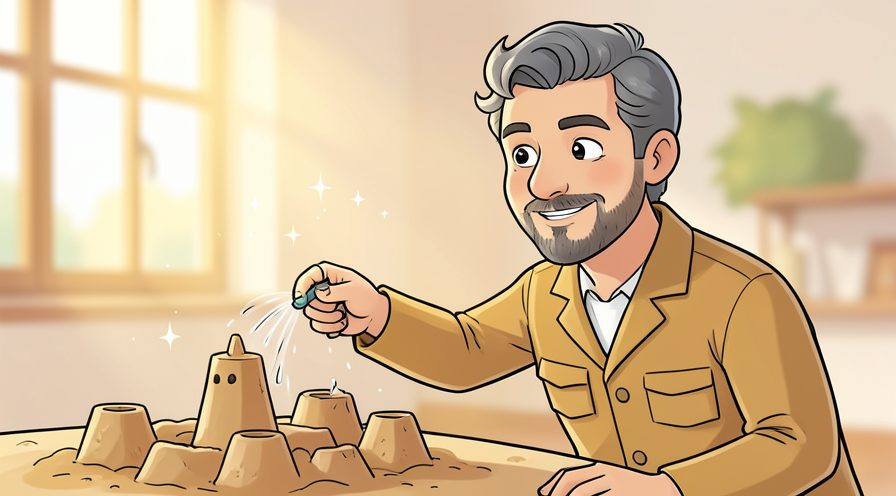
Step 32: Dig a shallow moat
A narrow channel around the base adds a classic finishing touch.
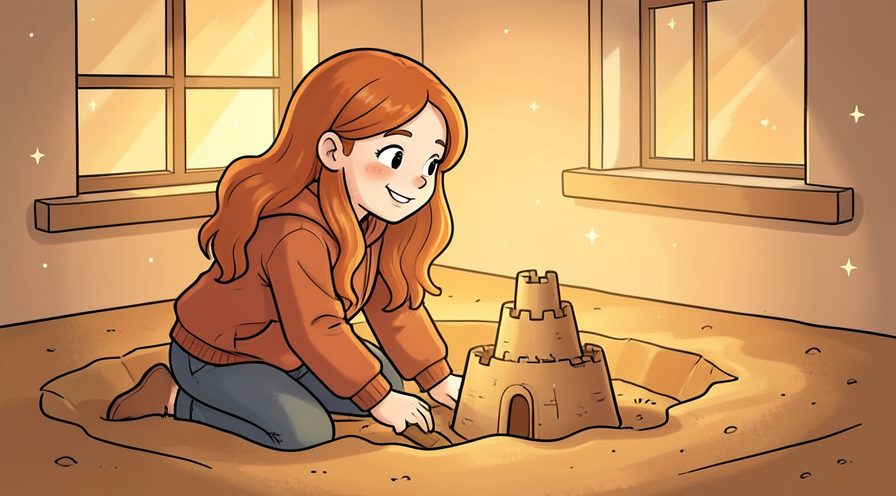
Step 33: Fill the moat with seawater
Let seawater into the channel so the castle appears to sit in a moat.
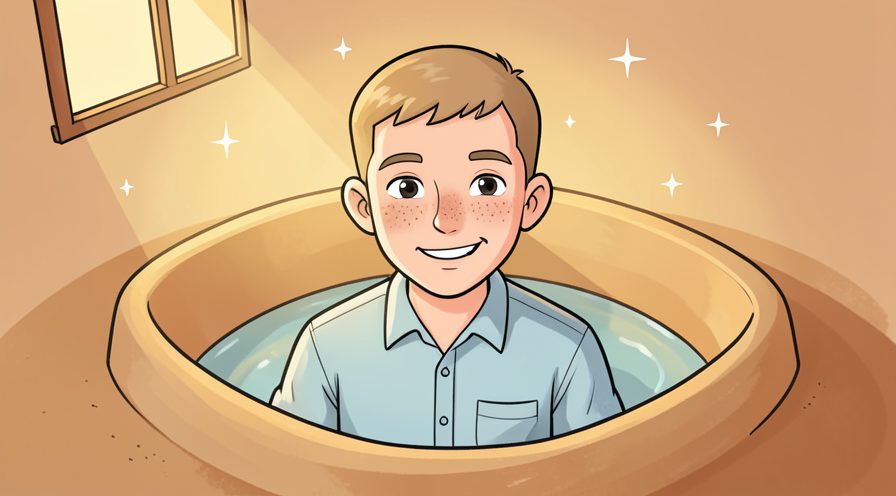
Step 34: Take a photo before the tide
Capture the finished castle while the details are still crisp.
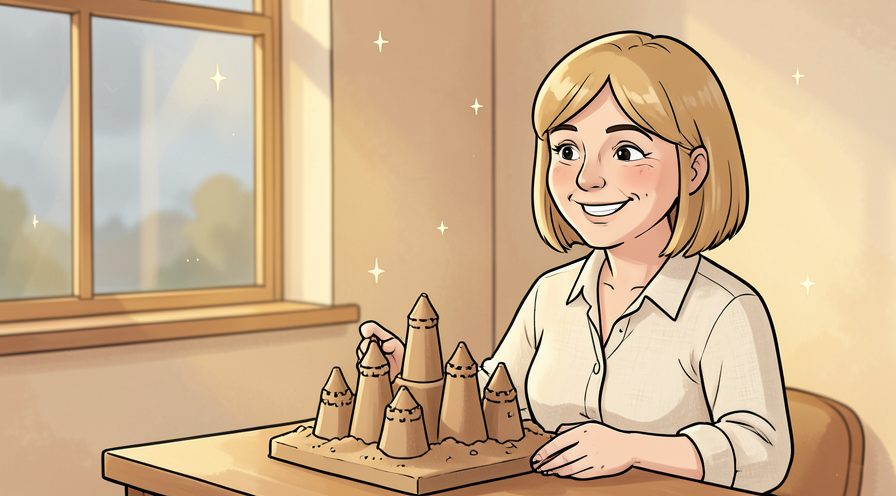
Tips
- Sand just above the wet line at low tide packs best because it holds water without being soggy.
- Pressing in layers removes air pockets that make towers collapse.
- See How to Build a Sand Castle for smaller designs.
Warnings
- Never dig a deep hole that could collapse on someone or fill with water.
- Keep an eye on the tide so your castle is not washed away while you build.
Frequently asked questions
What sand is best? Fine sand that is damp but not dripping holds detail well.
Why do my towers fall? The sand is probably too dry or was not packed firmly enough.
How do I keep it standing? Build near the wet line and mist the walls as the sun dries them.
References
- Wikipedia — sandcastle. https://en.wikipedia.org/wiki/Sandcastle
- National Geographic — sand and erosion. https://www.nationalgeographic.org/
- BBC — the science of sandcastles. https://www.bbc.com/
- wikiHow — How to Build a Big Sandcastle. https://www.wikihow.com/Build-a-Big-Sandcastle
Every guide is reviewed against its sources. See our editorial policy.



Reader comments
0 so farFinished this guide? Tell other readers what worked, what didn't, and what you would change.