Properly aimed headlights help you see the road without dazzling other drivers. This illustrated guide covers 3 methods and 33 steps, with a separate picture for every step.
This guide walks through the process in clear illustrated steps, from the first preparation to a finished result. Each step has its own picture, so you can compare your progress as you go.
How to use this guide
Work through the steps in order. Method 1 of 3: Set Up the Wall Test covers the basics, and the later methods offer alternatives and finishing touches. If you only have a minute, skim the Quick steps box above and come back for the details.
Related guides
- How to Change a Headlight Bulb
- How to Clean Headlights
- How to Check Your Car's Fluids
- How to Maintain a Car
- Browse all Cars & Vehicles guides
- All 52runoob guides
Trusted external resources
A note on sources
We check each guide against the official resources listed in References at the end of this article. External links open in a new tab; the related guides above stay on this site.
Quick steps
- Park on level ground facing a wall and mark the beam outline
- Use the adjuster screws to lift or shift the beam to the marked height
- Confirm with a short drive and a final visual check
Things you'll need
- A flat parking spot facing a wall
- Tape measure or a metre stick
- Masking tape or chalk
- A Phillips screwdriver
- A clean cloth
Step-by-step
Method 1 of 3: Set Up the Wall Test :: Create a reliable reference before you touch anything.
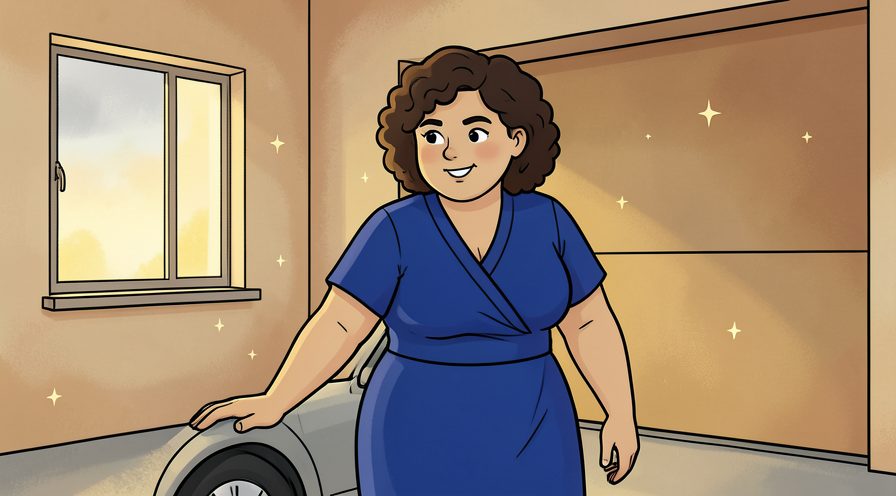
Step 1: Park facing a flat wall
Place the car perpendicular to a wall on level ground so the beams hit it squarely.
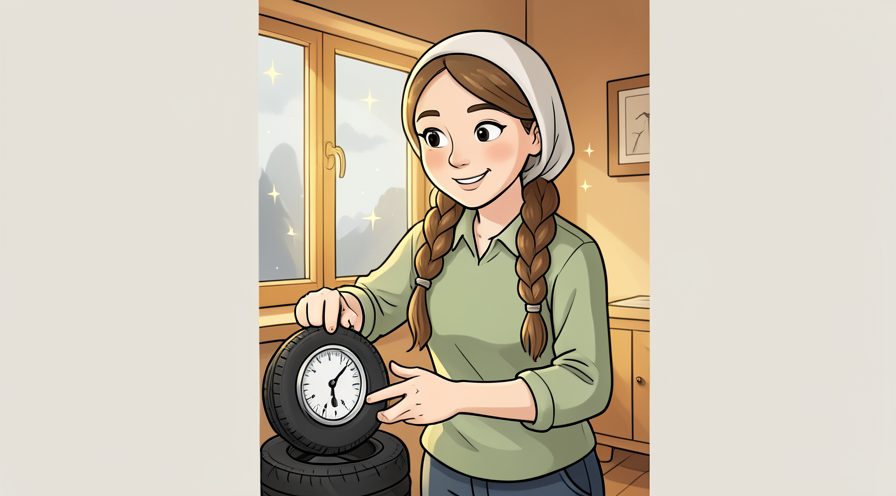
Step 2: Check the tyre pressures
Correct tyre pressure keeps the car level, which matters for an accurate beam.
Step 3: Load the car normally
Have the usual driver seated and the normal load in the car so the ride height is realistic.

Step 4: Measure the wall distance
Park a set distance, such as seven metres, from the wall as a consistent reference.

Step 5: Mark the centre line
Use tape to mark the point on the wall directly in front of each headlight.

Step 6: Mark the target height
Measure from the floor to the headlight centre and mark that height on the wall.

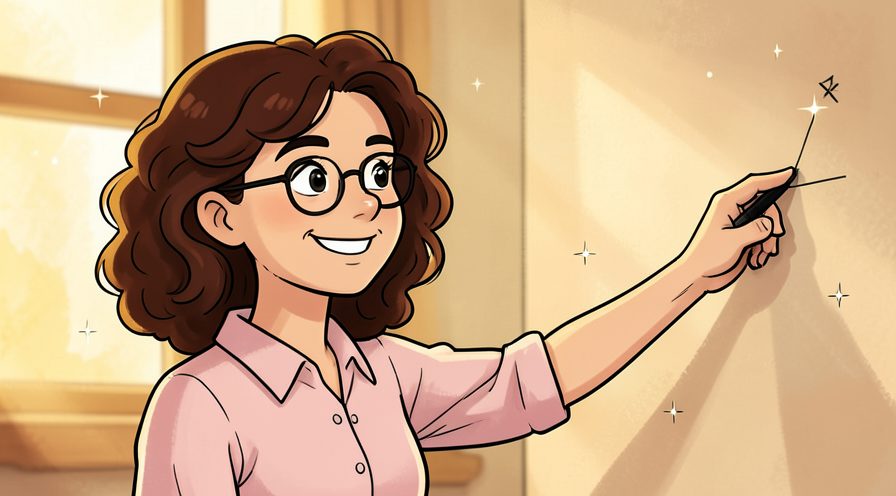
Step 7: Draw a lower aiming line
Mark a line a few centimetres below the headlight height, which is where the beam should land.
Step 8: Switch on the low beams
Turn the ignition on and switch to dipped headlights so you can see the current pattern.

Step 9: Observe the beam outline
Look at where the bright edge falls against your marks to judge the current aim.

Step 10: Cover one light at a time
Mask one headlight so you can adjust the other without confusion.

Method 2 of 3: Adjust the Beams :: Turn the screws in small, careful steps.
Step 11: Find the adjuster screws
Locate the vertical and horizontal adjusters on top or behind the headlight housing.
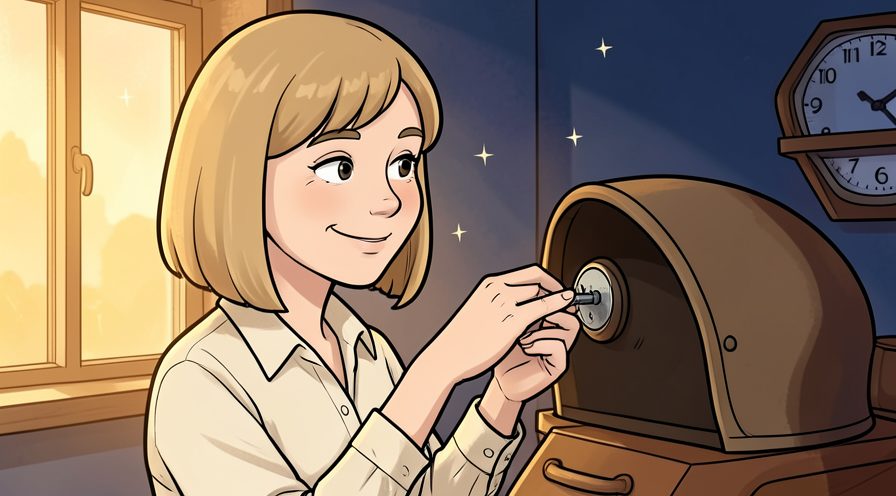
Step 12: Read the owner's manual
Check which way each screw turns to raise or lower the beam on your model.

Step 13: Loosen the vertical adjuster
Turn the upper screw slowly to move the beam up or down toward your mark.

Step 14: Watch the wall as you turn
Check the beam after each small turn so you do not overshoot the target.

Step 15: Set the beam height
Stop when the bright edge sits on the lower aiming line you marked.
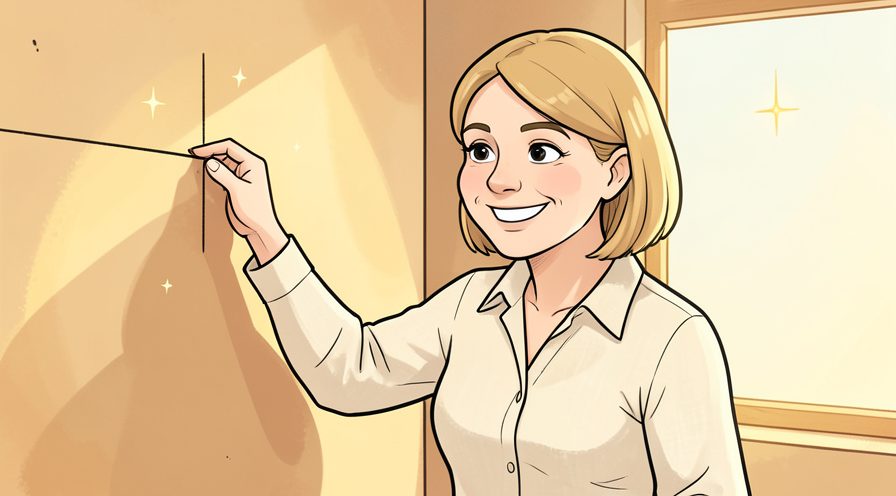
Step 16: Adjust the horizontal aim
Use the side screw so the hotspot sits slightly toward the kerb side of the centre.

Step 17: Match both headlights
Repeat the same process on the other side so the two beams are even.

Step 18: Remove the covering cloth
Uncover the masked light and look at both beams together.

Step 19: Compare the two patterns
Both beam edges should meet the wall at the same height and angle.

Step 20: Recheck the high beams
Switch to main beam briefly to confirm the pattern stays centred and useful.

Step 21: Tighten any loose fittings
Make sure the headlight unit sits firmly so vibration will not spoil your aim.

Method 3 of 3: Verify on the Road :: Confirm the result where it matters.
Step 22: Clean the lens first
A dirty lens scatters light and makes a good aim look wrong.

Step 23: Take a short evening drive
Drive on a quiet road to see how the beams behave in real conditions.

Step 24: Check the road ahead
The beam should light the road clearly without a sharp cutoff too close to the car.

Step 25: Watch for oncoming drivers
If other drivers flash you, your beams are probably too high.

Step 26: Glance at a reflective sign
A road sign should light up evenly rather than blindingly at eye level.

Step 27: Pull over and recheck
Stop on level ground and look at the beam on a nearby surface once more.

Step 28: Fine-tune if needed
Make one small adjustment and repeat the check if the beam still sits too high.

Step 29: Record the final setting
Note the adjuster positions so you can restore them after future repairs.
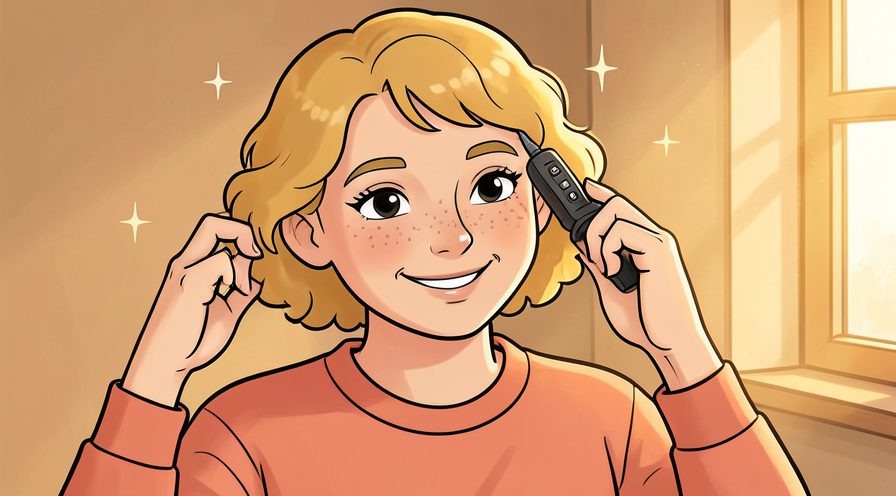
Step 30: Recheck after any front repair
Any work around the bumper or bonnet can knock the aim out again.

Step 31: Replace cloudy lenses
Cloudy plastic lenses need cleaning or restoration to give a clean beam.
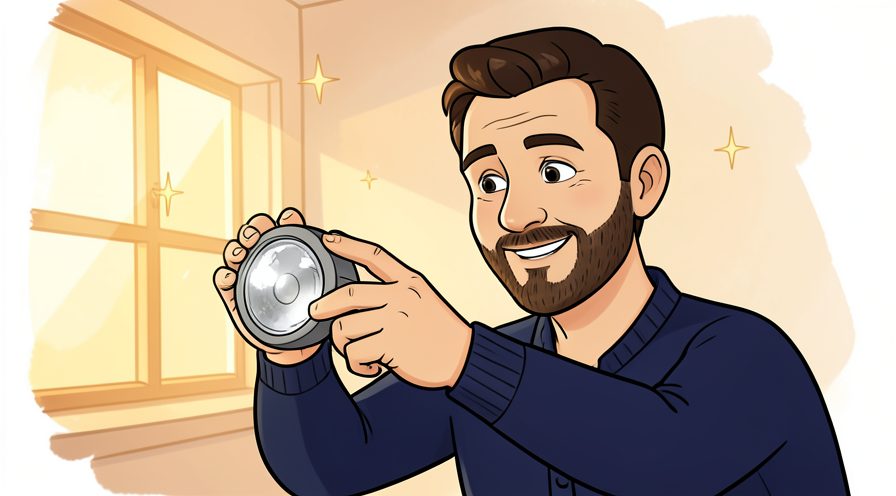
Step 32: Confirm both lights work
Switch between dipped and main beam to make sure both bulbs respond.
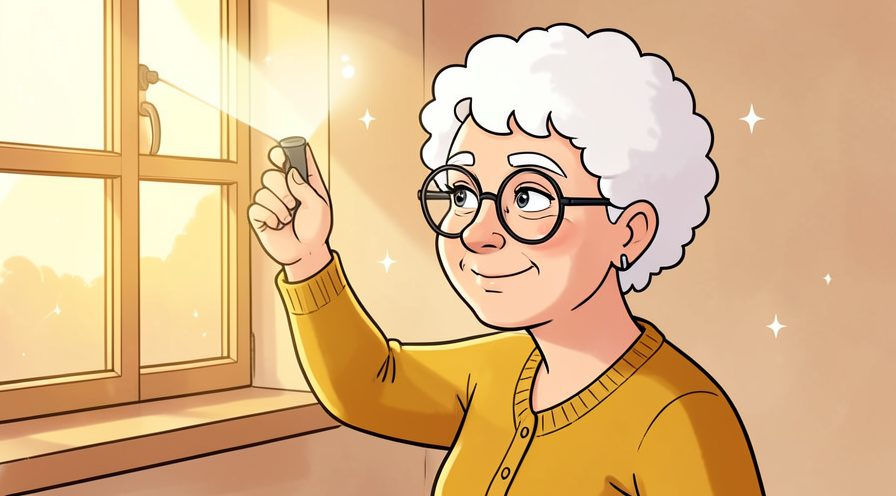
Step 33: Finish with a safety check
Step back and confirm the car looks level and the lights sit flush before driving off.

Tips
- Check the owner's manual first, since adjuster placement differs between models.
- Aim the beams slightly low so you do not dazzle oncoming traffic.
- See How to Change a Headlight Bulb if a bulb is out.
Warnings
- Never drive with a beam aimed high, as it can temporarily blind other drivers.
- Headlight adjusters are delicate; turn them gently and stop if they feel stuck.
Frequently asked questions
How often should I aim headlights? Once a year and whenever a bulb or the front of the car is changed.
Why do my lights point too high? The vertical adjuster is usually set too far up.
Do I need a special tool? Most cars can be adjusted with a simple screwdriver.
References
- NHTSA — headlight safety. https://www.nhtsa.gov/
- AAA — headlight aiming guidance. https://www.aaa.com/
- Wikipedia — automotive headlamp. https://en.wikipedia.org/wiki/Headlamp
- wikiHow — How to Adjust Your Headlights in 12 Easy Steps. https://www.wikihow.com/Adjust-Car-Headlights
Every guide is reviewed against its sources. See our editorial policy.


Reader comments
0 so farFinished this guide? Tell other readers what worked, what didn't, and what you would change.