A mason jar herb garden brings fresh flavour within arm's reach and fits even a small windowsill. This illustrated guide covers 3 methods and 31 steps, with a separate picture for every step.
This guide walks through the process in clear illustrated steps, from the first preparation to a finished result. Each step has its own picture, so you can compare your progress as you go.
How to use this guide
Work through the steps in order. Method 1 of 3: Choose and Prepare the Jars covers the basics, and the later methods offer alternatives and finishing touches. If you only have a minute, skim the Quick steps box above and come back for the details.
Related guides
- How to Grow Herbs Indoors
- How to Start a Window Box Garden
- How to Water Plants Correctly
- How to Compost at Home
- Browse all Home & Garden guides
- All 52runoob guides
Trusted external resources
- University of Minnesota Extension — growing herbs indoors
- USDA — herb gardening basics
- Wikipedia — mason jar
A note on sources
We check each guide against the official resources listed in References at the end of this article. External links open in a new tab; the related guides above stay on this site.
Quick steps
- Choose a sunny sill and herbs that suit the light you have
- Use jars with drainage or add a gravel layer at the base
- Water lightly and often, and harvest regularly to keep growth bushy
Things you'll need
- Several mason jars of similar size
- A small bag of potting mix
- Gravel or pebbles for drainage
- Herb seedlings or seeds
- A spray bottle and a small spoon
Step-by-step
Method 1 of 3: Choose and Prepare the Jars :: Set yourself up for healthy roots from day one.
Step 1: Pick a spot with enough light
Find a windowsill that gets at least six hours of bright light, since herbs grown indoors need a dependable light source.

Step 2: Measure the sill depth
Make sure the jars fit comfortably without hanging over the edge where they could be knocked over.

Step 3: Choose jars of a similar size
Matching jars look tidy and make it easier to give each plant the same amount of water.
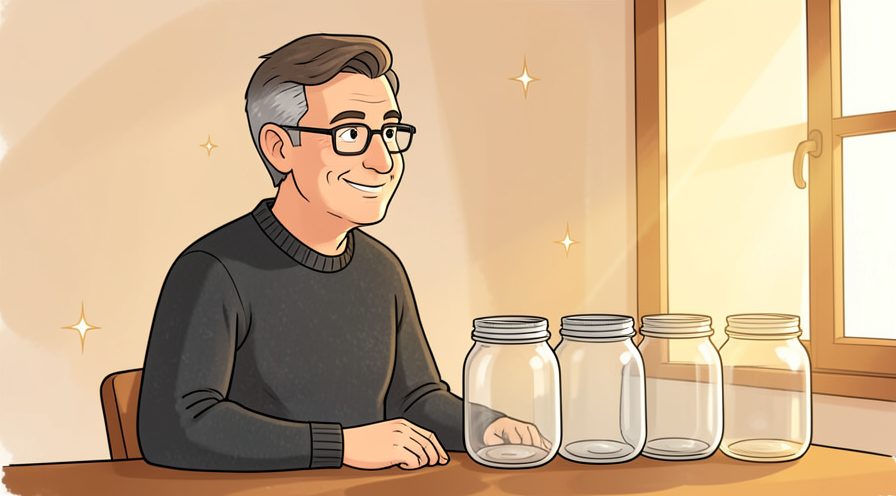
Step 4: Wash each jar thoroughly
Warm soapy water removes residue that can affect young roots, then rinse well and dry.
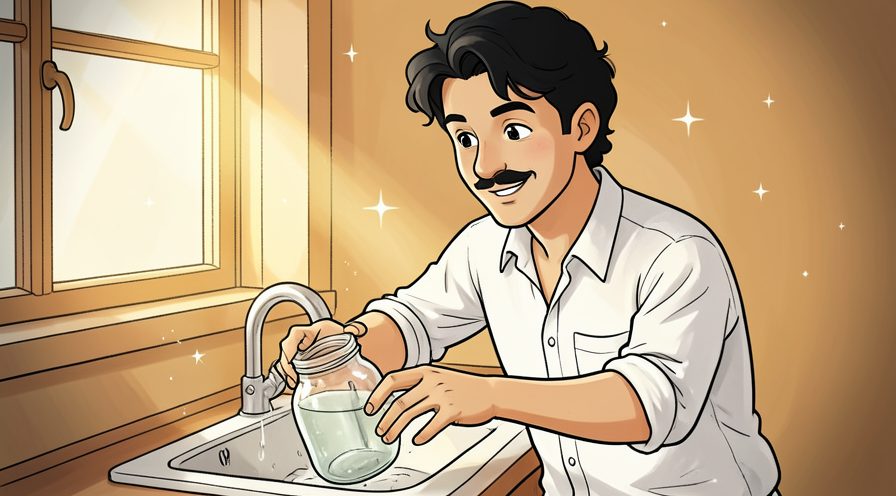
Step 5: Add a drainage layer of gravel
A two-centimetre layer of pebbles at the bottom gives excess water somewhere to go.
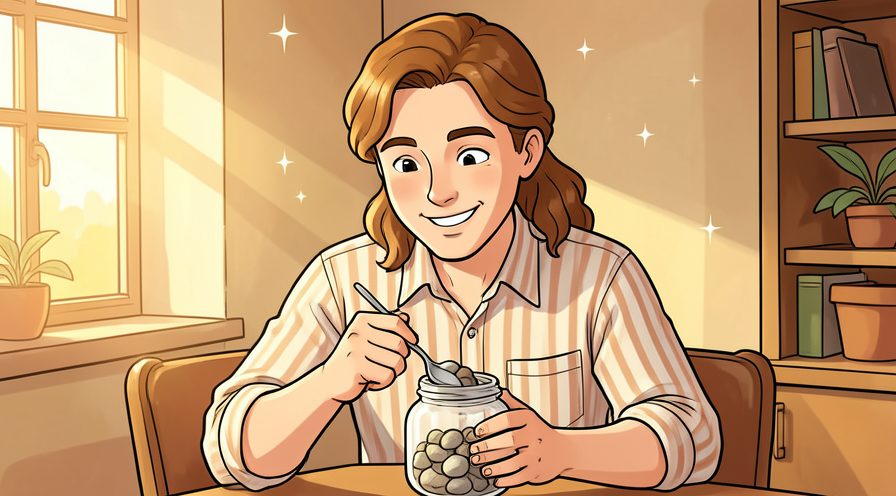
Step 6: Add a thin layer of charcoal
A little horticultural charcoal keeps the soil fresh and reduces odour in a closed jar.
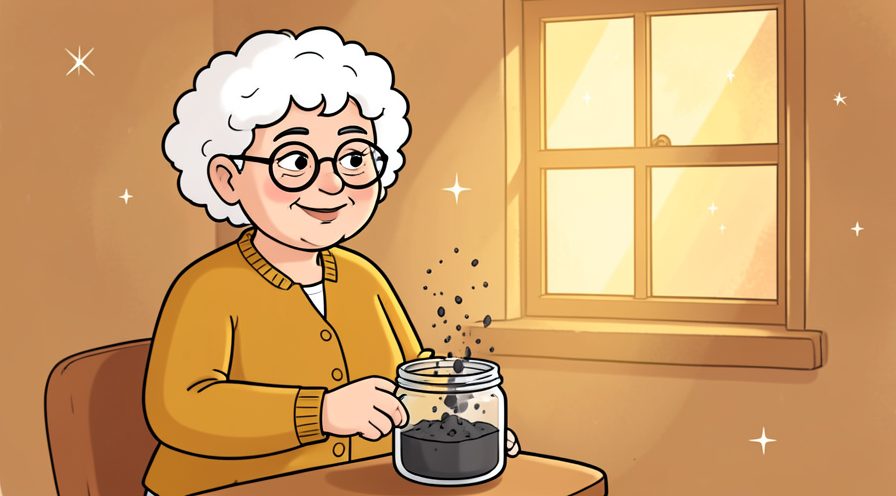
Step 7: Fill with quality potting mix
Use a light, well-draining potting mix rather than heavy garden soil, which compacts in a jar.
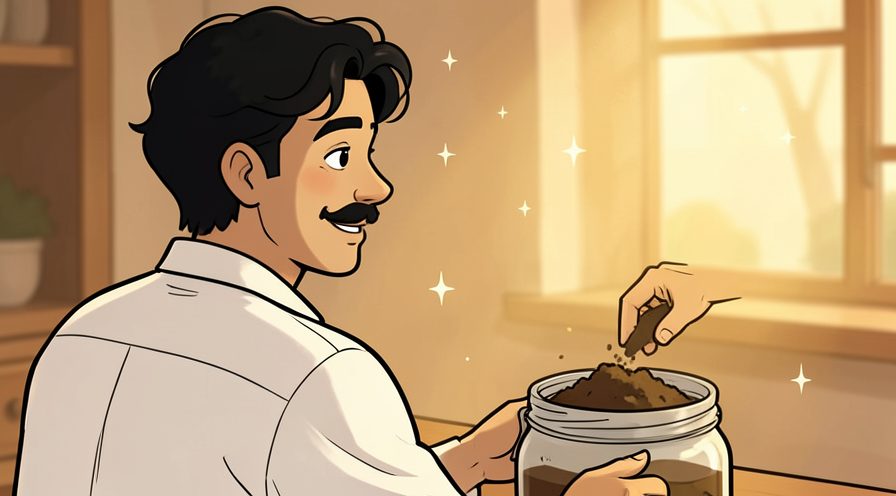
Step 8: Level the soil surface
Gently tap the jar on the table so the soil settles evenly before you plant.
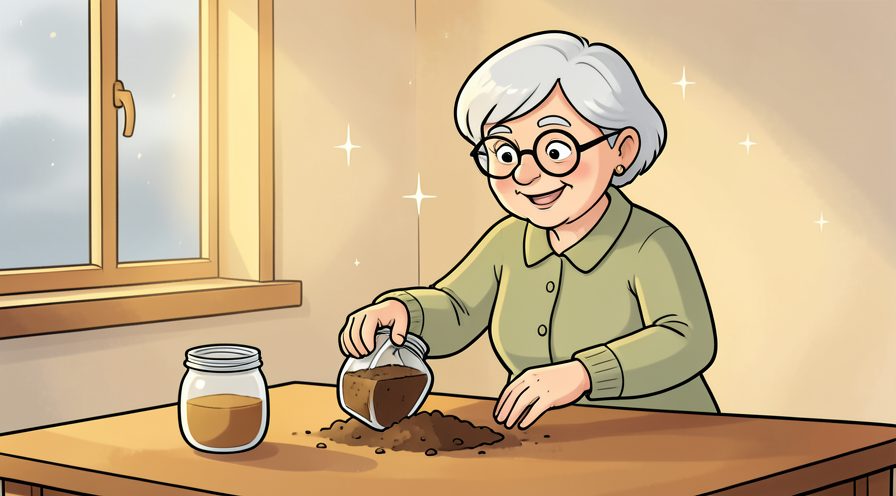
Step 9: Check the jar is stable
A broad base is safer than a tall narrow jar, especially on a busy sill.

Method 2 of 3: Plant and Grow the Herbs :: Get each seedling off to a strong start.
Step 10: Choose herbs that suit your light
Basil and thyme love a hot sunny sill, while parsley and chives cope with gentler morning light.
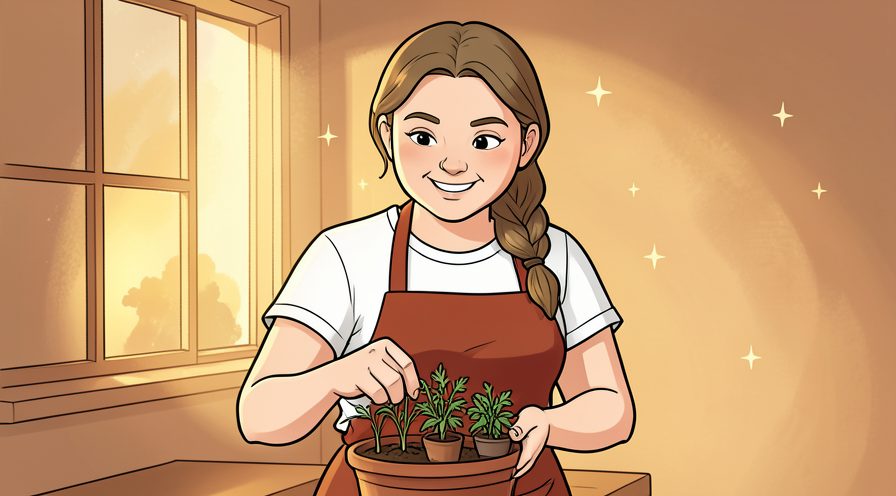
Step 11: Start with healthy seedlings
Look for compact plants with firm stems and no yellow leaves or long bare gaps.
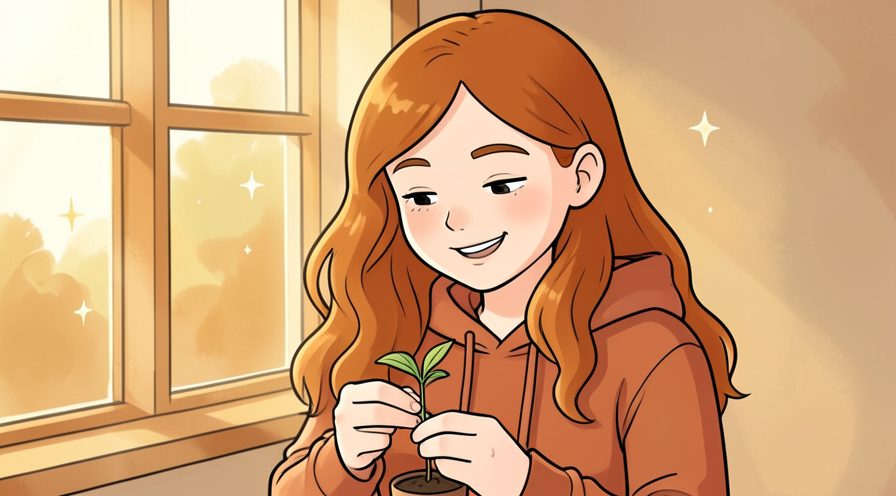
Step 12: Soak the root ball first
Water the seedling in its pot so the roots are moist before you transplant it.
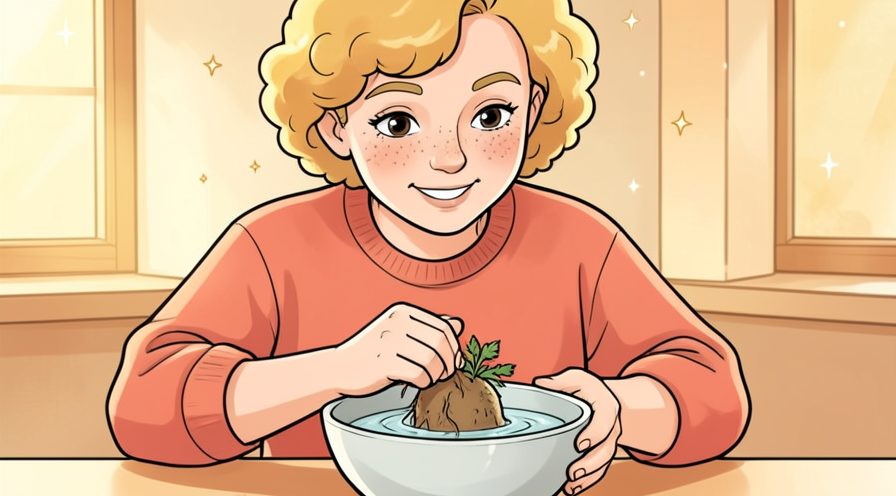
Step 13: Dig a hole in the soil
Use a spoon to make a hole wide enough for the roots and deep enough to cover them.
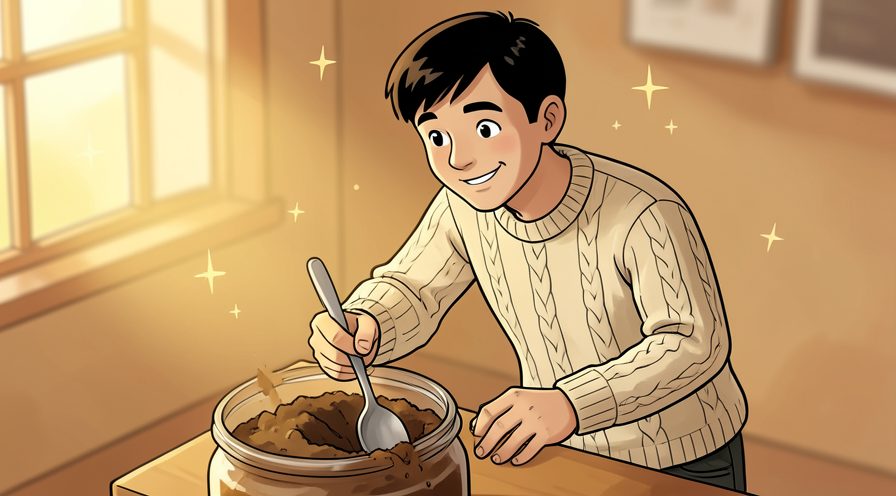
Step 14: Lower the plant gently
Set the seedling in the hole and spread the roots out so they can grow into the soil.
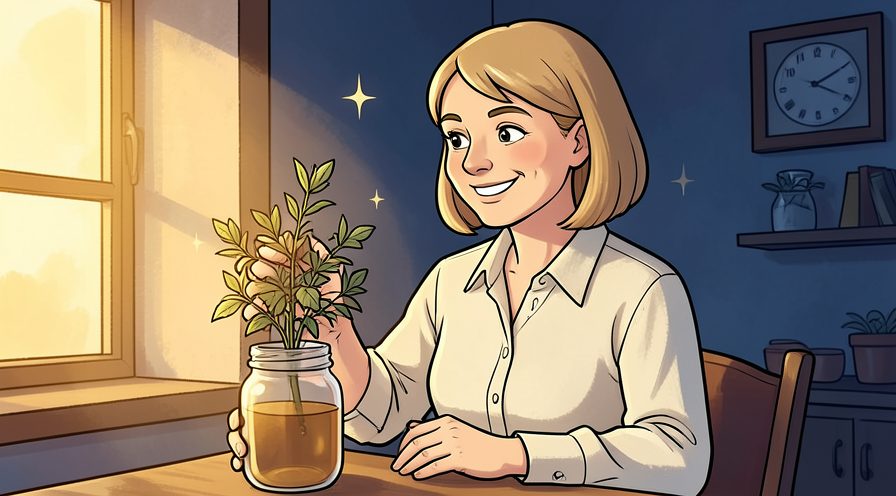
Step 15: Backfill and press lightly
Add soil around the roots and press gently so the plant stands upright without compacting too much.
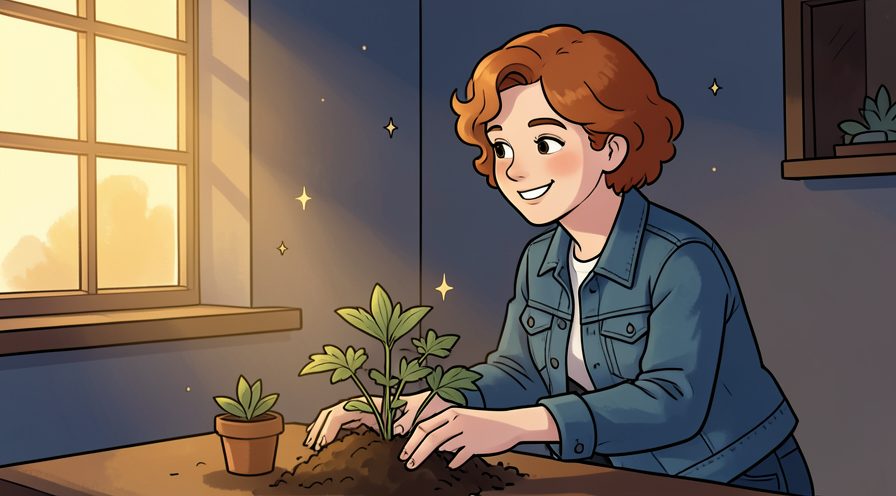
Step 16: Water with a spray bottle
A fine mist waters young seedlings without washing the soil away or soaking the roots.
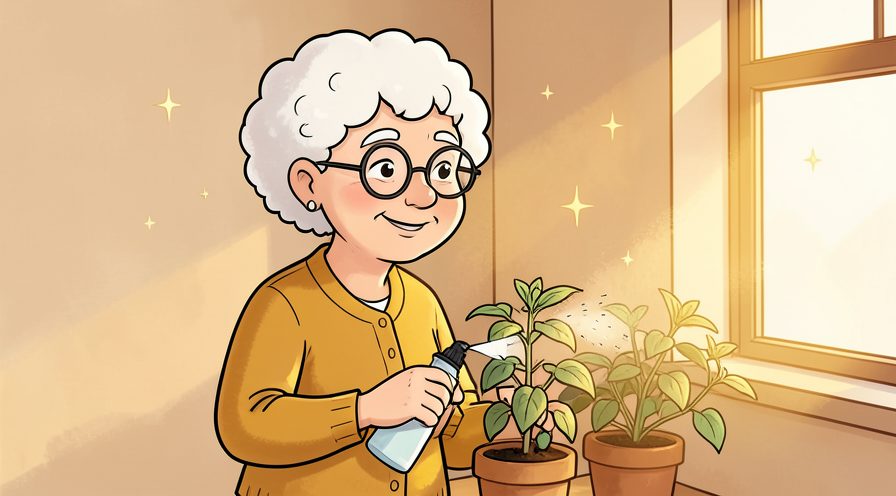
Step 17: Label each jar
A small label stops basil and mint getting mixed up once they are several weeks old.
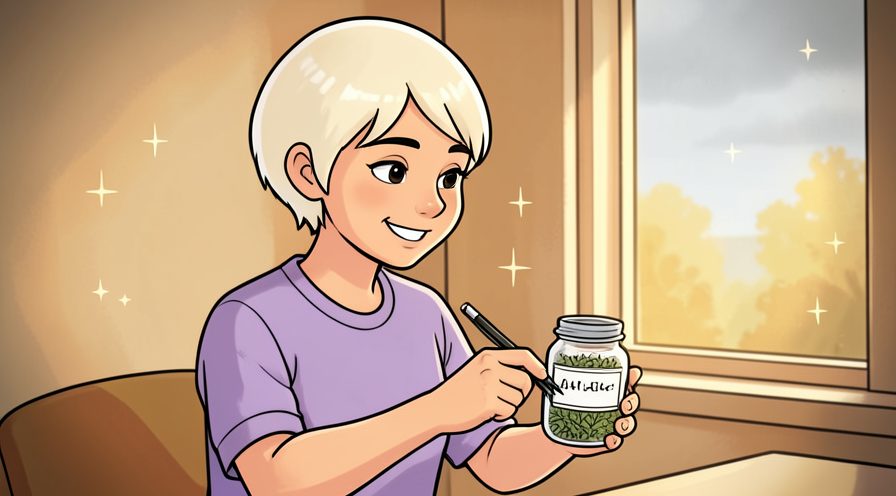
Step 18: Keep the jars together
Grouping the jars creates a humid pocket that young herbs appreciate.
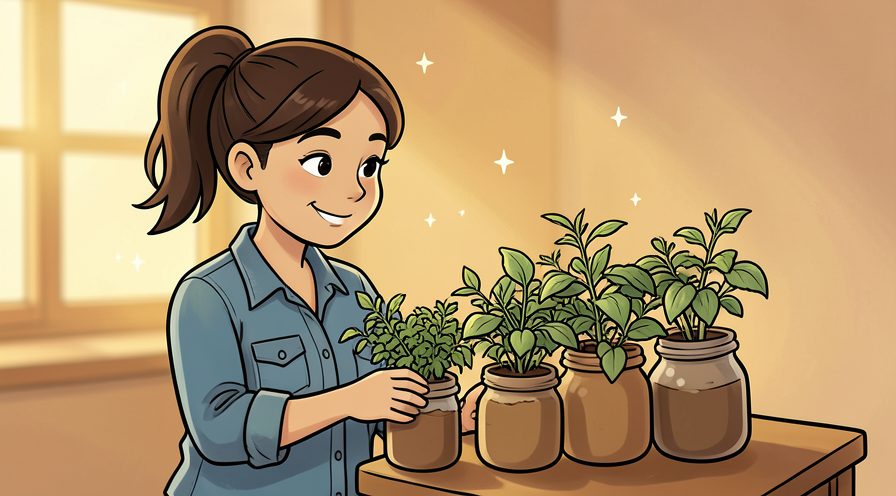
Step 19: Watch for new growth
A pale new leaf at the centre is a sign the plant has taken root and is growing.
Method 3 of 3: Care and Harvest :: Keep the jars productive week after week.
Step 20: Check the soil daily
Push a finger into the soil; water only when the top centimetre feels dry.
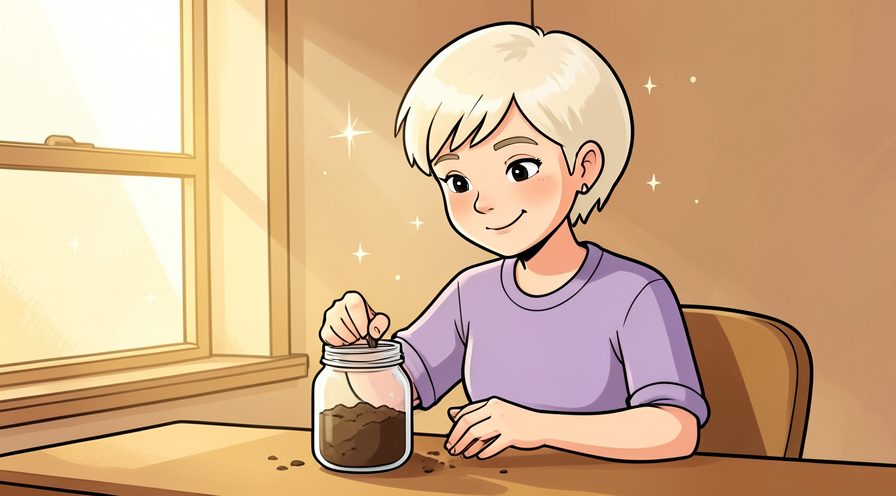
Step 21: Water little and often
A few spoonfuls at a time suit jars far better than an occasional heavy soak.
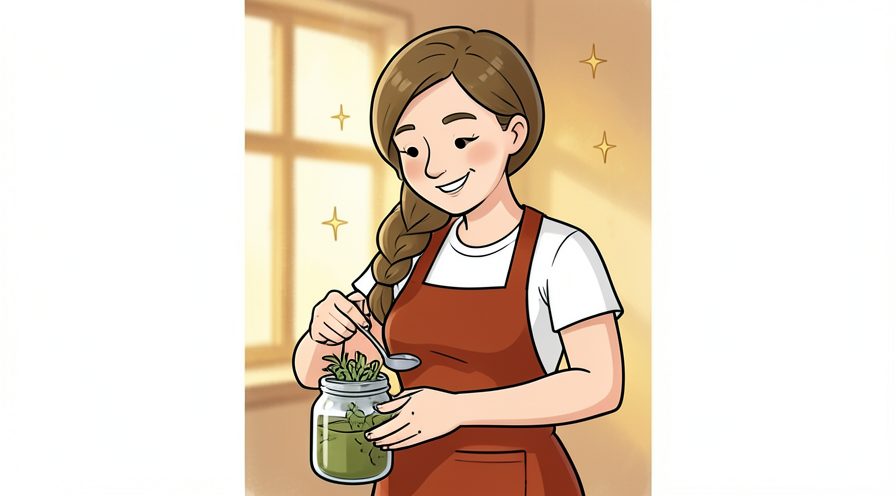
Step 22: Empty any standing water
If water collects in the gravel layer, tip it out so the roots do not rot.
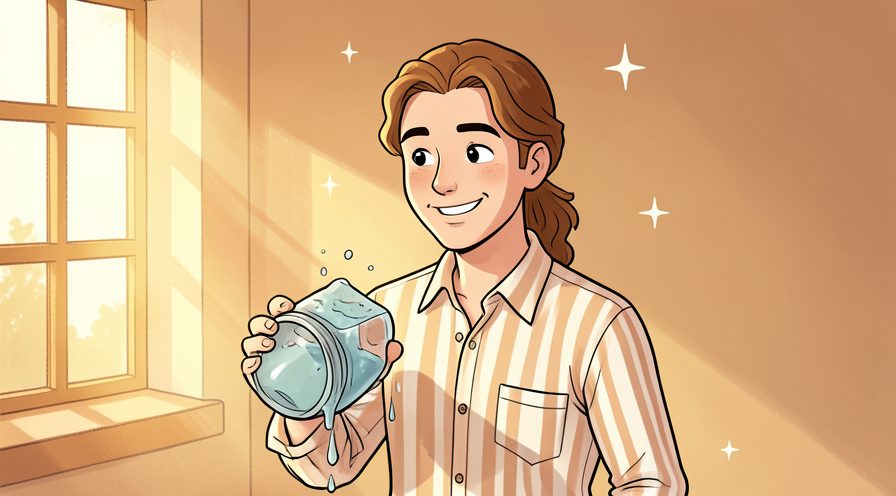
Step 23: Rotate the jars each week
Turning the jars stops plants leaning toward the window and keeps them bushy.
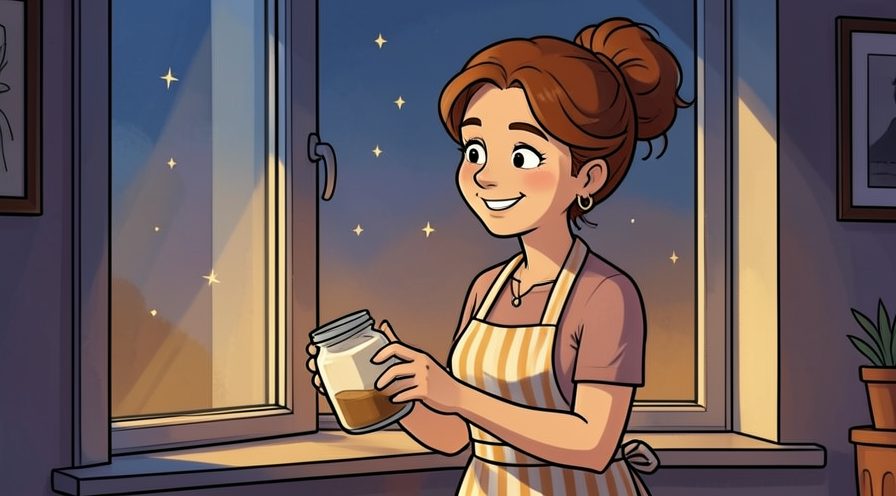
Step 24: Pinch off flower buds
Removing buds sends energy back into leaves, which is what you want for cooking.
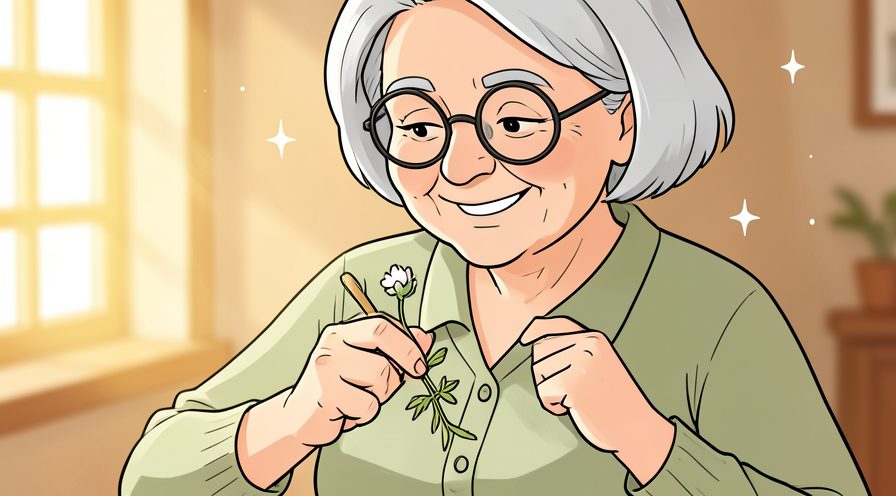
Step 25: Harvest the outer leaves
Pick the largest outside leaves first so the centre keeps producing new growth.
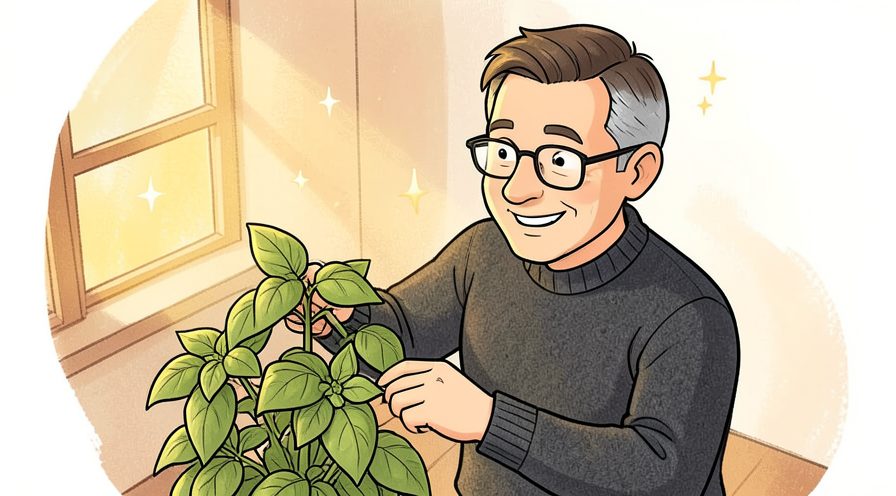
Step 26: Never strip a plant bare
Leave at least a third of the leaves so the herb can recover and keep growing.
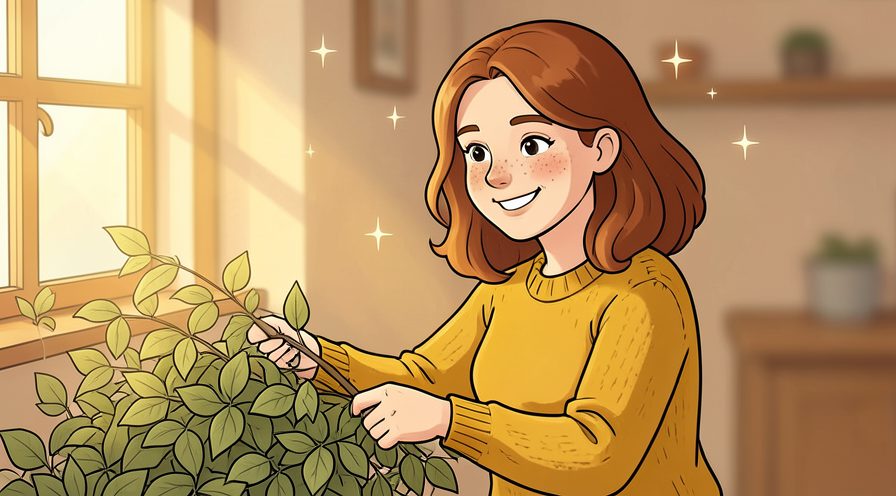
Step 27: Trim leggy stems
If a stem grows long and bare, cut it back to encourage a fuller shape.
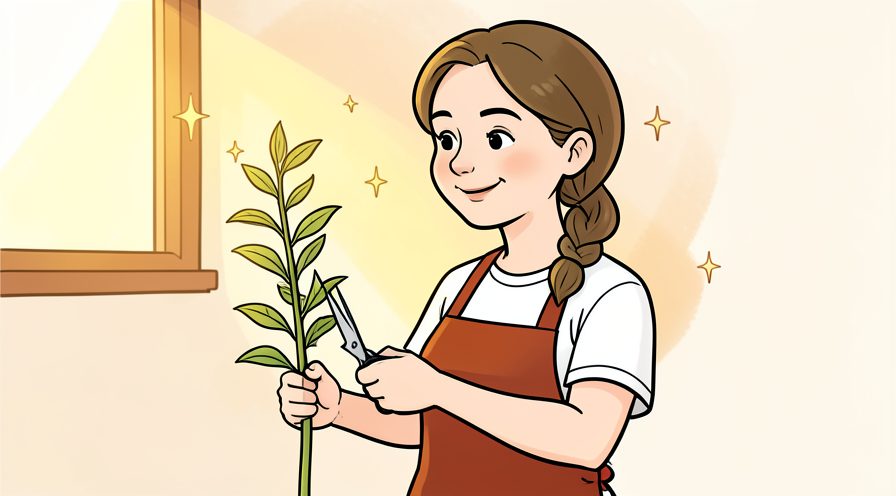
Step 28: Feed lightly in spring
A diluted liquid feed once a month is plenty for herbs in small jars.

Step 29: Refresh the soil each season
After a few months, replace tired soil to give the roots fresh nutrients.
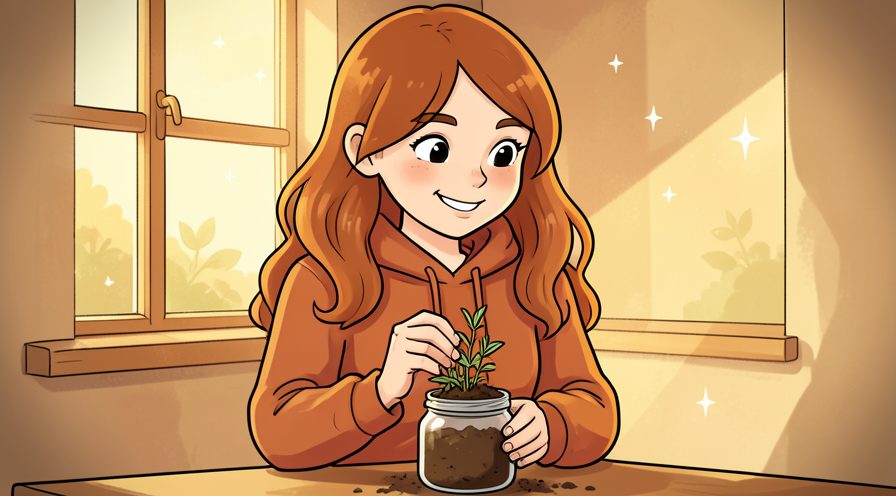
Step 30: Take cuttings for new jars
Root a healthy stem in water to make more plants for free.
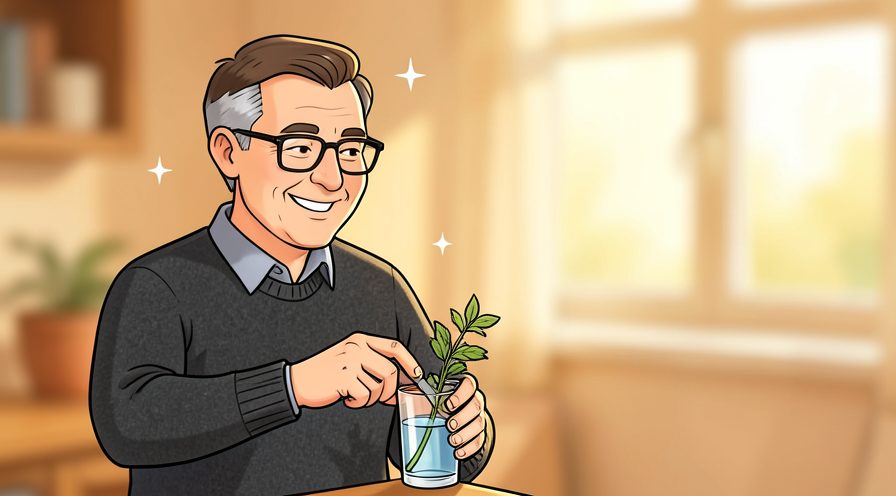
Step 31: Enjoy herbs at meal time
Snip fresh leaves straight into cooking for the brightest flavour.

Tips
- Basil and mint love warmth, while parsley and chives tolerate a cooler sill.
- Pick the outer leaves first so the plant keeps producing new growth.
- See How to Grow Herbs Indoors for light tips.
Warnings
- Herbs dislike soggy roots, so never let a jar sit in standing water.
- A jar without drainage needs far less water than a terracotta pot.
Frequently asked questions
How much sun do jar herbs need? Most culinary herbs want six hours of bright light a day.
Can I grow herbs in water only? Yes, basil and mint root happily in water for several weeks.
Why are my seedlings leggy? They need a brighter window or a few more hours of light.
References
- University of Minnesota Extension — growing herbs indoors. https://extension.umn.edu/
- USDA — herb gardening basics. https://www.usda.gov/
- Wikipedia — mason jar. https://en.wikipedia.org/wiki/Mason_jar
- wikiHow — How to Build a Mason Jar Herb Garden. https://www.wikihow.com/Build-a-Mason-Jar-Herb-Garden
Every guide is reviewed against its sources. See our editorial policy.


Reader comments
0 so farFinished this guide? Tell other readers what worked, what didn't, and what you would change.