A good parade float looks effortless as it rolls past, but the smooth result comes from planning the route rules, building a solid base, and checking every fixing before the big day. Most of the work is ordinary carpentry and craft: a flat platform, a light frame for the shapes, and decorations that read clearly from the side of the road.
This guide sets up the design, builds the float in simple stages, and finishes with a rehearsal so the morning of the parade is about enjoying the event rather than fixing problems.
How to use this guide
Work through the illustrated steps in order. Every step has its own picture, so you can check what a finished stage should look like before you move on. If you only have a minute, skim the Quick steps box above and come back for the details.
Related guides
- How to Build a Model Kit
- How to Make Handmade Greeting Cards
- How to Make a Scrapbook
- How to Start a Bullet Journal
- Browse all Hobbies guides
- All 52runoob guides
Trusted external resources
- wikiHow — How to Build a Float
- Wikipedia — Parade float overview
- National Fire Protection Association — fire safety guidance
- U.S. Consumer Product Safety Commission — event and craft safety
- Britannica — parade and festival traditions
A note on sources
We check each guide against the official resources listed in References at the end of this article. External links open in a new tab; the related guides above stay on this site.
Quick steps
- Confirm the parade rules, size limits, and safety requirements before you design anything
- Build a strong flat base, then add a lightweight frame and simple high-contrast decoration
- Rehearse the assembled float, check measurements again, and bring a repair kit on parade day
Things you'll need
- A sturdy base such as a trailer, flatbed, or wooden platform
- Cardboard, wire, and thin timber for the shapes
- Fabric, streamers, and outdoor paint
- A staple gun, hot glue, zip ties, and duct tape
- A tape measure, a sketch book, and a well-stocked repair kit
Step-by-step
Method 1 of 3: Plan Before You Build :: A clear theme and a realistic plan decide most of the result.
Step 1: Read the parade rulebook first
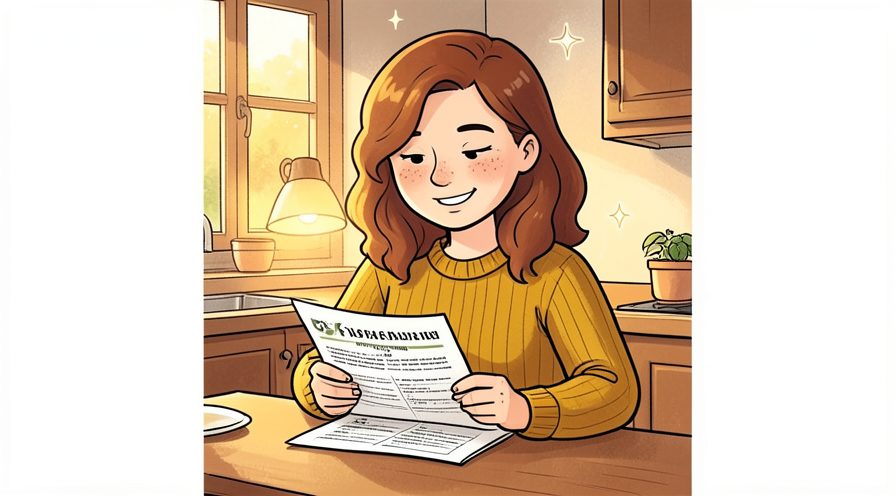
Every parade sets its own limits on height, width, length, and which materials are allowed. Ask the organiser for a written copy before you design anything, because a float that is too tall for a route bridge will be turned away on the day.
Step 2: Choose one clear theme
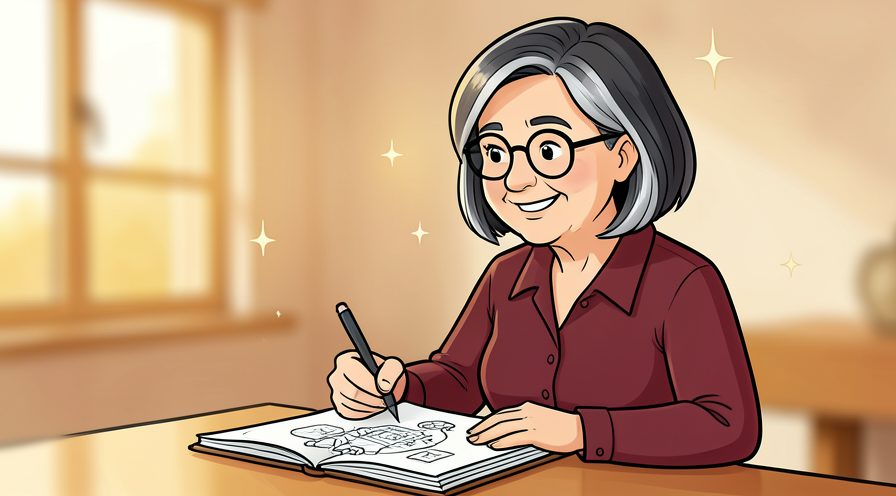
Pick a single idea that a stranger can understand in three seconds, such as a garden, a pirate ship, or a favourite film. A simple theme is faster to build and reads better from the road than a busy collage of ideas.
Step 3: Set a budget and stick to it
Write down what you can spend on the platform, decorations, transport, and a shared meal for helpers. Most home-built floats can be made cheaply with cardboard, fabric, and borrowed materials, so spend money only where safety depends on it.

Step 4: Recruit a reliable crew
A float is a team project. Ask for specific help rather than a general promise: one person on the frame, one on painting, one on costume, and one who can drive or tow on parade day.
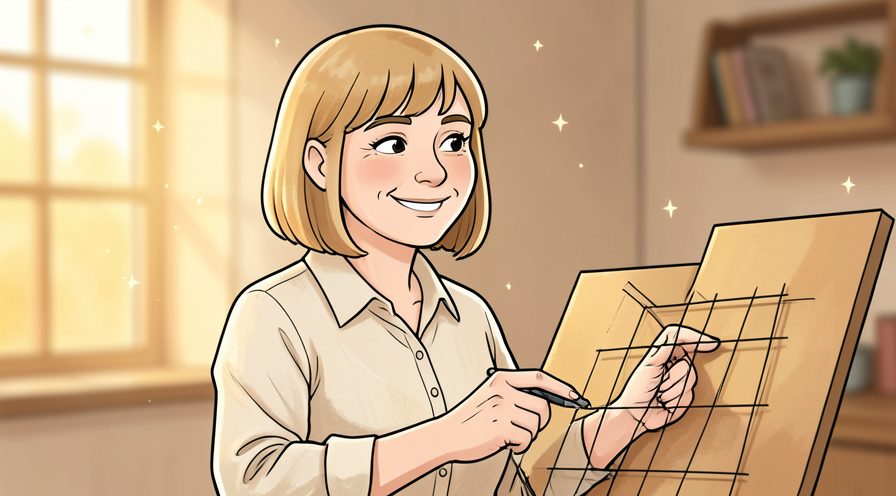
Step 5: Sketch the float from three sides
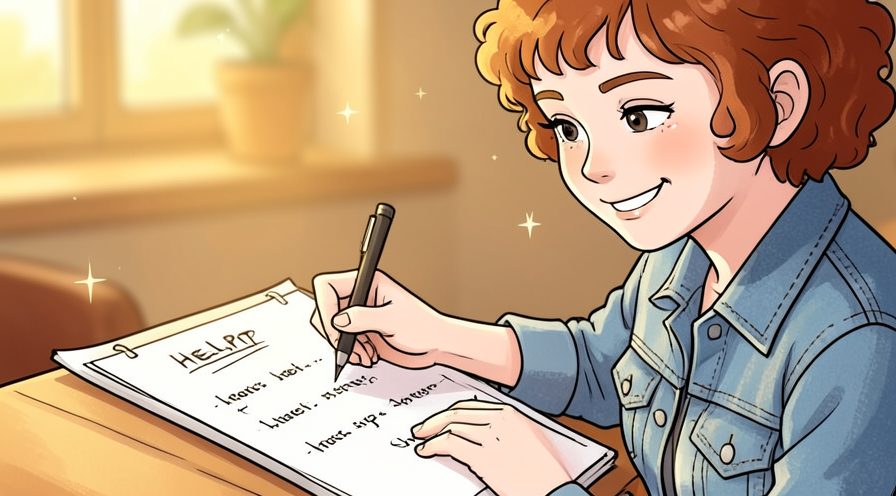
Draw a front, side, and top view so you can see how the design will look from the road and from above. Mark where riders sit and where the decorations go, and keep a copy of the sketch with you while you build.

Step 6: Measure the vehicle or trailer
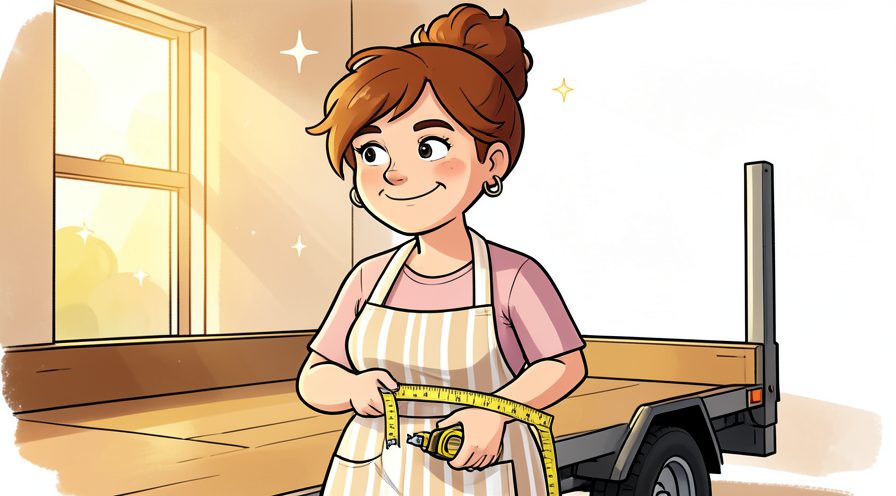
Decide early whether the float sits on a car, a trailer, or a flatbed. Measure the deck and the towing height, then design within those dimensions so the finished piece fits without last-minute cutting.
Step 7: Plan for sun, wind, and rain
Parades happen outdoors. Design decorations that can survive a breezy day and keep a plan for covering the float if rain is forecast, since wet cardboard collapses quickly.

Step 8: Check fire safety rules for decorations
Many parades require a flame-retardant treatment on fabric, paper, and foam. Read the event rules and treat all soft materials before the build, keeping the treated label or receipt as proof if organisers ask.

Step 9: Make one master materials list
List everything the design needs, then divide the list into what you own, what you can borrow, and what you must buy. One shared list prevents three people arriving with the same supply and none of the tape.
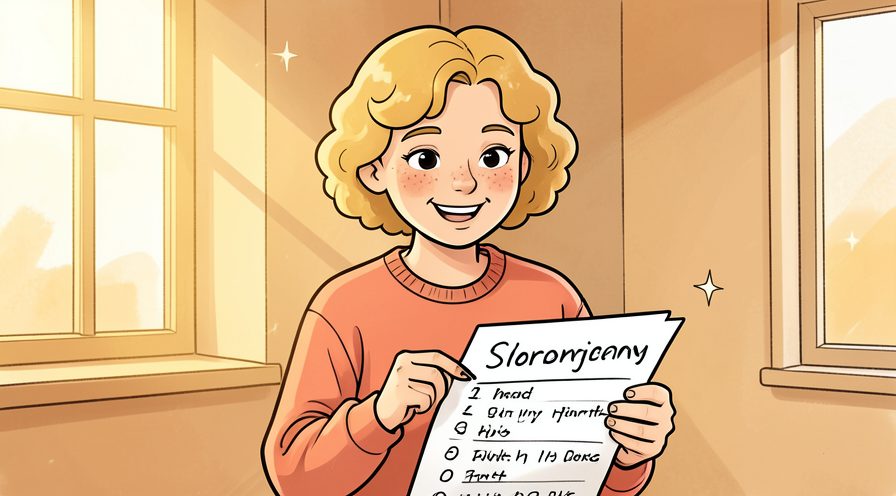
Step 10: Build in a buffer day
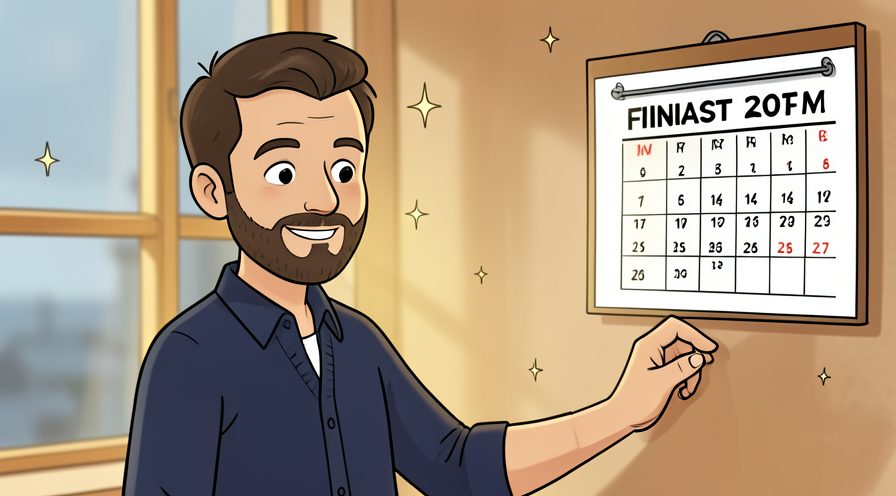
Schedule the finished float a full day before the parade. That day absorbs the broken staple gun, the missing ribbon, and the extra coat of paint, so parade morning is only about loading and enjoying the event.
Method 2 of 3: Build the Base and Decorate :: Put the structure together first, then add the surface details.
Step 11: Start with a strong, flat base
Use a sturdy platform, a wooden frame, or a trailer deck that can carry the weight of riders and decorations. Test that it does not wobble before you add anything tall or heavy.
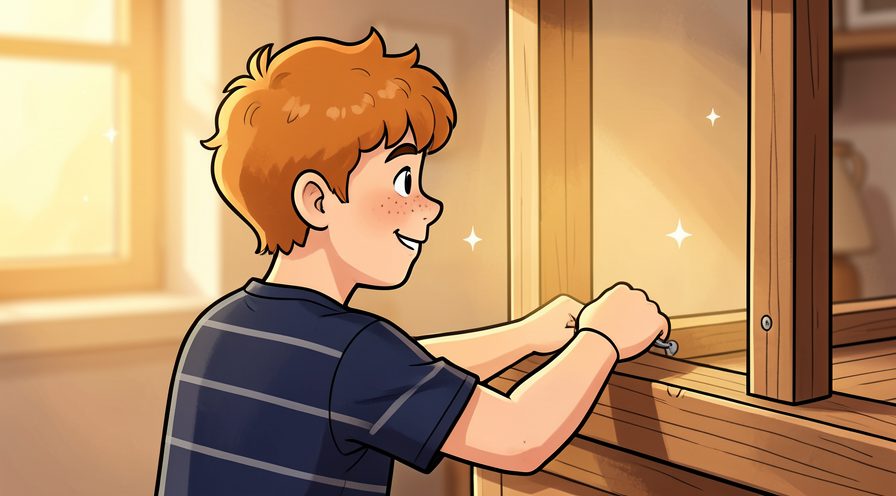
Step 12: Anchor everything to the base
Attach the frame, rails, and uprights with screws, brackets, or zip ties rather than tape alone. Parade floats move slowly but they still shake, and a loose piece can fall into the road.

Step 13: Build a lightweight frame for the shapes
For characters, animals, or large symbols, bend wire or thin timber into a rough skeleton and cover it later. A good frame holds its shape with far less material than a solid structure.

Step 14: Cover the shapes with cardboard or fabric
Staple or glue cardboard over the frame, then add a fabric skin for a smoother finish. Work in small panels you can replace easily if one tears during the parade.
Step 15: Keep the riders safe and comfortable
Add a solid floor, a handrail, and somewhere shaded to sit. Leave a clear way in and out, and make sure nothing blocks the person steering or the person watching the route.

Step 16: Paint the large areas first
Block in the background colour before any detail work, using outdoor paint suited to the material. Two thin coats dry more evenly than one thick coat and are less likely to crack when the frame flexes.
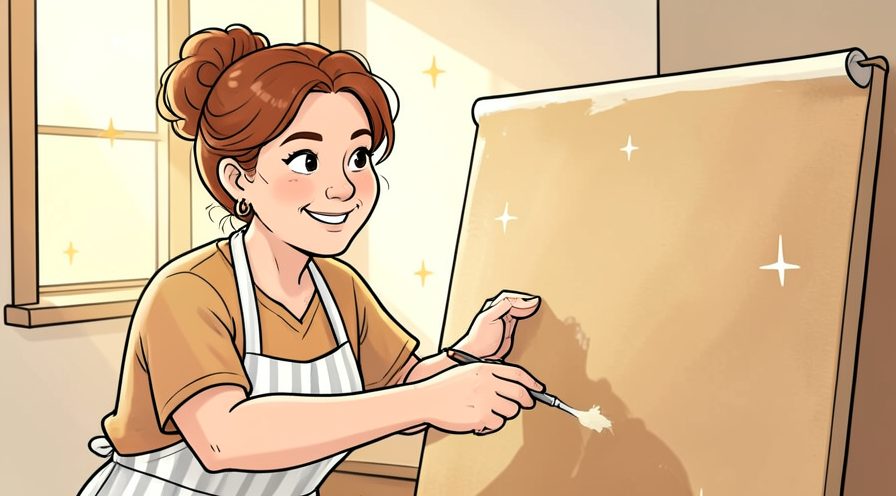
Step 17: Add details that read from a distance
Make key features oversized and high-contrast, because the crowd sees the float from metres away. Step back ten paces regularly to check that the theme is still obvious.

Step 18: Use simple, reliable fasteners
Combine hot glue, a staple gun, zip ties, and duct tape, and carry spares of each on parade day. Different materials need different fixings, so test each join with a firm tug before moving on.

Step 19: Add moving parts only if they are secure
Waving arms or spinning pieces add life, but every moving part is a possible failure point. Keep the mechanism simple and tie any loose end twice, since you cannot repair a rotor in the middle of a parade.

Step 20: Dress the riders to match the theme
Costumes complete the picture and help the crowd understand the idea. Keep them comfortable for a long, slow walk in the sun and avoid anything that might catch on the float.

Step 21: Leave room for the finishing touches
Keep one section undecorated until the day so helpers can add fresh flowers, signs, or a last-minute detail together. A float looks best when the final touches are made with the whole crew present.
Keep going: How to Make Handmade Greeting Cards uses the same illustrated format and is a good next read. More checklists live in the Hobbies category.
Method 3 of 3: Rehearse, Secure, and Enjoy :: A short check before the route saves a long repair during it.
Step 22: Do a full dry run at home
Put the float together exactly as it will be on parade day, including riders, costumes, and music. A rehearsal reveals the wobbles and blind spots that a static build hides.
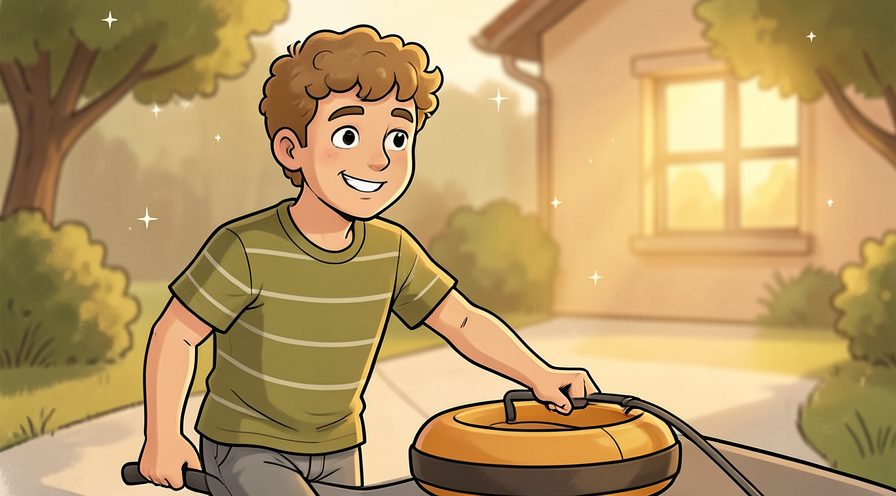
Step 23: Check the height and width again
Measure the assembled float, not just the plan, and compare it with the route rules. Remember that riders add height and that streamers and flags can catch on branches or lights.

Step 24: Test every fastening with a shake
Push, pull, and gently rock the structure to find weak joins. Anything that moves now will move more on the road, so fix it before you load the float.

Step 25: Walk the route if you can
If the parade allows it, drive or walk the route beforehand to spot low branches, tight turns, and rough pavement. Knowing the route lets you assign a spotter who can call out problems on the day.

Step 26: Prepare a small repair kit
Pack tape, zip ties, a staple gun, spare paint, scissors, and a knife in one labelled box. Keep it with the float rather than in a car, so it is at hand the moment something tears.
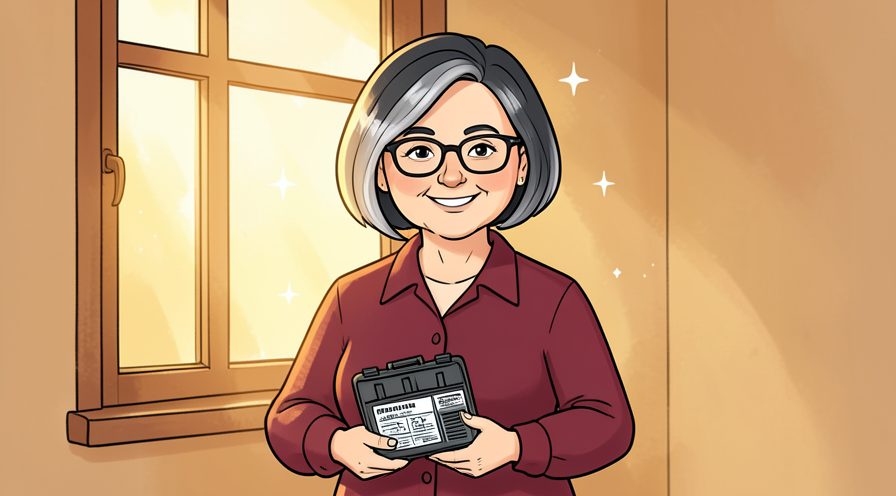
Step 27: Load and secure the float the night before
If the rules allow, deliver the float to the staging area the evening before and strap it down. Arriving early removes the stress of finding parking and a safe place to finish dressing.

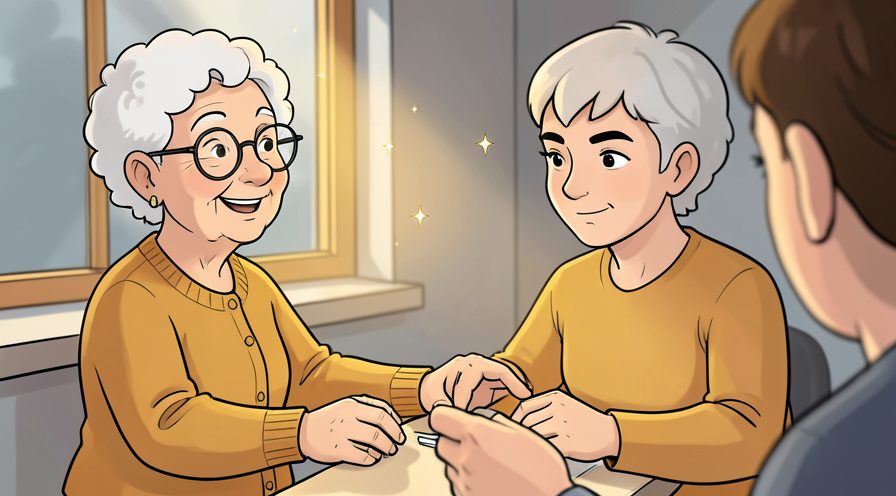
Step 28: Brief the whole crew
Tell everyone where to stand, what to carry, and what to do if something comes loose. Agree on one person who gives the signal to start, stop, and regroup.
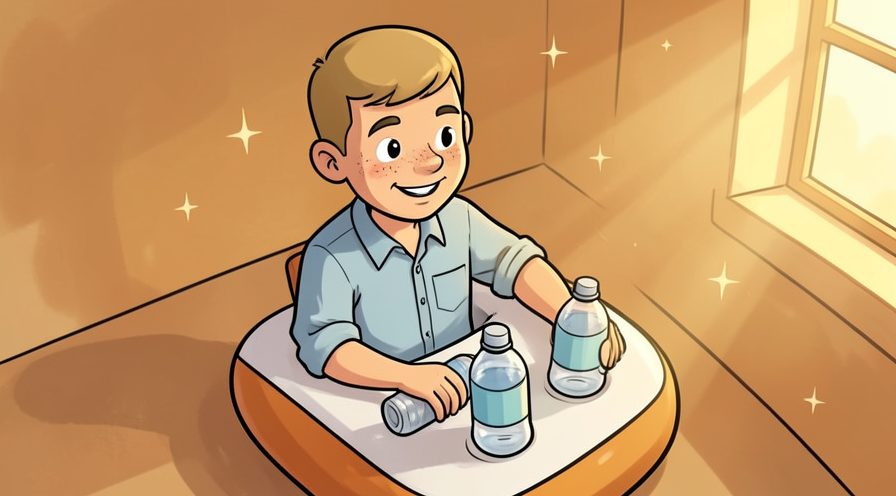
Step 29: Bring water, shade, and a first-aid kit
Parade days are long and hot. Keep water within reach of every rider and have a basic first-aid kit in the float's repair box, especially when children are riding.
Step 30: Enjoy the parade and look after helpers
Once you are on the route, smile, wave, and take in the crowd; the months of planning pass in a few minutes. Thank the crew afterwards and store reusable frames and decorations flat for next year.
Keep going: How to Make a Scrapbook uses the same illustrated format and is a good next read. More checklists live in the Hobbies category.

Tips
- Design for the viewing distance: oversized, high-contrast features read far better than fine detail. See How to Build a Model Kit for more on building small structures.
- Ask the organiser which materials are banned and whether a flame-retardant treatment is required, since the rules vary from town to town.
- Give each helper one clear job so nothing is left to be sorted out on the morning of the parade.
Warnings
- Never let decorations block the driver's view or the riders' exit; an unsecured float can injure people along the route. Official safety guidance: NFPA.
- Check the weather and avoid a float made mostly of untreated cardboard if rain is likely, because wet cardboard can collapse and become a road hazard.
Frequently asked questions
How much does it cost to build a float? A simple family float can cost very little using cardboard, fabric, and borrowed materials; set a budget before you start.
How long does it take? Allow several weekends for planning and building, plus one full buffer day before the parade.
Do I need a permit? Most parades require an entry form and may set size, safety, and flame-retardant rules, so ask the organiser early.
References
- wikiHow — How to Build a Float. https://www.wikihow.com/Build-a-Float
- Wikipedia — Parade float. https://en.wikipedia.org/wiki/Parade_float
- National Fire Protection Association — fire safety guidance. https://www.nfpa.org/
- U.S. Consumer Product Safety Commission — product and event safety. https://www.cpsc.gov/
- Encyclopaedia Britannica — parade and festival traditions. https://www.britannica.com/
Every guide is reviewed against its sources. See our editorial policy.


Reader comments
0 so farFinished this guide? Tell other readers what worked, what didn't, and what you would change.