A smooth, even wood stain comes down to good preparation and thin, controlled coats. This illustrated guide covers 3 methods and 34 steps, with a separate picture for every step.
This guide walks through the process in clear illustrated steps, from the first preparation to a finished result. Each step has its own picture, so you can compare your progress as you go.
How to use this guide
Work through the steps in order. Method 1 of 3: Prepare the Wood covers the basics, and the later methods offer alternatives and finishing touches. If you only have a minute, skim the Quick steps box above and come back for the details.
Related guides
- How to Stain Wood
- How to Sand Wood
- How to Refinish a Table
- How to Apply Polyurethane
- Browse all Hobbies & Crafts guides
- All 52runoob guides
Trusted external resources
A note on sources
We check each guide against the official resources listed in References at the end of this article. External links open in a new tab; the related guides above stay on this site.
Quick steps
- Sand the wood smooth and remove all dust before staining
- Apply thin coats and wipe off the excess for an even colour
- Let each coat dry fully and finish with a protective topcoat
Things you'll need
- Varathane wood stain
- Sandpaper in fine grits
- A clean lint-free cloth and a brush
- A drop cloth and gloves
- A clear protective topcoat
Step-by-step
Method 1 of 3: Prepare the Wood :: A smooth surface is the secret to an even finish.
Step 1: Clear and protect the workspace
Lay a drop cloth and move obstacles aside so you can work freely.

Step 2: Clean the wood thoroughly
Remove dirt and grease with a mild cleaner so the stain can absorb evenly.

Step 3: Remove old finish if needed
Strip or sand away any old varnish that would block the new stain.

Step 4: Sand with the grain
Work through fine grits in the direction of the grain to avoid cross-grain scratches.

Step 5: Sand the edges lightly
Ease sharp edges so they take stain without catching extra colour.

Step 6: Check for dents and scratches
Fill deep marks with wood filler before staining so the surface stays even.

Step 7: Vacuum the dust
Lift loose dust from the surface and corners before you begin.

Step 8: Wipe with a tack cloth
A tack cloth removes the last fine particles that vacuuming leaves behind.

Step 9: Tape off areas to protect
Mask any parts you do not want stained, such as metal fittings.

Step 10: Test on a scrap piece
Stain an offcut first to check the colour and how much you will need to wipe back.

Method 2 of 3: Apply the Stain :: Thin, even coats give the best colour.
Step 11: Stir the stain well
Mix the can thoroughly so pigment is evenly distributed before you start.

Step 12: Put on gloves and ventilate
Protect your hands and open a window or fan while the stain is wet.
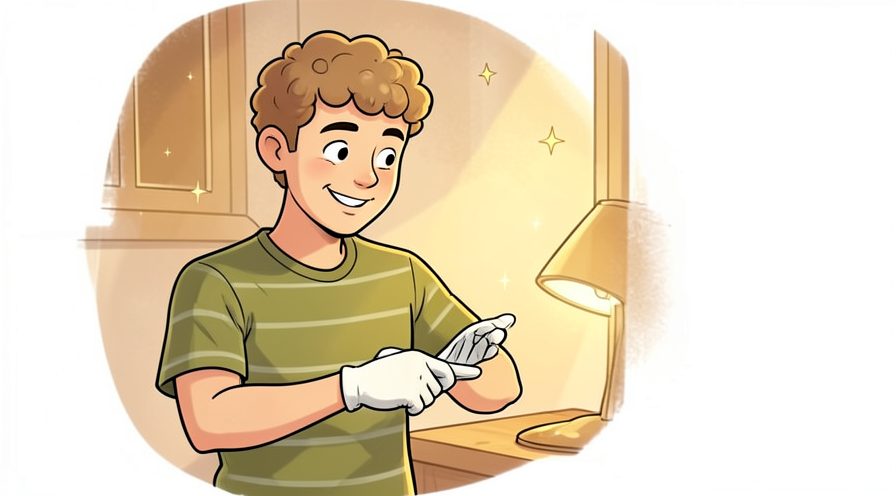
Step 13: Load a clean cloth or brush
Take a small amount of stain, since less product gives better control.

Step 14: Apply with the grain
Wipe or brush along the grain in long, even strokes.
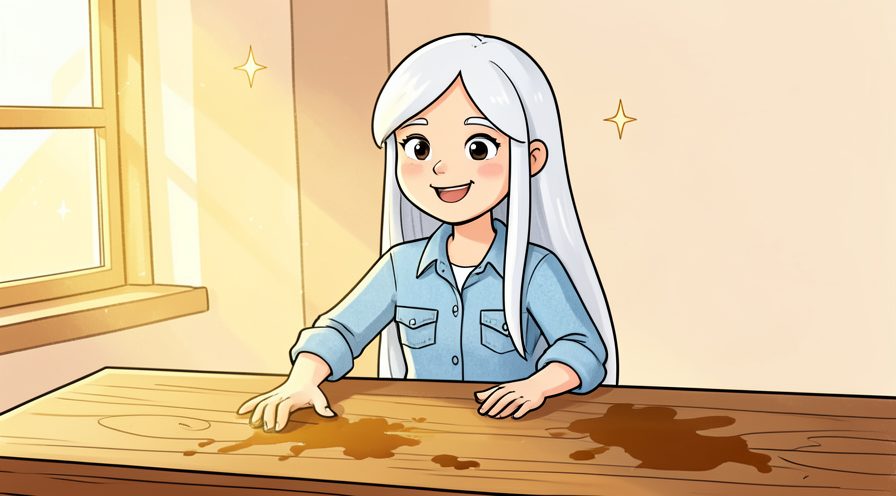
Step 15: Work in manageable sections
Stain one area at a time so the product does not dry before you wipe it back.

Step 16: Keep the coat thin
A thin coat soaks in evenly while a thick one hides the grain and dries sticky.

Step 17: Wipe off the excess quickly
After a minute or two, wipe away surplus stain so the colour stays even.
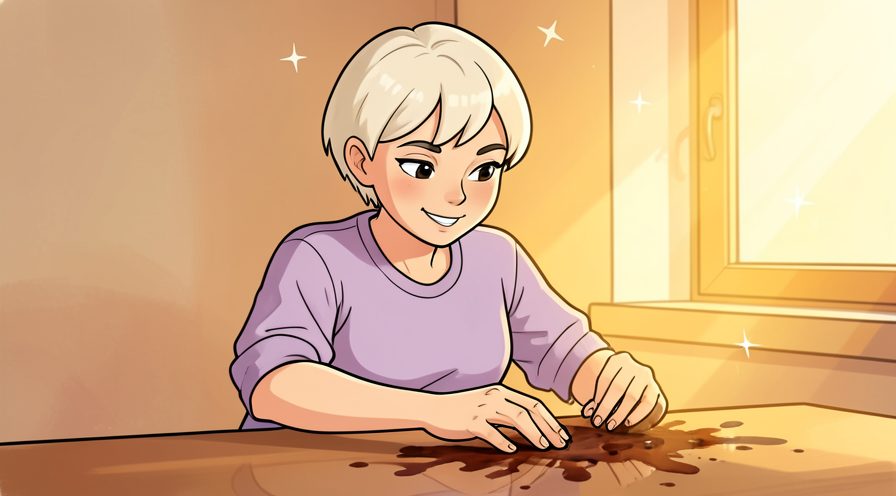
Step 18: Even out any dark spots
Blend heavy patches with a clean cloth before they set.

Step 19: Let the first coat dry
Follow the drying time on the can before deciding whether you need another coat.

Step 20: Apply a second coat if needed
A second thin coat deepens the colour without hiding the wood grain.

Step 21: Check the colour in daylight
Natural light shows the true colour better than a workshop lamp.

Step 22: Remove the masking tape
Peel tape away before the stain hardens so edges stay clean.
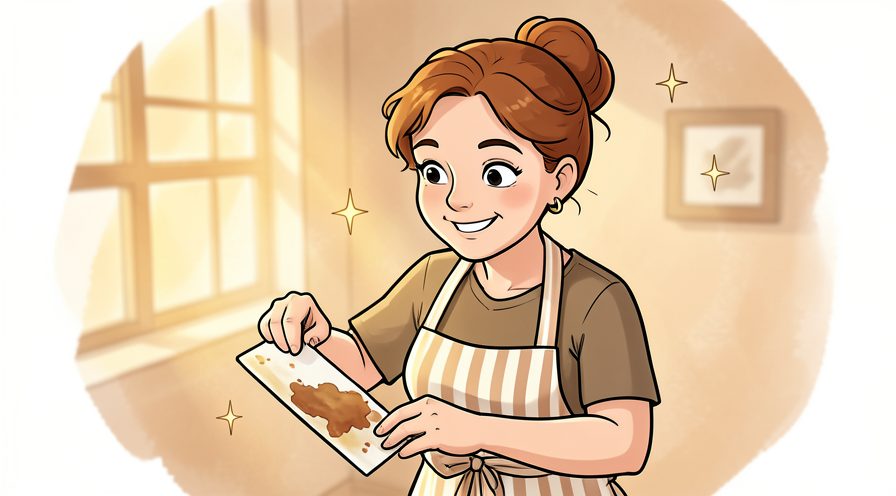
Method 3 of 3: Protect and Finish :: Lock in the colour with a durable topcoat.
Step 23: Confirm the stain is fully dry
A topcoat over damp stain will trap moisture and peel later.
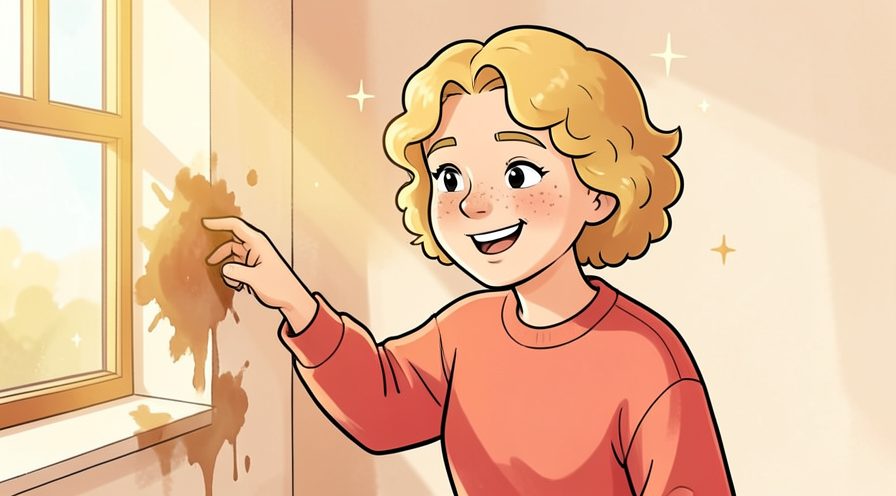
Step 24: Sand very lightly
A gentle once-over with fine sandpaper removes raised grain for a smoother finish.

Step 25: Remove all sanding dust
Wipe the surface clean so nothing is sealed into the topcoat.

Step 26: Choose a compatible topcoat
Pick a clear finish designed to go over stain, such as polyurethane.

Step 27: Apply the first thin coat
Brush or wipe on a thin even layer in the direction of the grain.

Step 28: Avoid brushing too much
Excess brushing traps bubbles, so lay the finish on and leave it.

Step 29: Let it dry as directed
Give the coat its full drying time before any further sanding or recoating.

Step 30: Sand between coats lightly
A very fine sanding helps each new coat bond smoothly to the last.

Step 31: Add a second topcoat
Two thin protective coats wear better than one thick one.

Step 32: Inspect the finish in raking light
Low-angle light reveals missed spots and uneven areas.

Step 33: Buff gently when cured
Once fully cured, a soft cloth brings up a smooth sheen.

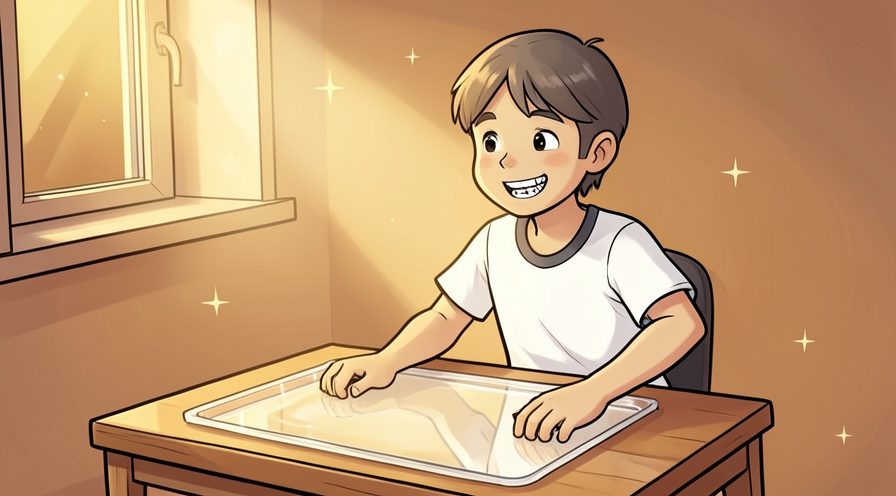
Step 34: Cure fully before heavy use
Give the finish several days to harden before placing objects on the surface.
Tips
- Always stain a scrap piece first to see how the colour looks on your wood.
- Work along the grain so the stain settles evenly and looks natural.
- See How to Stain Wood for more finish options.
Warnings
- Work in a well-ventilated area and wear gloves, since stain stains skin.
- Never apply a topcoat until the stain has dried completely, or the finish may peel.
Frequently asked questions
Do I need to sand before staining? Yes, sanding opens the grain so stain can soak in evenly.
How many coats do I need? One or two thin coats usually give the best result.
Why is my stain blotchy? Uneven sanding or too much product are the usual causes.
References
- Rust-Oleum — Varathane wood stain guide. https://www.rustoleum.com/
- Wikipedia — wood stain. https://en.wikipedia.org/wiki/Wood_stain
- This Old House — staining wood. https://www.thisoldhouse.com/
- wikiHow — How to Apply Varathane Wood Stain. https://www.wikihow.com/Apply-Varathane-Wood-Stain
Every guide is reviewed against its sources. See our editorial policy.



Reader comments
0 so farFinished this guide? Tell other readers what worked, what didn't, and what you would change.