Colouring beeswax lets you make custom candles, wraps, and balms in any shade. This illustrated guide covers 3 methods and 17 steps, with a separate picture for every step.
This guide walks through the process in clear illustrated steps, from the first preparation to a finished result. Each step has its own picture, so you can compare your progress as you go.
How to use this guide
Work through the steps in order. Method 1 of 3: Melt the Wax Safely covers the basics, and the later methods offer alternatives and finishing touches. If you only have a minute, skim the Quick steps box above and come back for the details.
Related guides
- How to Make Candles at Home
- How to Make Lip Balm
- How to Make a Scrapbook
- How to Work with Beeswax
- Browse all Hobbies & Crafts guides
- All 52runoob guides
Trusted external resources
- National Beekeeping Federation — beekeeping resources
- Wikipedia — beeswax
- Craft industry safety guidance
A note on sources
We check each guide against the official resources listed in References at the end of this article. External links open in a new tab; the related guides above stay on this site.
Quick steps
- Melt the wax gently using a double boiler
- Add dye a little at a time and stir until the colour is even
- Test a cooled sample before pouring the full batch
Things you'll need
- Beeswax pellets or blocks
- Candle dye or natural pigment
- A double boiler or heat-safe bowl
- A stirring stick
- A heat-safe test spoon
- Protective gloves
Step-by-step
Method 1 of 3: Melt the Wax Safely :: Prepare a steady, gentle heat source.
Step 1: Set up a double boiler
Place a heat-safe bowl over a pot of simmering water so the wax melts evenly.
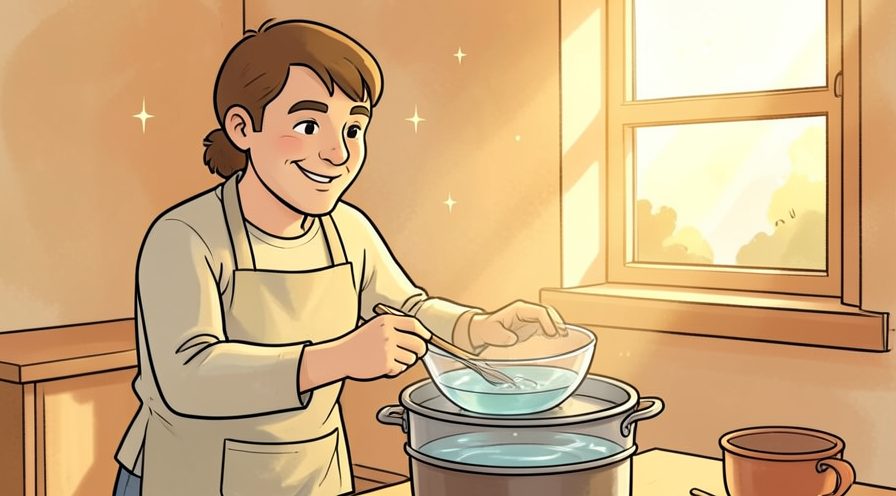
Step 2: Add the beeswax
Put pellets or chopped blocks into the bowl and let them melt slowly.

Step 3: Keep the heat low
Use gentle heat and never leave melting wax unattended.

Step 4: Stir until fully liquid
Mix the wax until there are no solid lumps left.

Step 5: Protect your workspace
Lay down newspaper so any drips are easy to clean.

Method 2 of 3: Mix in the Colour :: Build the shade gradually.
Step 6: Choose your colourant
Pick candle dye flakes, dye oil, or a natural pigment suited to wax.
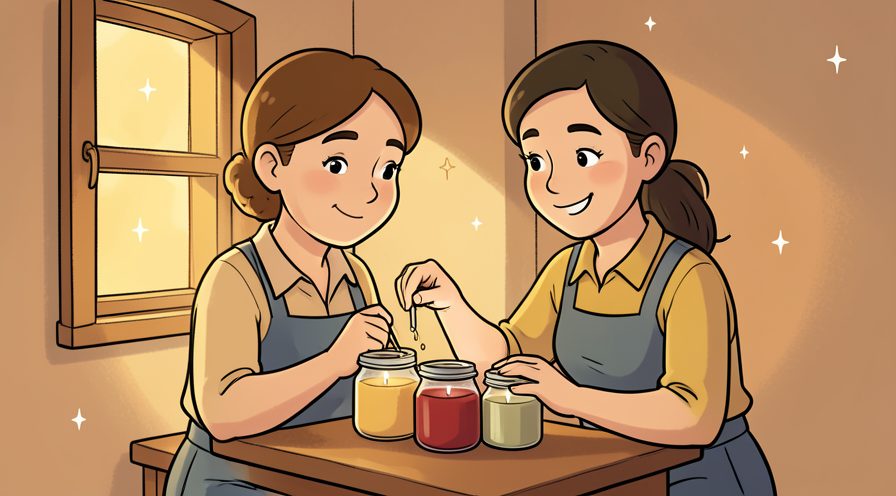
Step 7: Add a small amount
Sprinkle in a little dye so you can control the depth of colour.
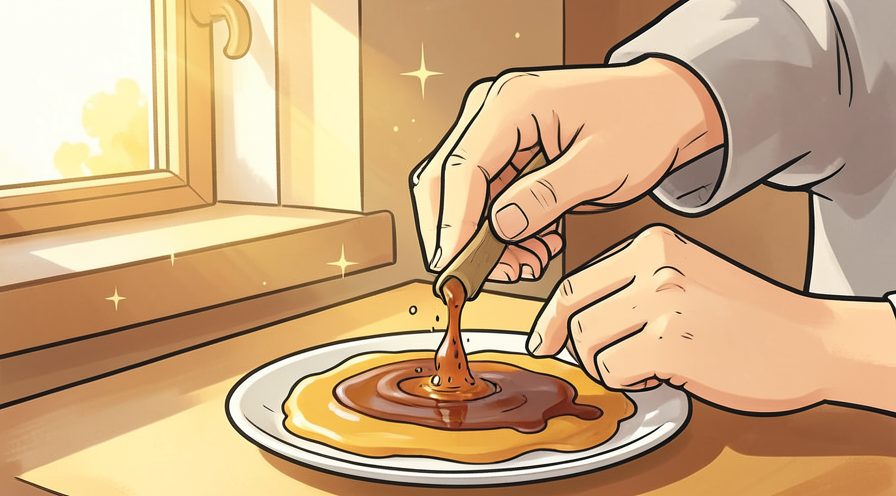
Step 8: Stir thoroughly
Mix continuously until the colour is uniform with no streaks.

Step 9: Make a test sample
Spoon a little wax onto a cold plate and check the cooled colour.

Step 10: Adjust the shade
Add more dye and stir again if the cooled sample is too pale.

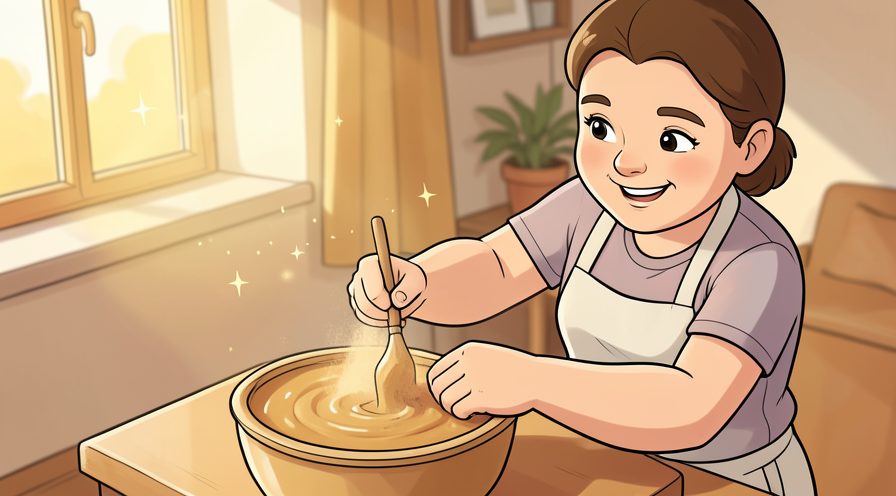
Step 11: Try a natural tint
For a soft look, mix in a pinch of turmeric or cocoa powder.
Method 3 of 3: Pour and Store :: Turn coloured wax into finished crafts.
Step 12: Prepare your mould
Set out candle moulds or a lined tray before the wax cools.

Step 13: Pour at the right temperature
Let the wax cool slightly so it pours smoothly without overheating the mould.

Step 14: Tap to release bubbles
Gently tap the mould so trapped air rises to the surface.

Step 15: Let it set completely
Allow the wax to cool and harden before unmoulding.

Step 16: Label and store scraps
Wrap leftover coloured wax and label the shade for later projects.

Tips
- Wax looks paler when molten, so judge the colour from a cooled sample.
- Natural powders like turmeric or cocoa give soft, earthy shades.
- See How to Make Candles at Home to use your coloured wax.
Warnings
- Never heat wax over direct high heat; it can ignite. Keep a lid nearby to smother flames.
- Do not overheat dyes, since some pigments can release fumes.
Frequently asked questions
What dye works on beeswax? Candle dye flakes or oils designed for wax give the most even results.
How much dye do I use? Start small, since you can always add more but cannot remove it.
Can I use food colouring? Oil-based colouring works better; water-based colouring does not mix with wax.
References
- National Beekeeping Federation — beekeeping resources. https://www.nbfa.org.uk/
- Wikipedia — beeswax. https://en.wikipedia.org/wiki/Beeswax
- Craft industry safety guidance. https://www.candles.org/
- wikiHow — How to Add Color to Beeswax. https://www.wikihow.com/add-color-to-beeswax
Every guide is reviewed against its sources. See our editorial policy.



Reader comments
0 so farFinished this guide? Tell other readers what worked, what didn't, and what you would change.