A homemade apple pie is easier than it looks when you build the dough, filling and bake in clear stages. This illustrated guide covers 3 methods and 37 steps, with a separate picture for every step.
This guide walks through the process in clear illustrated steps, from the first preparation to a finished result. Each step has its own picture, so you can compare your progress as you go.
How to use this guide
Work through the steps in order. Method 1 of 3: Make the Crust covers the basics, and the later methods offer alternatives and finishing touches. If you only have a minute, skim the Quick steps box above and come back for the details.
Related guides
- How to Make Pie Crust
- How to Bake a Loaf of Bread at Home
- How to Peel an Apple
- How to Store Baked Goods
- Browse all Food & Entertaining guides
- All 52runoob guides
Trusted external resources
A note on sources
We check each guide against the official resources listed in References at the end of this article. External links open in a new tab; the related guides above stay on this site.
Quick steps
- Use cold butter and don't overwork the dough for a flaky crust
- Toss the apples with sugar and spice, then thicken the juices
- Bake until the crust is deep golden and the filling bubbles
Things you'll need
- Plain flour, cold butter and iced water
- Six to eight firm apples
- Sugar, cinnamon and a little lemon juice
- A rolling pin and a pie dish
- Cornflour or flour to thicken the filling
Step-by-step
Method 1 of 3: Make the Crust :: Cold ingredients make a flaky base.
Step 1: Measure the flour accurately
Spoon flour into the cup and level it so the dough is not dry from too much flour.
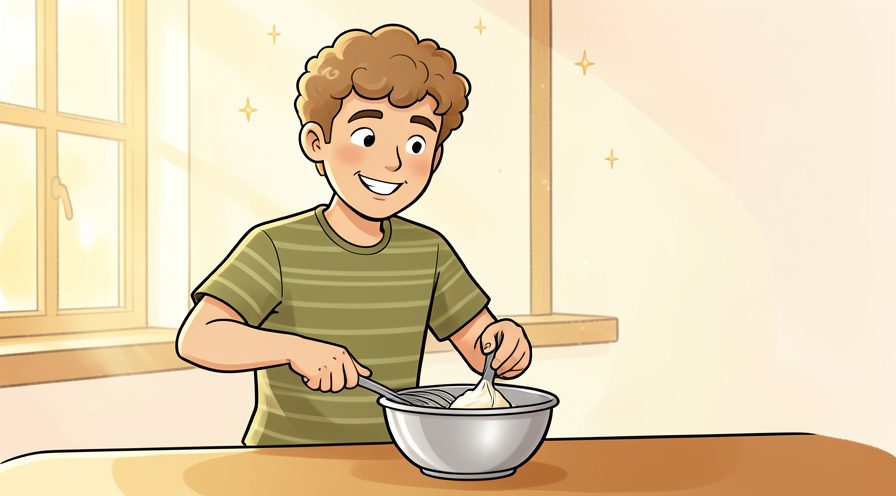
Step 2: Add a pinch of salt
Salt strengthens the dough and balances the sweetness of the filling.

Step 3: Cut in cold butter
Rub or cut cold butter into the flour until the mixture looks like coarse crumbs.
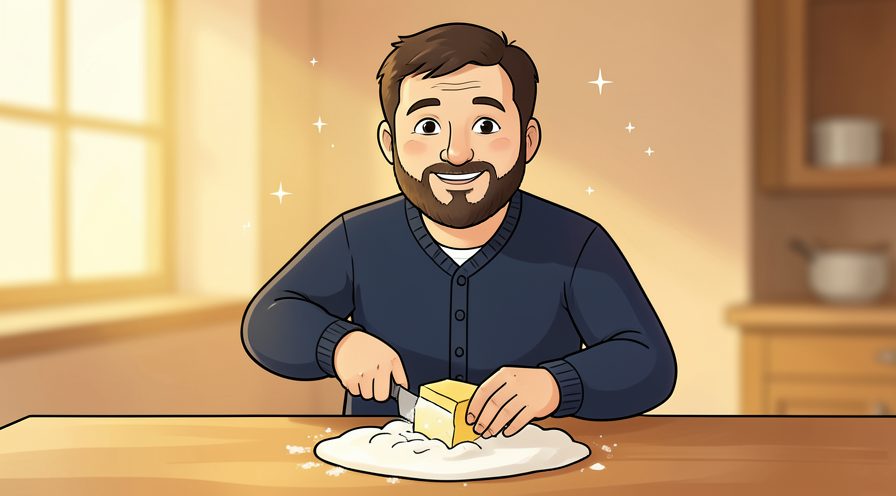
Step 4: Leave some butter pieces
Small visible pieces of butter create flaky layers as the pie bakes.
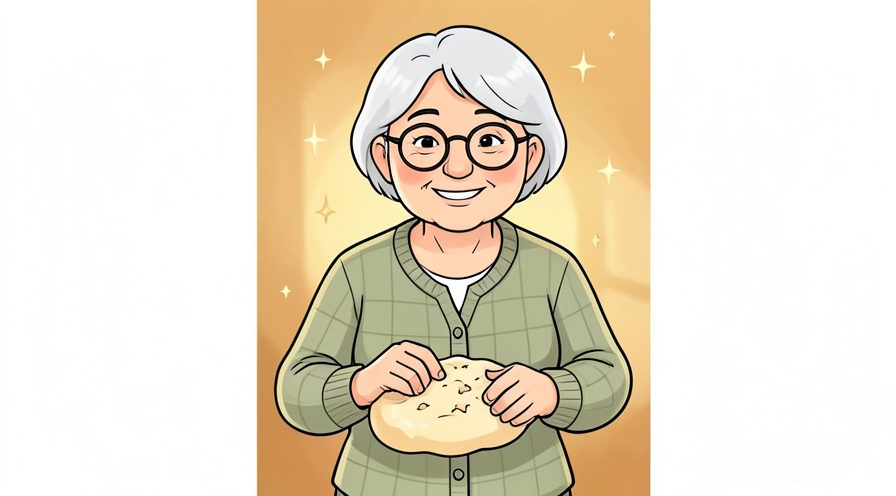
Step 5: Add iced water gradually
Add water a spoonful at a time, mixing gently until the dough just comes together.

Step 6: Stop mixing early
As soon as the dough holds, stop working it to keep the crust tender.

Step 7: Shape the dough into discs
Divide the dough in two and flatten each half into a disc for easy rolling.

Step 8: Wrap and chill the discs
Refrigerate the dough for at least thirty minutes so the butter firms again.

Step 9: Roll out the bottom crust
On a lightly floured surface, roll one disc into a circle larger than the dish.

Step 10: Line the pie dish
Lift the dough into the dish and press it gently into the base and sides.

Step 11: Chill the lined dish
A cold crust holds its shape and resists shrinking in the oven.

Step 12: Prick the base lightly
A few small holes stop the bottom from lifting as it bakes.

Method 2 of 3: Prepare the Filling :: Build a balanced, spiced apple mixture.
Step 13: Choose firm apples
Pick crisp apples that hold their shape instead of turning to mush in the oven.

Step 14: Wash and core the apples
Wash each apple, remove the core and prepare them for peeling.

Step 15: Peel the apples evenly
Remove the skin in thin strips so the flesh stays in neat pieces.
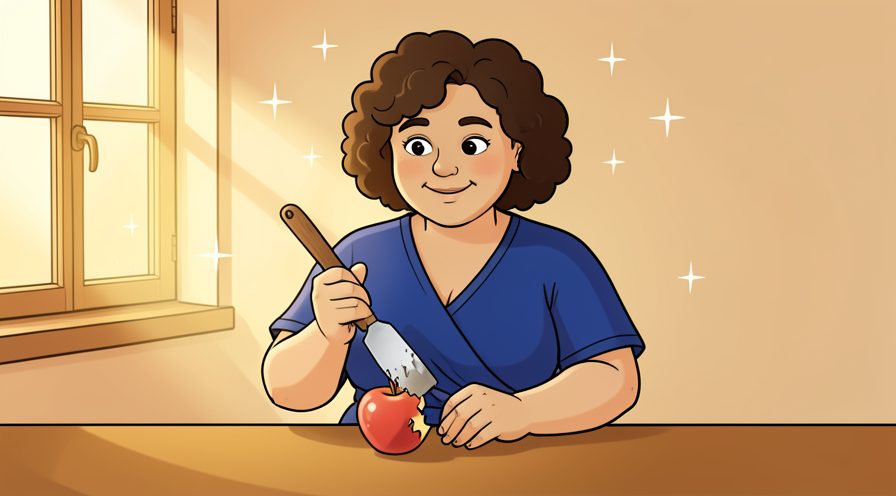
Step 16: Slice into even wedges
Cut the apples into similar-sized pieces so they cook at the same rate.

Step 17: Toss with sugar and spice
Coat the slices with sugar, cinnamon and a little nutmeg for classic flavour.

Step 18: Add a little lemon juice
Lemon keeps the apples bright and stops them browning while you work.

Step 19: Let the apples sit
Resting the mixture draws out juices and brings the flavours together.
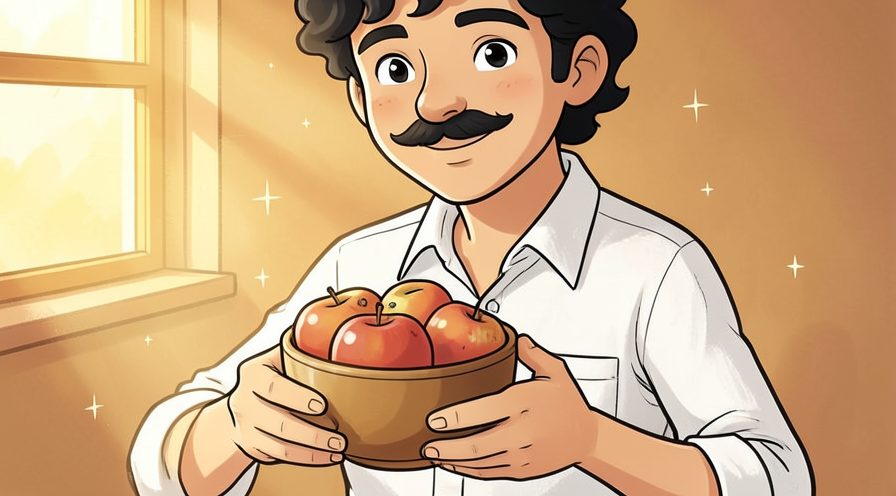
Step 20: Drain excess juice
Pour off some liquid so the filling does not make the crust soggy.

Step 21: Thicken with cornflour
Mix in a little cornflour so the juices set into a soft gel as the pie bakes.

Step 22: Taste for balance
The filling should taste sweet-tart with a clear hint of cinnamon.

Step 23: Fill the pie dish
Spoon the apples into the lined crust and mound them slightly in the centre.

Step 24: Dot with small butter pieces
A few flecks of butter enrich the filling and help it gloss as it bakes.

Method 3 of 3: Top and Bake :: Finish with a golden, bubbling pie.
Step 25: Roll out the top crust
Roll the second dough disc into a circle wide enough to cover the filling.

Step 26: Lay the crust over the filling
Drape the dough across the apples and let it settle without stretching.

Step 27: Trim the overhang
Cut the dough level with the dish rim, leaving a small border to seal.

Step 28: Crimp the edges
Pinch the rim into a neat fluted pattern that seals the two crusts together.

Step 29: Cut steam vents
Make a few small slits so steam can escape during baking.

Step 30: Bake the lattice or weave strips
For a lattice top, weave strips of dough across the filling before crimping.

Step 31: Brush with egg wash
A light egg wash gives the crust a glossy, deep golden finish.
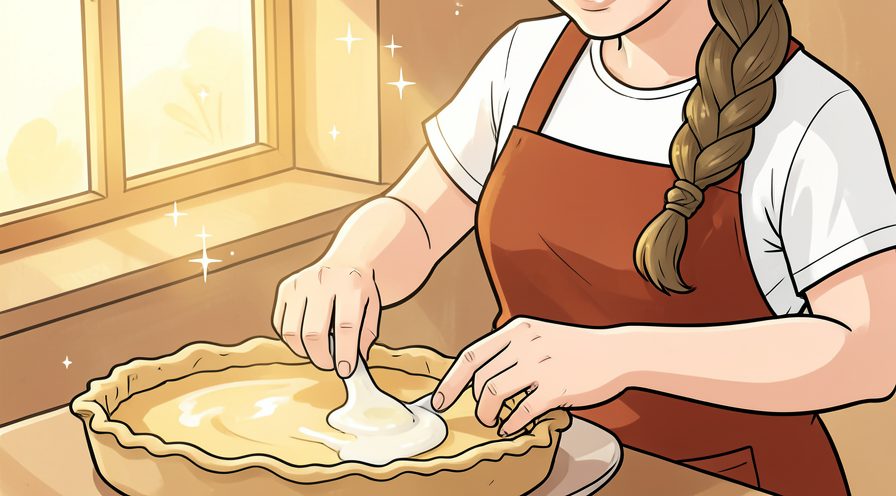
Step 32: Sprinkle a little sugar
Coarse sugar on top adds a pleasant crunch as it bakes.

Step 33: Preheat the oven fully
A properly hot oven sets the crust quickly and prevents a soggy base.

Step 34: Bake until golden and bubbling
Bake until the crust is deep brown and the filling bubbles at the edges.

Step 35: Cover if it browns too fast
A loose sheet of foil protects the edges if the crust darkens early.

Step 36: Cool before slicing
Let the pie rest so the filling sets and each slice holds its shape.

Step 37: Serve and enjoy
Serve slices warm or at room temperature, perhaps with cream or ice cream.

Tips
- A mix of sweet and tart apples gives the filling the best balance of flavour.
- Chill the dough before rolling so the butter stays firm and the crust stays flaky.
- See How to Make Pie Crust for more dough techniques.
Warnings
- Handle the dough as little as possible, since warm hands make a tough crust.
- Let the pie cool before slicing so the filling has time to set.
Frequently asked questions
Which apples are best? Firm varieties hold their shape and balance sweet with tart.
Why is my crust tough? The dough was probably overmixed or too warm.
How do I stop a soggy bottom? Chill the dough and bake the pie on a preheated tray.
References
- USDA — apple nutrition and storage. https://www.usda.gov/
- Wikipedia — apple pie. https://en.wikipedia.org/wiki/Apple_pie
- King Arthur Baking — pie making guide. https://www.kingarthurbaking.com/
- wikiHow — How to Bake an Apple Pie from Scratch. https://www.wikihow.com/Bake-an-Apple-Pie-from-Scratch
Every guide is reviewed against its sources. See our editorial policy.



Reader comments
0 so farFinished this guide? Tell other readers what worked, what didn't, and what you would change.