A slow sink usually is not a mystery deep in the plumbing. Hair, soap scum, and kitchen grease collect in the first few inches of pipe or in the curved trap underneath. Chemical cleaners often just burn a narrow channel through the plug and can harm older pipes, so mechanical and mild methods are a better first move.
This guide works through a bathroom or kitchen sink from the easiest fix to the trap, then covers prevention and the signs that you need a plumber.
How to use this guide
Work through the illustrated steps in order. Every step has its own picture, so you can check what a finished stage should look like before you move on. If you only have a minute, skim the Quick steps box above and come back for the details.
Related guides
- How to Deep Clean Your Kitchen
- How to Organize a Small Closet
- How to Paint a Room
- How to Declutter Your Home
- Browse all Home & Garden guides
- All HowCompass guides
Trusted external resources
- U.S. Environmental Protection Agency — indoor air quality
- U.S. Environmental Protection Agency — reducing household waste
- Habitat for Humanity — home and housing resources
A note on sources
We check each guide against the official resources listed in References at the end of this article. External links open in a new tab; the related guides above stay on this site.
Quick steps
- Remove and clean the stopper, then plunge with a wet cloth over the overflow
- Flush with hot water, then baking soda followed by vinegar
- Pull out hair with a cheap plastic snake and clean the P-trap if it still runs slowly
Things you'll need
- A cup plunger
- A plastic drain snake or zip tool
- Baking soda and white vinegar
- A kettle of hot but not boiling water
- A bucket and old towels
- Rubber gloves
Step-by-step
Method 1 of 3: Clear a Slow Sink From the Top
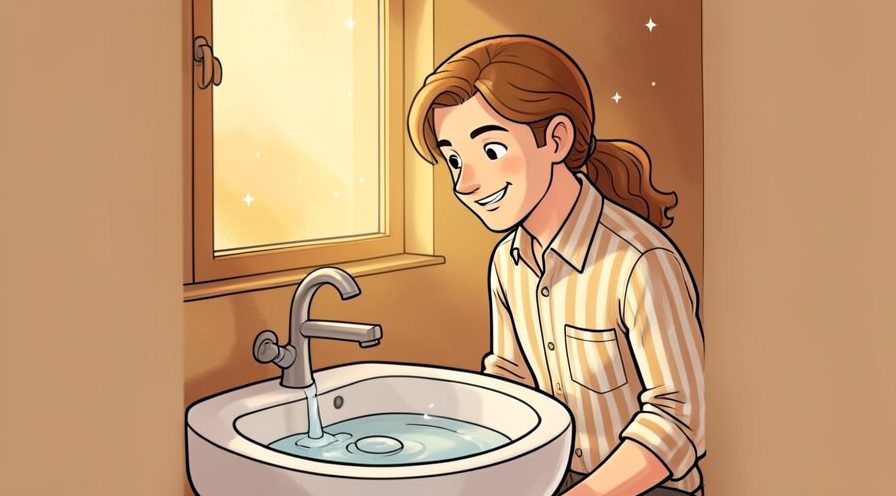
Step 1: Check how slowly the water drains
Note whether it is one fixture or several, since multiple slow drains point to a bigger blockage. Check the edges and the parts you cannot see easily; those are where most beginners miss something.
Step 2: Remove any standing water with a cup
A mostly empty basin lets the plunger seal properly. If you are unsure, do less than you think you need and check again; you can always repeat the step.

Step 3: Lift out and clean the stopper
Hair wrapped around the stopper stem is the most common single cause. Finish with a quick check of the whole area rather than only the part you just handled.

Step 4: Wipe grease and sludge from the stopper
A quick rinse now stops the same plug reforming. Photograph or jot down the finished stage once, which gives you a reference for the next attempt.

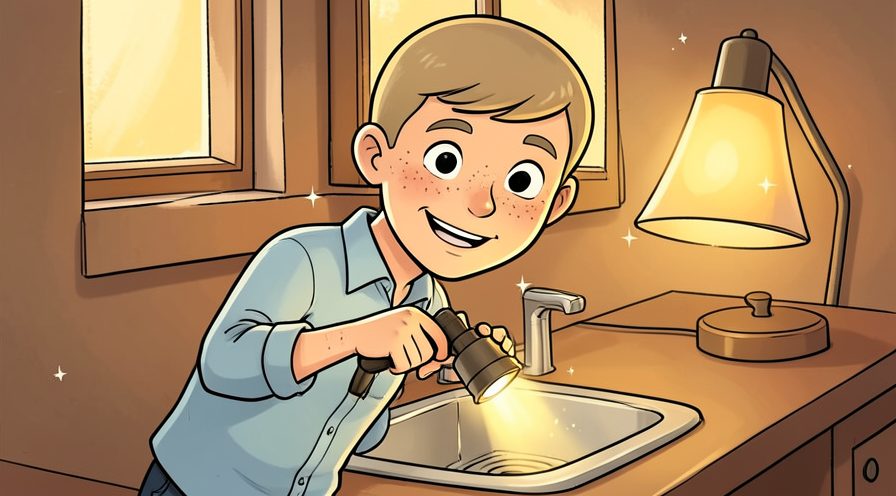
Step 5: Look into the opening with a torch
If you can see a hair mass near the top, use a snake before plunging. Give this stage a couple of minutes before moving on, because rushing here is the usual reason the drain ends up uneven.
Step 6: Fill the basin with a few centimetres of warm water
Water around the plunger cup makes a far better seal than air. Note what you changed, because the same adjustment usually applies the next time you work on the drain.

Step 7: Block the overflow with a wet cloth
Press firmly so plunger pressure goes down the drain instead of out the side. Stop and tidy up as soon as this part is done, so the next stage starts from a clear surface.
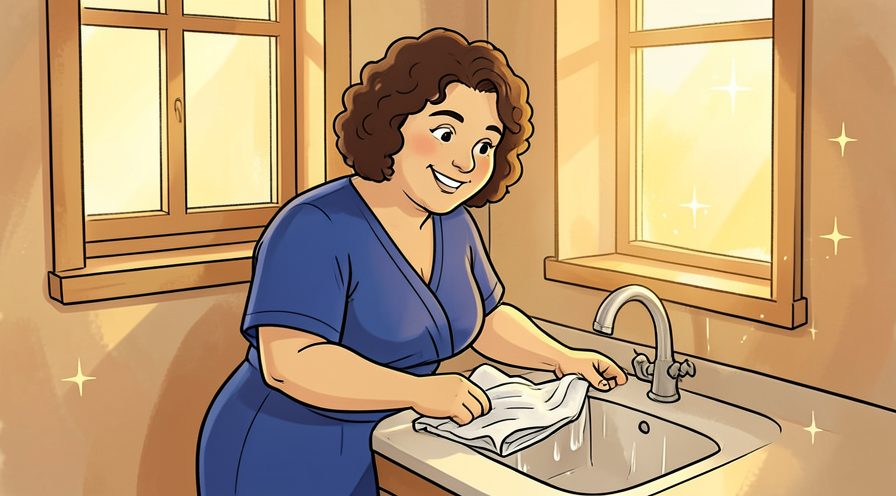
Step 8: Seal the plunger cup over the drain
Angle it to fill with water before pushing, since trapped air weakens the stroke. Let it settle for a moment before judging the result, since the first impression often changes.

Step 9: Plunge with short firm strokes fifteen times
Keep the seal on the pull as well as the push, which is what draws the clog loose. Use a light touch first; pressure and extra material are much easier to add than to remove.
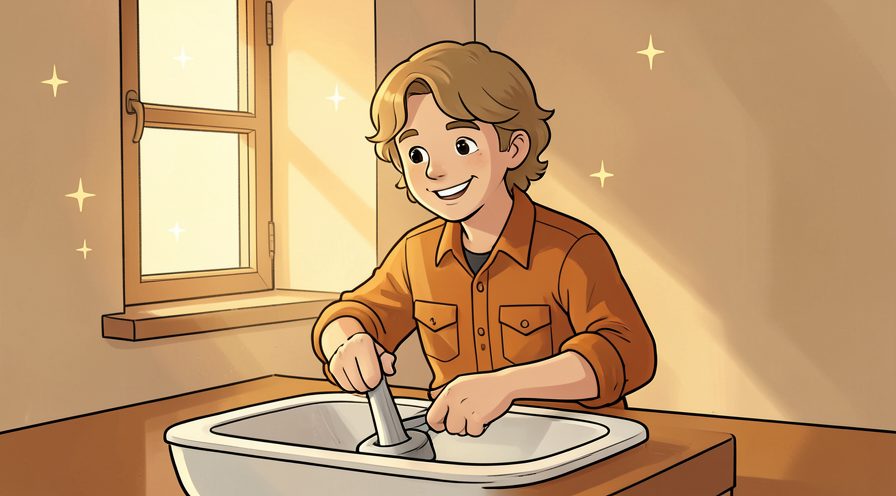
Step 10: Lift the plunger and check the flow
Water that suddenly drops means the plug has moved. Keep the same order every time, since a fixed sequence is easier to repeat than a list of separate decisions.
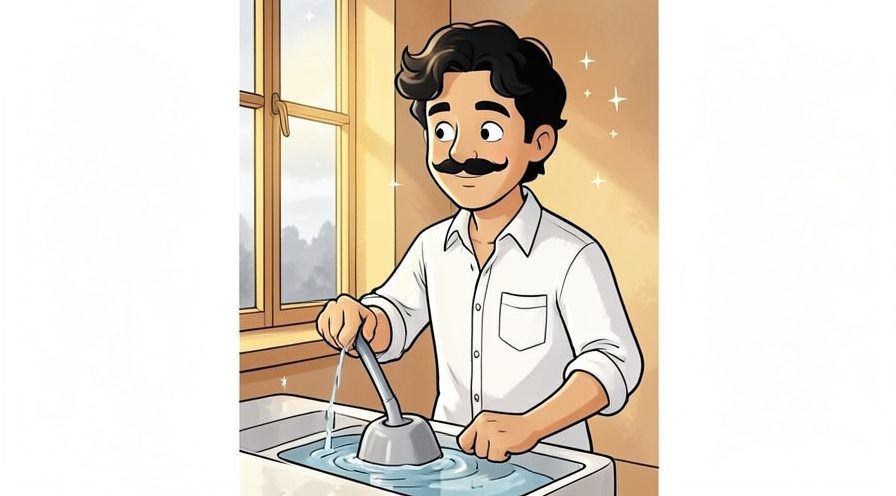
Step 11: Pour half a cup of baking soda into the drain
Push it down with a spoon so it reaches the trap. Repeat the same motion at a steady pace rather than varying it, which keeps the finish consistent.

Step 12: Follow with half a cup of white vinegar
The fizz helps break up soap film and light grease. If conditions are different today, adjust one thing at a time and leave everything else unchanged.

Step 13: Cover the opening and wait ten minutes
Keeping the reaction below the surface is better than letting it foam into the basin. Work in small passes and look at the result after each one, so a slip is easy to fix while it is still small.

Step 14: Flush with a kettle of hot tap water
Pour steadily to carry the loosened material through the trap. When in doubt, pause and compare against the picture above before continuing.

Step 15: Repeat the plunge once if flow improves but stays slow
A second short pass often clears the last of a softened plug. Choose the gentlest option that still works, then increase only if the result is not holding.
Keep going: How to Organize a Small Closet uses the same illustrated format and is a good next read. More checklists live in the Home & Garden category.

Method 2 of 3: Pull Out Hair and Clean the Trap :: If water still pools, the blockage is usually within reach under the basin.
Step 16: Put a bucket under the P-trap
The curved pipe holds water that will spill as soon as it is opened. Read the label or the guidance for the drain once before acting, since small differences matter here.

Step 17: Spread old towels around the cabinet floor
A little spilled water is normal at this stage. Keep everything you might need within reach before starting, so you are not searching mid-step.

Step 18: Loosen the slip nuts by hand or with pliers
Wrap the jaws with a cloth to avoid scratching the finish. Put the tools back in the same place afterward, so the next session starts without a search.
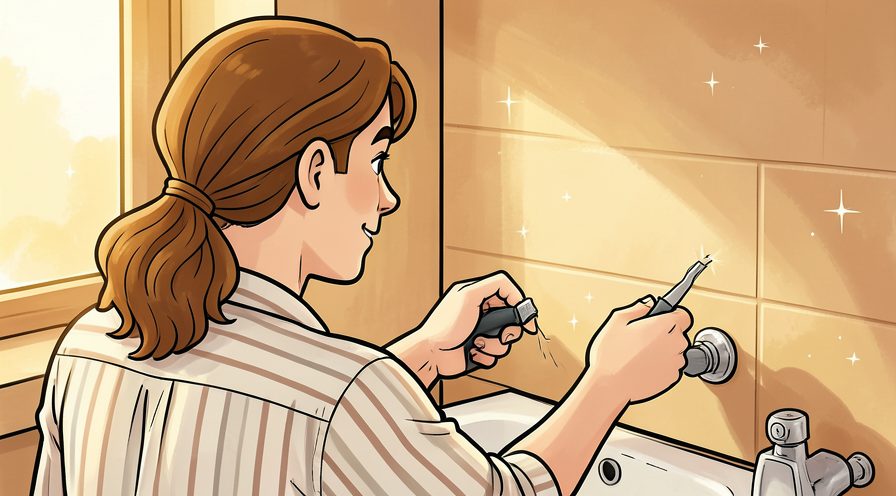
Step 19: Pull the trap free and empty it into the bucket
Expect grit and hair, since this is where debris settles. Use a timer or a quick count rather than guessing, especially on your first few attempts.

Step 20: Scrub the inside of the trap with a bottle brush
Soap film on the curve catches new hair quickly. A slightly imperfect result here is fine and can be corrected later; a rushed fix usually costs more time.

Step 21: Check the pipe leading into the wall
Shine a light in and hook out anything visible. Let it settle for a moment before judging the result, since the first impression often changes.

Step 22: Push a plastic drain snake gently down the drain
Rotate it rather than forcing, so it hooks hair instead of compacting it. If conditions are different today, adjust one thing at a time and leave everything else unchanged.

Step 23: Pull the snake back slowly and wipe the debris
Have a paper towel ready, since the caught hair comes up with it. Photograph or jot down the finished stage once, which gives you a reference for the next attempt.

Step 24: Reassemble the trap and hand tighten the nuts
Snug is enough; overtightening cracks plastic fittings. A slightly imperfect result here is fine and can be corrected later; a rushed fix usually costs more time.

Step 25: Run water for a full minute and check for drips
Feel the joints with a dry hand for any leak. Put the tools back in the same place afterward, so the next session starts without a search.
Keep going: How to Paint a Room uses the same illustrated format and is a good next read. More checklists live in the Home & Garden category.

Method 3 of 3: Prevent the Next Clog and Know When to Stop :: A few habits stop most repeat blockages, and some symptoms mean the job is beyond DIY.
Step 26: Fit a mesh strainer in the sink
It catches hair and food before they reach the trap. Use a timer or a quick count rather than guessing, especially on your first few attempts.

Step 27: Wipe greasy pans with a paper towel first
Grease going down a kitchen drain hardens on cool pipe walls. Note what you changed, because the same adjustment usually applies the next time you work on the drain.

Step 28: Never pour cooking oil into the sink
Collect it in a jar and put it in the bin once cool. Keep everything you might need within reach before starting, so you are not searching mid-step.

Step 29: Flush monthly with hot water and baking soda
A mild routine keeps soap film from building up. If you are unsure, do less than you think you need and check again; you can always repeat the step.
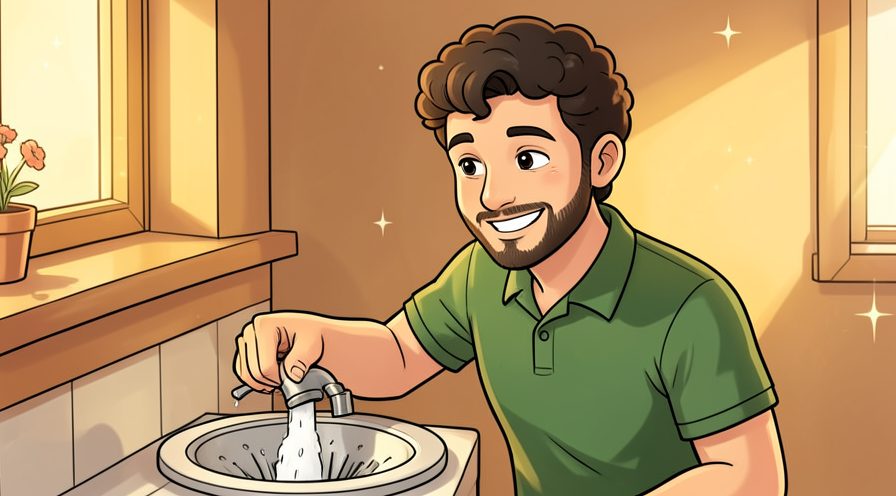
Step 30: Run cold water while using a disposal
Cold keeps grease solid so it is chopped and carried away. Keep the same order every time, since a fixed sequence is easier to repeat than a list of separate decisions.

Step 31: Clean the pop-up stopper weekly
A quick twist removes the hair before it becomes a plug. Use a light touch first; pressure and extra material are much easier to add than to remove.

Step 32: Avoid reaching for harsh chemical cleaners
They can corrode older pipes and make a plumber's job hazardous. Check the edges and the parts you cannot see easily; those are where most beginners miss something.

Step 33: Keep gloves and a torch with the plumbing kit
Being able to see and grip saves a lot of frustration. Choose the gentlest option that still works, then increase only if the result is not holding.

Step 34: Call a plumber if several fixtures back up
That pattern points to a main line blockage beyond the trap. Stop and tidy up as soon as this part is done, so the next stage starts from a clear surface.

Step 35: Stop if water backs up into another fixture
Cross-fixture backup is a clear sign to leave the rest to a professional. Repeat the same motion at a steady pace rather than varying it, which keeps the finish consistent.
Keep going: How to Declutter Your Home uses the same illustrated format and is a good next read. More checklists live in the Home & Garden category.

Tips
- Block the overflow hole with a wet cloth while plunging, or all the pressure escapes sideways.
- Use hot tap water rather than boiling water on PVC pipes, since extreme heat can soften joints. For another walkthrough, see How to Deep Clean Your Kitchen.
- Put a strainer in the sink after clearing it, since it catches the hair that caused the clog.
Warnings
- Never mix a commercial drain cleaner with vinegar or any other cleaner, since the reaction can produce toxic gas and splashing. Official guidance: U.S. Environmental Protection Agency.
- If several fixtures back up at once or water rises in the shower when the toilet flushes, stop and call a plumber; that is a main line problem.
Frequently asked questions
Does baking soda and vinegar really work? It loosens light soap and grease buildup, though a solid hair plug needs a snake or trap cleaning.
How often should I do a maintenance flush? A monthly hot water and baking soda flush is enough for most sinks.
Can I use a plunger on a double sink? Yes, but plug the second drain firmly with a stopper or wet cloth first.
References
- U.S. Environmental Protection Agency — indoor air quality. https://www.epa.gov/indoor-air-quality-iaq
- U.S. Environmental Protection Agency — reducing household waste. https://www.epa.gov/recycle
- Habitat for Humanity — home and housing resources. https://www.habitat.org/
- Consumer Reports — home and garden advice. https://www.consumerreports.org/
- U.S. Centers for Disease Control and Prevention — cleaning and hygiene. https://www.cdc.gov/hygiene/
Every guide is reviewed against its sources. See our editorial policy.



Reader comments
0 so farFinished this guide? Tell other readers what worked, what didn't, and what you would change.