A stain spreads when it is scrubbed, because rubbing pushes the liquid deeper into the pile and sideways into clean fibres. Blotting with a plain white cloth does the opposite: it pulls the spill back up. The second mistake is leaving soapy residue behind, which attracts dirt and leaves a dull patch weeks later.
This guide covers the immediate response, the cleaning pass, and the stain-specific choices that matter.
How to use this guide
Work through the illustrated steps in order. Every step has its own picture, so you can check what a finished stage should look like before you move on. If you only have a minute, skim the Quick steps box above and come back for the details.
Related guides
- How to Deep Clean Your Kitchen
- How to Unclog a Drain Without Chemicals
- How to Organize a Small Closet
- How to Declutter Your Home
- Browse all Home & Garden guides
- All HowCompass guides
Trusted external resources
- U.S. Environmental Protection Agency — indoor air quality
- U.S. Environmental Protection Agency — reducing household waste
- Habitat for Humanity — home and housing resources
A note on sources
We check each guide against the official resources listed in References at the end of this article. External links open in a new tab; the related guides above stay on this site.
Quick steps
- Blot or lift the spill immediately, working from the edge toward the centre
- Test any cleaner on a hidden corner first
- Rinse with clean water and blot dry, then weight the spot with a towel
Things you'll need
- Plain white cloths or paper towels
- A spoon or dull knife
- A spray bottle of cool water
- A little mild dish soap
- White vinegar for some stains
- A small bowl and a heavy book
Step-by-step
Method 1 of 3: Respond in the First Minute :: Speed matters more than any product.
Step 1: Act before the spill sets
Fresh liquid sits on top of the fibres and lifts far more easily. Choose the gentlest option that still works, then increase only if the result is not holding.

Step 2: Identify what was spilled
Grease, tannin, protein, and dye stains need different treatment. If conditions are different today, adjust one thing at a time and leave everything else unchanged.
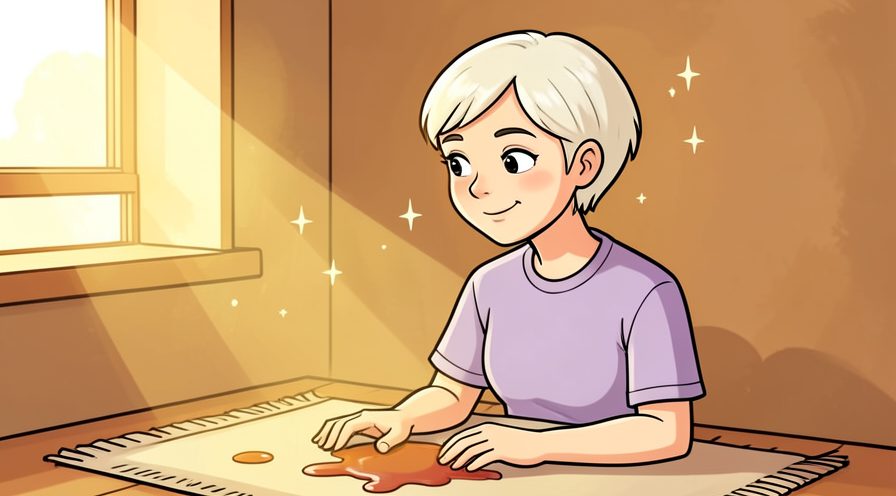
Step 3: Lift solids with a spoon
Scoop gently so you do not press food into the pile. Read the label or the guidance for the stain once before acting, since small differences matter here.

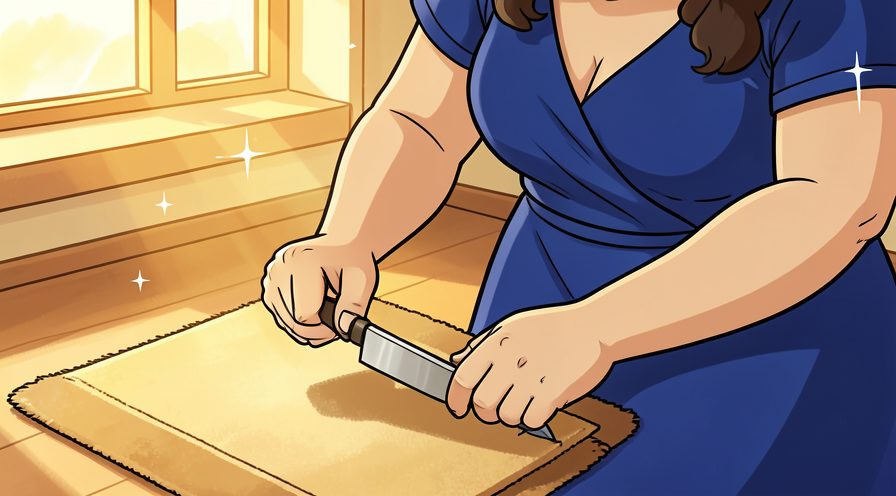
Step 4: Scrape off any thick residue
Work from the edge of the patch toward the middle. Work in small passes and look at the result after each one, so a slip is easy to fix while it is still small.
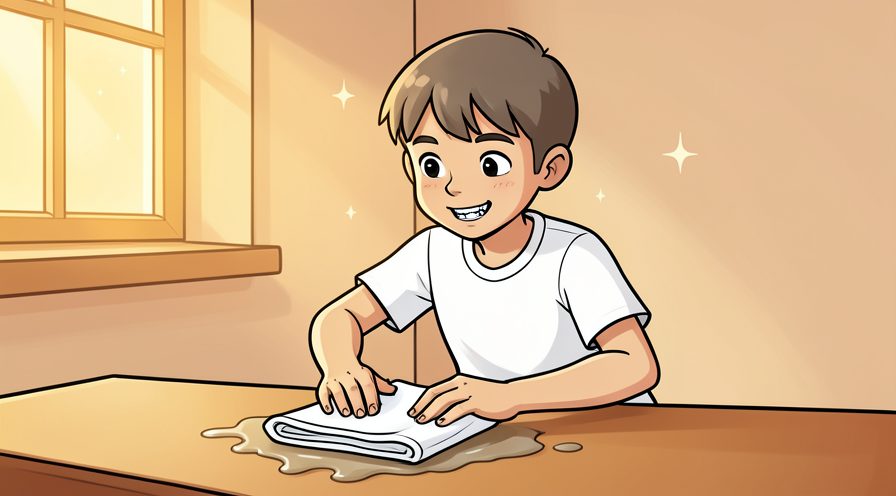
Step 5: Blot liquids with a dry white cloth
Press straight down and lift, without any scrubbing motion. Let it settle for a moment before judging the result, since the first impression often changes.
Step 6: Work from the outside toward the centre
This keeps the wet area from expanding. When in doubt, pause and compare against the picture above before continuing.
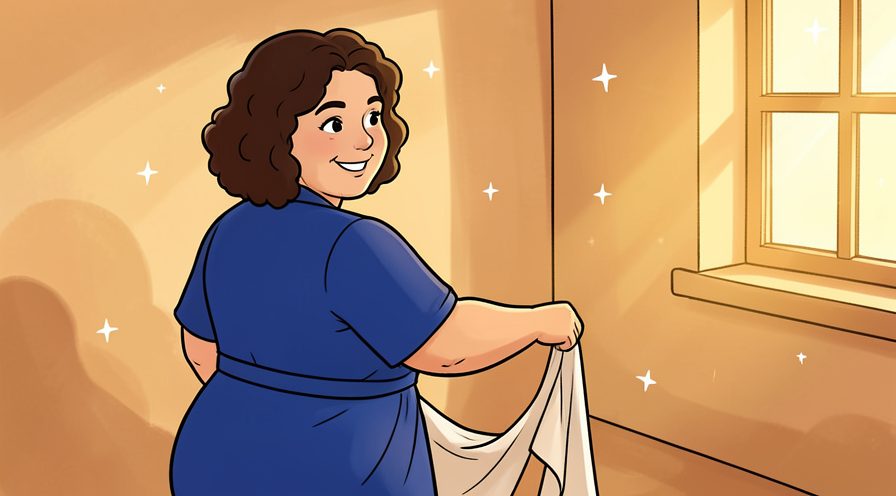
Step 7: Rotate to a clean part of the cloth
A saturated section simply puts the spill back. Check the edges and the parts you cannot see easily; those are where most beginners miss something.

Step 8: Test your cleaner on a hidden corner
Check for colour change behind a sofa or under a rug edge. A slightly imperfect result here is fine and can be corrected later; a rushed fix usually costs more time.
Keep going: How to Unclog a Drain Without Chemicals uses the same illustrated format and is a good next read. More checklists live in the Home & Garden category.

Method 2 of 3: Clean, Rinse, and Dry Properly :: The rinse step is the one most people skip.
Step 9: Mix a very mild solution
A few drops of dish soap in a bowl of cool water is usually enough. Use a timer or a quick count rather than guessing, especially on your first few attempts.

Step 10: Apply it to the cloth, not the carpet
Dampen the cloth and blot rather than pouring liquid on. Put the tools back in the same place afterward, so the next session starts without a search.

Step 11: Blot in short patient presses
Give the solution a minute to work, then lift again. Keep the same order every time, since a fixed sequence is easier to repeat than a list of separate decisions.
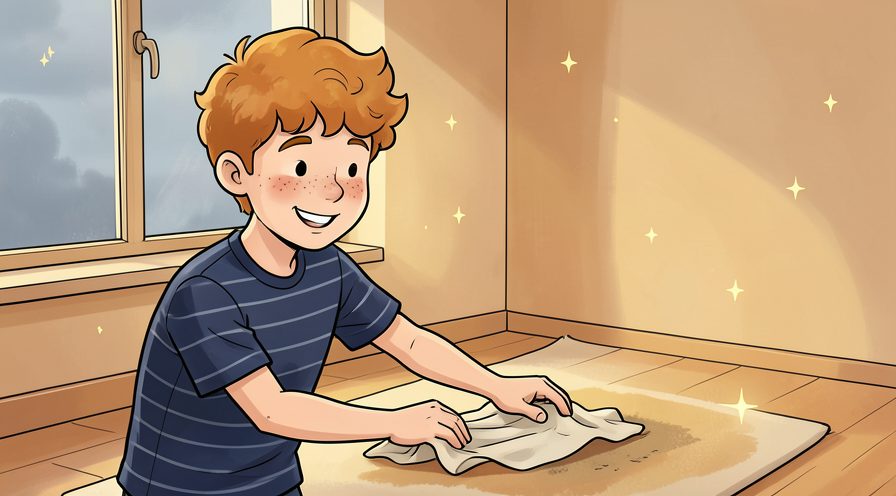
Step 12: Repeat with a fresh cloth as the colour transfers
Progress shows on the cloth rather than on the carpet. Keep everything you might need within reach before starting, so you are not searching mid-step.

Step 13: Rinse with a cloth dampened in plain water
Removing soap residue prevents a dull dirt attracting patch. Use a light touch first; pressure and extra material are much easier to add than to remove.

Step 14: Blot dry with a stack of dry towels
Press firmly to pull moisture out of the pile and backing. Note what you changed, because the same adjustment usually applies the next time you work on the stain.
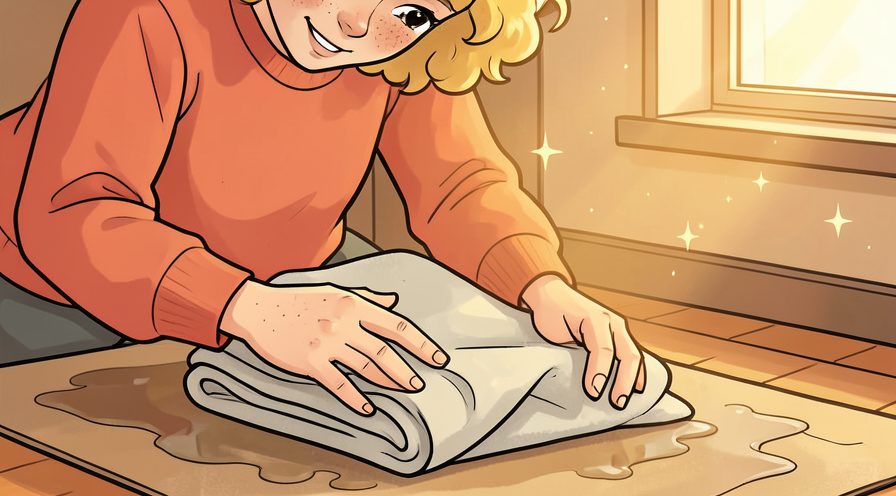
Step 15: Weight the spot with a towel and a book
Leaving it under pressure for an hour pulls up remaining moisture. Repeat the same motion at a steady pace rather than varying it, which keeps the finish consistent.

Step 16: Let it air dry completely
Walking on a damp patch flattens the pile and re-soils it. Give this stage a couple of minutes before moving on, because rushing here is the usual reason the stain ends up uneven.

Step 17: Vacuum the spot once dry
Lifting the pile restores the texture and blends the area. Finish with a quick check of the whole area rather than only the part you just handled.
Keep going: How to Organize a Small Closet uses the same illustrated format and is a good next read. More checklists live in the Home & Garden category.
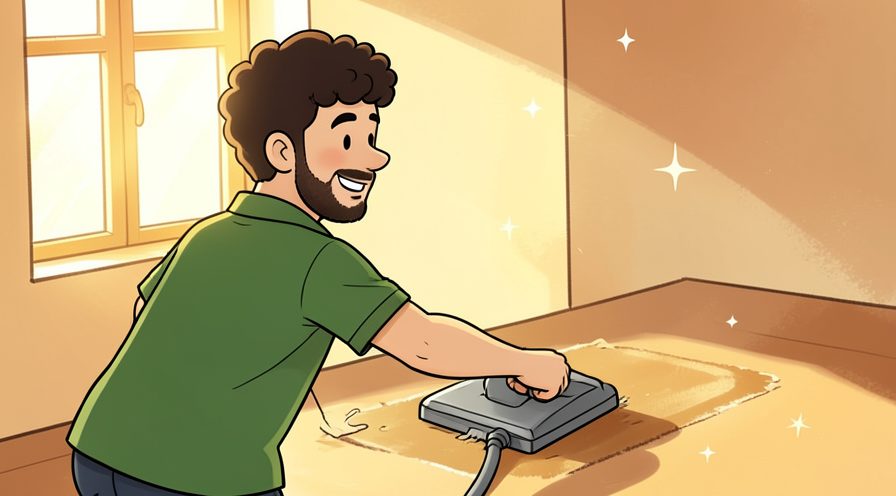
Method 3 of 3: Match the Stain and Know When to Stop :: A few specific choices prevent a small mark becoming permanent.
Step 18: Use cool water for coffee, tea, and wine
Heat can set these colours into the fibre. Photograph or jot down the finished stage once, which gives you a reference for the next attempt.

Step 19: Treat grease with a little dish soap first
Surfactants lift oil better than plain water. If you are unsure, do less than you think you need and check again; you can always repeat the step.

Step 20: Let mud dry, then vacuum before blotting
Wet mud smears into the pile when rubbed. Stop and tidy up as soon as this part is done, so the next stage starts from a clear surface.
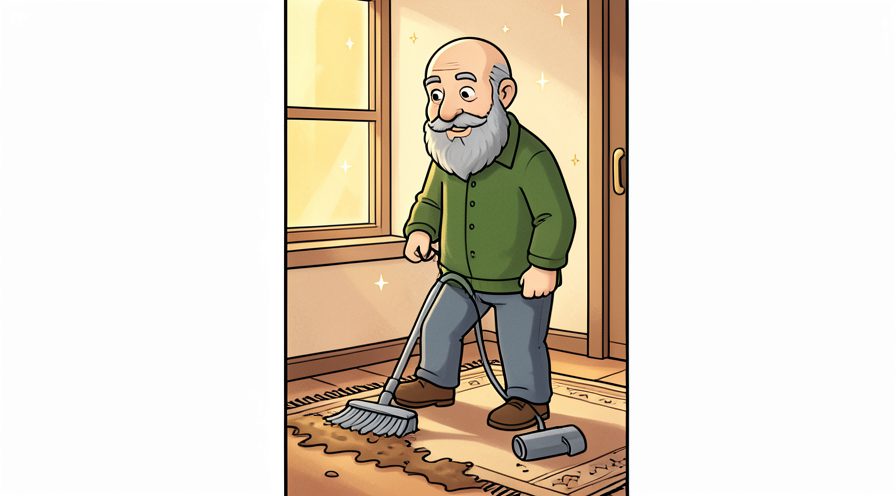
Step 21: Use cool water rather than heat on dairy or blood
Protein stains can set with warmth. Work in small passes and look at the result after each one, so a slip is easy to fix while it is still small.

Step 22: Avoid bleach on coloured carpet
It strips dye as readily as it removes a stain. Let it settle for a moment before judging the result, since the first impression often changes.

Step 23: Blot pet accidents and then use an enzymatic cleaner
Enzymes break down the odour source rather than masking it. Finish with a quick check of the whole area rather than only the part you just handled.
Step 24: Note the carpet fibre before trying anything new
Wool and some synthetics react differently to the same product. When in doubt, pause and compare against the picture above before continuing.

Step 25: Call a professional for a large or soaked area
Once liquid reaches the pad, surface cleaning cannot fix it. If you are unsure, do less than you think you need and check again; you can always repeat the step.

Step 26: Place a mat where spills keep happening
Prevention is easier than a third treatment. Note what you changed, because the same adjustment usually applies the next time you work on the stain.
Keep going: How to Declutter Your Home uses the same illustrated format and is a good next read. More checklists live in the Home & Garden category.

Tips
- Always use a white cloth, since coloured fabric can transfer dye onto damp carpet.
- Use as little liquid as possible; a soaked backing takes a long time to dry and can smell. For another walkthrough, see How to Deep Clean Your Kitchen.
- Let mud dry fully first, then vacuum before treating what remains.
Warnings
- Never mix cleaning products, especially bleach with ammonia or vinegar. Official guidance: U.S. Environmental Protection Agency.
- Check your carpet's care guidance before using any product, and test wool or delicate fibres with extra care.
Frequently asked questions
Can I use a steam cleaner on any stain? No, heat can set protein-based stains such as blood or dairy.
What if the stain is old? Repeat a gentle pass rather than reaching for a harsh chemical.
When should I call a professional? For a large area, a delicate rug, or a stain that has soaked into the pad.
References
- U.S. Environmental Protection Agency — indoor air quality. https://www.epa.gov/indoor-air-quality-iaq
- U.S. Environmental Protection Agency — reducing household waste. https://www.epa.gov/recycle
- Habitat for Humanity — home and housing resources. https://www.habitat.org/
- Consumer Reports — home and garden advice. https://www.consumerreports.org/
- U.S. Centers for Disease Control and Prevention — cleaning and hygiene. https://www.cdc.gov/hygiene/
Every guide is reviewed against its sources. See our editorial policy.



Reader comments
0 so farFinished this guide? Tell other readers what worked, what didn't, and what you would change.