Small closets fail because they are packed with things that are not worn and because the space above and below the hanging rail is wasted. More hangers or a new storage box rarely helps until the volume drops. One full empty-out session plus a few fixed zones changes how the closet works every morning.
This guide covers the sort, the layout, and the short weekly reset that keeps it from sliding back.
How to use this guide
Work through the illustrated steps in order. Every step has its own picture, so you can check what a finished stage should look like before you move on. If you only have a minute, skim the Quick steps box above and come back for the details.
Related guides
- How to Deep Clean Your Kitchen
- How to Unclog a Drain Without Chemicals
- How to Paint a Room
- How to Declutter Your Home
- Browse all Home & Garden guides
- All HowCompass guides
Trusted external resources
- U.S. Environmental Protection Agency — indoor air quality
- U.S. Environmental Protection Agency — reducing household waste
- Habitat for Humanity — home and housing resources
A note on sources
We check each guide against the official resources listed in References at the end of this article. External links open in a new tab; the related guides above stay on this site.
Quick steps
- Take everything out and put back only what fits and gets worn
- Use matching slim hangers and one shelf divider per stack
- Keep off-season and occasional items on the highest shelf
Things you'll need
- Trash bags and a donation box
- Matching slim hangers
- Shelf dividers or small bins
- A measuring tape
- Labels or masking tape
- A laundry basket
Step-by-step
Method 1 of 2: Empty, Sort, and Decide What Comes Back
Step 1: Take absolutely everything out
A completely empty closet is the only way to see the space you actually have. Photograph or jot down the finished stage once, which gives you a reference for the next attempt.

Step 2: Wipe the shelves and vacuum the floor
A clean start also reveals any damp or pest problem. Put the tools back in the same place afterward, so the next session starts without a search.

Step 3: Measure the width, depth, and vertical gaps
Real numbers stop you buying bins that do not fit. Stop and tidy up as soon as this part is done, so the next stage starts from a clear surface.
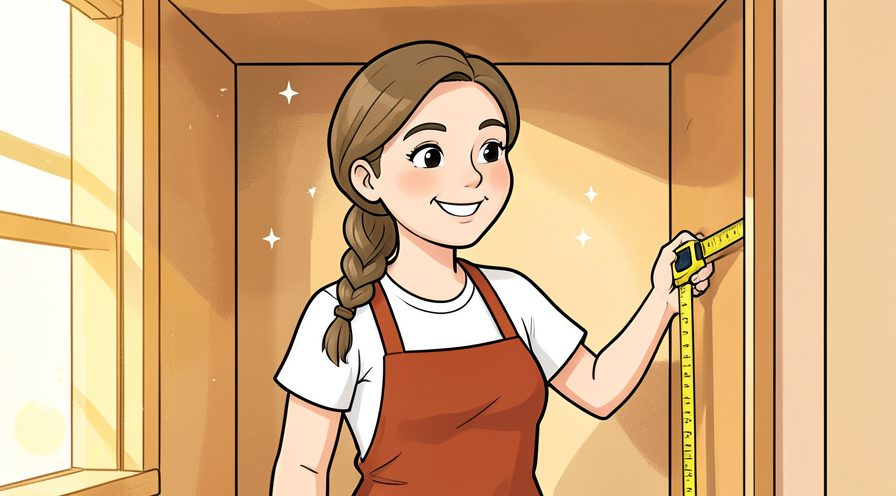
Step 4: Make four piles on the bed
Keep, donate, repair, and unsure is enough; avoid a dozen fussy categories. Finish with a quick check of the whole area rather than only the part you just handled.
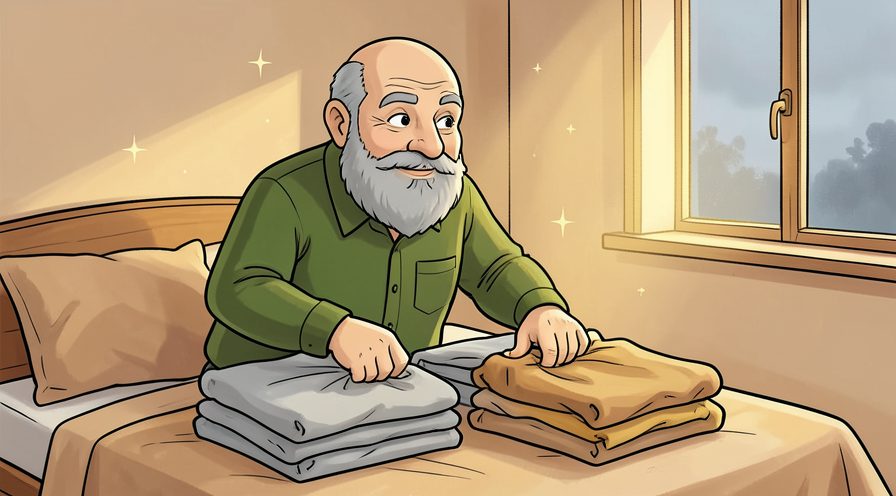
Step 5: Use one honest rule for keeping
If it does not fit or has not been worn in a year, it goes. A slightly imperfect result here is fine and can be corrected later; a rushed fix usually costs more time.

Step 6: Try on anything in the unsure pile
A ten second fit check settles most maybes. Use a timer or a quick count rather than guessing, especially on your first few attempts.

Step 7: Bag donations immediately
Leaving the bag in the room invites second guessing. Check the edges and the parts you cannot see easily; those are where most beginners miss something.

Step 8: Pull out off-season items
Winter coats in summer take the most valuable rail space. Note what you changed, because the same adjustment usually applies the next time you work on your closet.

Step 9: Separate special occasion pieces
A few rarely worn items can live on the highest shelf. Use a light touch first; pressure and extra material are much easier to add than to remove.

Step 10: Count the items you are putting back
That number tells you how many hangers and bins you actually need. Keep the same order every time, since a fixed sequence is easier to repeat than a list of separate decisions.

Step 11: Switch to matching slim hangers
Uniform hangers reclaim several centimetres of rail and make everything visible. Give this stage a couple of minutes before moving on, because rushing here is the usual reason your closet ends up uneven.

Step 12: Decide what hangs and what folds
Hang wrinkle prone pieces and fold knits, which stretch on a hanger. If conditions are different today, adjust one thing at a time and leave everything else unchanged.
Keep going: How to Unclog a Drain Without Chemicals uses the same illustrated format and is a good next read. More checklists live in the Home & Garden category.

Method 2 of 2: Give Every Category One Fixed Home :: A place for each type of item makes putting things away automatic.
Step 13: Put daily items at eye and hand level
The most worn pieces belong in the easiest reach zone. Read the label or the guidance for your closet once before acting, since small differences matter here.

Step 14: Group by category then by colour
A consistent order makes one item easy to find. Repeat the same motion at a steady pace rather than varying it, which keeps the finish consistent.

Step 15: Add a second rail if the vertical space allows
Short shirts and trousers rarely need full height. When in doubt, pause and compare against the picture above before continuing.

Step 16: File fold T-shirts in a drawer or bin
Standing folds let you see every shirt at once. Work in small passes and look at the result after each one, so a slip is easy to fix while it is still small.
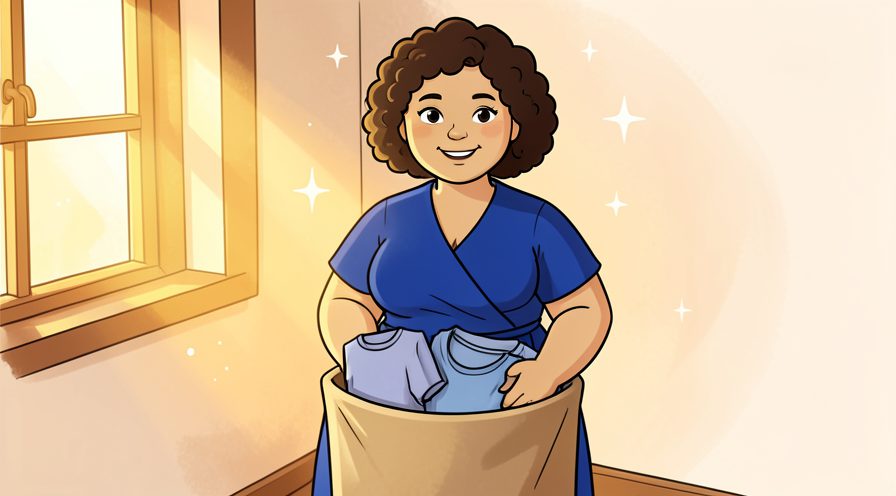
Step 17: Use shelf dividers between stacks
Dividers stop a neat pile from leaning into the next one. Keep everything you might need within reach before starting, so you are not searching mid-step.

Step 18: Place a fabric drawer unit under short hanging
It turns dead space into folded storage. If you are unsure, do less than you think you need and check again; you can always repeat the step.
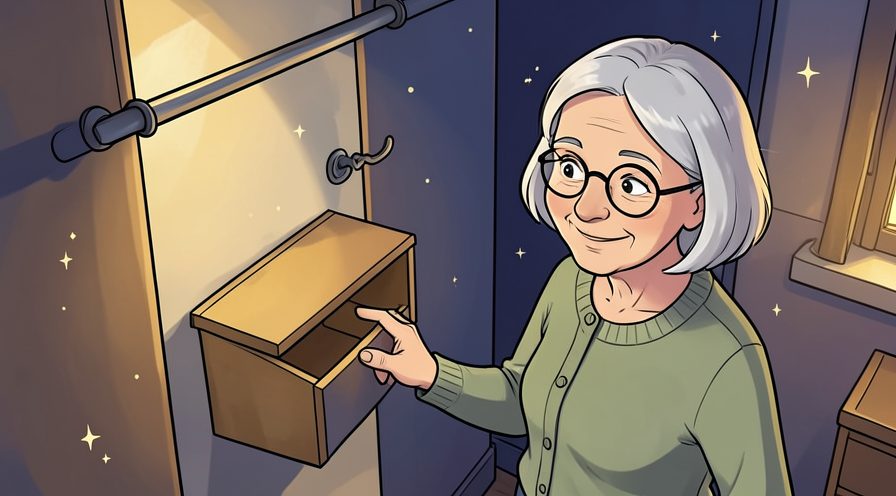
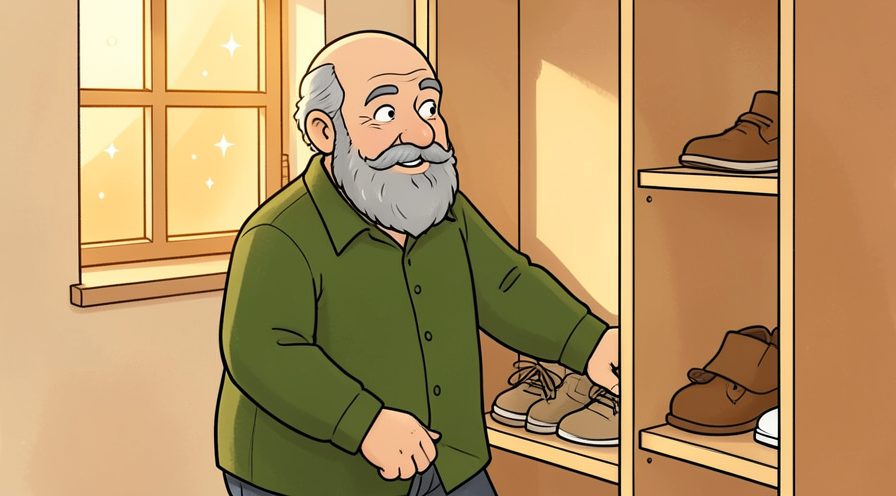
Step 19: Put shoes on a low rack or in clear boxes
Keeping pairs together and visible prevents duplicate buying. Choose the gentlest option that still works, then increase only if the result is not holding.
Step 20: Hang belts and scarves on the back of the door
Flat items need very little depth. Let it settle for a moment before judging the result, since the first impression often changes.

Step 21: Store bags inside larger bags
Nesting keeps shape and frees a whole shelf. Give this stage a couple of minutes before moving on, because rushing here is the usual reason your closet ends up uneven.

Step 22: Label bins that hold off-season items
A label saves unpacking three boxes to find one thing. Photograph or jot down the finished stage once, which gives you a reference for the next attempt.

Step 23: Keep a small basket for repairs
One visible spot stops mending items drifting back into clean clothes. Stop and tidy up as soon as this part is done, so the next stage starts from a clear surface.

Step 24: Put a hamper directly outside the closet
Worn clothes should never land on the floor of a small space. Choose the gentlest option that still works, then increase only if the result is not holding.

Step 25: Take a photo of the finished layout
A reference makes the weekly reset quick. Use a timer or a quick count rather than guessing, especially on your first few attempts.

Step 26: Reset for ten minutes each Sunday
Return strays and re-fold one stack rather than waiting for a full re-sort. Work in small passes and look at the result after each one, so a slip is easy to fix while it is still small.
Keep going: How to Paint a Room uses the same illustrated format and is a good next read. More checklists live in the Home & Garden category.

Tips
- Store the things you reach for daily between shoulder and knee height, and everything else above or below.
- Use the back of the door for flat items such as belts, scarves, or a shoe organiser. For another walkthrough, see How to Deep Clean Your Kitchen.
- If two items serve the same purpose, keeping the better one usually frees more space than any organising product.
Warnings
- Do not overload a tension rod or a wire shelf, since a collapse can damage the closet and anything below. Official guidance: U.S. Environmental Protection Agency.
- Avoid storing damp clothing, which leads to mildew in a small unventilated space.
Frequently asked questions
How often should I re-sort? A full pass once a season and a ten minute weekly reset is enough.
Are vacuum bags worth it? For bulky off-season coats, yes, though they are awkward for anything you need often.
What if I have no dresser? Add a fabric drawer unit under the hanging section rather than stacking loose piles.
References
- U.S. Environmental Protection Agency — indoor air quality. https://www.epa.gov/indoor-air-quality-iaq
- U.S. Environmental Protection Agency — reducing household waste. https://www.epa.gov/recycle
- Habitat for Humanity — home and housing resources. https://www.habitat.org/
- Consumer Reports — home and garden advice. https://www.consumerreports.org/
- U.S. Centers for Disease Control and Prevention — cleaning and hygiene. https://www.cdc.gov/hygiene/
Every guide is reviewed against its sources. See our editorial policy.



Reader comments
0 so farFinished this guide? Tell other readers what worked, what didn't, and what you would change.