Painting looks like the main event, but most of the result is decided before the roller touches the wall. Dust, unfilled holes, and rushed taping show through even expensive paint. Give the prep its own session and the actual painting becomes quick and calm.
This guide covers the room setup, the two-coat painting pass, and the clean-up that protects your tools and your finish.
How to use this guide
Work through the illustrated steps in order. Every step has its own picture, so you can check what a finished stage should look like before you move on. If you only have a minute, skim the Quick steps box above and come back for the details.
Related guides
- How to Deep Clean Your Kitchen
- How to Unclog a Drain Without Chemicals
- How to Organize a Small Closet
- How to Declutter Your Home
- Browse all Home & Garden guides
- All HowCompass guides
Trusted external resources
- U.S. Environmental Protection Agency — indoor air quality
- U.S. Environmental Protection Agency — reducing household waste
- Habitat for Humanity — home and housing resources
A note on sources
We check each guide against the official resources listed in References at the end of this article. External links open in a new tab; the related guides above stay on this site.
Quick steps
- Wash the walls, fill holes, sand smooth, and tape the trim
- Cut in the edges first, then roll in overlapping W shapes
- Apply two thin coats and pull the tape before the paint fully dries
Things you'll need
- Interior paint in the right finish
- Primer for stains or dark walls
- Painter's tape and drop cloths
- A two inch angled brush
- A roller, tray, and extension pole
- Filler, sandpaper, and a damp cloth
Step-by-step
Method 1 of 3: Prepare the Room Properly :: Do this in one focused session, then let everything dry before painting.
Step 1: Choose the finish for the room
Matte hides wall flaws, while satin wipes clean in busy areas. Photograph or jot down the finished stage once, which gives you a reference for the next attempt.
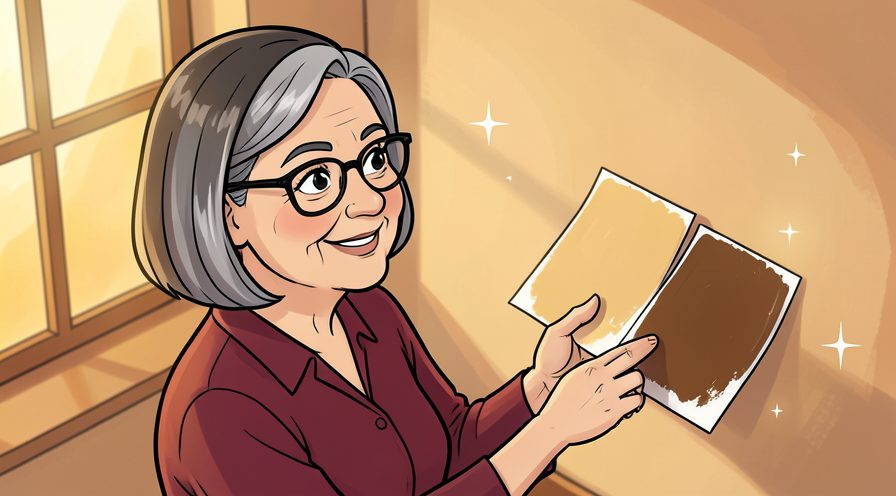
Step 2: Calculate the paint quantity
Measure wall width and height, subtract openings, and allow for two coats. If conditions are different today, adjust one thing at a time and leave everything else unchanged.

Step 3: Move furniture to the centre or out
A clear perimeter makes cutting in much faster. When in doubt, pause and compare against the picture above before continuing.

Step 4: Cover the floor with cloths rather than thin plastic
Fabric stays put and absorbs drips instead of spreading them. Give this stage a couple of minutes before moving on, because rushing here is the usual reason your paint job ends up uneven.

Step 5: Wash the walls with a damp cloth
Dust and grease stop paint adhering evenly. Keep everything you might need within reach before starting, so you are not searching mid-step.
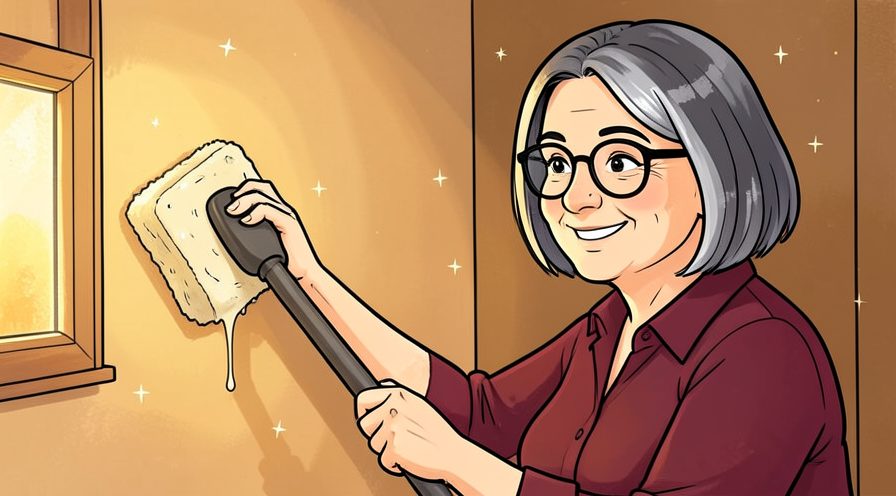
Step 6: Fill holes and hairline cracks
Let filler dry fully before sanding, or it will shrink back. Use a light touch first; pressure and extra material are much easier to add than to remove.

Step 7: Sand the filled spots smooth
Run a hand over the wall to find any ridge you missed. Put the tools back in the same place afterward, so the next session starts without a search.

Step 8: Tape the trim, ceiling line, and frames
Press the tape edge down firmly so paint cannot creep underneath. Let it settle for a moment before judging the result, since the first impression often changes.

Step 9: Prime stains and patched areas
Primer stops a water mark reappearing through the top coat. Read the label or the guidance for your paint job once before acting, since small differences matter here.
Keep going: How to Unclog a Drain Without Chemicals uses the same illustrated format and is a good next read. More checklists live in the Home & Garden category.

Method 2 of 3: Cut In and Roll Two Thin Coats :: Work top to bottom and keep the paint moving.
Step 10: Stir the paint thoroughly
Pigment settles in the tin, so a quick stir gives even colour. A slightly imperfect result here is fine and can be corrected later; a rushed fix usually costs more time.

Step 11: Pour a small amount into the tray
A half full well is easier to load without drips. Repeat the same motion at a steady pace rather than varying it, which keeps the finish consistent.
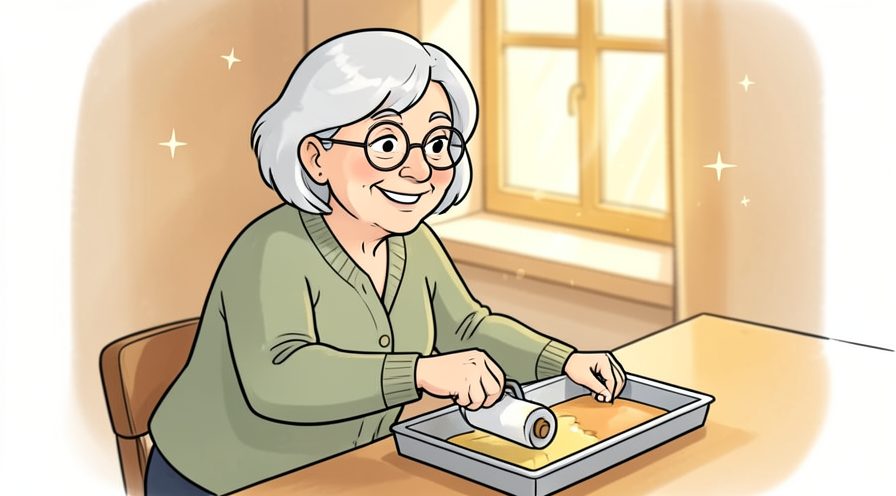
Step 12: Load the angled brush on one side only
Too much paint on both sides leads to runs down the handle. Finish with a quick check of the whole area rather than only the part you just handled.

Step 13: Cut in along the ceiling first
Paint a two inch band with long steady strokes. Check the edges and the parts you cannot see easily; those are where most beginners miss something.
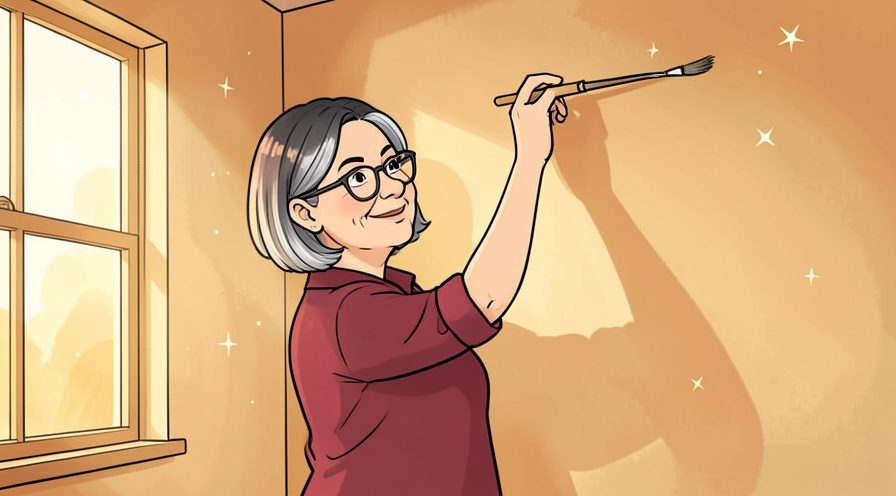
Step 14: Cut in around corners, trim, and frames
Work in short sections so the edge stays wet for the roller. If you are unsure, do less than you think you need and check again; you can always repeat the step.

Step 15: Load the roller evenly
Roll it back and forth in the tray until it is coated but not dripping. Choose the gentlest option that still works, then increase only if the result is not holding.
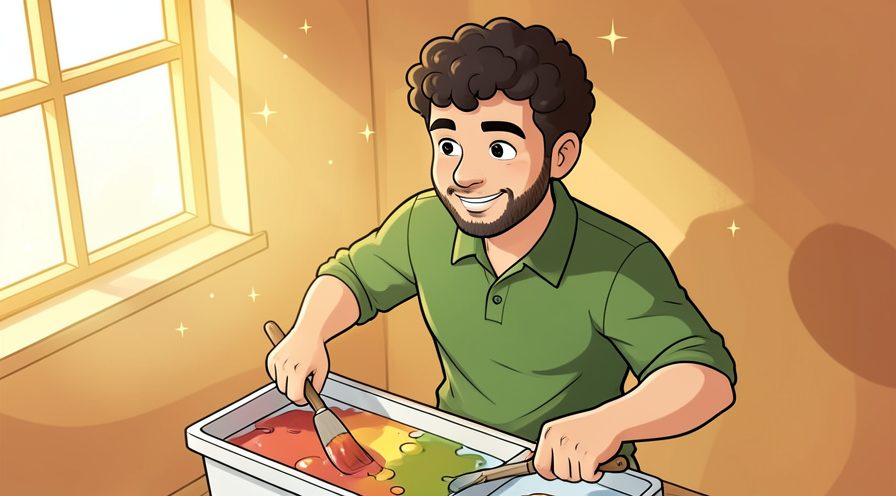
Step 16: Start rolling in a W pattern
Fill the W with overlapping strokes rather than straight up and down lines. Work in small passes and look at the result after each one, so a slip is easy to fix while it is still small.
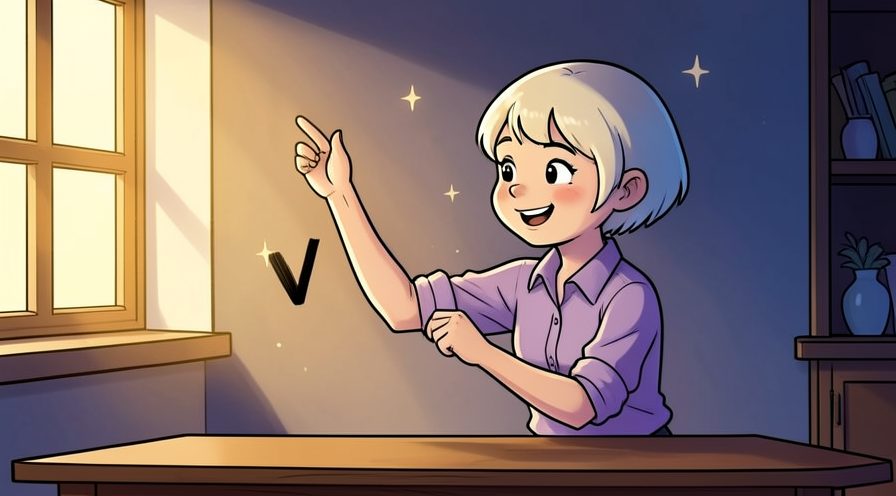
Step 17: Keep a wet edge between sections
Move to the next strip before the previous one dries. Note what you changed, because the same adjustment usually applies the next time you work on your paint job.
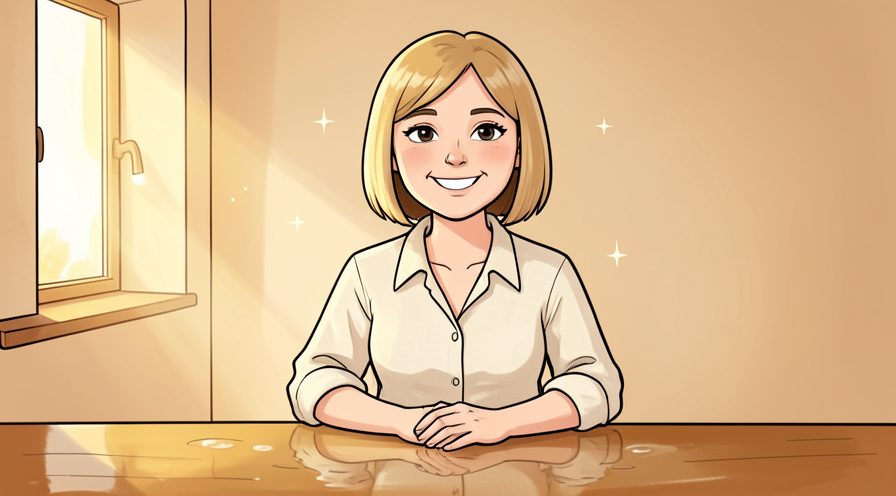
Step 18: Let the first coat dry as the tin says
Rushing a second coat pulls the first one off. Stop and tidy up as soon as this part is done, so the next stage starts from a clear surface.

Step 19: Apply the second coat in the same order
Two thin coats cover more evenly than one heavy one. Keep the same order every time, since a fixed sequence is easier to repeat than a list of separate decisions.

Step 20: Pull the tape while the paint is slightly wet
Lifting it at an angle gives the crispest line. Use a timer or a quick count rather than guessing, especially on your first few attempts.
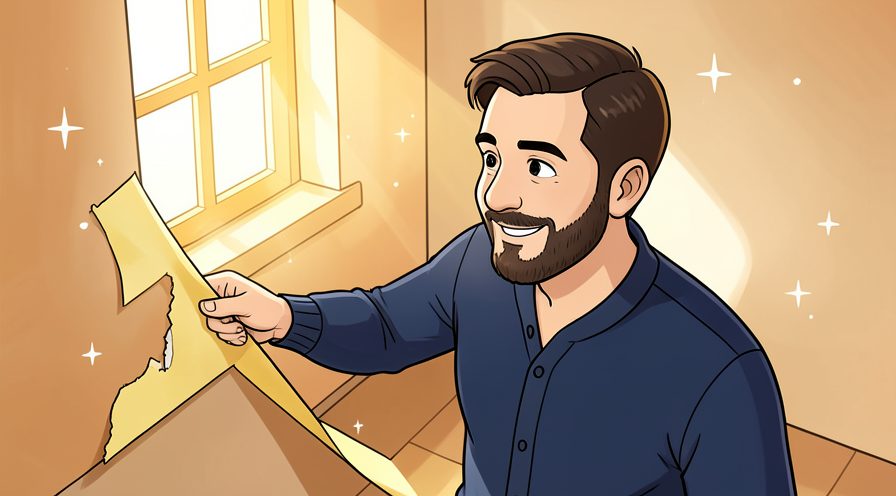
Step 21: Check coverage in daylight
A lamp hides thin patches that a window will reveal. Repeat the same motion at a steady pace rather than varying it, which keeps the finish consistent.
Keep going: How to Organize a Small Closet uses the same illustrated format and is a good next read. More checklists live in the Home & Garden category.

Method 3 of 3: Clean Up and Protect the Finish :: A few minutes here saves your brushes and prevents avoidable marks.
Step 22: Touch up thin spots with the brush
Use a small amount and feather the edges. Keep everything you might need within reach before starting, so you are not searching mid-step.

Step 23: Crouch to check trim-level drips
Runs collect along baseboards where you will not see them standing. Check the edges and the parts you cannot see easily; those are where most beginners miss something.
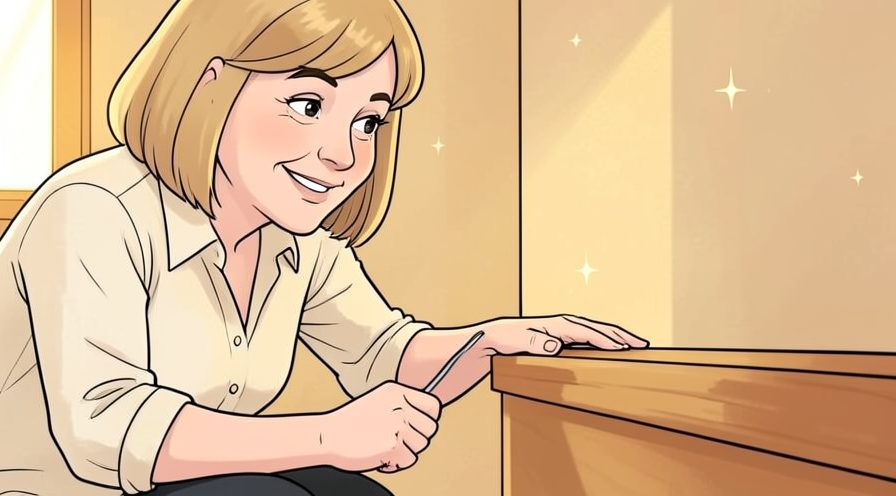
Step 24: Wash the brush and roller in warm soapy water
Work the paint out from the base of the bristles. Photograph or jot down the finished stage once, which gives you a reference for the next attempt.
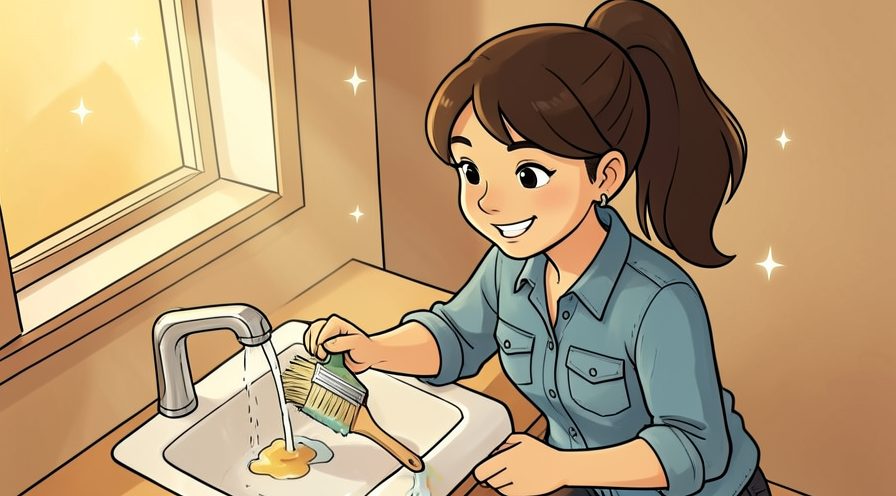
Step 25: Spin or shake out excess water
Reshape the bristles and hang the brush to dry. When in doubt, pause and compare against the picture above before continuing.

Step 26: Wipe any drips before they set
A damp cloth now is easier than scraping later. Work in small passes and look at the result after each one, so a slip is easy to fix while it is still small.
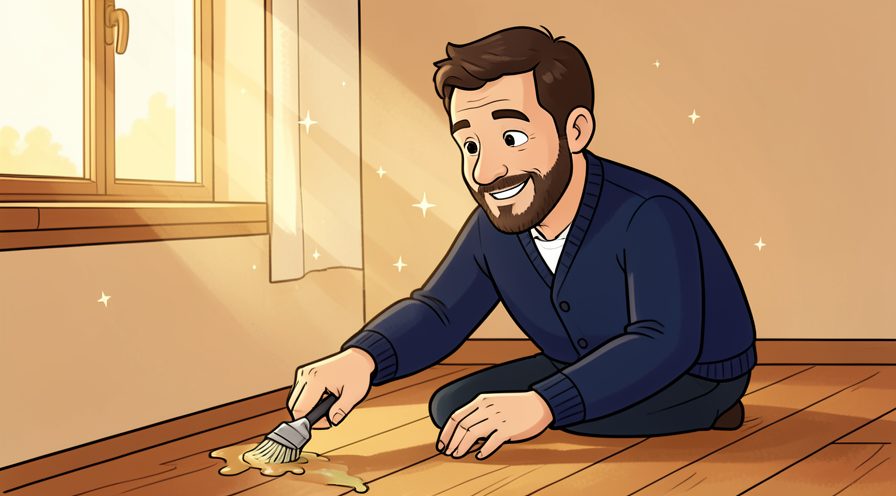
Step 27: Label the tin with the room and date
Future touch-ups are much easier with the exact colour to hand. Keep the same order every time, since a fixed sequence is easier to repeat than a list of separate decisions.
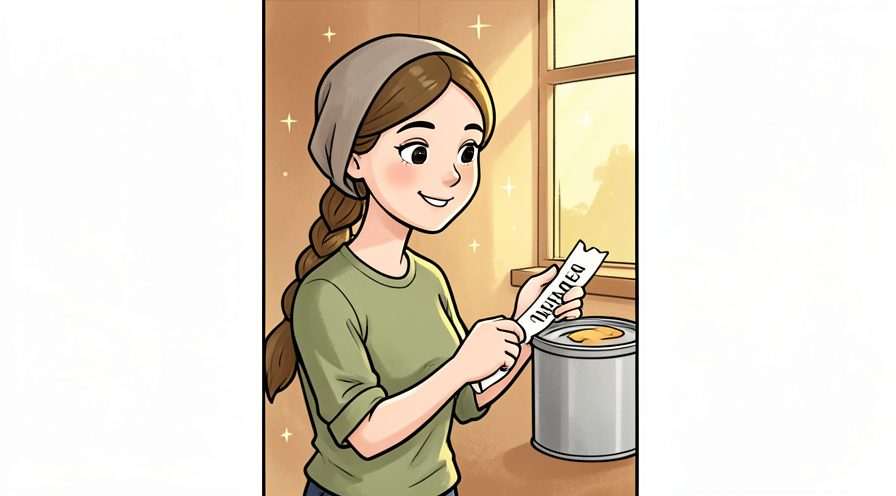
Step 28: Seal the tin firmly and store it cool
A skin on top forms when air gets in. If conditions are different today, adjust one thing at a time and leave everything else unchanged.
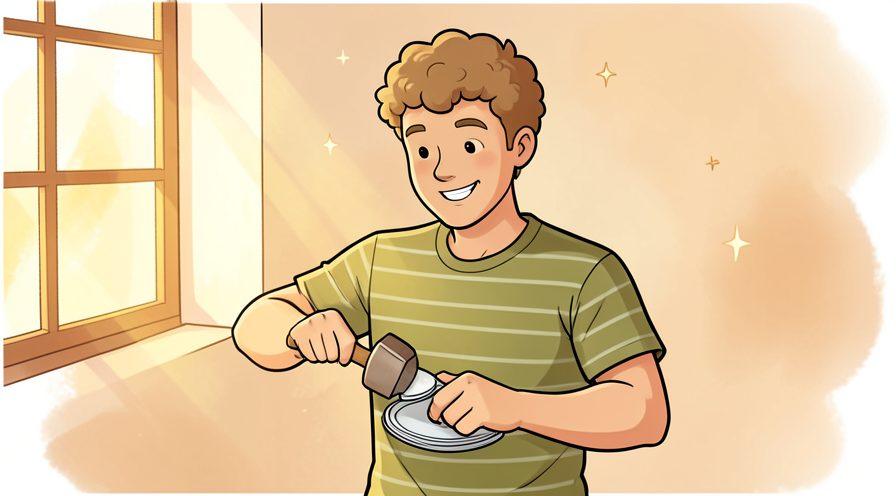
Step 29: Reattach covers and hardware once dry
Wait until the paint around the edges is no longer tacky. Choose the gentlest option that still works, then increase only if the result is not holding.
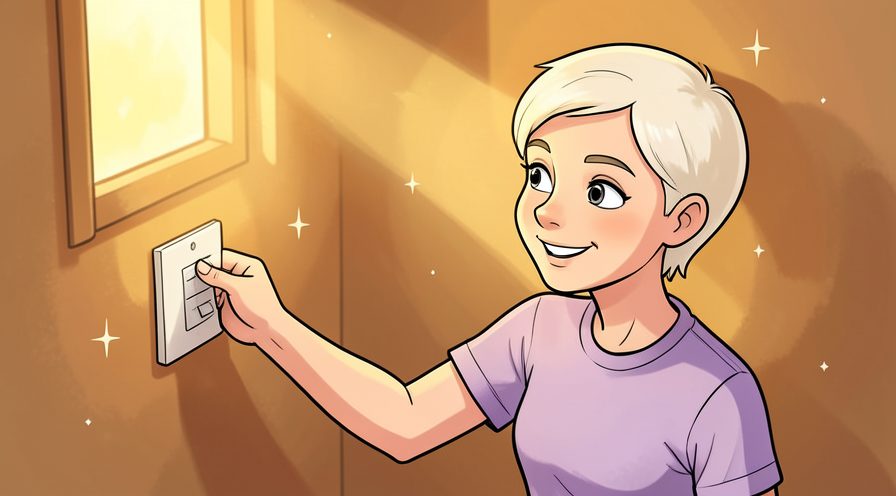
Step 30: Move furniture back carefully
Lift rather than drag legs across a fresh surface. Stop and tidy up as soon as this part is done, so the next stage starts from a clear surface.
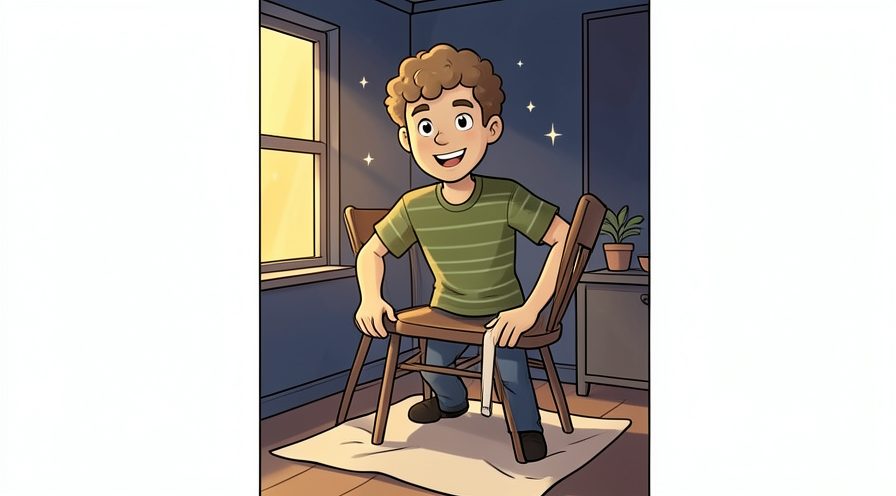
Step 31: Wait before washing the walls
Most interior paint needs a couple of weeks to fully cure. Let it settle for a moment before judging the result, since the first impression often changes.

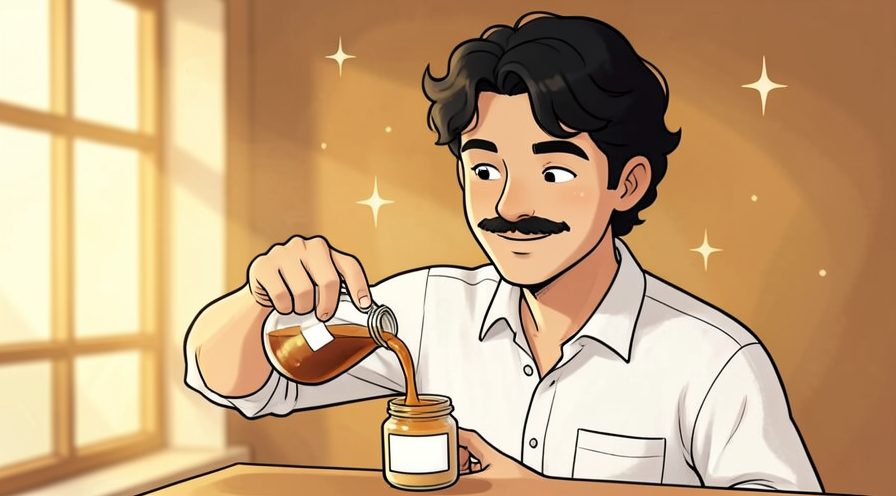
Step 32: Keep the leftover paint for touch-ups
A small sealed jar is enough and takes less space. Note what you changed, because the same adjustment usually applies the next time you work on your paint job.
Keep going: How to Declutter Your Home uses the same illustrated format and is a good next read. More checklists live in the Home & Garden category.
Tips
- Buy a little more paint than the calculator suggests, since touch-ups and a second coat add up.
- Keep a wet edge by rolling back into the previous section before it dries. For another walkthrough, see How to Deep Clean Your Kitchen.
- Remove tape at a forty five degree angle and slowly, so it does not tear the film.
Warnings
- Ventilate the room and keep paint away from open flames and pilot lights. Official guidance: U.S. Environmental Protection Agency.
- Use a sturdy ladder on level ground and never overreach from the top step.
Frequently asked questions
Do I need primer? Over stains, bare filler, or a big colour change, yes; on sound similar-colour paint, usually no.
One coat or two? Two thin coats almost always look better than one thick one.
When can I move furniture back? After the paint is dry to the touch, though full cure takes longer.
References
- U.S. Environmental Protection Agency — indoor air quality. https://www.epa.gov/indoor-air-quality-iaq
- U.S. Environmental Protection Agency — reducing household waste. https://www.epa.gov/recycle
- Habitat for Humanity — home and housing resources. https://www.habitat.org/
- Consumer Reports — home and garden advice. https://www.consumerreports.org/
- U.S. Centers for Disease Control and Prevention — cleaning and hygiene. https://www.cdc.gov/hygiene/
Every guide is reviewed against its sources. See our editorial policy.

Reader comments
0 so farFinished this guide? Tell other readers what worked, what didn't, and what you would change.