A kitchen deep clean stalls when you start with the floor or scrub one stubborn spot for an hour. Grease and crumbs fall downward, so any surface cleaned early gets dirty again. A fixed order, a clear counter, and one all-purpose cleaner get through the whole room in a single session.
This guide splits the job into a setup pass, the appliance and cabinet work, and a final reset that keeps the room clean longer.
How to use this guide
Work through the illustrated steps in order. Every step has its own picture, so you can check what a finished stage should look like before you move on. If you only have a minute, skim the Quick steps box above and come back for the details.
Related guides
- How to Unclog a Drain Without Chemicals
- How to Organize a Small Closet
- How to Paint a Room
- How to Declutter Your Home
- Browse all Home & Garden guides
- All HowCompass guides
Trusted external resources
- U.S. Environmental Protection Agency — indoor air quality
- U.S. Environmental Protection Agency — reducing household waste
- Habitat for Humanity — home and housing resources
A note on sources
We check each guide against the official resources listed in References at the end of this article. External links open in a new tab; the related guides above stay on this site.
Quick steps
- Clear every counter and run the dishwasher before you start
- Work top to bottom so dust and crumbs land on surfaces you have not cleaned yet
- Empty the fridge completely, wipe shelves, and discard expired food
Things you'll need
- All-purpose degreasing spray
- Baking soda and white vinegar
- Microfiber cloths and a non-scratch scrub pad
- A trash bag and a cardboard box
- Rubber gloves
- A broom and mop
Step-by-step
Method 1 of 3: Clear and Set Up the Room
Step 1: Put loose items into one sorting box
Gather mail, toys, and stray tools so the counters are genuinely empty. If you are unsure, do less than you think you need and check again; you can always repeat the step.

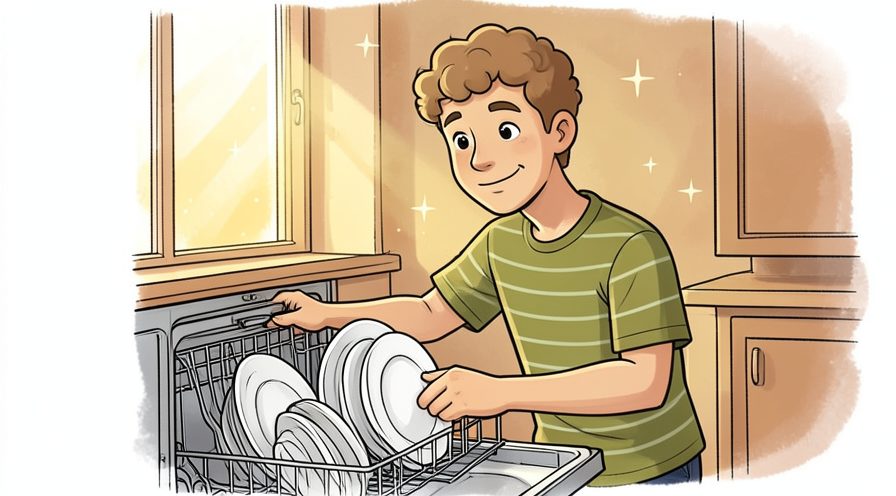
Step 2: Load and start the dishwasher
Get dirty dishes out of the sink before you need the basin. A slightly imperfect result here is fine and can be corrected later; a rushed fix usually costs more time.
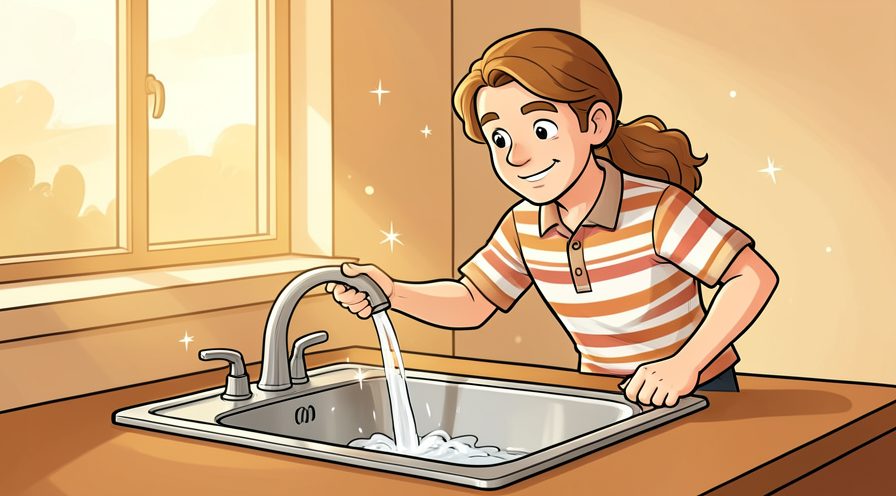
Step 3: Clear the sink and fill it with hot soapy water
A clean sink becomes your rinse station for cloths and removable parts. Check the edges and the parts you cannot see easily; those are where most beginners miss something.
Step 4: Take out the trash and replace the liner
Starting with an empty bin avoids handling a full bag later. Work in small passes and look at the result after each one, so a slip is easy to fix while it is still small.

Step 5: Open a window or switch on the vent
Ventilation matters as soon as you start using degreaser. Repeat the same motion at a steady pace rather than varying it, which keeps the finish consistent.

Step 6: Pull out the fridge bins and stove grates
Removable parts soak while you work on upper surfaces. If conditions are different today, adjust one thing at a time and leave everything else unchanged.

Step 7: Lay out cloths, gloves, and cleaner in one caddy
Keeping supplies together stops repeated trips across the room. Finish with a quick check of the whole area rather than only the part you just handled.

Step 8: Sweep loose crumbs from upper shelves first
Dry debris goes before any wet cleaning so it does not turn into paste. Use a light touch first; pressure and extra material are much easier to add than to remove.

Step 9: Set a timer for a realistic working block
A defined session keeps the job from expanding into a whole day. When in doubt, pause and compare against the picture above before continuing.
Keep going: How to Organize a Small Closet uses the same illustrated format and is a good next read. More checklists live in the Home & Garden category.

Method 2 of 3: Degrease Appliances, Cabinets, and the Fridge
Step 10: Dust the top of the range hood and upper cabinets
This layer lands on everything below if you leave it for last. Photograph or jot down the finished stage once, which gives you a reference for the next attempt.

Step 11: Spray degreaser on hood filters and let it sit
Give the film two minutes to loosen before wiping. Stop and tidy up as soon as this part is done, so the next stage starts from a clear surface.

Step 12: Wipe cabinet fronts from the handles outward
Handles collect the most oil, so clean them first with a damp cloth. Keep the same order every time, since a fixed sequence is easier to repeat than a list of separate decisions.

Step 13: Clean the backsplash with a damp cloth
Work in small sections and buff dry to avoid streaks on tile. Let it settle for a moment before judging the result, since the first impression often changes.

Step 14: Scrub stovetop grates and burner caps
Soaked parts now lift clean with a non-scratch pad. Choose the gentlest option that still works, then increase only if the result is not holding.

Step 15: Lift the stovetop and clear the crumb tray
Crumbs under a lift-top range are a common source of smells. Give this stage a couple of minutes before moving on, because rushing here is the usual reason the kitchen ends up uneven.
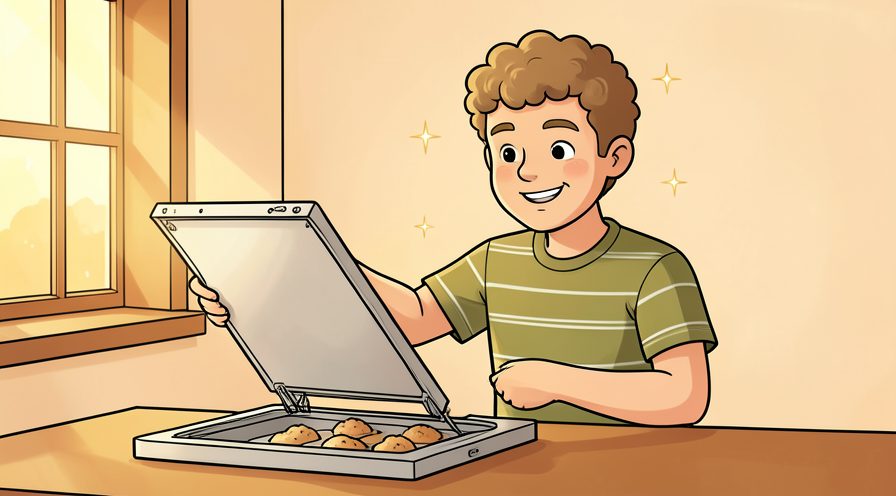
Step 16: Wipe the oven door and control panel
Keep liquid away from the controls and use a barely damp cloth. Use a timer or a quick count rather than guessing, especially on your first few attempts.

Step 17: Run an oven clean cycle only if needed
Do it while you continue elsewhere, and wipe out ash afterward. Note what you changed, because the same adjustment usually applies the next time you work on the kitchen.

Step 18: Empty the refrigerator one shelf at a time
Work in sections so food stays cold while you clean. Put the tools back in the same place afterward, so the next session starts without a search.

Step 19: Check dates and discard anything expired
A deep clean is the easiest moment to reset what is in the fridge. Read the label or the guidance for the kitchen once before acting, since small differences matter here.

Step 20: Wash removable shelves in warm soapy water
Let glass shelves warm to room temperature first to avoid cracking. Keep everything you might need within reach before starting, so you are not searching mid-step.

Step 21: Wipe interior walls and door seals
Seals hide sticky residue that stops the door closing fully. Note what you changed, because the same adjustment usually applies the next time you work on the kitchen.

Step 22: Dry and reload food by category
Grouping similar items makes the next week easier to shop for. Give this stage a couple of minutes before moving on, because rushing here is the usual reason the kitchen ends up uneven.

Step 23: Clean the microwave inside with steam
A bowl of hot water loosens splatters so they wipe off in one pass. Finish with a quick check of the whole area rather than only the part you just handled.
Keep going: How to Paint a Room uses the same illustrated format and is a good next read. More checklists live in the Home & Garden category.

Method 3 of 3: Reset the Room and Keep It Clean
Step 24: Clear the counters again and wipe them down
Remove the soaking box and any tools before the final surface pass. Read the label or the guidance for the kitchen once before acting, since small differences matter here.
Step 25: Sanitize the sponge or replace it
A dirty sponge puts odor straight back onto clean surfaces. Repeat the same motion at a steady pace rather than varying it, which keeps the finish consistent.

Step 26: Buff the sink and faucet dry
Metal just wiped with degreaser streaks unless you finish it with a dry cloth. Use a timer or a quick count rather than guessing, especially on your first few attempts.
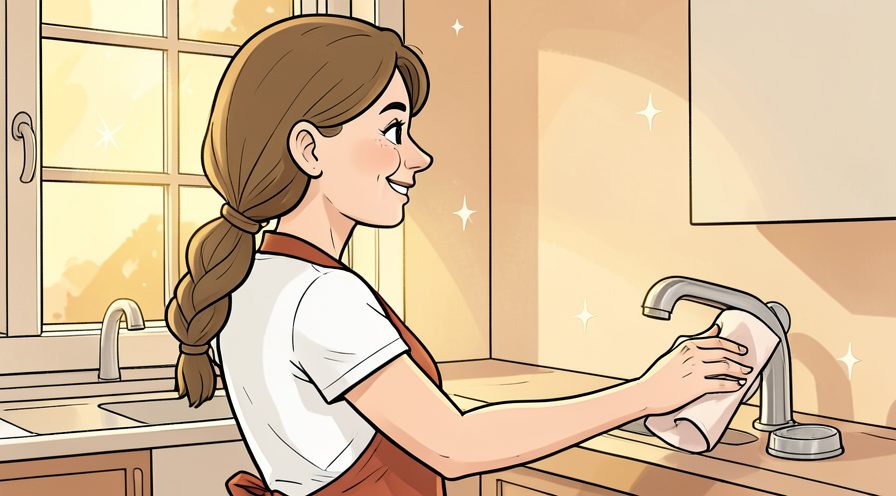
Step 27: Sweep the floor from the far corner outward
Work toward the doorway so you do not step on swept debris. Let it settle for a moment before judging the result, since the first impression often changes.

Step 28: Mop with a barely damp pad
Excess water leaves streaks and can damage some flooring. Work in small passes and look at the result after each one, so a slip is easy to fix while it is still small.
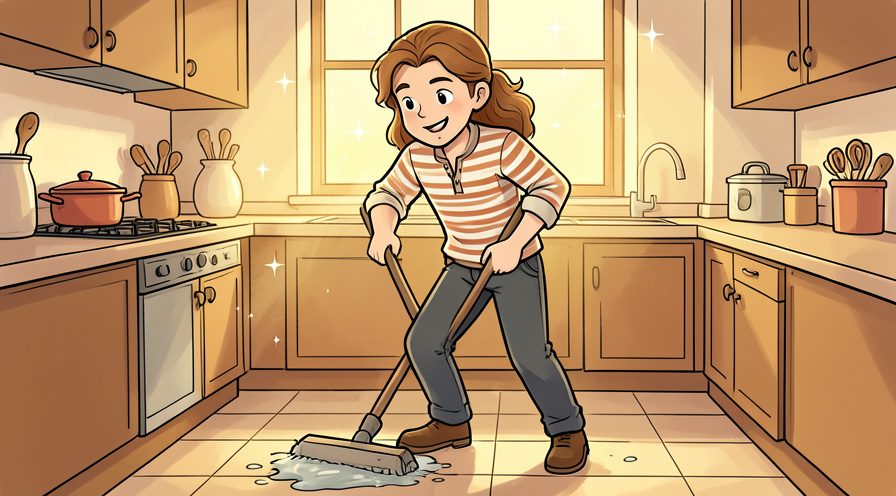
Step 29: Let the floor dry before replacing mats
Putting mats back too early traps moisture and smells. Stop and tidy up as soon as this part is done, so the next stage starts from a clear surface.

Step 30: Relocate the sorting box
Return stray items to their rooms instead of back onto the counter. A slightly imperfect result here is fine and can be corrected later; a rushed fix usually costs more time.

Step 31: Put a small tray near the stove for oils
Containing the greasiest items cuts the next deep clean in half. Put the tools back in the same place afterward, so the next session starts without a search.

Step 32: Wipe the handles you touch most once a week
A thirty second weekly habit protects the whole reset. When in doubt, pause and compare against the picture above before continuing.
Keep going: How to Declutter Your Home uses the same illustrated format and is a good next read. More checklists live in the Home & Garden category.

Tips
- Put everything that does not belong in the kitchen into one box and relocate it at the end instead of mid-clean.
- Let degreaser sit for two minutes before wiping, since dwell time does most of the work on baked-on film. For another walkthrough, see How to Unclog a Drain Without Chemicals.
- Keep a damp cloth for wiping and a dry one for buffing so glass and steel do not streak.
Warnings
- Never mix bleach with vinegar or ammonia, since the combination releases toxic gas. Official guidance: U.S. Environmental Protection Agency.
- Unplug small appliances before wiping around cords and never spray liquid directly into an outlet.
Frequently asked questions
How often should a kitchen be deep cleaned? Once a season is enough for most households, with a quicker appliance wipe every month.
What order is most efficient? Top to bottom, dry tasks before wet ones, and the floor absolutely last.
Can I use vinegar on stone counters? No, acid etches marble and natural stone, so use a pH-neutral cleaner there.
References
- U.S. Environmental Protection Agency — indoor air quality. https://www.epa.gov/indoor-air-quality-iaq
- U.S. Environmental Protection Agency — reducing household waste. https://www.epa.gov/recycle
- Habitat for Humanity — home and housing resources. https://www.habitat.org/
- Consumer Reports — home and garden advice. https://www.consumerreports.org/
- U.S. Centers for Disease Control and Prevention — cleaning and hygiene. https://www.cdc.gov/hygiene/
Every guide is reviewed against its sources. See our editorial policy.



Reader comments
0 so farFinished this guide? Tell other readers what worked, what didn't, and what you would change.