Windows Search indexing catalogs files so searches return instant results, but on a large or slow drive it can keep the disk at 100%. You can exclude large folders, pause or rebuild the index, or disable the Windows Search service entirely. Choose the option that best balances search speed with disk load.
This guide walks through the process in clear illustrated steps, from the first preparation to a finished result. Each step has its own picture, so you can compare your progress as you go.
How to use this guide
Work through the steps in order. Method 1 of 3 covers the basics, and the later methods offer alternatives and finishing touches. If you only have a minute, skim the Quick steps box above and come back for the details.
Related guides
- How to Fix 100 disk usage on windows 11 when the pc is idle
- How to Clean a bathroom thoroughly
- How to Fix service host local system high cpu or disk usage on windows 11
- How to Choose a travel insurance plan
- Browse all Windows Troubleshooting guides
- All 52runoob guides
Trusted external resources
- Microsoft Learn — Windows Search overview
- Microsoft Support — Use System File Checker to repair files
- Microsoft Support — Free up drive space in Windows
A note on sources
We check each guide against the official resources listed in References at the end of this article. External links open in a new tab; the related guides above stay on this site.
Quick steps
- Open Indexing Options and confirm the indexer is using the disk.
- Remove large or rarely searched folders from indexed locations.
- Pause indexing temporarily to confirm the disk load drops.
- Rebuild the index if it has become corrupted or oversized.
- Disable the Windows Search service if you do not need instant search.
- Monitor disk usage in Task Manager after each change.
Things you'll need
- A Windows PC with administrator access
- Indexing Options in the Control Panel
- Task Manager to verify disk usage
- About 20 minutes for an index rebuild
Step-by-step
Method 1 of 3: Inspect and Trim Indexing
Step 1: Open Indexing Options
Open the Control Panel and search for Indexing Options to view index settings.

Step 2: Confirm disk load
Open Task Manager and check that the search indexer is the process using the disk.
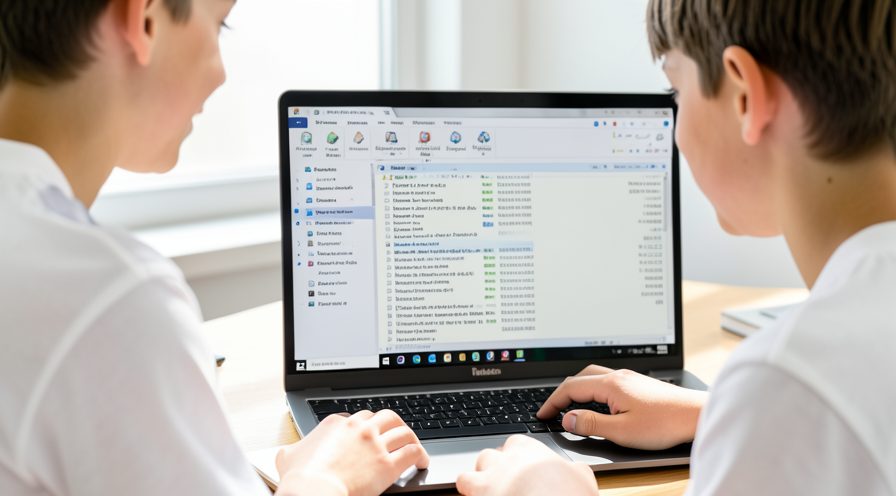
Step 3: Review indexed folders
Look at the list of indexed locations and note large folders that do not need searching.

Step 4: Remove large folders
Click Modify and uncheck large folders such as downloads or games, then apply.

Step 5: Pause indexing
Use the pause option to stop indexing temporarily and confirm the disk load drops.

Method 2 of 3: Rebuild the Search Index
Step 6: Open Indexing Options
Open Indexing Options again to access the advanced index settings.
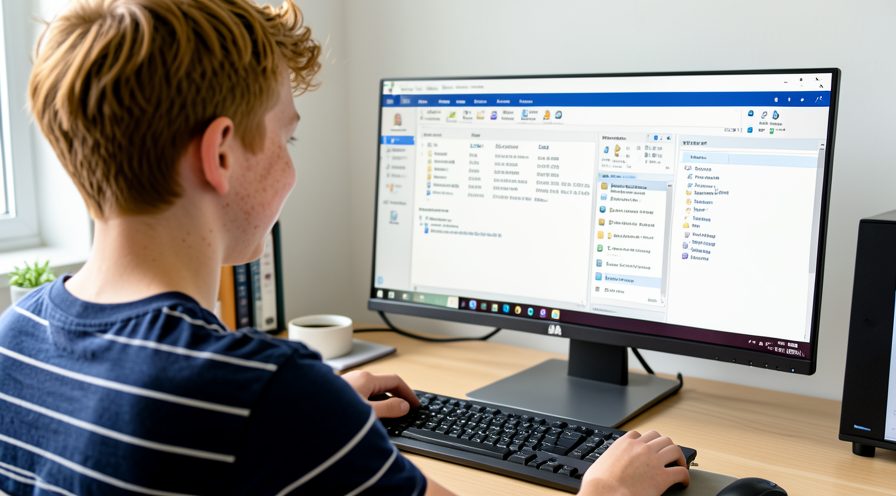
Step 7: Open advanced options
Click Advanced to reach the index rebuild control and file types list.

Step 8: Start the rebuild
Click Rebuild so Windows recreates the search catalog from scratch.
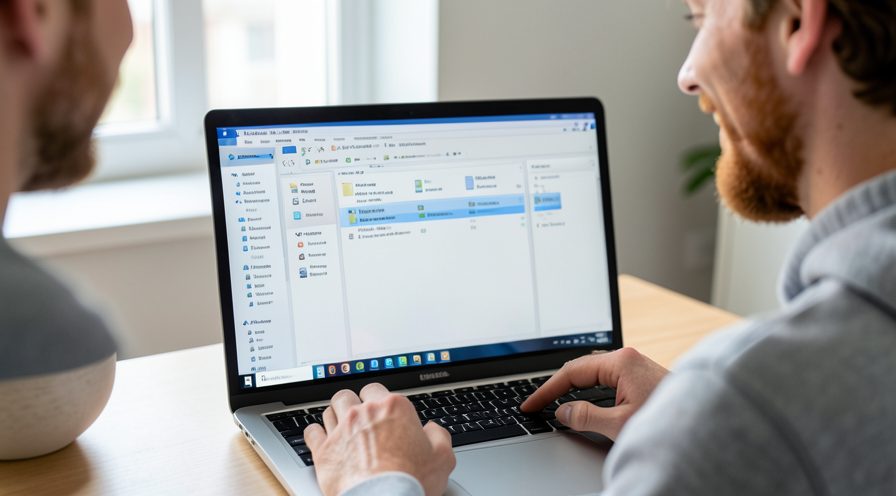
Step 9: Allow it to finish
Let the rebuild run to completion; disk usage will be high during this time.

Step 10: Check search results
Test a Start menu search to confirm results return correctly after the rebuild.

Step 11: Recheck disk usage
Confirm in Task Manager that the indexer no longer saturates the disk.

Method 3 of 3: Disable the Windows Search Service
Step 12: Open the Services window
Press the Windows key, type services, and open the Services console.
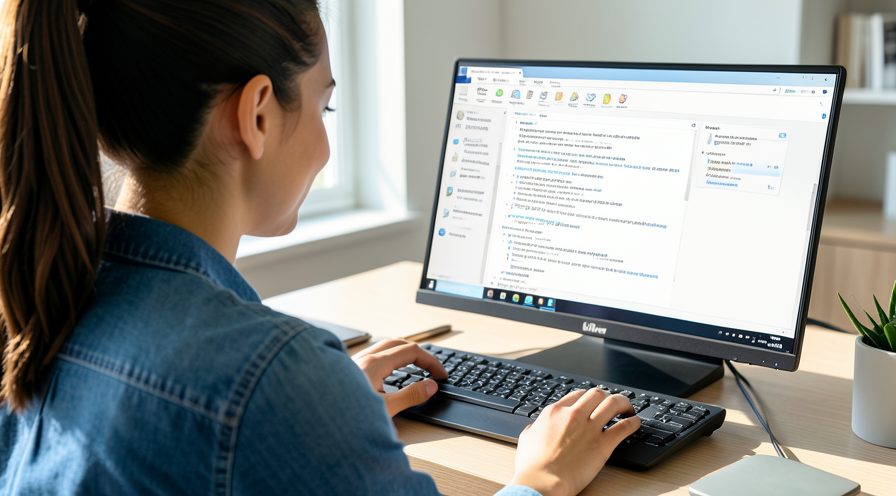
Step 13: Locate Windows Search
Scroll the list and find the Windows Search service.

Step 14: Stop the service
Right-click Windows Search and choose Stop to halt indexing immediately.

Step 15: Set startup to Disabled
Open Properties, set Startup type to Disabled, then apply and confirm.
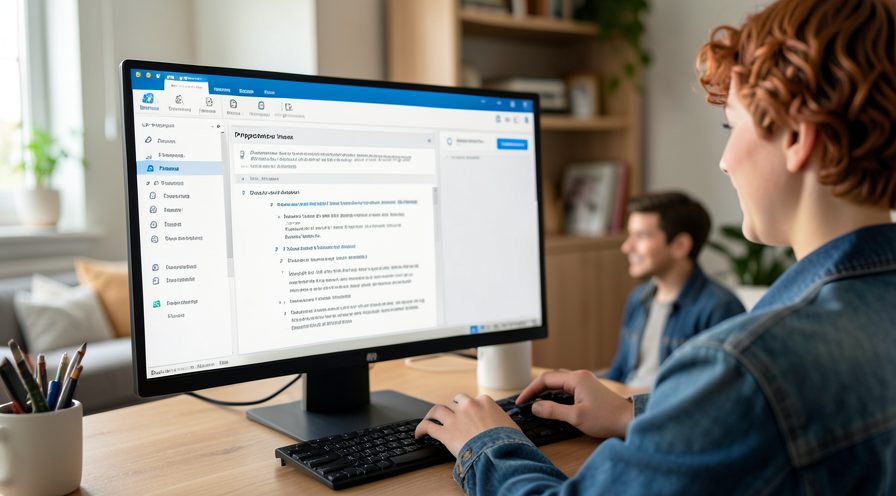
Step 16: Restart the PC
Reboot Windows so the change takes effect and indexing stays off.

Step 17: Verify indexing is off
Reopen Task Manager and confirm the indexer is no longer using the disk.

Step 18: Run the search troubleshooter
In Settings, System, Troubleshoot, run the Search and Indexing troubleshooter to repair common index faults.

Step 19: Reboot and recheck usage
Restart the PC and confirm in Task Manager that the disk is no longer pinned at full capacity.

Tips
- Excluding download and game folders often cuts indexing load dramatically.
- A rebuild temporarily increases disk usage before it improves things.
- Disabling Windows Search affects Start menu and File Explorer search speed.
Warnings
- Do not delete the index database file manually; use the Rebuild button instead.
- Turning off Windows Search breaks instant search and some app integrations.
- Back up important files before changing service startup settings.
Frequently asked questions
What does Windows Search indexing actually do?
The search indexer scans files and builds a catalog of their contents and properties so Start menu and File Explorer searches return results quickly. On a large drive or an older hard disk, building or updating that catalog can saturate the disk. You can control which folders are indexed to reduce the load.
Is it safe to disable Windows Search?
Yes, it is safe, but searches become slower because Windows must scan files on demand. Start menu and File Explorer search will still work, just less instantly. Some apps that rely on Windows Search may also behave differently.
Why is the indexer still using the disk after I excluded folders?
The index may be rebuilding or may still include system locations such as the Start menu and browser history. Open Indexing Options to confirm the current locations and let any rebuild finish. Disk usage should fall once the catalog is up to date.
Will rebuilding the index increase disk usage?
Yes, a rebuild re-scans all indexed locations and temporarily drives heavy disk activity. That is expected and usually settles after the rebuild completes. It is worth doing if the index has become corrupted or oversized.
References
- Microsoft Learn — Windows Search overview. https://learn.microsoft.com/en-us/windows/win32/search/-search-3x-wds-overview
- Microsoft Support — Use System File Checker to repair files. https://support.microsoft.com/en-us/topic/use-the-system-file-checker-tool-to-repair-missing-or-corrupted-system-files-79aa86cb-ca52-166a-92a3-966e85d4094e
- Microsoft Support — Free up drive space in Windows. https://support.microsoft.com/windows/free-up-drive-space-in-windows-85529ccb-c365-490d-b548-831022bc9b32
- wikiHow — How to Stop Windows Search Indexing From Pinning the Disk at 100%. https://www.wikihow.com/Speed-Up-Your-PC
Every guide is reviewed against its sources. See our editorial policy.



Reader comments
0 so farFinished this guide? Tell other readers what worked, what didn't, and what you would change.