Most beginners buy a large set of materials and then stall because every drawing is expected to look finished. Drawing is mostly a looking skill: you learn to see edges, angles, and proportions before you learn any shading trick. Starting with ordinary objects and short sessions removes that pressure.
This guide sets up a minimal kit, walks through a first drawing from basic shapes, and gives you a practice routine that keeps progress visible.
How to use this guide
Work through the illustrated steps in order. Every step has its own picture, so you can check what a finished stage should look like before you move on. If you only have a minute, skim the Quick steps box above and come back for the details.
Related guides
- How to Knit a Scarf for Beginners
- How to Take Better Photos with Your Phone
- How to Start a Bullet Journal
- How to Do Digital Art on Your Phone
- Browse all Hobbies & Crafts guides
- All HowCompass guides
Trusted external resources
- Adobe — creative apps and drawing tools
- Procreate — digital illustration app
- Autodesk SketchBook — drawing app
A note on sources
We check each guide against the official resources listed in References at the end of this article. External links open in a new tab; the related guides above stay on this site.
Quick steps
- Use one HB pencil, one eraser, and plain paper
- Break every subject into circles, boxes, and lines before adding detail
- Draw for fifteen minutes a day and date every sheet
Things you'll need
- An HB or 2B pencil
- A kneaded eraser
- A pad of plain drawing paper
- A pencil sharpener
- A small object to draw, such as a mug
- A folder for dated sketches
Step-by-step
Method 1 of 3: Set Up a Minimal Practice
Step 1: Choose one pencil and keep it
An HB or 2B handles both light construction lines and darker finished edges. Keep the same order every time, since a fixed sequence is easier to repeat than a list of separate decisions.

Step 2: Pick plain paper without a glossy finish
Cheap sketch paper takes graphite well and makes wasting a sheet feel harmless. Keep everything you might need within reach before starting, so you are not searching mid-step.

Step 3: Get a kneaded eraser
It lifts graphite without leaving crumbs that smear across the page. Let it settle for a moment before judging the result, since the first impression often changes.

Step 4: Find a small object with a clear silhouette
A mug, a spoon, or a fruit gives you edges you can actually judge. Note what you changed, because the same adjustment usually applies the next time you work on your drawing.

Step 5: Set one steady side light
A single lamp makes shadows readable instead of confusing. Check the edges and the parts you cannot see easily; those are where most beginners miss something.

Step 6: Sit so your hand can move freely
Rest the side of the hand lightly and draw from the shoulder when you can. Put the tools back in the same place afterward, so the next session starts without a search.

Step 7: Pick a fixed fifteen minute slot
A short daily session beats a rare long one. Photograph or jot down the finished stage once, which gives you a reference for the next attempt.

Step 8: Date the first sheet
A dated folder becomes a record you can measure instead of guess at. Read the label or the guidance for your drawing once before acting, since small differences matter here.
Keep going: How to Take Better Photos with Your Phone uses the same illustrated format and is a good next read. More checklists live in the Hobbies & Crafts category.

Method 2 of 3: Build a First Drawing from Simple Shapes
Step 9: Look at the subject for a full minute
Notice the overall height and width before touching paper. Use a light touch first; pressure and extra material are much easier to add than to remove.

Step 10: Squint to reduce it to a silhouette
Detail disappears and the big outline becomes obvious. Repeat the same motion at a steady pace rather than varying it, which keeps the finish consistent.

Step 11: Mark the top and bottom of the object
Two light ticks fix the height before anything else. Stop and tidy up as soon as this part is done, so the next stage starts from a clear surface.
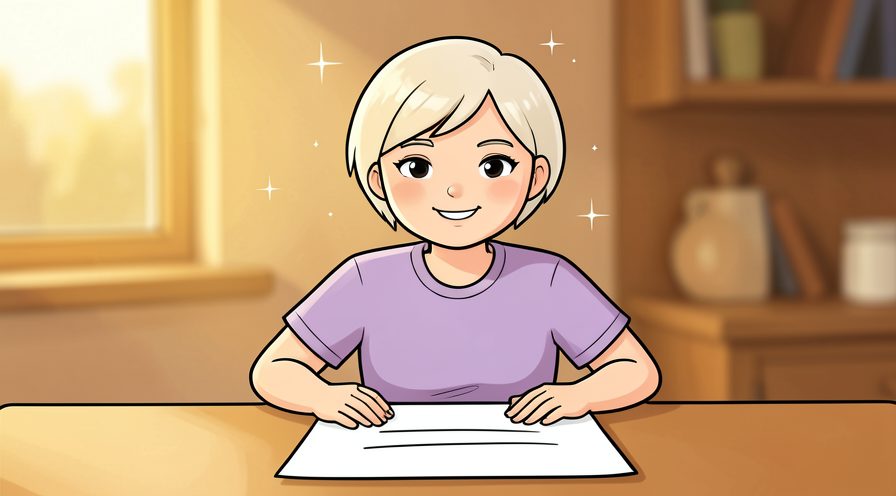
Step 12: Block the main shape with a light box or oval
Keep lines faint, since construction marks are guides rather than final edges. If conditions are different today, adjust one thing at a time and leave everything else unchanged.

Step 13: Compare width against height
Hold the pencil at arm's length to check the proportion instead of trusting a guess. If you are unsure, do less than you think you need and check again; you can always repeat the step.

Step 14: Place the center line
A light vertical guide keeps both sides symmetrical. Choose the gentlest option that still works, then increase only if the result is not holding.

Step 15: Add secondary shapes for the handle or stem
Treat them as simple loops and rectangles at this stage. Use a timer or a quick count rather than guessing, especially on your first few attempts.
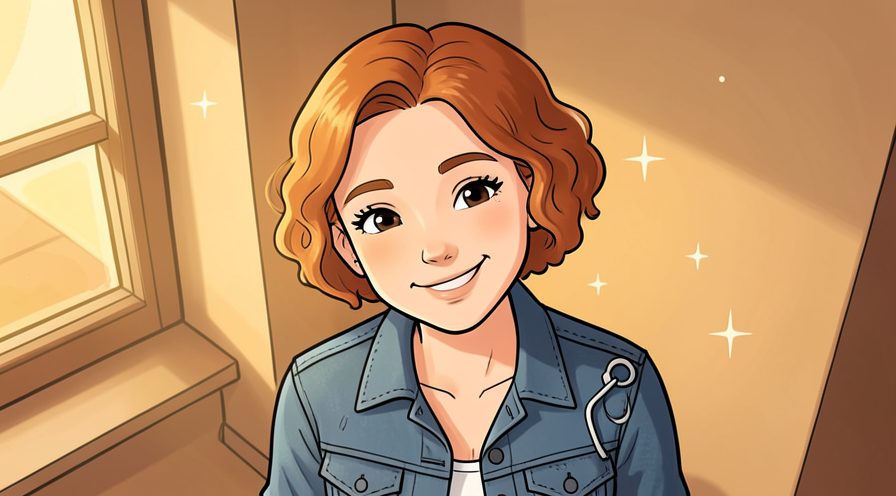
Step 16: Check angles against a vertical edge
Compare each slanted line with the side of your paper. Work in small passes and look at the result after each one, so a slip is easy to fix while it is still small.

Step 17: Erase nothing yet
Keep the construction lines until the main proportions are right. When in doubt, pause and compare against the picture above before continuing.
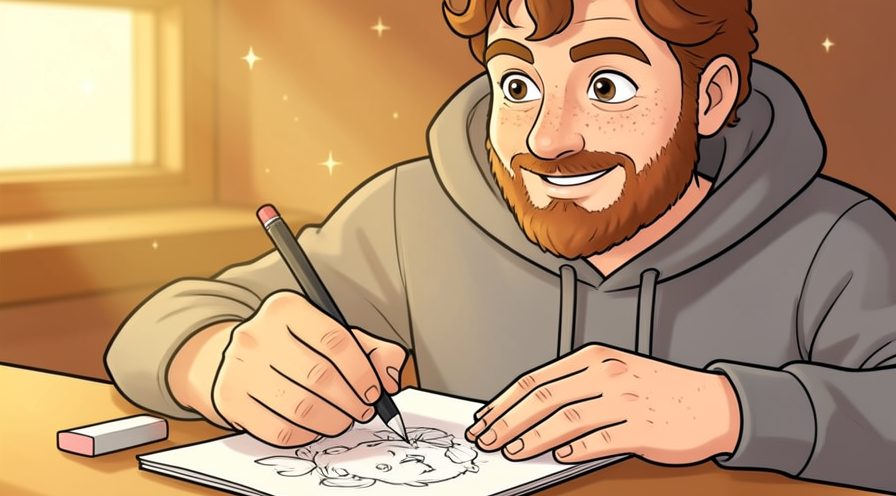
Step 18: Commit to the final contour
Draw the true outline with a slightly heavier, more confident stroke. Finish with a quick check of the whole area rather than only the part you just handled.

Step 19: Add only the largest shadow shape
Ignore small reflections and mark the one broad dark area. Give this stage a couple of minutes before moving on, because rushing here is the usual reason your drawing ends up uneven.

Step 20: Build tone with light parallel strokes
Layer gradually instead of pressing hard once. A slightly imperfect result here is fine and can be corrected later; a rushed fix usually costs more time.

Step 21: Soften the transition with a finger or tissue
A gentle blend keeps the shadow from looking like a flat patch. Read the label or the guidance for your drawing once before acting, since small differences matter here.

Step 22: Lift a highlight with the kneaded eraser
Pull out the brightest edge instead of drawing around it. Repeat the same motion at a steady pace rather than varying it, which keeps the finish consistent.
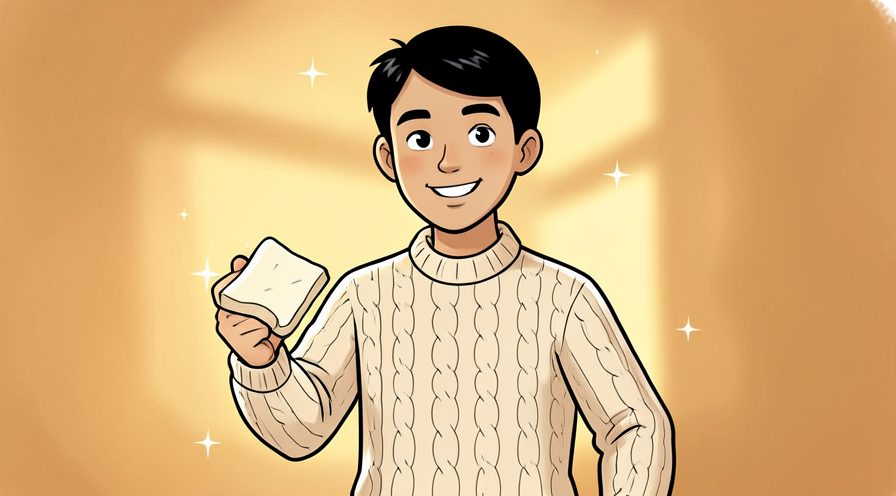
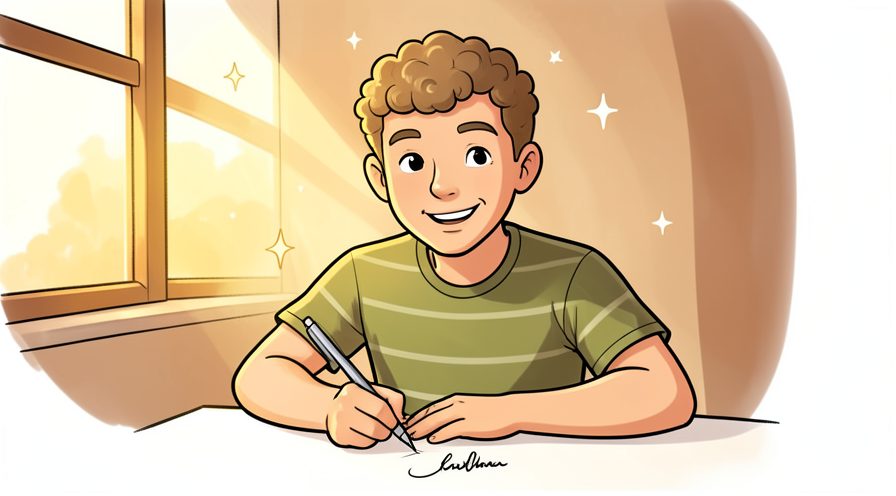
Step 23: Sign and date the page
A finished sheet, however simple, belongs in the folder. Give this stage a couple of minutes before moving on, because rushing here is the usual reason your drawing ends up uneven.
Keep going: How to Start a Bullet Journal uses the same illustrated format and is a good next read. More checklists live in the Hobbies & Crafts category.
Method 3 of 3: Practise in a Way That Shows Progress
Step 24: Draw the same object three days running
Repeating one subject makes changes in accuracy obvious. If conditions are different today, adjust one thing at a time and leave everything else unchanged.

Step 25: Do five minute gesture sketches
Quick drawings train the eye to catch the whole shape at once. Let it settle for a moment before judging the result, since the first impression often changes.
Step 26: Try one new subject each week
A shoe, a plant, or a chair each bring a different shape problem. Keep everything you might need within reach before starting, so you are not searching mid-step.

Step 27: Copy one master drawing slowly
Study how a single contour was simplified rather than copying every line. Put the tools back in the same place afterward, so the next session starts without a search.

Step 28: Practise straight lines and ellipses
A page of loose ellipses steadies the hand more than any finished piece. Use a light touch first; pressure and extra material are much easier to add than to remove.

Step 29: Flip a sketch in a mirror
A reversed view exposes proportions your eye has stopped noticing. Stop and tidy up as soon as this part is done, so the next stage starts from a clear surface.

Step 30: Keep a two minute critique note
Write one thing that worked and one thing to fix next time. When in doubt, pause and compare against the picture above before continuing.
Step 31: Revisit the first subject after a month
Redraw the original mug and compare the two sheets. Finish with a quick check of the whole area rather than only the part you just handled.

Step 32: Vary the light direction once a week
A new shadow pattern stops you from memorizing one solution. Check the edges and the parts you cannot see easily; those are where most beginners miss something.

Step 33: Draw standing up occasionally
A different posture loosens the shoulder and changes your line quality. Use a timer or a quick count rather than guessing, especially on your first few attempts.
Step 34: Limit erasing to one pass
Constant correction encourages timid lines and slows observation. Keep the same order every time, since a fixed sequence is easier to repeat than a list of separate decisions.

Step 35: Share one sheet with a friend
A single outside comment is enough to keep you honest without inviting a critique spiral. If you are unsure, do less than you think you need and check again; you can always repeat the step.

Step 36: Redraw one object from memory weekly
Memory sketches reveal which shapes you have actually learned to see. Note what you changed, because the same adjustment usually applies the next time you work on your drawing.
Step 37: Pick a slightly harder subject next
Increase difficulty by one step, not by jumping to a full portrait. Work in small passes and look at the result after each one, so a slip is easy to fix while it is still small.
Keep going: How to Do Digital Art on Your Phone uses the same illustrated format and is a good next read. More checklists live in the Hobbies & Crafts category.
Tips
- Hold the pencil further back from the tip for loose lines, since a tight grip near the point produces stiff scratchy marks.
- Squint at the subject to simplify it into a few big shapes before drawing anything. For another walkthrough, see How to Knit a Scarf for Beginners.
- Keep every dated sketch, because progress is much easier to see across a month than day to day.
Warnings
- Avoid starting with highly detailed portraits or anime references, since copying symbols hides the observation skill you are trying to build. Official guidance: Adobe.
- Do not press hard enough to dent the paper, because deep grooves are impossible to erase cleanly.
Frequently asked questions
How long until I see improvement? Most people notice a clear change after three to four weeks of short daily practice.
Do I need expensive supplies? No, one pencil and cheap paper are enough for the first months.
Should I use references or draw from imagination? Draw from life or photos at first, since imagination depends on a visual memory you are still building.
References
- Adobe — creative apps and drawing tools. https://www.adobe.com/creativecloud/apps.html
- Procreate — digital illustration app. https://procreate.com/
- Autodesk SketchBook — drawing app. https://www.sketchbook.com/
- The Metropolitan Museum of Art — art collection and reference. https://www.metmuseum.org/
- Khan Academy — art history and color basics. https://www.khanacademy.org/
Every guide is reviewed against its sources. See our editorial policy.


Reader comments
0 so farFinished this guide? Tell other readers what worked, what didn't, and what you would change.