A phone screen feels limiting mostly because people start drawing immediately, with the default canvas, one layer, and a single brush. Once lines, flats, and shading share one layer, a small mistake means erasing good work. A reliable workflow fixes that by deciding size and structure first, then adding color in separable steps that you can adjust without starting over.
Finish the eight steps below and you will have a reusable setup, a clean layered file you can still edit, and a flattened image ready to share. You will also have two copies saved, so a lost or damaged phone does not take the artwork with it.
How to use this guide
Work through the illustrated steps in order. Every step has its own picture, so you can check what a finished stage should look like before you move on. If you only have a minute, skim the Quick steps box above and come back for the details.
Related guides
- How to Study for a Test
- How to Meal Prep for the Week
- How to Declutter Your Home
- Browse all Hobbies & Crafts guides
- All HowCompass guides
Trusted external resources
- Adobe — creative apps and drawing tools
- Procreate — digital illustration app
- Autodesk SketchBook — drawing app
A note on sources
We check each guide against the official resources listed in References at the end of this article. External links open in a new tab; the related guides above stay on this site.
Quick steps
- Pick a layer-based app and set canvas size before drawing.
- Keep sketch, line art, and color on separate layers.
- Export a flattened PNG and back up the layered file.
Things you'll need
- A phone with a responsive touchscreen
- A layer-based drawing app
- A capacitive stylus or finger
- A screen cleaning cloth
- Cloud storage with enough free space
- A charger or power bank
Step-by-step
Method 1 of 1: Setting Up and Finishing a Phone Drawing
Step 1: Choose a drawing app with real layer support
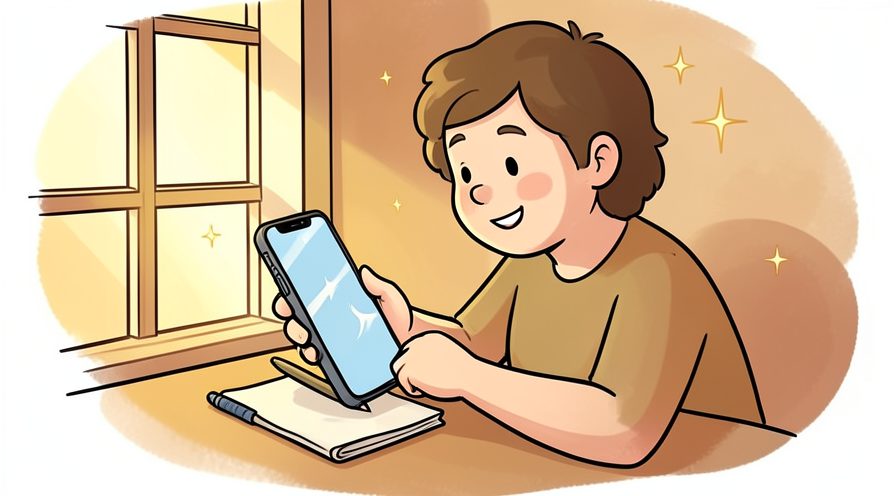
Look for three specific features before committing: multiple layers, adjustable brush size and opacity, and an export option that keeps layers intact. Free apps work fine for a first piece, but check that the free tier still allows full-resolution export and does not add a mark to your saved image.
Step 2: Set canvas dimensions and resolution before drawing
Create a new canvas at roughly 2000 to 3000 pixels on the long edge, and set 300 dpi if you might print it later. Decide the aspect ratio now, because cropping a finished piece to fit a different shape usually cuts off details you cannot easily redraw.
Step 3: Sketch rough shapes on a low-opacity bottom layer
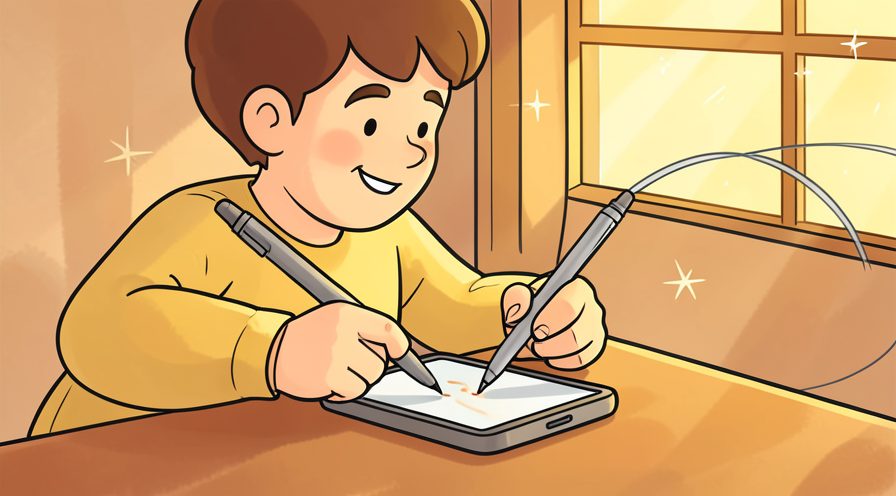
Add one layer, lower its opacity to about thirty percent, and block in the big shapes with a mid-size brush rather than tracing outlines. Keep it loose and work at a small view of the whole canvas, since this pass only fixes composition and proportion, not any detail you will keep.
Step 4: Build separate layers for line art and color
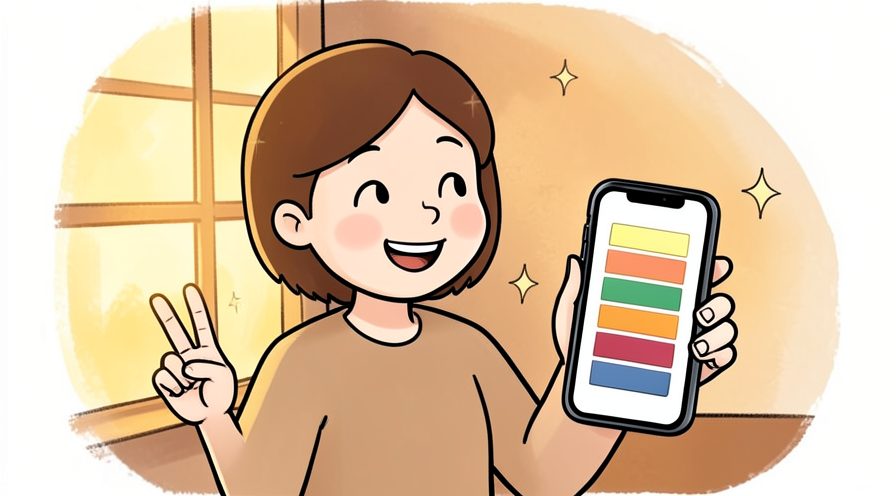
Add a clean line-art layer above the sketch, then place a color layer beneath the lines so fills never cover your outlines. Name each layer as you go and lock the ones you are done with, which stops an accidental stroke from landing in the wrong place.
Step 5: Choose brushes by size, opacity, and edge hardness
Use a small hard brush at full opacity for final lines, a larger soft brush at low opacity for shading, and a hard fill tool for flat areas. Test each brush on a spare corner first and save the settings you like, so your line quality stays consistent across the piece.
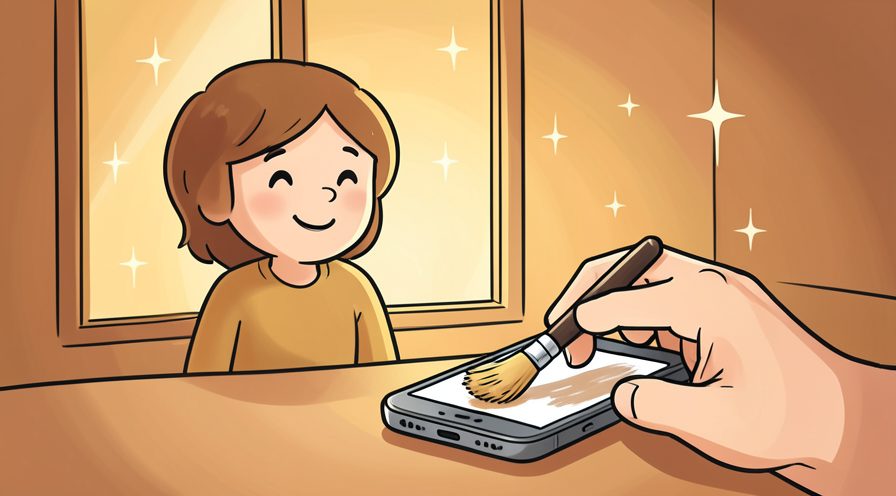
Step 6: Block in flat colors before adding any shading
Fill the large shapes with mid-tone colors on the color layer, keeping each area inside closed outlines so a bucket fill stays clean. Only after the whole image has flat color should you add a new layer for shadows and highlights, which keeps the base palette easy to change.
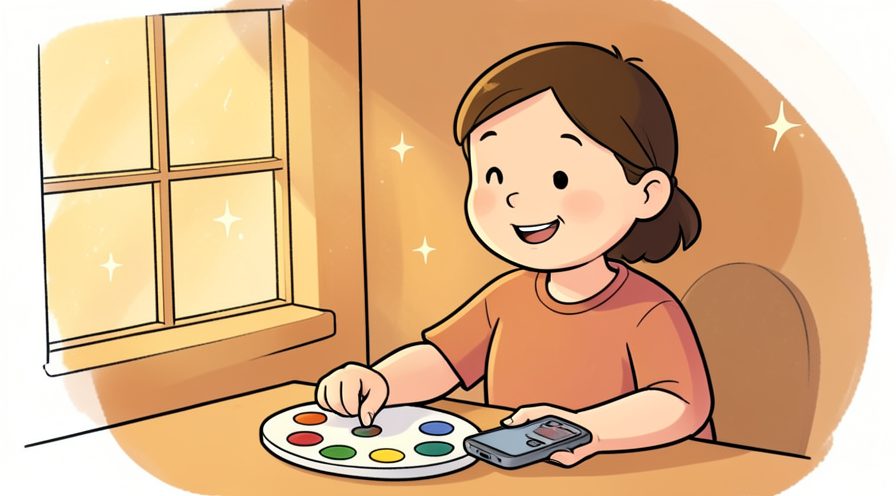
Step 7: Export a flattened PNG and keep the layered file
Save the editable project in the app's native format first, then export a separate PNG at the full canvas size for sharing. Check the exported image at full size before closing the project, since a low-resolution export is easy to produce and impossible to undo later.
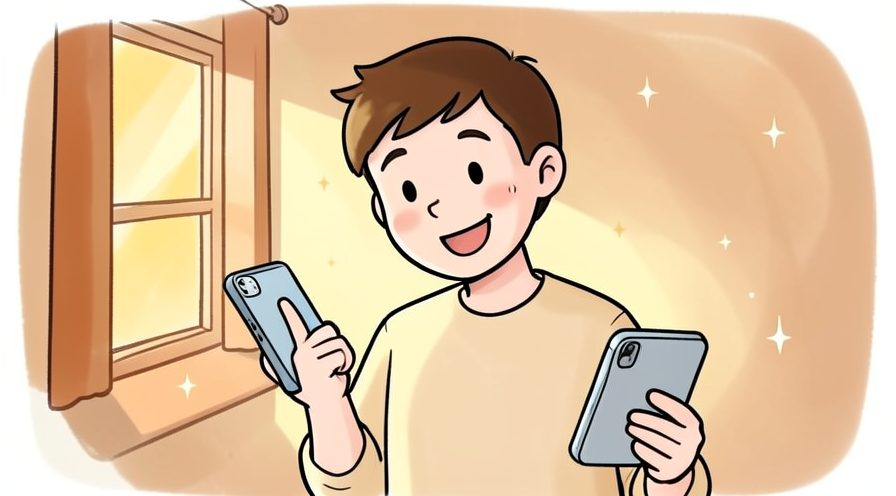
Step 8: Back up the artwork in two separate places
Upload the project file to cloud storage, then copy the exported PNG to a computer or an external drive as a second location. Open both copies once from another device to confirm the upload actually finished, and keep the original on the phone until you have verified them.
Keep going: How to Meal Prep for the Week uses the same step-by-step format and is a good next read. More checklists live in the Hobbies & Crafts category.
Tips
- Name every layer as you create it, since a stack of Layer 1 through Layer 12 becomes impossible to navigate a week later.
- Drop opacity to around thirty percent for a sketch layer, then build confident lines on top instead of erasing the rough one. For a related walkthrough, see How to Study for a Test.
- Set the canvas to at least 2000 pixels on the long side so the art survives cropping, printing, and later retina screens.
- Use a hard-edged brush for clean line art and a soft, low-opacity brush for shading, rather than one default brush for everything.
- Save a duplicate of the project before a big change, so a bad merge or flatten is one tap away from being undone.
Warnings
- A high resolution canvas with many layers can drain the battery fast, so plug in or save often during a long drawing session. Official guidance: Adobe.
- A flattened PNG cannot be reopened as separate layers, so always keep the editable project file before you export a shareable copy.
Frequently asked questions
Do I need a stylus to make good digital art on a phone?
No. A finger works fine for blocking in color and rough sketches, though a stylus gives better control for thin lines and long sessions. Start with what you have, and only buy a stylus if shaky lines or a cramped hand are slowing you down.
120 found this helpful · 5 did not
What canvas resolution should I use for a phone drawing?
Use at least 2000 pixels on the longest edge at 300 dpi if the app offers a print preset, or simply pick the largest canvas that still feels responsive. Bigger files cost memory, so match the size to the output you actually plan to share.
120 found this helpful · 5 did not
How do I keep my art safe if I lose my phone?
Keep the editable project in cloud storage and export a flattened PNG to a second location, such as a computer or an external drive. Turn on automatic sync, then confirm the upload finished by opening the file once from another device before you delete anything locally.
120 found this helpful · 5 did not
References
- Adobe — creative apps and drawing tools. https://www.adobe.com/creativecloud/apps.html
- Procreate — digital illustration app. https://procreate.com/
- Autodesk SketchBook — drawing app. https://www.sketchbook.com/
- The Metropolitan Museum of Art — art collection and reference. https://www.metmuseum.org/
- Khan Academy — art history and color basics. https://www.khanacademy.org/
Every guide is reviewed against its sources. See our editorial policy.
Reader comments
0 so farFinished this guide? Tell other readers what worked, what didn't, and what you would change.