A scarf is the ideal first knitting project because it is a rectangle: no shaping, no increases, no fitting. You repeat one stitch until the length looks right, then bind off. Working with thick yarn and large needles means every loop is visible, which makes learning far less frustrating.
This guide sets up the materials, gets you through the first rows, and then helps you finish and fix the small problems every beginner meets.
How to use this guide
Work through the illustrated steps in order. Every step has its own picture, so you can check what a finished stage should look like before you move on. If you only have a minute, skim the Quick steps box above and come back for the details.
Related guides
- How to Start Drawing as a Beginner
- How to Take Better Photos with Your Phone
- How to Start a Bullet Journal
- How to Do Digital Art on Your Phone
- Browse all Hobbies & Crafts guides
- All HowCompass guides
Trusted external resources
- Adobe — creative apps and drawing tools
- Procreate — digital illustration app
- Autodesk SketchBook — drawing app
A note on sources
We check each guide against the official resources listed in References at the end of this article. External links open in a new tab; the related guides above stay on this site.
Quick steps
- Use chunky yarn with 8 to 10 mm needles and cast on 16 stitches
- Make only the knit stitch on every row for a garter stitch scarf
- Bind off loosely and weave in the two yarn tails
Things you'll need
- Two skeins of chunky yarn in a light colour
- A pair of 8 to 10 mm needles
- Scissors
- A tapestry needle
- A ruler or tape measure
- A project bag
Step-by-step
Method 1 of 3: Choose Materials and Set Up Comfortably
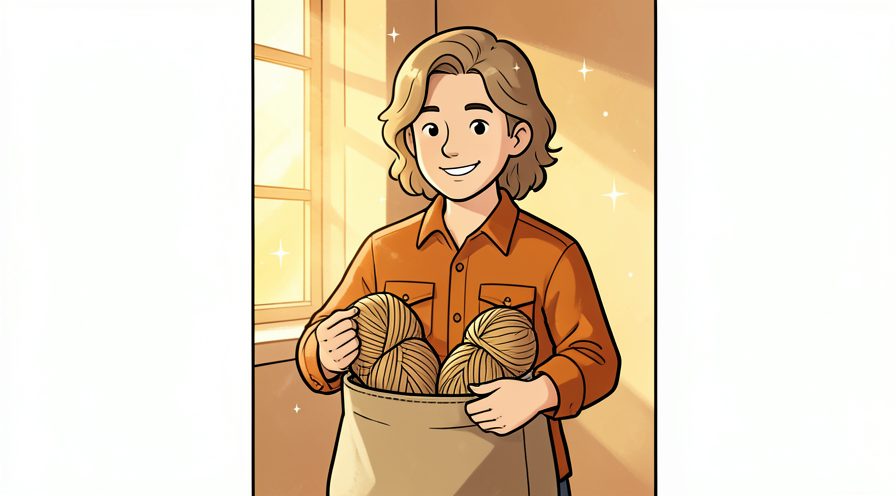
Step 1: Pick a light coloured chunky yarn
Big visible loops make it much easier to see where the needle goes. Note what you changed, because the same adjustment usually applies the next time you work on your knitting.
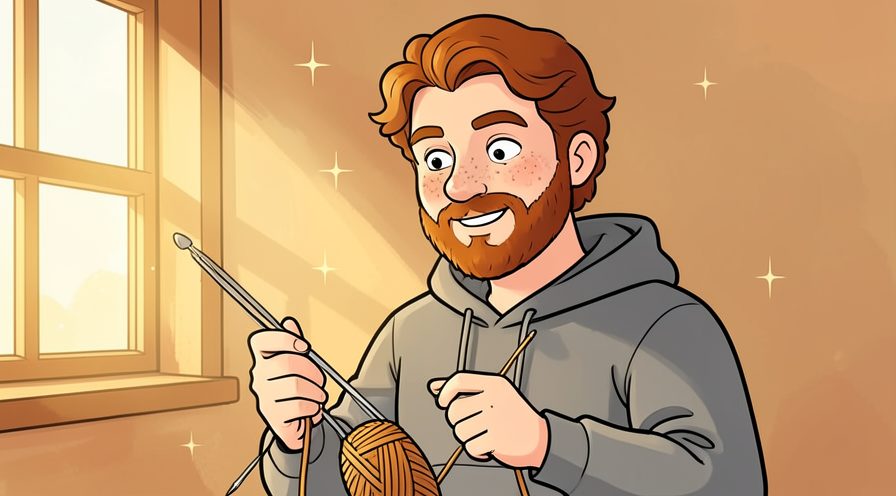
Step 2: Match the needle size to the yarn label
The band suggests a range, and the larger end is kinder for a first project. Repeat the same motion at a steady pace rather than varying it, which keeps the finish consistent.
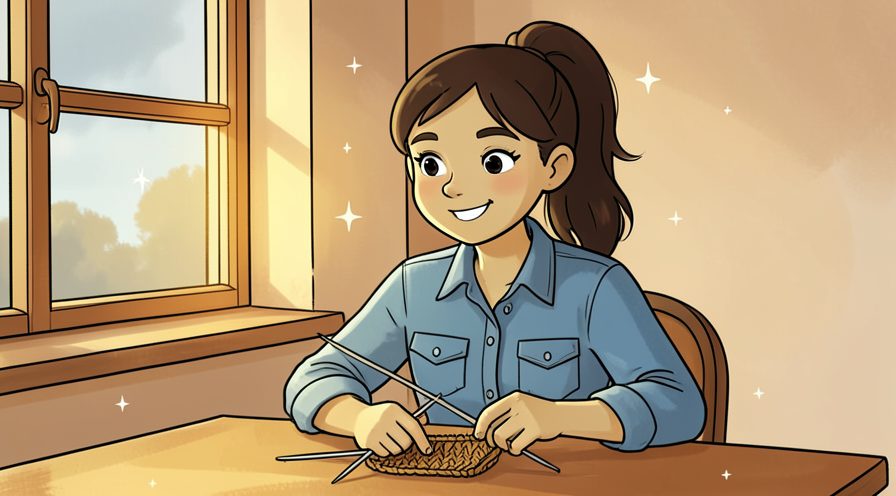
Step 3: Choose simple straight needles
Long circular needles add handling problems you do not need yet. Work in small passes and look at the result after each one, so a slip is easy to fix while it is still small.
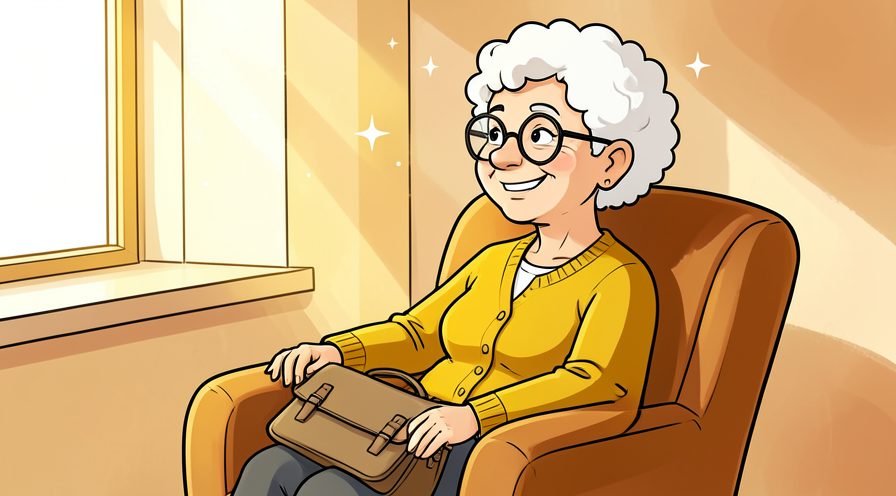
Step 4: Find a chair with arm support
Resting your elbows keeps the hands from tiring in the first rows. When in doubt, pause and compare against the picture above before continuing.
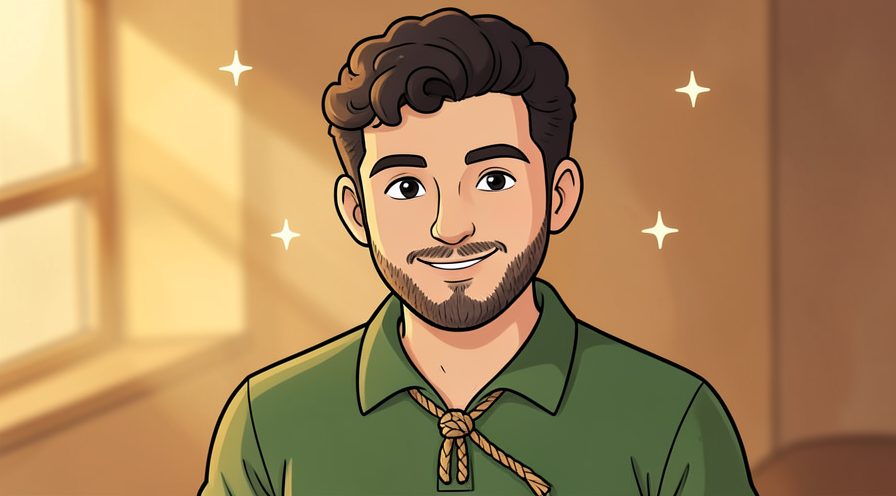
Step 5: Make a slip knot near the yarn end
Leave a tail long enough to weave in later. Keep the same order every time, since a fixed sequence is easier to repeat than a list of separate decisions.
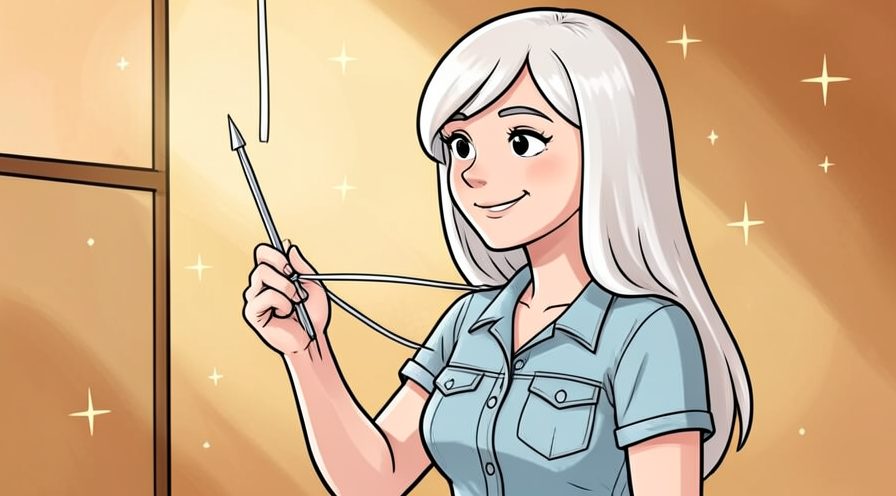
Step 6: Put the loop on one needle
Snug it gently so it stays put without being tight. A slightly imperfect result here is fine and can be corrected later; a rushed fix usually costs more time.
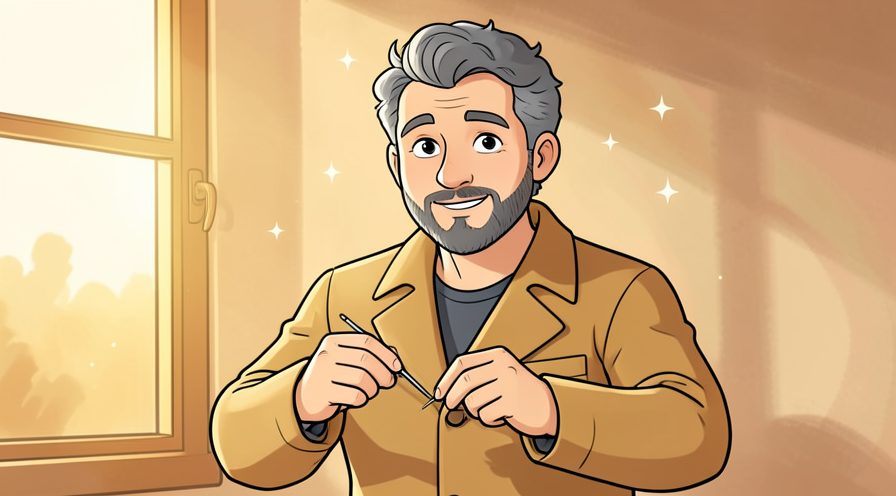
Step 7: Hold the working needle in your dominant hand
Keep the other needle steady against your lap or under your arm. Stop and tidy up as soon as this part is done, so the next stage starts from a clear surface.
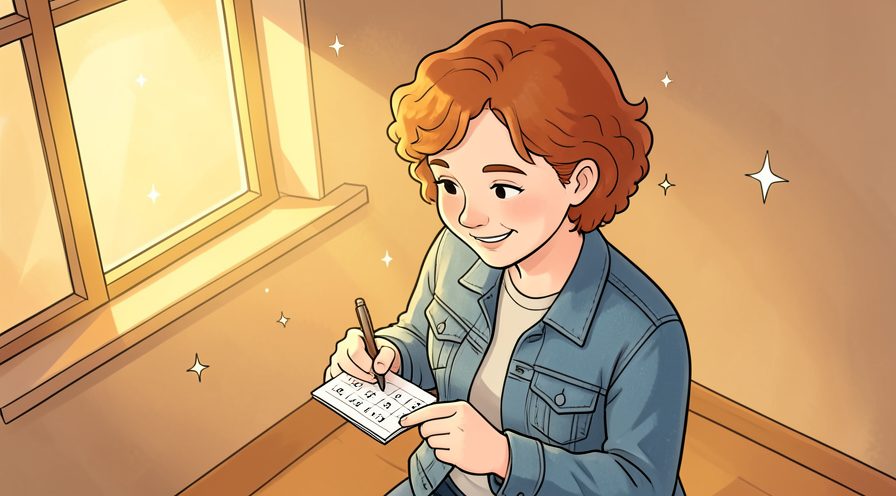
Step 8: Decide on a narrow sixteen stitch width
A narrow scarf finishes sooner and is easier to keep even. Use a timer or a quick count rather than guessing, especially on your first few attempts.
Step 9: Set a short first goal of four rows
A small target gets you past the awkward beginning. Read the label or the guidance for your knitting once before acting, since small differences matter here.
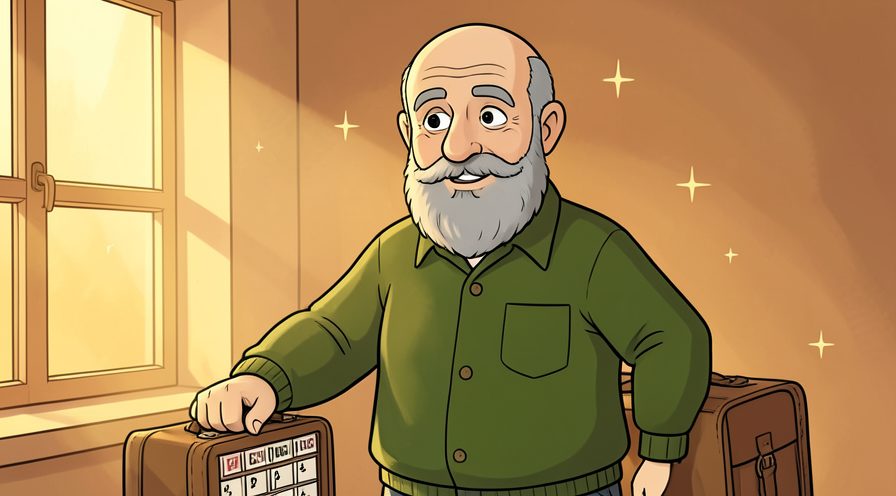
Step 10: Keep a tapestry needle and scissors nearby
Finishing tools should be within reach when the last row is done. Choose the gentlest option that still works, then increase only if the result is not holding.
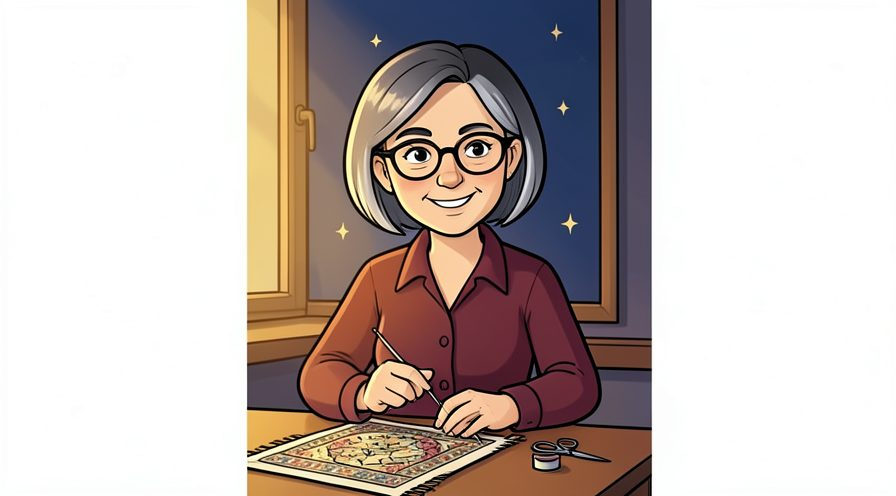
Step 11: Check the yarn ball can unwind freely
A ball that tugs adds uneven tension to every stitch. If you are unsure, do less than you think you need and check again; you can always repeat the step.
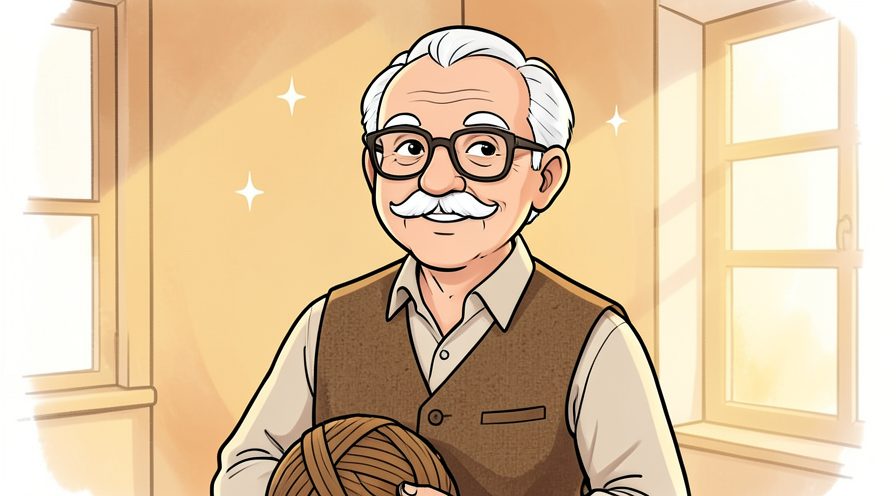
Step 12: Sit in good light
Seeing the front and back legs of each loop prevents split stitches. If conditions are different today, adjust one thing at a time and leave everything else unchanged.
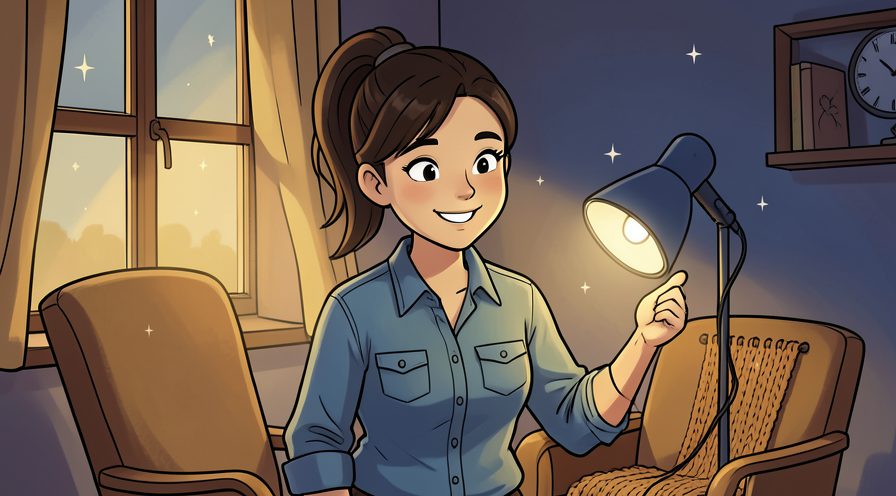
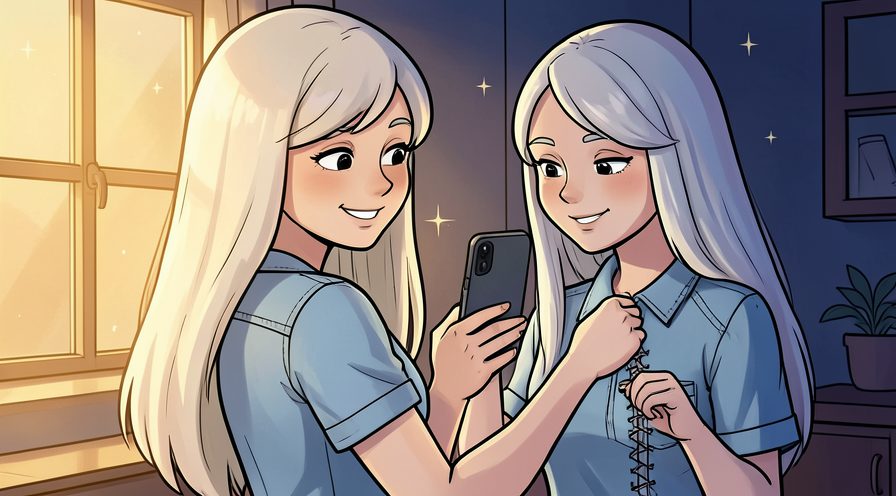
Step 13: Take a photo of the first row
A reference helps if you need to undo and restart. Give this stage a couple of minutes before moving on, because rushing here is the usual reason your knitting ends up uneven.
Keep going: How to Take Better Photos with Your Phone uses the same illustrated format and is a good next read. More checklists live in the Hobbies & Crafts category.
Method 2 of 3: Cast On and Knit Every Row
Step 14: Cast on sixteen stitches with a simple method
The long tail or knitted cast on both work, so use whichever video you find clearest. Use a light touch first; pressure and extra material are much easier to add than to remove.
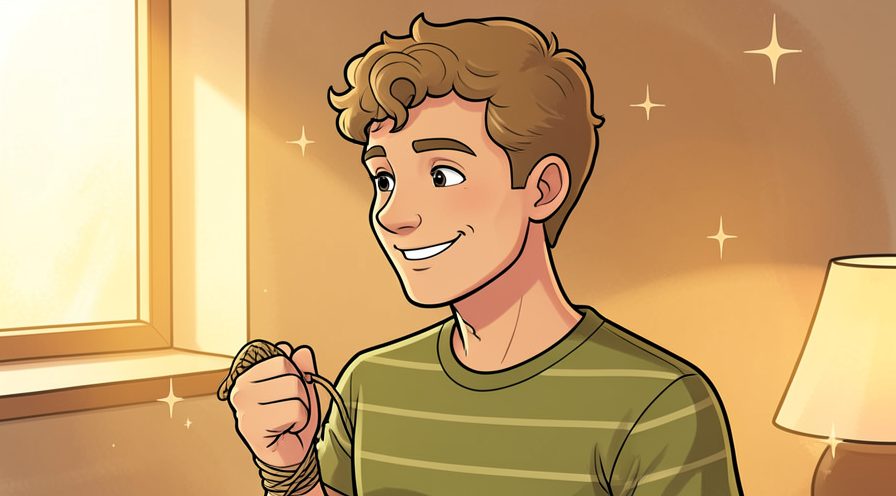
Step 15: Keep cast on loops loose
Tight loops make the first knit row difficult and pull the edge in. Put the tools back in the same place afterward, so the next session starts without a search.
Step 16: Insert the right needle into the first loop front to back
Hold the stitches in your left hand and go through the front leg so the stitch sits correctly. Finish with a quick check of the whole area rather than only the part you just handled.
Step 17: Wrap the yarn counter clockwise
Bring it around the right needle tip with your other hand. Photograph or jot down the finished stage once, which gives you a reference for the next attempt.
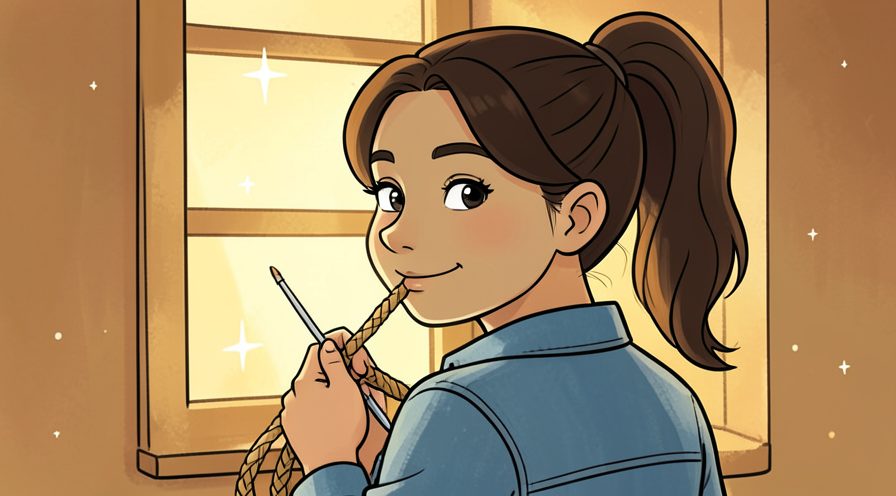
Step 18: Pull a new loop through
Hook the wrapped strand with the needle tip and draw it forward. Keep everything you might need within reach before starting, so you are not searching mid-step.
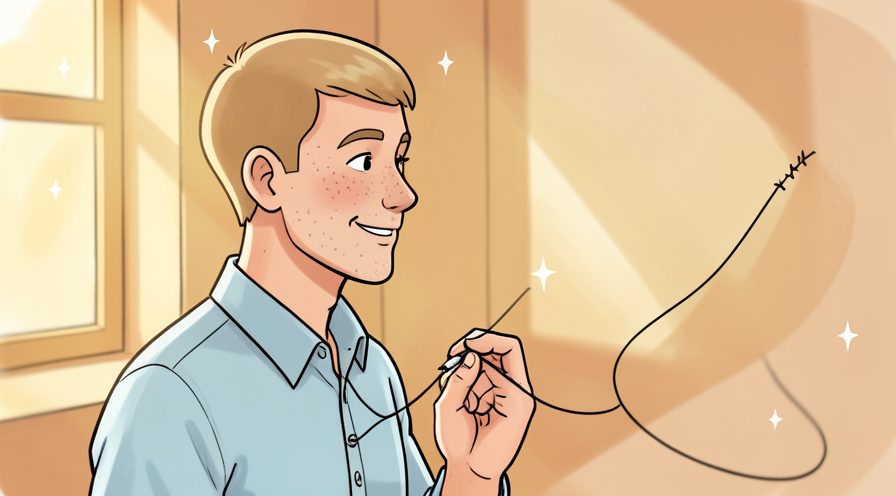
Step 19: Slide the old stitch off the left needle
One stitch is now complete on the right needle. Check the edges and the parts you cannot see easily; those are where most beginners miss something.
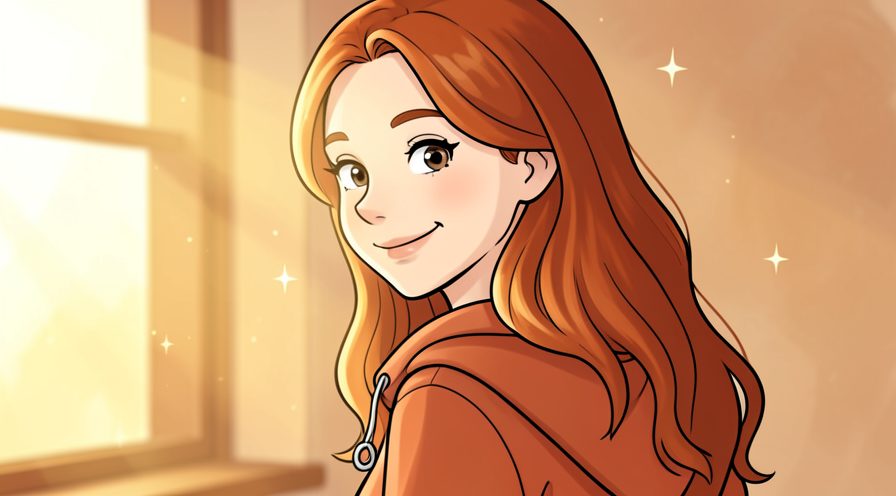
Step 20: Repeat to the end of the row
Keep the same rhythm rather than tightening after each stitch, then count sixteen loops. Let it settle for a moment before judging the result, since the first impression often changes.
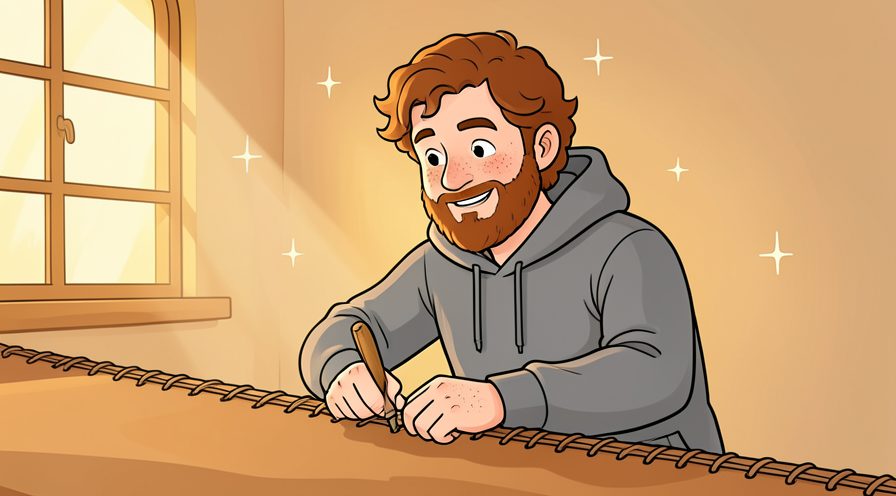
Step 21: Turn the work and knit every row back
Garter stitch lies flat and needs no purling, so keep going until the scarf reaches about 150 centimetres. Keep the same order every time, since a fixed sequence is easier to repeat than a list of separate decisions.
Keep going: How to Start a Bullet Journal uses the same illustrated format and is a good next read. More checklists live in the Hobbies & Crafts category.
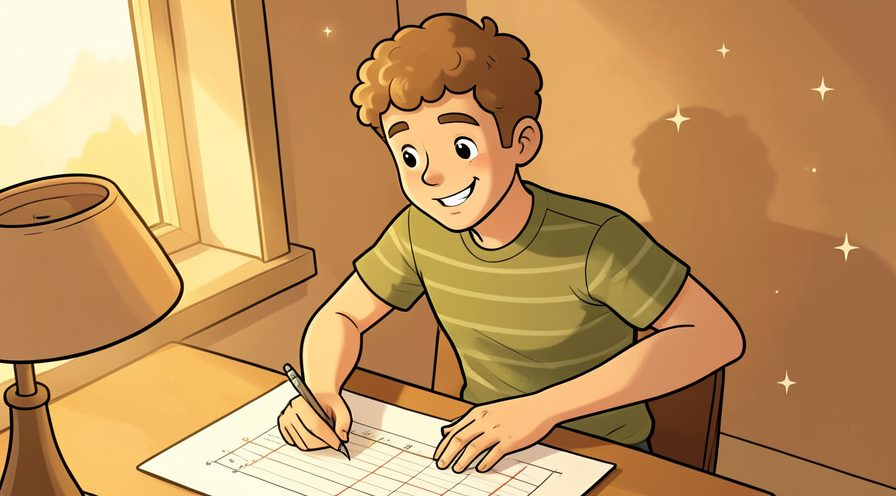
Method 3 of 3: Bind Off, Finish, and Fix Small Problems
Step 22: Knit the first two stitches of the final row
Binding off starts with two normal stitches on the right needle. Work in small passes and look at the result after each one, so a slip is easy to fix while it is still small.
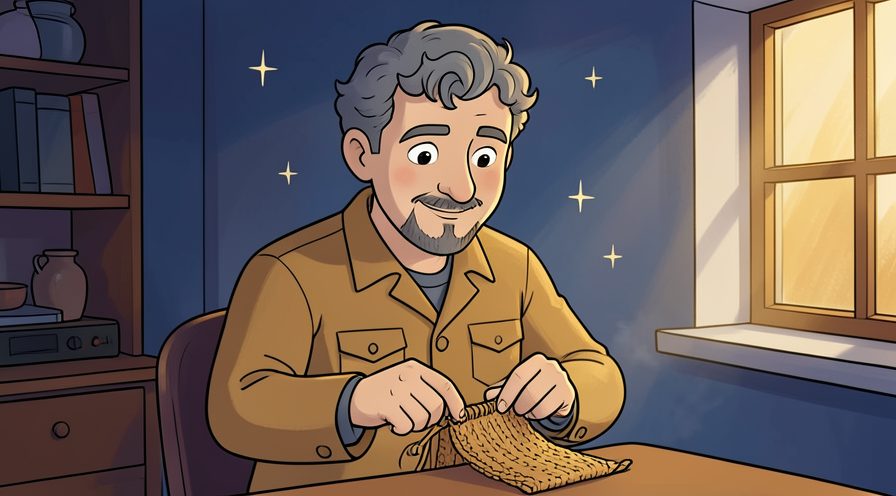
Step 23: Lift the first stitch over the second
Use the left needle tip and let the first loop drop away. Stop and tidy up as soon as this part is done, so the next stage starts from a clear surface.
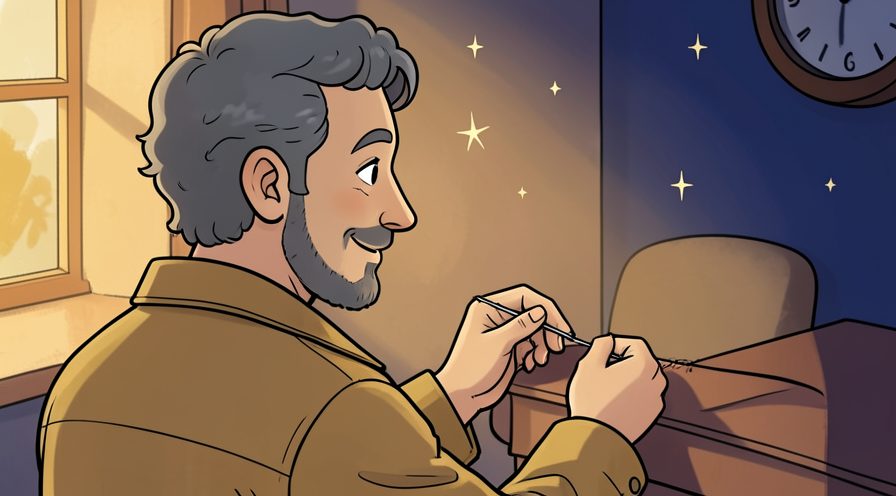
Step 24: Knit one more and pass again
Repeat until a single loop remains. Finish with a quick check of the whole area rather than only the part you just handled.
Step 25: Keep the bind off loose
A tight edge pulls the scarf in and makes it curl. Use a timer or a quick count rather than guessing, especially on your first few attempts.
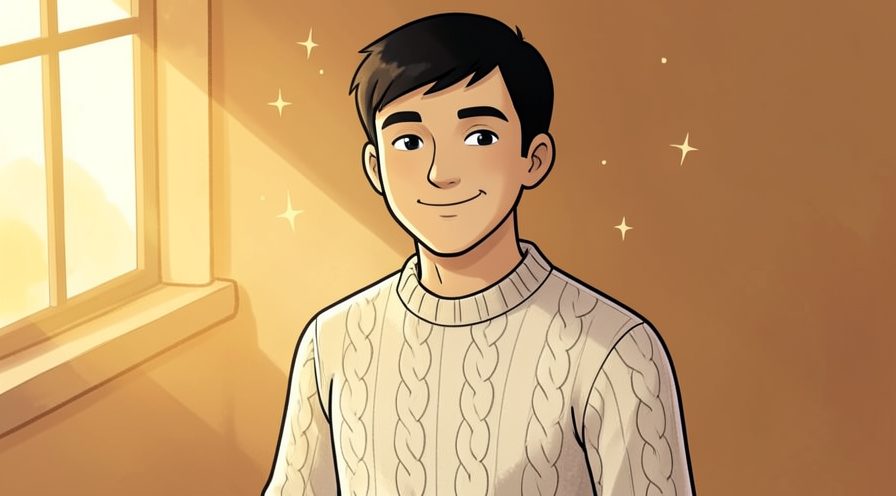
Step 26: Cut the yarn leaving a twenty centimetre tail
A longer tail is much easier to weave in neatly. Note what you changed, because the same adjustment usually applies the next time you work on your knitting.
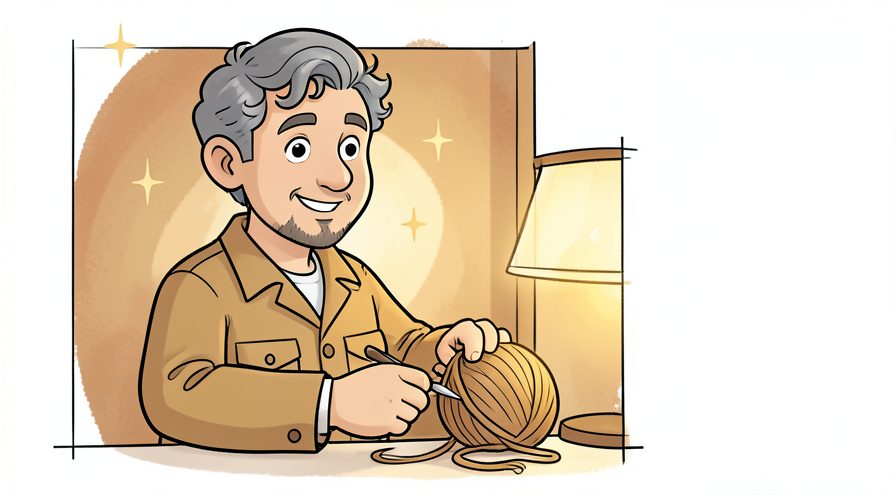
Step 27: Pull the final loop through and tighten
Thread the tail through the last stitch to lock it. Put the tools back in the same place afterward, so the next session starts without a search.
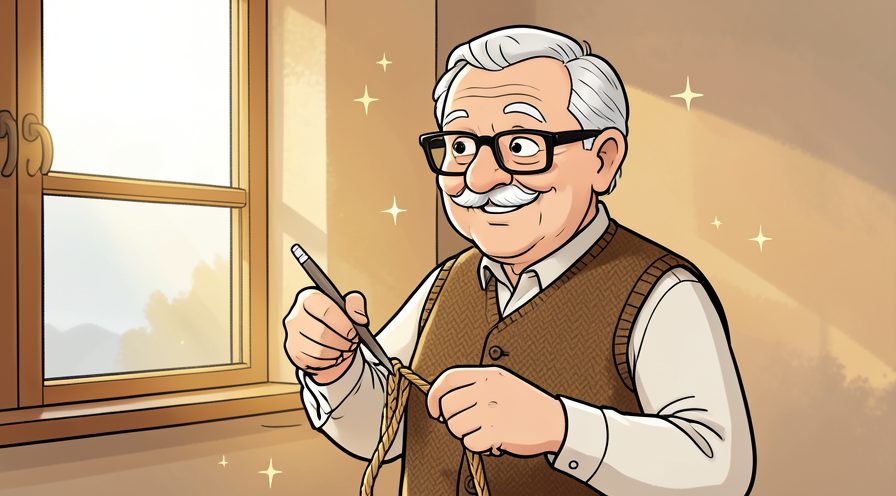
Step 28: Weave both tails into the edge
Thread the tapestry needle and follow the path of nearby stitches. Check the edges and the parts you cannot see easily; those are where most beginners miss something.
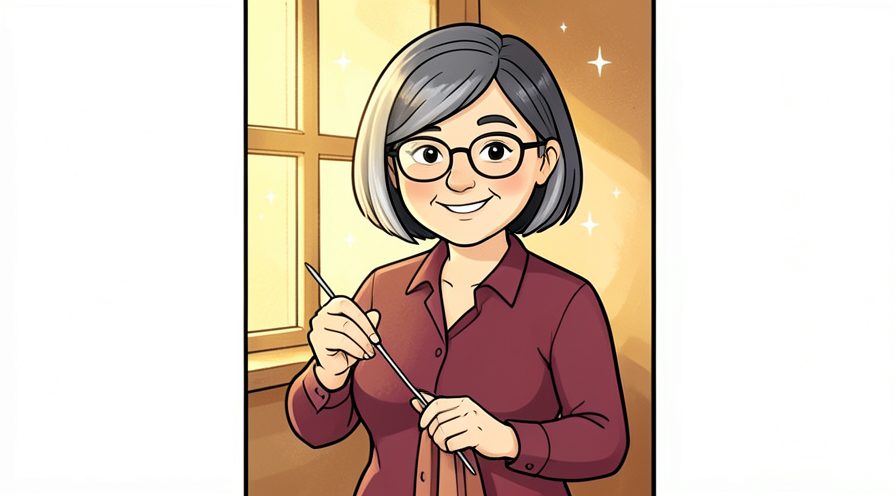
Step 29: Rescue a dropped stitch with a crochet hook
Ladder it back up through the loops above rather than pulling the fabric. Keep everything you might need within reach before starting, so you are not searching mid-step.
Keep going: How to Do Digital Art on Your Phone uses the same illustrated format and is a good next read. More checklists live in the Hobbies & Crafts category.
Tips
- Choose a light solid colour, since dark or highly textured yarn hides the loops you need to see.
- Count stitches at the end of each row for the first few rows, because an accidental increase is easiest to fix early. For another walkthrough, see How to Start Drawing as a Beginner.
- Keep your tension loose; tight beginners' stitches make the next row hard to enter.
Warnings
- Do not pull a dropped stitch with a sharp hook that could split the yarn. Official guidance: Adobe.
- Keep needles and yarn away from pets, since swallowed fibre is dangerous.
Frequently asked questions
How long does a first scarf take? With chunky yarn, most beginners finish in a few evenings of short sessions.
Why are the edges uneven? Usually accidental extra stitches or uneven tension, both of which improve with a few rows.
Can I use any yarn? Yes, but match the needle size to the yarn label so the fabric is not stiff or holey.
References
- Adobe — creative apps and drawing tools. https://www.adobe.com/creativecloud/apps.html
- Procreate — digital illustration app. https://procreate.com/
- Autodesk SketchBook — drawing app. https://www.sketchbook.com/
- The Metropolitan Museum of Art — art collection and reference. https://www.metmuseum.org/
- Khan Academy — art history and color basics. https://www.khanacademy.org/
Every guide is reviewed against its sources. See our editorial policy.
Reader comments
0 so farFinished this guide? Tell other readers what worked, what didn't, and what you would change.