Candle making goes wrong in three predictable ways: fragrance added when the wax is too hot, a wick that drifts off centre, and a fast cool that cracks the top. All three are avoidable with a thermometer, a wick holder, and a little patience. Start with a single small container candle rather than a batch.
This guide covers the setup and melt, then the pour and the cure that decide how it burns.
How to use this guide
Work through the illustrated steps in order. Every step has its own picture, so you can check what a finished stage should look like before you move on. If you only have a minute, skim the Quick steps box above and come back for the details.
Related guides
- How to Start Drawing as a Beginner
- How to Knit a Scarf for Beginners
- How to Take Better Photos with Your Phone
- How to Do Digital Art on Your Phone
- Browse all Hobbies & Crafts guides
- All HowCompass guides
Trusted external resources
- Adobe — creative apps and drawing tools
- Procreate — digital illustration app
- Autodesk SketchBook — drawing app
A note on sources
We check each guide against the official resources listed in References at the end of this article. External links open in a new tab; the related guides above stay on this site.
Quick steps
- Weigh wax and fragrance and use a thermometer throughout
- Add fragrance at the temperature your wax supplier recommends, then stir gently
- Centre the wick, pour with headspace, and cure before the first burn
Things you'll need
- Soy or paraffin wax
- Pre-tabbed wicks sized for your container
- A heat-safe container
- A double boiler or melting pitcher
- A thermometer
- A kitchen scale
- Fragrance oil
Step-by-step
Method 1 of 2: Measure, Melt, and Add Fragrance :: Accuracy here prevents most burn problems later.
Step 1: Choose a simple soy wax for the first candle
It is forgiving and cleans up with hot soapy water. Read the label or the guidance for your candle once before acting, since small differences matter here.
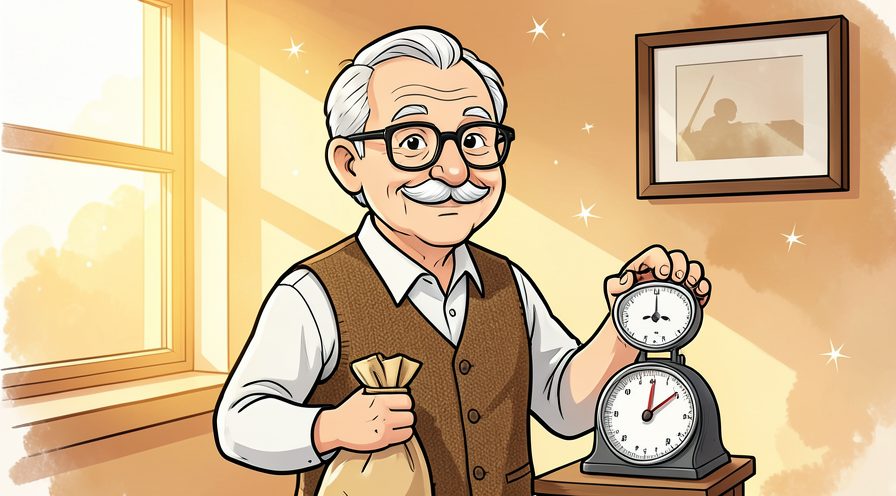
Step 2: Pick a heat-safe container
A straight sided glass jar gives an even burn. Finish with a quick check of the whole area rather than only the part you just handled.
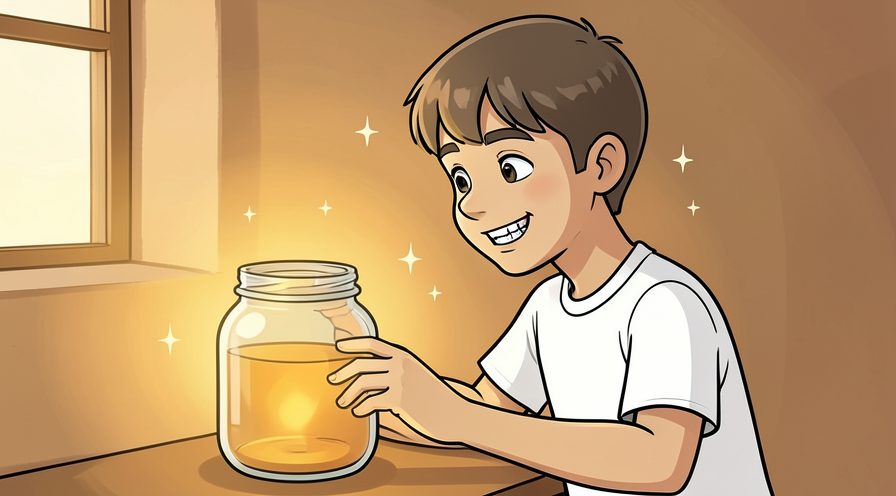
Step 3: Match the wick to the jar diameter
Suppliers publish a size guide, so use it rather than guessing. When in doubt, pause and compare against the picture above before continuing.
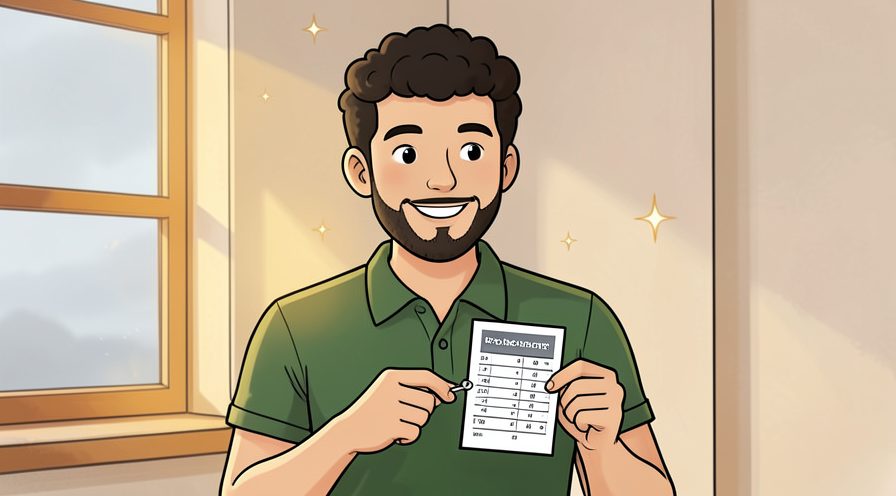
Step 4: Weigh the wax for your container
Note the number so you can repeat the batch. If conditions are different today, adjust one thing at a time and leave everything else unchanged.
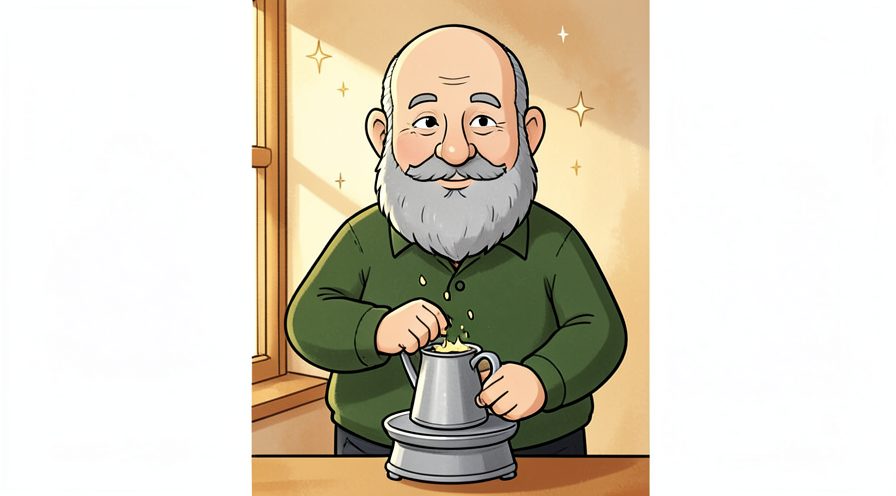
Step 5: Set up a double boiler
Indirect heat keeps wax from overheating. Repeat the same motion at a steady pace rather than varying it, which keeps the finish consistent.
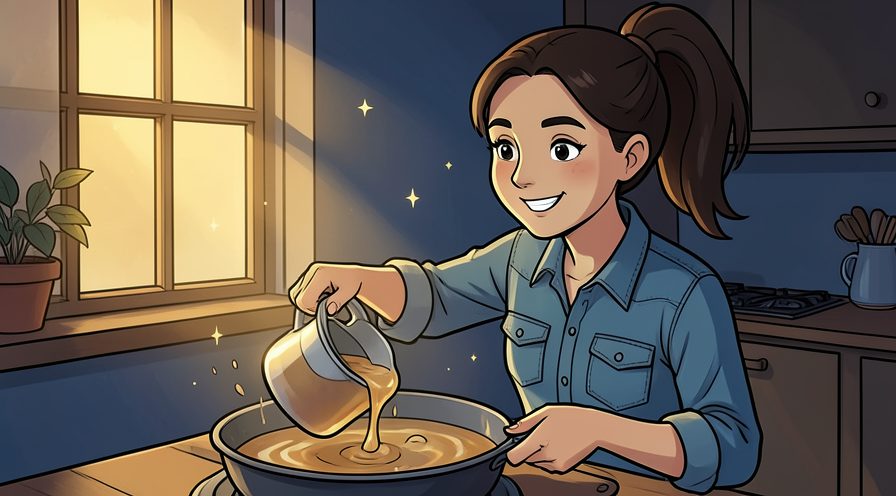
Step 6: Melt slowly and watch the thermometer
Follow the wax supplier's recommended maximum temperature. If you are unsure, do less than you think you need and check again; you can always repeat the step.

Step 7: Weigh the fragrance oil separately
Most waxes take roughly six to ten percent by weight. Give this stage a couple of minutes before moving on, because rushing here is the usual reason your candle ends up uneven.

Step 8: Let the wax cool to the recommended add temperature
Adding fragrance to very hot wax burns off the top notes. Keep the same order every time, since a fixed sequence is easier to repeat than a list of separate decisions.

Step 9: Stir the fragrance in gently
Slow steady stirring for two minutes avoids whipping in bubbles. Work in small passes and look at the result after each one, so a slip is easy to fix while it is still small.

Step 10: Secure the wick tab to the jar base
A small dab of adhesive or a sticker keeps it centred later. Use a timer or a quick count rather than guessing, especially on your first few attempts.
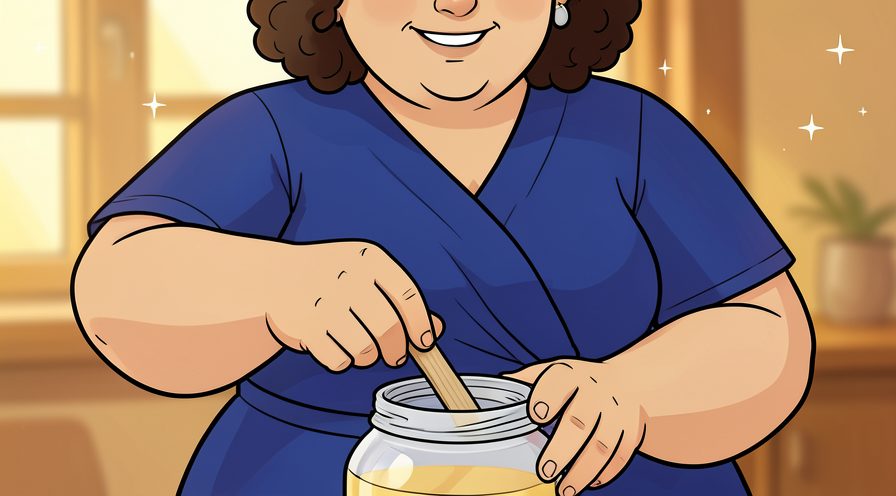
Step 11: Thread the wick through a holder
A centring bar or two chopsticks keeps it straight while pouring. Let it settle for a moment before judging the result, since the first impression often changes.
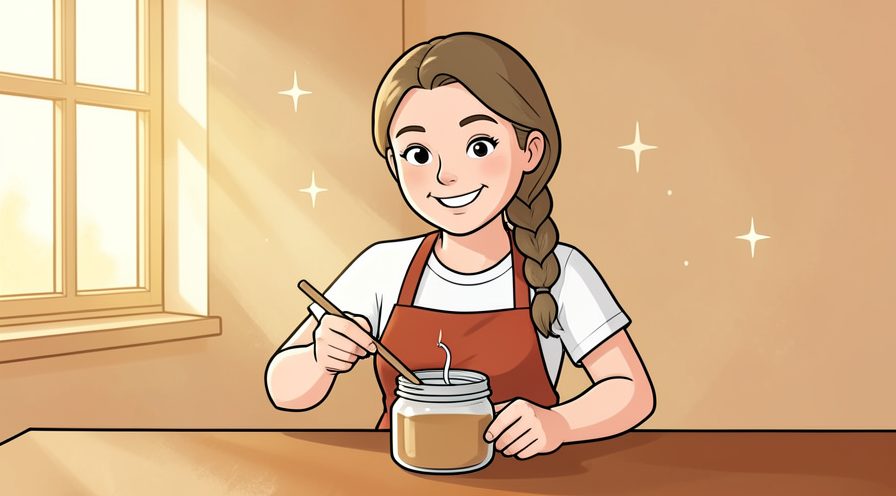
Step 12: Warm the empty jar slightly
A warm vessel reduces a sunken top as the wax shrinks. Note what you changed, because the same adjustment usually applies the next time you work on your candle.
Keep going: How to Knit a Scarf for Beginners uses the same illustrated format and is a good next read. More checklists live in the Hobbies & Crafts category.

Method 2 of 2: Pour, Cure, and Test Burn :: Slow cooling is what gives a smooth top.
Step 13: Check the pour temperature
Most soy waxes pour best slightly above their cloud point. Use a light touch first; pressure and extra material are much easier to add than to remove.

Step 14: Pour slowly down the side of the jar
A steady stream reduces trapped air bubbles. Check the edges and the parts you cannot see easily; those are where most beginners miss something.

Step 15: Leave a centimetre of headspace
Wax at the very rim spills when you trim the wick. Keep everything you might need within reach before starting, so you are not searching mid-step.

Step 16: Re-centre the wick immediately
Nudge it while the wax is still liquid. Stop and tidy up as soon as this part is done, so the next stage starts from a clear surface.
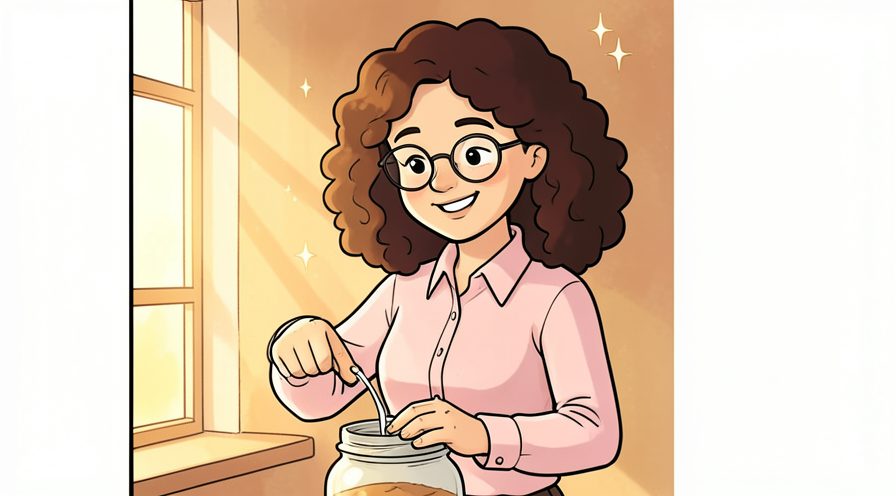
Step 17: Let it cool undisturbed at room temperature
Moving it or a cold draught can crack the surface. Put the tools back in the same place afterward, so the next session starts without a search.

Step 18: Trim the wick to about five millimetres
A short wick lights cleanly and smokes less. A slightly imperfect result here is fine and can be corrected later; a rushed fix usually costs more time.

Step 19: Leave it to cure for several days
Curing improves scent throw and burn behaviour. Photograph or jot down the finished stage once, which gives you a reference for the next attempt.

Step 20: Do a first test burn for two hours
Let the melt pool reach close to the edge before extinguishing. Choose the gentlest option that still works, then increase only if the result is not holding.

Step 21: Note tunnelling, soot, or a weak scent
Each symptom points to one variable to change next time. If you are unsure, do less than you think you need and check again; you can always repeat the step.
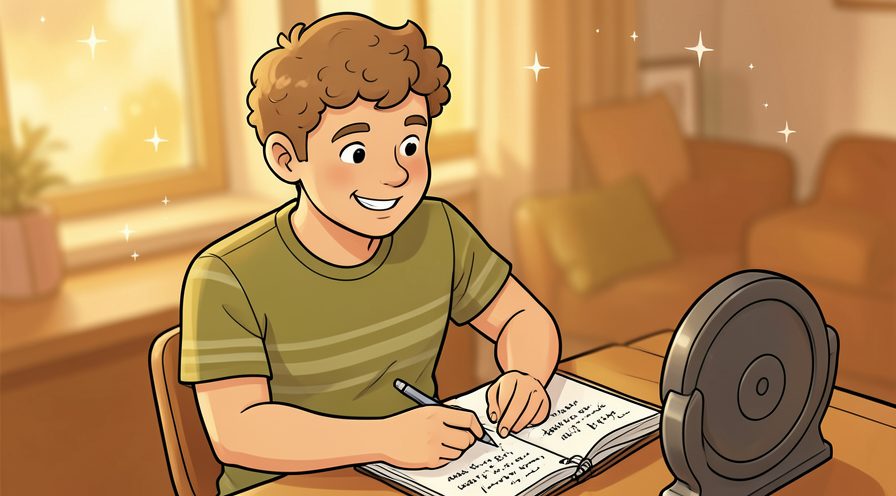
Step 22: Label the candle with the formula
Weights, fragrance, and date make the next batch repeatable. Note what you changed, because the same adjustment usually applies the next time you work on your candle.

Step 23: Clean the pitcher while wax is still warm
Warm wax wipes out far more easily than cold. Stop and tidy up as soon as this part is done, so the next stage starts from a clear surface.
Keep going: How to Take Better Photos with Your Phone uses the same illustrated format and is a good next read. More checklists live in the Hobbies & Crafts category.
Tips
- Keep a notebook with the exact weights and temperatures, since a good candle is worth repeating exactly.
- Warm the container slightly before pouring to reduce a sunken top. For another walkthrough, see How to Start Drawing as a Beginner.
- Do not guess the wick size; a wick that is too small tunnels and one that is too large smokes.
Warnings
- Never leave melting wax unattended on a stove and never add water to hot wax. Official guidance: Adobe.
- Keep fragrance oil and hot wax away from children, pets, and open flames.
Frequently asked questions
Why did my candle tunnel? Usually the wick was too small or the first burn was too short.
Can I use essential oils? Some work, but many have low flash points, so use a fragrance oil made for candles.
How long should it cure? Soy candles generally benefit from several days to two weeks.
References
- Adobe — creative apps and drawing tools. https://www.adobe.com/creativecloud/apps.html
- Procreate — digital illustration app. https://procreate.com/
- Autodesk SketchBook — drawing app. https://www.sketchbook.com/
- The Metropolitan Museum of Art — art collection and reference. https://www.metmuseum.org/
- Khan Academy — art history and color basics. https://www.khanacademy.org/
Every guide is reviewed against its sources. See our editorial policy.



Reader comments
0 so farFinished this guide? Tell other readers what worked, what didn't, and what you would change.