Dull scissors tear instead of cut, but a few minutes of sharpening restores a clean edge. This illustrated guide covers 3 methods and 18 steps, with a separate picture for every step.
This guide walks through the process in clear illustrated steps, from the first preparation to a finished result. Each step has its own picture, so you can compare your progress as you go.
How to use this guide
Work through the steps in order. Method 1 of 3: Prep the Scissors covers the basics, and the later methods offer alternatives and finishing touches. If you only have a minute, skim the Quick steps box above and come back for the details.
Related guides
- How to Clean and Organize a Kitchen
- How to Cut Fabric Straight
- How to Make Handmade Greeting Cards
- How to Start Sewing
- Browse all Home & Garden guides
- All 52runoob guides
Trusted external resources
A note on sources
We check each guide against the official resources listed in References at the end of this article. External links open in a new tab; the related guides above stay on this site.
Quick steps
- Check the screw and clean the blades before you start
- Follow the existing blade angle with a stone or file
- Test on scrap paper and wipe the blades clean
Things you'll need
- A sharpening stone or small file
- A soft cloth
- A little oil (optional)
- Scrap paper for testing
- Aluminium foil for the quick trick
Step-by-step
Method 1 of 3: Prep the Scissors :: Start with a clean, stable tool.
Step 1: Clean the blades
Wipe off dust and sticky residue so grit does not scratch the edge.

Step 2: Check the pivot screw
Tighten a loose screw so the blades meet properly along their length.

Step 3: Open the scissors fully
Work with the blades open so you can reach the whole cutting edge.
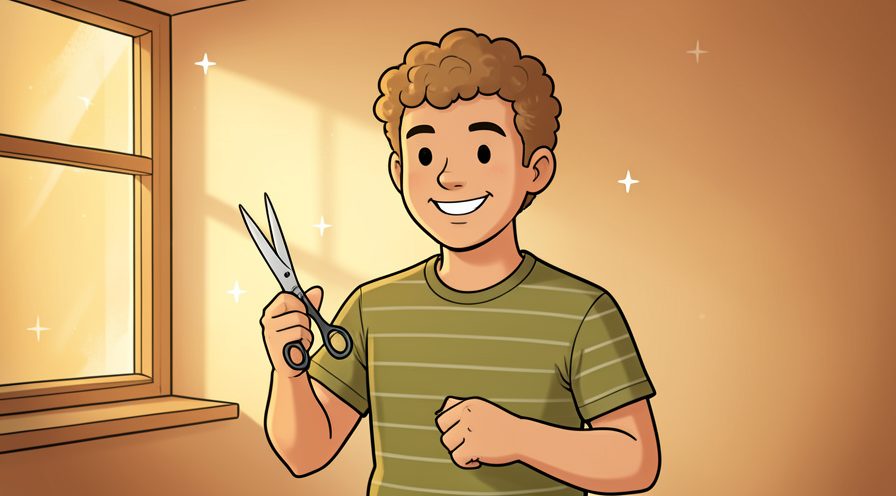
Step 4: Find the bevel angle
Look at the ground edge and note the shallow angle you need to follow.

Step 5: Secure the scissors
Hold the handle firmly or rest it on the table for control.
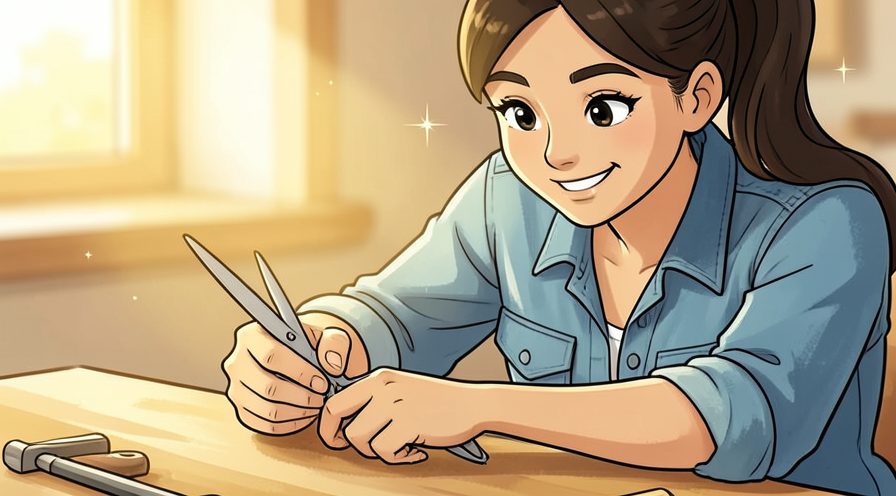
Method 2 of 3: Sharpen the Edge :: Use a stone or a fine file.
Step 6: Wet the stone
Soak or dampen a honing stone so it grinds smoothly.
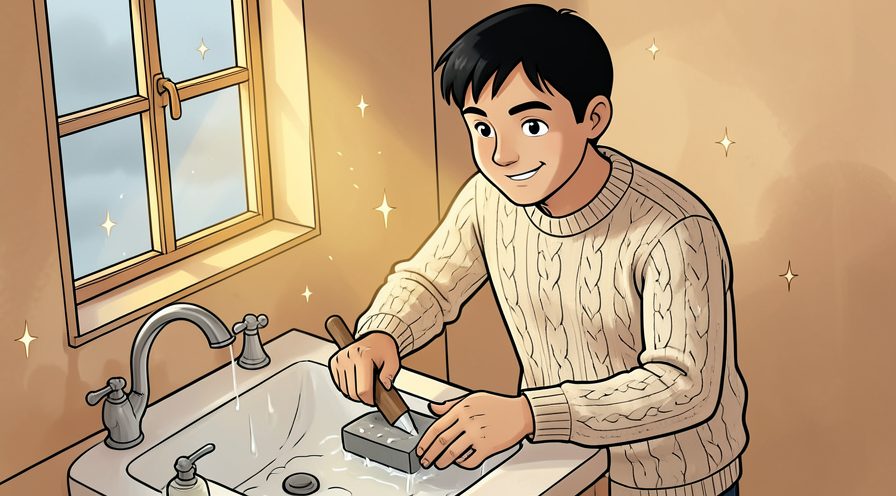
Step 7: Stroke along the bevel
Draw the blade along the stone at the same angle as the factory edge.

Step 8: Repeat evenly on both blades
Give each blade the same number of strokes so they stay matched.
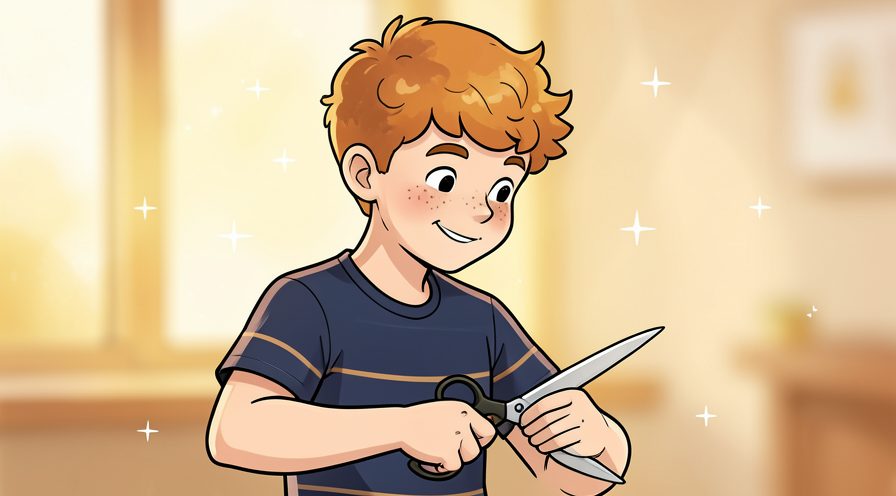
Step 9: Use a file for nicks
Run a fine file lightly over small chips to smooth them out.
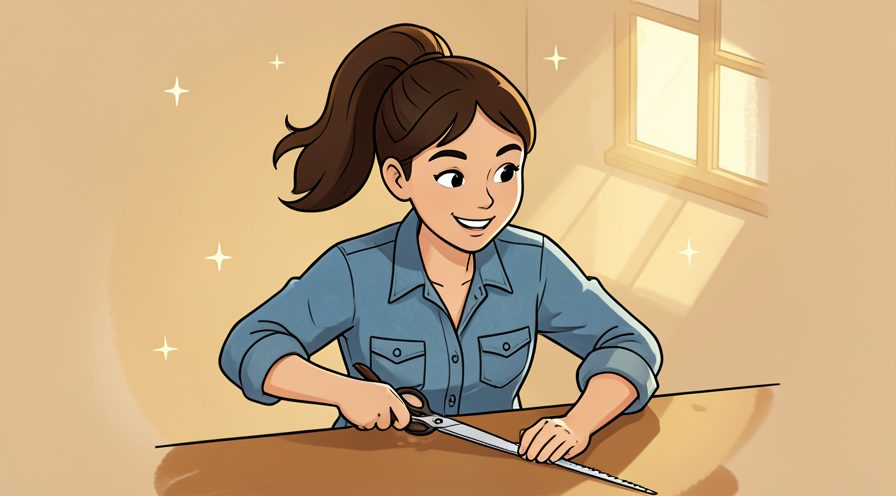
Step 10: Oil and wipe the blade
A drop of oil and a wipe removes metal debris after sharpening.

Step 11: Test on scrap paper
Cut a strip and listen for a clean, smooth slice rather than a tear.

Method 3 of 3: Finish and Maintain :: Keep the edge between sessions.
Step 12: Wipe away metal filings
Clean the blades and stone so no grit is left behind.

Step 13: Try the foil trick
Cut through a strip of aluminium foil a few times to smooth a minor burr.

Step 14: Cut a test shape
Trim a small curve in paper to check that the tips cut cleanly.
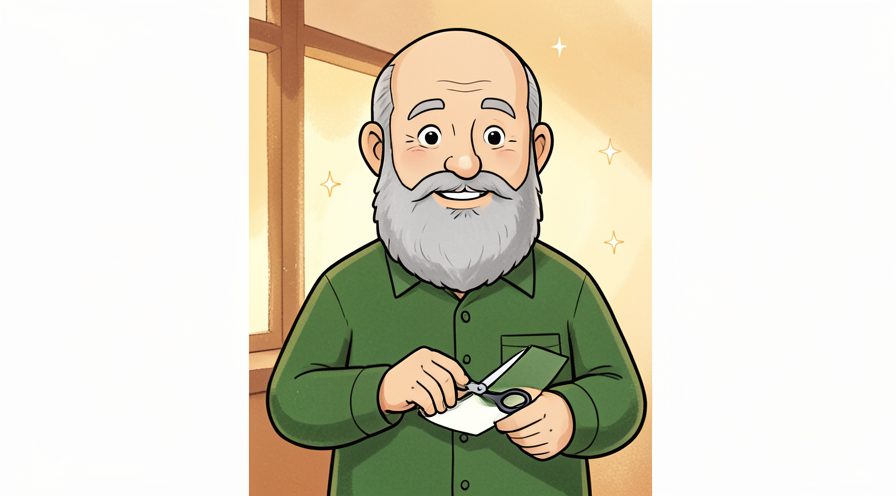
Step 15: Store in a sheath
Keep the scissors in a cover or drawer to protect the edge.
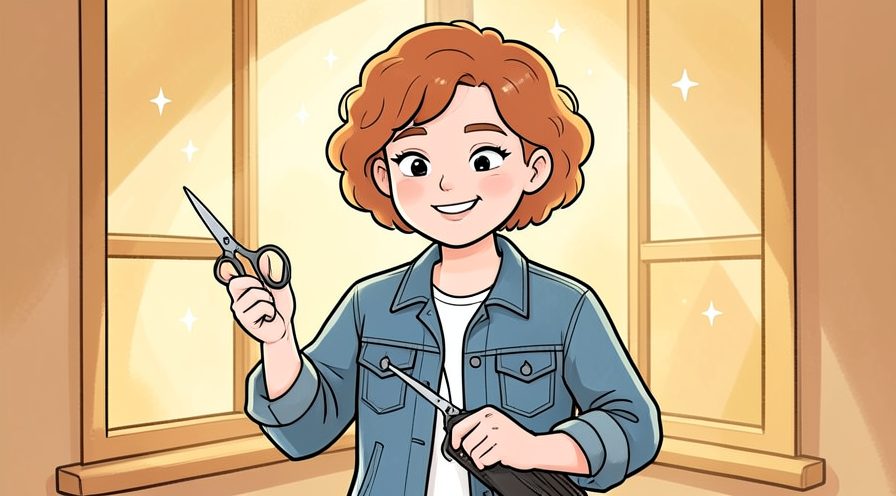
Step 16: Keep them dry
Dry the blades after washing to prevent rust along the edge.
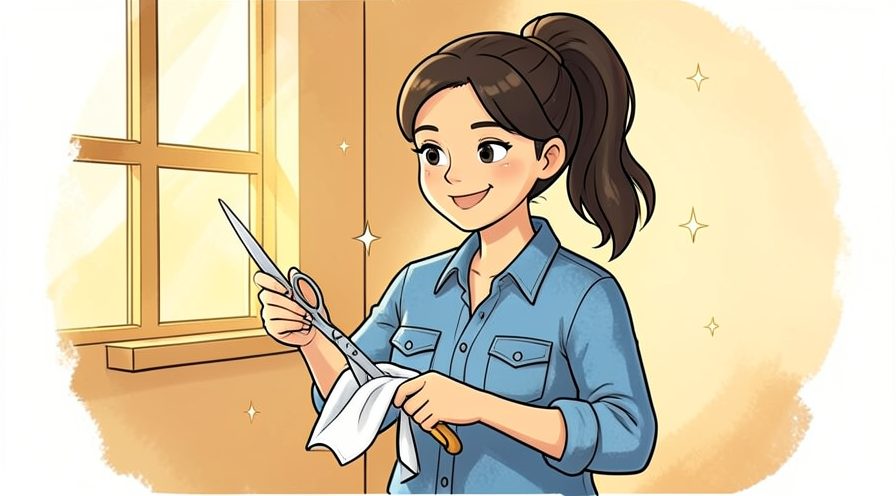
Tips
- Match the factory bevel angle rather than grinding a new one.
- A few light strokes are better than a few heavy ones.
- See How to Cut Fabric Straight after sharpening your shears.
Warnings
- Always cut away from your body and keep fingers clear of the blade edge.
- Do not try to sharpen serrated or heavily damaged blades at home.
Frequently asked questions
How often should I sharpen? It depends on use, but a quick honing every few weeks keeps scissors keen.
Can I use a file? Yes, a fine file works if you follow the original blade angle.
Does the foil trick really work? Cutting foil a few times can temporarily tidy a slightly dull edge.
References
- Wikipedia — scissors. https://en.wikipedia.org/wiki/Scissors
- Popular Mechanics — tool maintenance. https://www.popularmechanics.com/
- This Old House — sharpening tools. https://www.thisoldhouse.com/
- wikiHow — How to Sharpen Scissors. https://www.wikihow.com/sharpen-scissors
Every guide is reviewed against its sources. See our editorial policy.



Reader comments
0 so farFinished this guide? Tell other readers what worked, what didn't, and what you would change.