Trying to write down everything a lecturer says leaves you with a full page and no idea what mattered. Useful notes capture the structure of the idea, the examples that pin it down, and the bits you did not understand. That means listening for signals and writing far less than you think.
This guide sets up a repeatable page format before class, then covers the review pass that makes the notes usable at exam time.
How to use this guide
Work through the illustrated steps in order. Every step has its own picture, so you can check what a finished stage should look like before you move on. If you only have a minute, skim the Quick steps box above and come back for the details.
Related guides
- How to Write a College Essay
- How to Manage Your Time as a Student
- How to Read a Textbook Effectively
- How to Study for a Test
- Browse all Education guides
- All HowCompass guides
Trusted external resources
- Khan Academy — free lessons and practice
- Purdue Online Writing Lab — study and writing resources
- ETS — test preparation guidance
A note on sources
We check each guide against the official resources listed in References at the end of this article. External links open in a new tab; the related guides above stay on this site.
Quick steps
- Skim the topic before class and write three questions at the top of the page
- Use headings, short phrases, and an indent for examples instead of full sentences
- Spend ten minutes the same evening filling gaps and writing a three line summary
Things you'll need
- A notebook with dated pages or a note-taking app
- Two pens in different colours
- The course outline or reading list
- A highlighter used sparingly
- Ten minutes set aside after class
Step-by-step
Method 1 of 2: Set Up and Capture the Right Things
Step 1: Skim the topic before the session
Ten minutes with the outline gives you a frame to hang details on. Photograph or jot down the finished stage once, which gives you a reference for the next attempt.
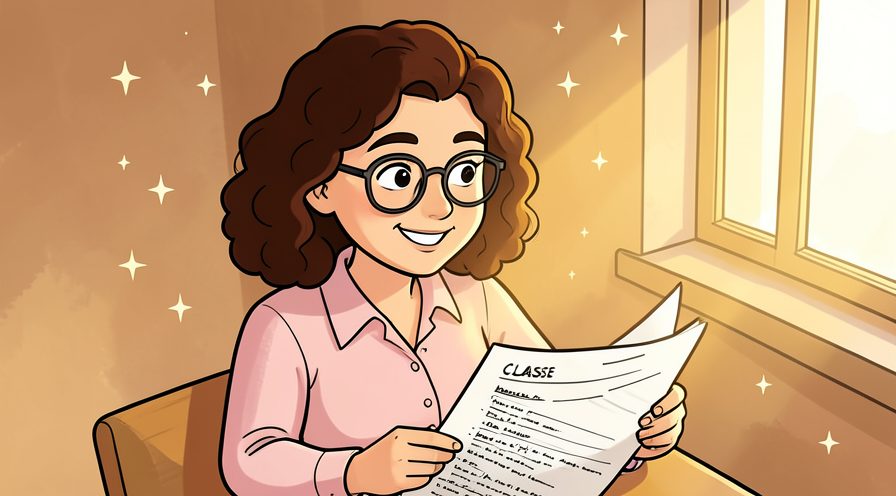
Step 2: Write two or three questions at the top
Turning the topic into questions gives you something to listen for. Finish with a quick check of the whole area rather than only the part you just handled.
Step 3: Date the page and note the slide range
Matching notes to materials later saves a lot of sorting. Give this stage a couple of minutes before moving on, because rushing here is the usual reason your notes ends up uneven.
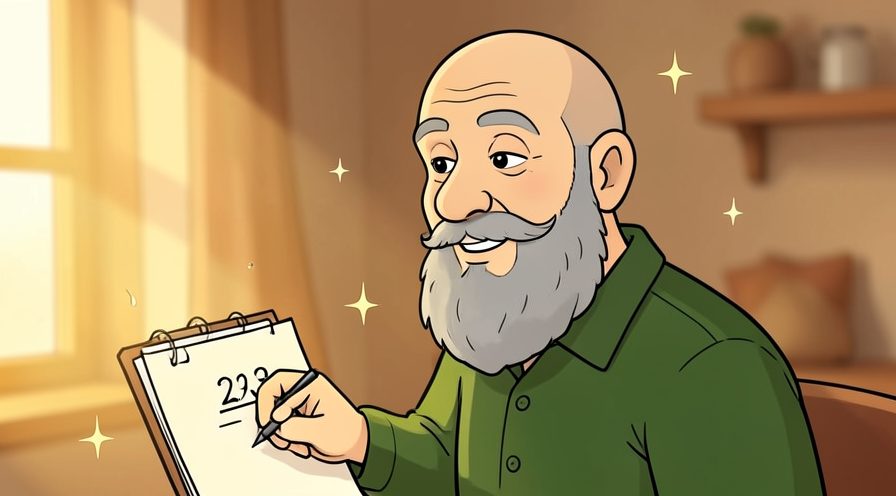
Step 4: Draw a wide cue column down the left
Reserve it for keywords and questions you add during review. A slightly imperfect result here is fine and can be corrected later; a rushed fix usually costs more time.
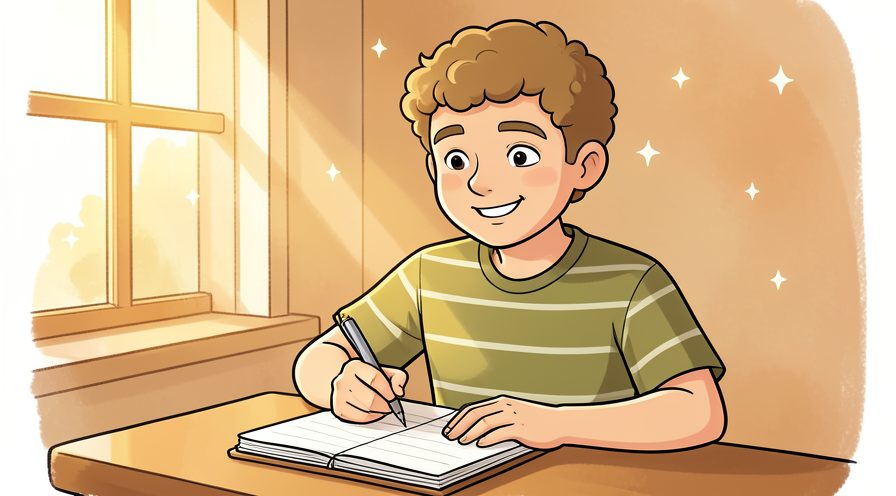
Step 5: Agree on a few abbreviations
Short forms for recurring terms keep your hand close to the speaking pace. Note what you changed, because the same adjustment usually applies the next time you work on your notes.
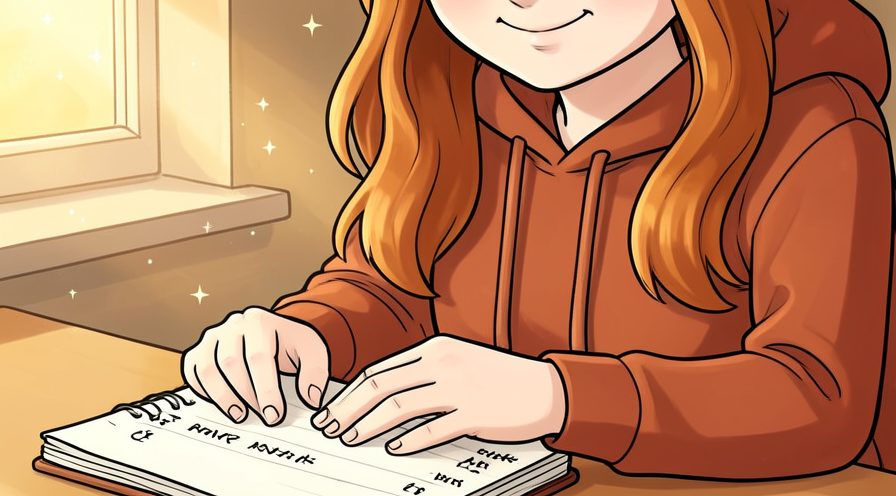
Step 6: Listen for signpost phrases
"There are three reasons" or "the key difference" tells you a heading is coming. When in doubt, pause and compare against the picture above before continuing.

Step 7: Write headings as short phrases
Capture the idea in three or four words instead of a full sentence. Work in small passes and look at the result after each one, so a slip is easy to fix while it is still small.
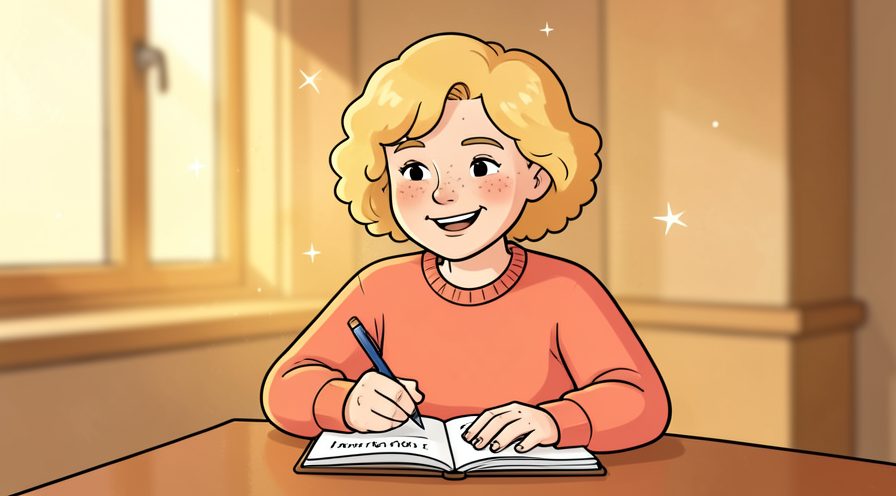
Step 8: Indent examples beneath each heading
Visual nesting shows what supports what without extra explanation. Stop and tidy up as soon as this part is done, so the next stage starts from a clear surface.

Step 9: Mark confusion with a question mark
Flag the gap and keep listening so you do not lose the next point. If you are unsure, do less than you think you need and check again; you can always repeat the step.
Keep going: How to Manage Your Time as a Student uses the same illustrated format and is a good next read. More checklists live in the Education category.

Method 2 of 2: Turn Notes into Something You Can Study From
Step 10: Fill gaps within ten minutes of leaving
Memory of the session is still fresh enough to complete half-written lines. Keep the same order every time, since a fixed sequence is easier to repeat than a list of separate decisions.
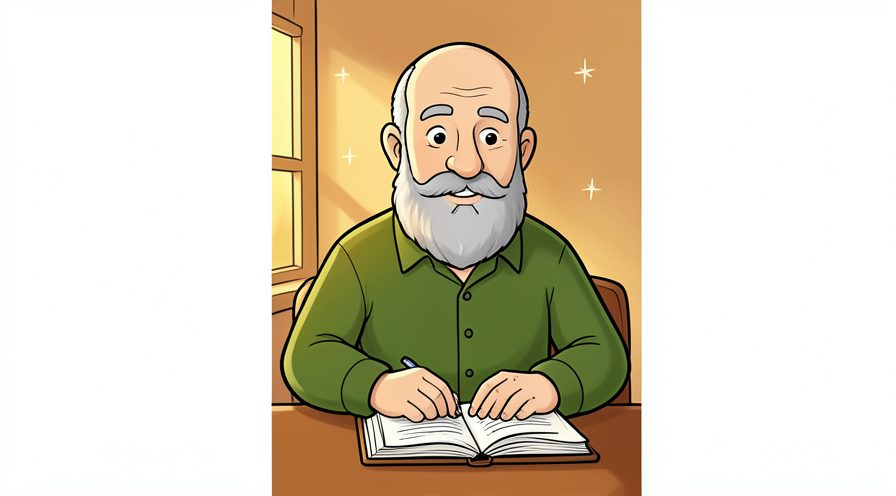
Step 11: Complete every question mark
Look up the term, ask a classmate, or mark it for the next office hour. Choose the gentlest option that still works, then increase only if the result is not holding.
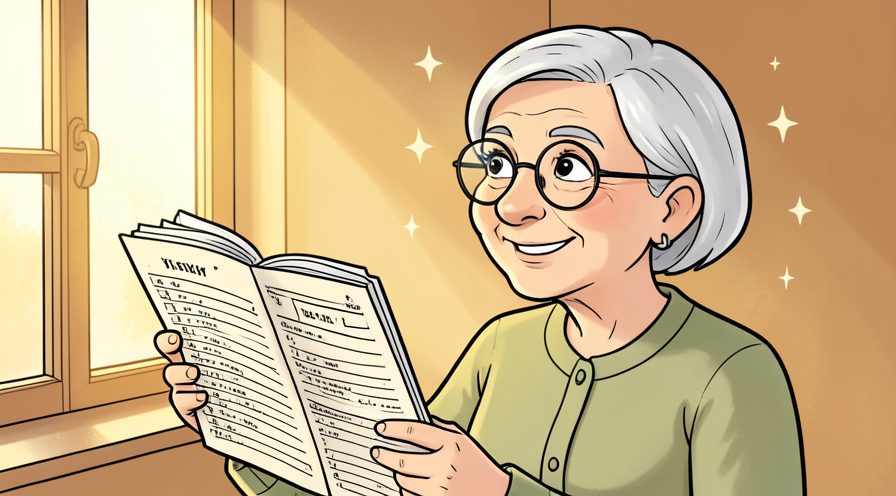
Step 12: Add keywords to the cue column
One or two words per section become prompts for self-testing. If conditions are different today, adjust one thing at a time and leave everything else unchanged.
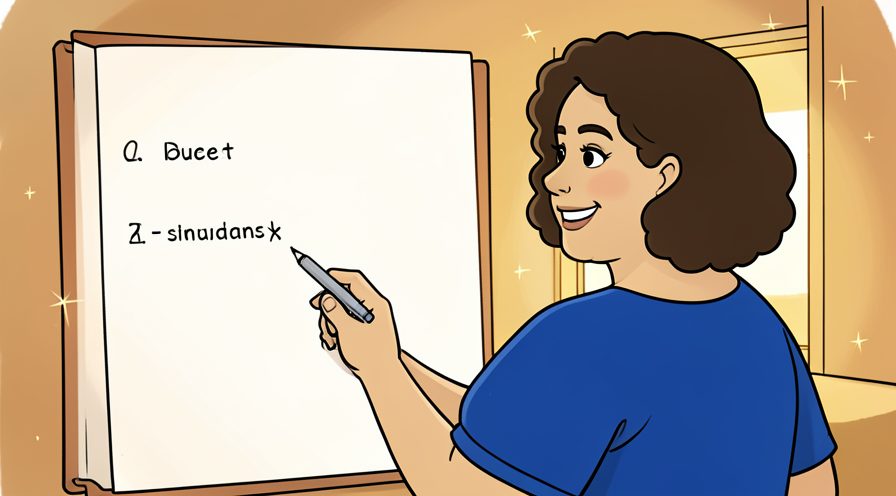
Step 13: Write a three line summary at the bottom
Compressing a whole lecture forces you to pick the main idea. Repeat the same motion at a steady pace rather than varying it, which keeps the finish consistent.
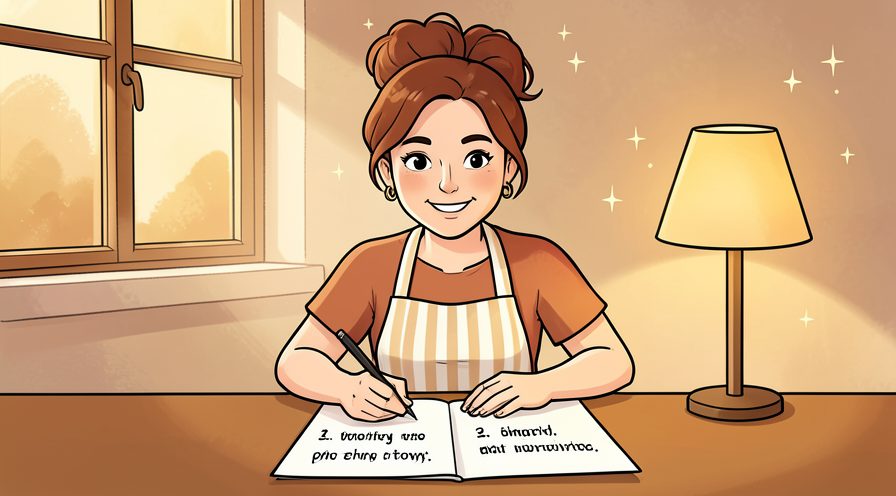
Step 14: Cover the notes and recite from cues
Use the left column as prompts and check what you actually recall. Read the label or the guidance for your notes once before acting, since small differences matter here.
Step 15: Link the page to the reading
Add the chapter or slide number where the same idea appears. Let it settle for a moment before judging the result, since the first impression often changes.

Step 16: Highlight sparingly, one idea per section
More colour than that stops meaning anything. Put the tools back in the same place afterward, so the next session starts without a search.
Step 17: Make two questions into flashcards
Anything you could be examined on belongs on a card. Keep everything you might need within reach before starting, so you are not searching mid-step.
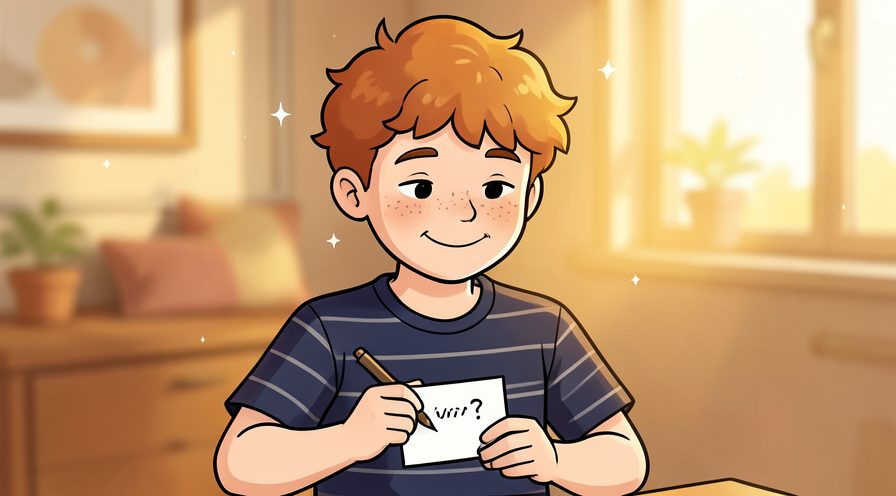
Step 18: Compare notes with a classmate weekly
Another page often contains the one example you missed. Use a light touch first; pressure and extra material are much easier to add than to remove.

Step 19: Flag anything the lecturer repeated
Repetition is the clearest signal that a point is examinable. Check the edges and the parts you cannot see easily; those are where most beginners miss something.

Step 20: Keep a running list of unresolved questions
Bring it to the next class or office hour instead of letting it fade. Use a timer or a quick count rather than guessing, especially on your first few attempts.
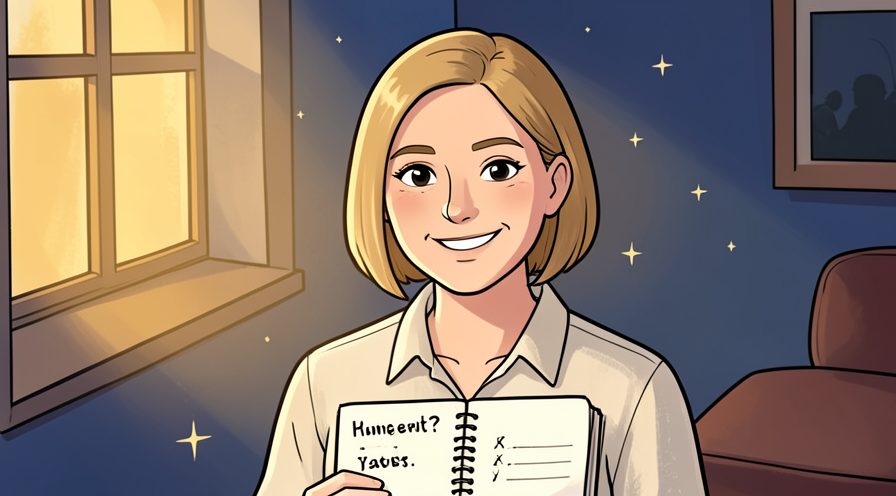
Step 21: File pages in date order
A simple chronological folder is enough for a whole term. Read the label or the guidance for your notes once before acting, since small differences matter here.

Step 22: Skim the week's pages every Sunday
Five minutes per page keeps the material alive before the next lecture. Use a light touch first; pressure and extra material are much easier to add than to remove.

Step 23: Revisit the original questions
Check whether you can now answer the ones written at the top. Keep everything you might need within reach before starting, so you are not searching mid-step.
Keep going: How to Read a Textbook Effectively uses the same illustrated format and is a good next read. More checklists live in the Education category.
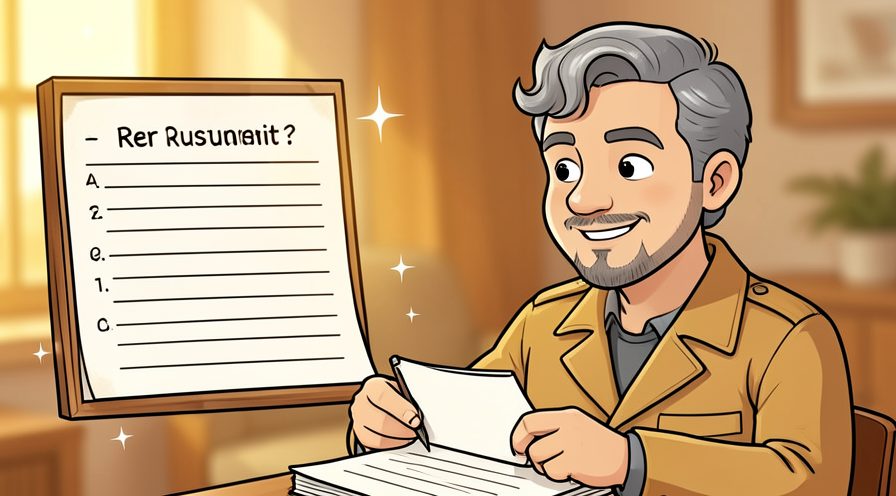
Tips
- Leave a wide left margin for questions and keywords, since that column becomes your self-testing tool later.
- Mark anything you did not follow with a question mark rather than stopping to work it out mid-lecture. For another walkthrough, see How to Write a College Essay.
- Write dates and slide numbers on every page so you can match notes to readings later.
Warnings
- Do not record audio or photograph a board without checking the course policy and the lecturer's permission. Official guidance: Khan Academy.
- Avoid rewriting notes neatly as procrastination; a short active review beats a beautiful copy.
Frequently asked questions
Should I handwrite or type? Handwriting usually forces more summarising, but a laptop is fine if you resist transcribing.
Is Cornell the only good method? No, any layout with a cue column, a notes area, and a summary works.
When should I review? The same day for ten minutes, then once a week.
References
- Khan Academy — free lessons and practice. https://www.khanacademy.org/
- Purdue Online Writing Lab — study and writing resources. https://owl.purdue.edu/
- ETS — test preparation guidance. https://www.ets.org/
- American Psychological Association — learning and memory. https://www.apa.org/
- UC Berkeley Greater Good Magazine — learning research. https://greatergood.berkeley.edu/
Every guide is reviewed against its sources. See our editorial policy.



Reader comments
0 so farFinished this guide? Tell other readers what worked, what didn't, and what you would change.