A quick folding method keeps t-shirts compact and upright in drawers so you can find them at a glance.
This guide walks through the process in clear illustrated steps, from the first preparation to a finished result. Each step has its own picture, so you can compare your progress as you go.
How to use this guide
Work through the steps in order. Method 1 of 2 covers the basics, and the later methods offer alternatives and finishing touches. If you only have a minute, skim the Quick steps box above and come back for the details.
Related guides
- How to Deep clean your kitchen
- How to Start origami as a beginner
- How to Frame a print at home
- How to Write a bibliography
- Browse all Hobbies guides
- All 52runoob guides
Trusted external resources
A note on sources
We check each guide against the official resources listed in References at the end of this article. External links open in a new tab; the related guides above stay on this site.
Quick steps
- Lay the shirt flat and smooth it
- Fold sleeves into the centre
- Fold in half and fold again
- Stand the shirt upright in the drawer
Things you'll need
- Clean t-shirts
- A flat folding surface
- A tidy drawer
- Optional folding board
Step-by-step
Method 1 of 2: The Two-Second Fold
Step 1: Lay the shirt face down
Place the shirt flat on a clean surface.

Step 2: Smooth the fabric
Run your hands over the shirt to remove wrinkles.

Step 3: Fold one sleeve in
Bring the right sleeve across toward the middle.

Step 4: Fold the other sleeve
Bring the left sleeve across to match.

Step 5: Grab the folded edges
Hold the shirt at the folded sleeve lines.

Step 6: Fold the shirt in half
Bring the bottom up to meet the collar.

Step 7: Tuck and flip
Tuck the loose edge and turn the shirt over.

Step 8: Stand it in the drawer
Store the shirt on its edge so it stays visible.

Method 2 of 2: The Compact Roll
Step 9: Lay the shirt flat
Start with a smooth, face-down shirt.

Step 10: Fold in the sleeves
Bring both sleeves toward the centre.

Step 11: Fold the bottom up
Fold the lower third of the shirt upward.

Step 12: Start rolling tightly
Roll from the collar end down into a cylinder.
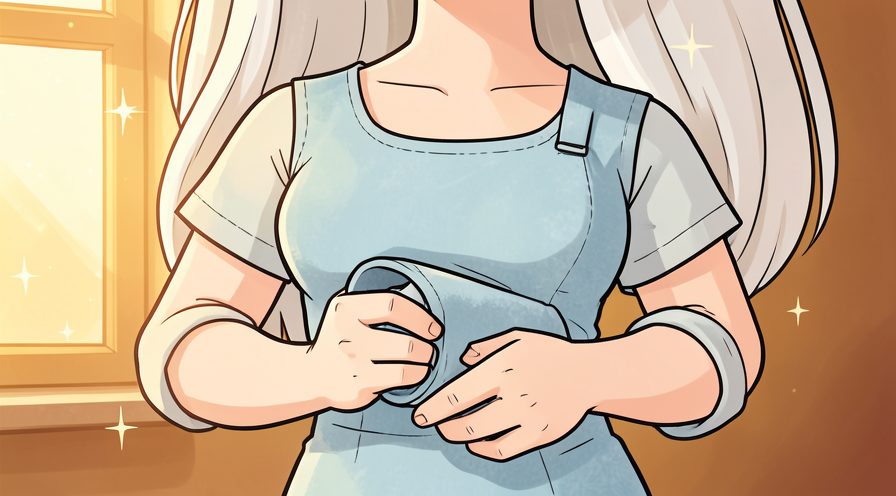
Step 13: Keep the roll even
Tuck stray fabric in as you roll.

Step 14: Tuck the final flap
Slide the last edge into the roll to secure it.

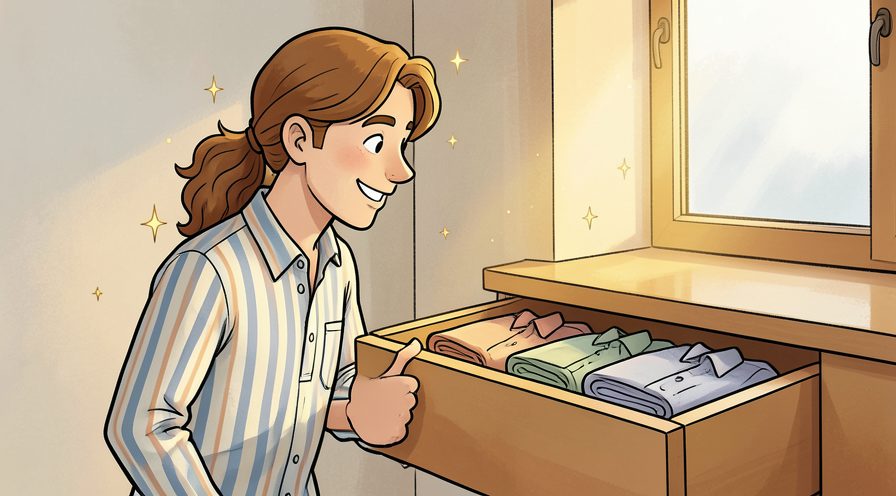
Step 15: Pack the rolls upright
Line the rolls up side by side in a drawer.

Step 16: Save space
Notice how many more shirts fit this way.
Tips
- Fold at the same size every time for neat stacks.
- Smooth wrinkles as you go to save ironing.
Warnings
- Avoid folding damp shirts to prevent mildew.
- Do not cram drawers, which wrinkles shirts.
Frequently asked questions
How long does it take to fold t-shirts quickly?
What supplies do I need for fold t-shirts quickly?
Is fold t-shirts quickly safe for beginners?
References
- The Spruce — how to fold a t-shirt. https://www.thespruce.com/
- Good Housekeeping — closet organizing tips. https://www.goodhousekeeping.com/
- wikiHow — How to Fold T-Shirts Quickly. https://www.wikihow.com/Fold-a-T%E2%80%90Shirt-in-Two-Seconds
Every guide is reviewed against its sources. See our editorial policy.



Reader comments
0 so farFinished this guide? Tell other readers what worked, what didn't, and what you would change.