A clean cutting wheel opens cans smoothly and keeps food from picking up old residue or rust.
This guide walks through the process in clear illustrated steps, from the first preparation to a finished result. Each step has its own picture, so you can compare your progress as you go.
How to use this guide
Work through the steps in order. Method 1 of 2 covers the basics, and the later methods offer alternatives and finishing touches. If you only have a minute, skim the Quick steps box above and come back for the details.
Related guides
- How to Improve your credit score
- How to Build a mason jar herb garden
- How to Build a capsule wardrobe
- How to Apply mascara without clumps
- Browse all Home guides
- All 52runoob guides
Trusted external resources
A note on sources
We check each guide against the official resources listed in References at the end of this article. External links open in a new tab; the related guides above stay on this site.
Quick steps
- Remove loose food with a brush
- Wash with warm soapy water
- Scrub the wheel and remove grime
- Dry fully and oil the hinge
Things you'll need
- Warm soapy water
- A small brush or toothbrush
- Baking soda
- A soft cloth
- Cooking oil
Step-by-step
Method 1 of 2: Daily Cleaning
Step 1: Unplug if electric
Disconnect any electric opener before cleaning.

Step 2: Brush away loose food
Use a small brush to lift off stuck-on bits.

Step 3: Wash in soapy water
Soak the head in warm soapy water briefly.
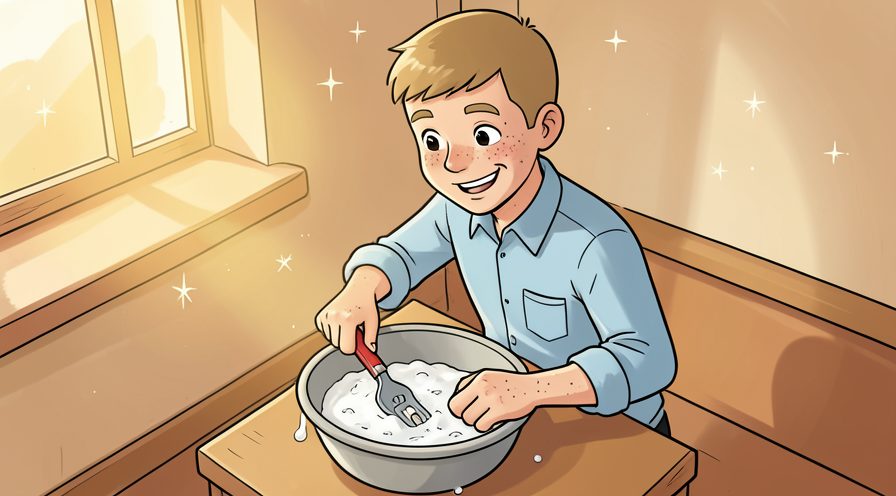
Step 4: Scrub the wheel
Work around the cutting wheel with a toothbrush.

Step 5: Clean the gears
Remove grime from the turning gears and handle.
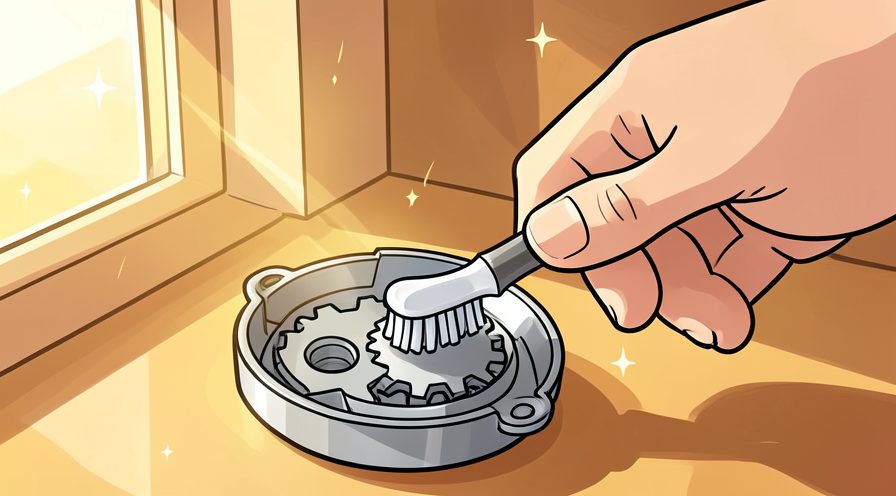
Step 6: Rinse well
Rinse away all soap under running water.

Step 7: Dry completely
Wipe and air dry the metal parts.

Step 8: Test the action
Turn the handle to check it moves freely.

Method 2 of 2: Deep Clean and Care
Step 9: Make a baking soda paste
Mix baking soda with a little water.

Step 10: Apply to the blade
Spread the paste over the cutting wheel.

Step 11: Let it sit
Allow the paste to loosen built-up residue.

Step 12: Scrub gently
Brush the blade and gears in circular motions.

Step 13: Wipe clean
Remove the paste with a damp cloth.

Step 14: Rinse and dry
Rinse thoroughly and dry every part.

Step 15: Oil the hinge
Add a drop of cooking oil to the pivot.

Step 16: Store it dry
Keep the opener in a dry drawer ready to use.

Tips
- Clean the wheel after opening sticky cans.
- A toothbrush reaches the small gaps around the blade.
Warnings
- The cutting edge is sharp; handle it carefully.
- Dry the metal fully to prevent rust.
Frequently asked questions
How long does it take to clean a can opener?
What supplies do I need for clean a can opener?
Is clean a can opener safe for beginners?
References
- FDA — cleaning food contact surfaces. https://www.fda.gov/
- Good Housekeeping — cleaning kitchen gadgets. https://www.goodhousekeeping.com/
- wikiHow — How to Clean a Can Opener. https://www.wikihow.com/Clean-a-Can-Opener
Every guide is reviewed against its sources. See our editorial policy.



Reader comments
0 so farFinished this guide? Tell other readers what worked, what didn't, and what you would change.