Most hair problems blamed on products come from technique: shampoo rubbed through the ends, conditioner on the scalp, and a thirty second rinse. Hair does not need scrubbing, but the scalp does need a gentle, thorough clean. Changing where products go and how long you rinse fixes a surprising amount.
This guide walks through a full wash, the conditioning and drying pass, and the adjustments that make the routine work for your own scalp and hair type.
How to use this guide
Work through the illustrated steps in order. Every step has its own picture, so you can check what a finished stage should look like before you move on. If you only have a minute, skim the Quick steps box above and come back for the details.
Related guides
- How to Apply Foundation Evenly
- How to Shape Your Eyebrows at Home
- How to Do a Manicure at Home
- How to Build a Skincare Routine
- Browse all Beauty & Style guides
- All HowCompass guides
Trusted external resources
- American Academy of Dermatology — everyday skin care
- American Academy of Dermatology — skin health
- Skin Cancer Foundation — sun protection
A note on sources
We check each guide against the official resources listed in References at the end of this article. External links open in a new tab; the related guides above stay on this site.
Quick steps
- Wet hair fully with lukewarm water and massage shampoo only into the scalp
- Condition from mid-length to ends and rinse for a full minute
- Blot with a soft towel instead of rubbing or wringing
Things you'll need
- A shampoo suited to your scalp
- Conditioner for your hair type
- A wide tooth comb
- A microfiber towel or soft cotton shirt
- A detangling brush
- Optional leave-in conditioner
Step-by-step
Method 1 of 3: Clean the Scalp Properly
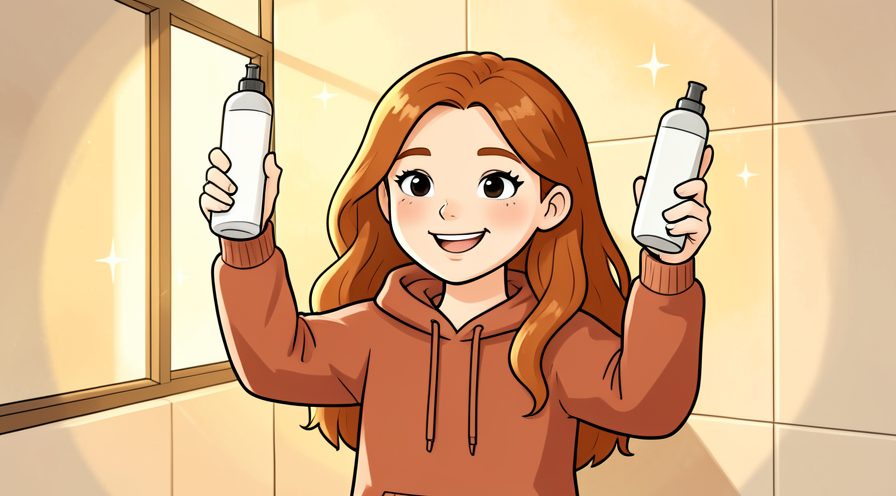
Step 1: Choose shampoo for your scalp, not your ends
An oily scalp and dry ends are common together, so buy for the skin. Let it settle for a moment before judging the result, since the first impression often changes.
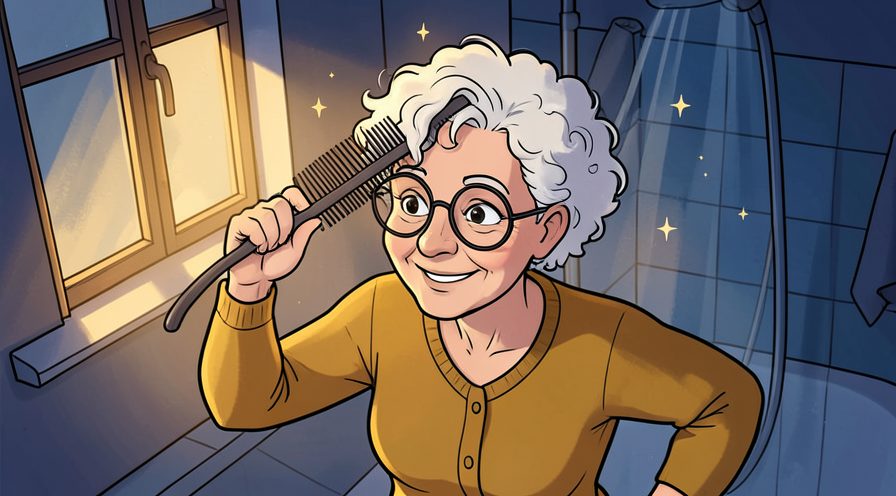
Step 2: Detangle dry hair before wetting it
Wet knots tighten, so a gentle brush first prevents breakage later. Work in small passes and look at the result after each one, so a slip is easy to fix while it is still small.
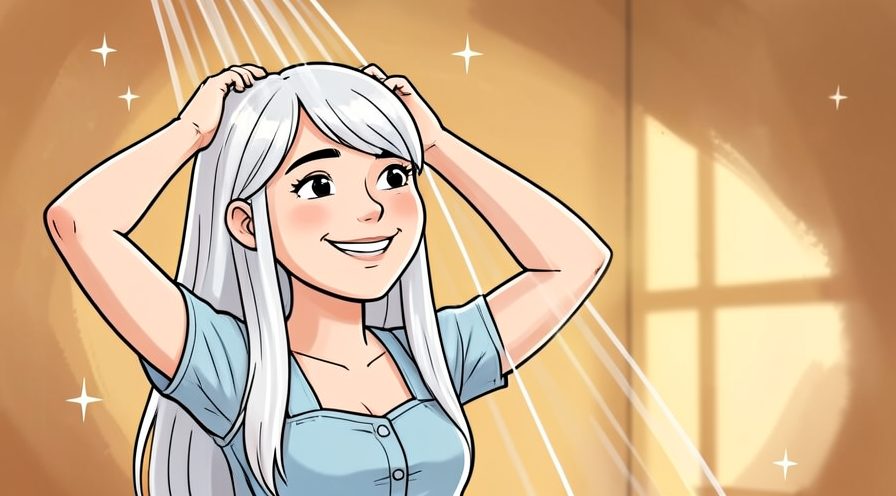
Step 3: Wet hair thoroughly for a full minute
Lift sections so water reaches the scalp under the top layer. Check the edges and the parts you cannot see easily; those are where most beginners miss something.
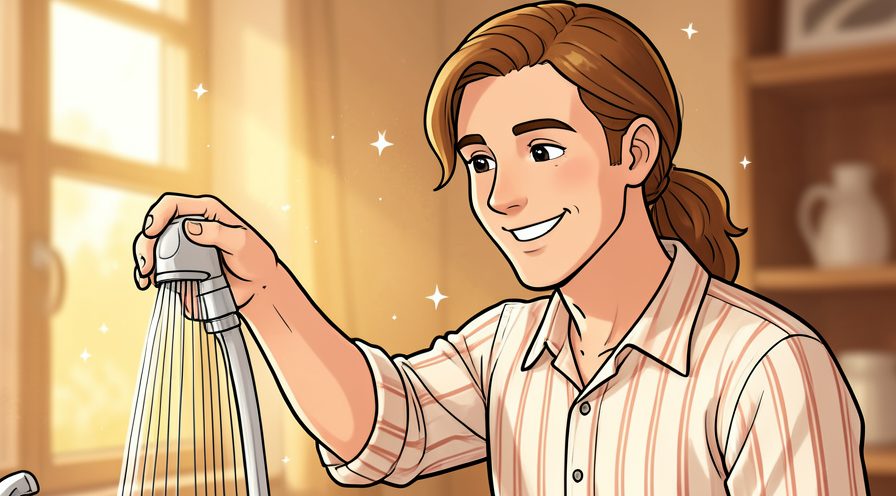
Step 4: Keep the water lukewarm
Hot water feels good but can leave the scalp tight and the cuticle raised. Read the label or the guidance for your hair once before acting, since small differences matter here.
Step 5: Rub a small amount of shampoo between your palms
A coin sized amount is usually enough, and diluting it spreads more evenly. Give this stage a couple of minutes before moving on, because rushing here is the usual reason your hair ends up uneven.

Step 6: Dot it along the hairline, crown, and nape
Putting it on the scalp in a few places avoids one overloaded patch. Put the tools back in the same place afterward, so the next session starts without a search.
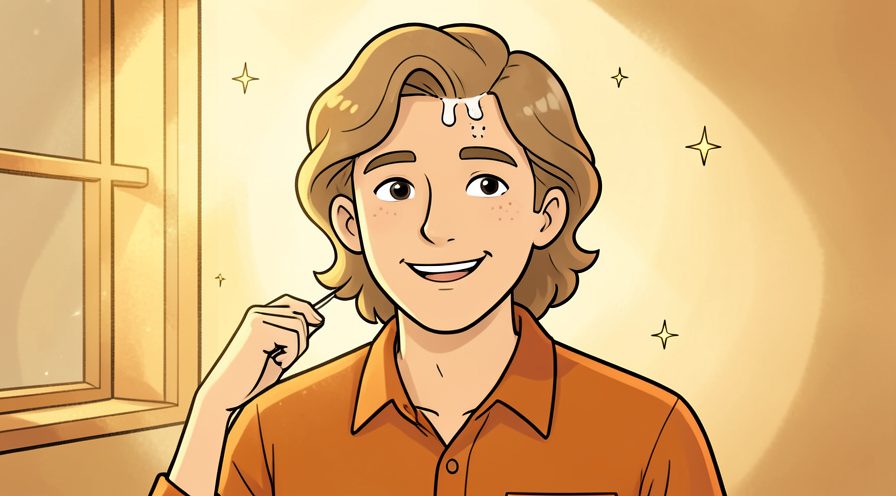
Step 7: Massage with the pads of your fingers
Use small circular motions and keep the nails out of it. When in doubt, pause and compare against the picture above before continuing.

Step 8: Work section by section across the whole head
Move from the front hairline back to the nape so no area is skipped. Choose the gentlest option that still works, then increase only if the result is not holding.

Step 9: Let lather run down the lengths
Do not pile hair on top or scrub the ends, which roughens the cuticle. Keep everything you might need within reach before starting, so you are not searching mid-step.

Step 10: Rinse for at least a full minute
Keep fingers combing through until the water runs clear and the scalp feels squeak-free. Use a light touch first; pressure and extra material are much easier to add than to remove.
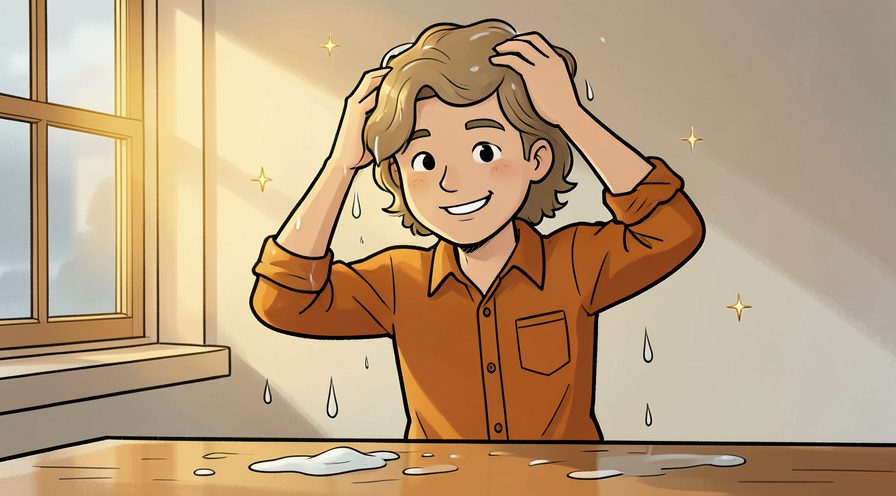
Step 11: Check behind the ears and at the nape
These are the two spots where product most often stays. Keep the same order every time, since a fixed sequence is easier to repeat than a list of separate decisions.

Step 12: Repeat only if the first lather was very weak
A second wash is for heavy styling product, not a daily requirement. Photograph or jot down the finished stage once, which gives you a reference for the next attempt.
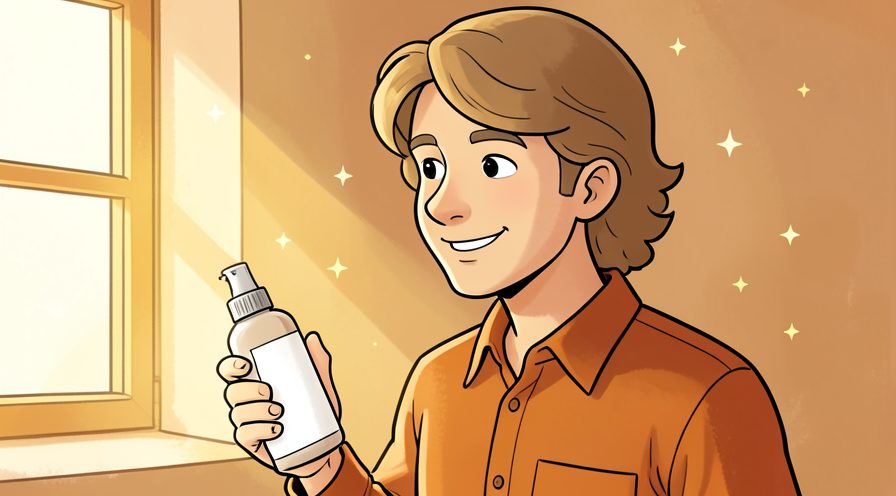
Step 13: Squeeze excess water out gently
Press downward along the lengths so conditioner is not diluted. Finish with a quick check of the whole area rather than only the part you just handled.

Step 14: Keep the shower stream off your face while rinsing
Letting the water run down your back keeps product off facial skin. Use a timer or a quick count rather than guessing, especially on your first few attempts.
Keep going: How to Shape Your Eyebrows at Home uses the same illustrated format and is a good next read. More checklists live in the Beauty & Style category.

Method 2 of 3: Condition and Dry Without Damage :: Conditioner belongs on the lengths. Wet hair is stretchy, so every move here should be a press rather than a pull.
Step 15: Pick conditioner by hair thickness
Fine hair needs a light formula while coarse or curly hair can take a richer one. Stop and tidy up as soon as this part is done, so the next stage starts from a clear surface.
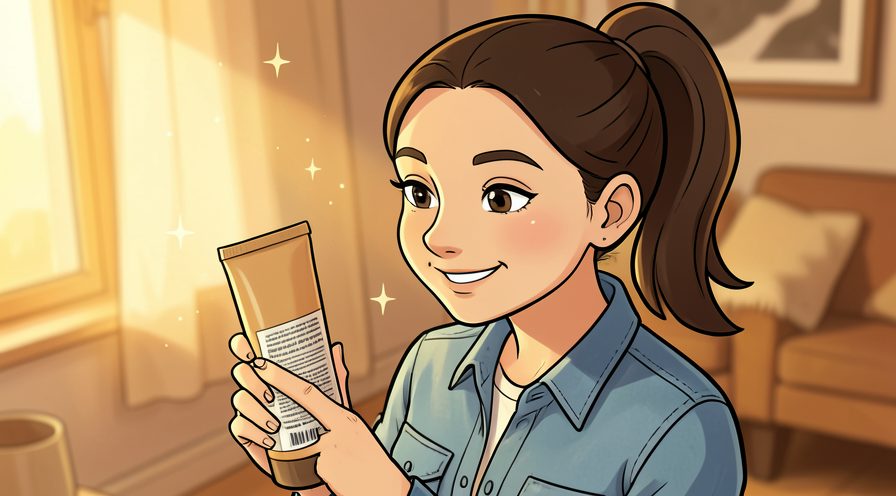
Step 16: Warm a small amount between your palms
A little goes further when it is spread first. A slightly imperfect result here is fine and can be corrected later; a rushed fix usually costs more time.
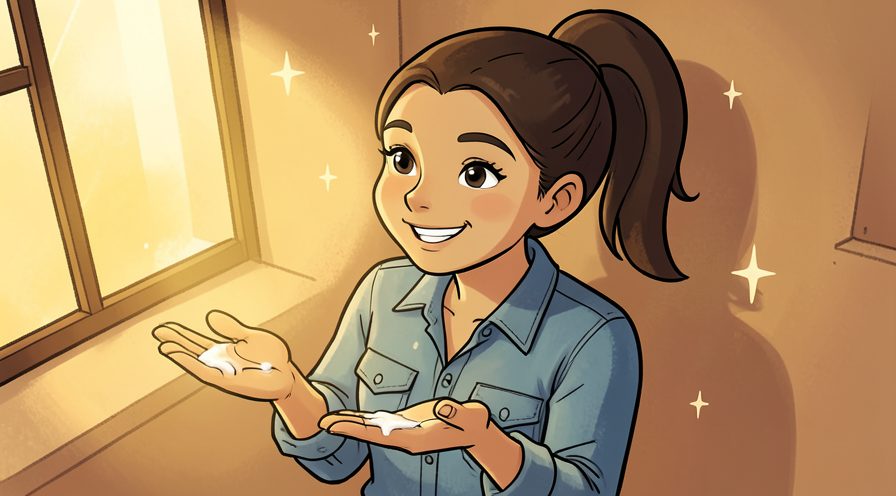
Step 17: Apply from mid-length to the ends
Skip the scalp entirely, since conditioner there can weigh roots down. Repeat the same motion at a steady pace rather than varying it, which keeps the finish consistent.
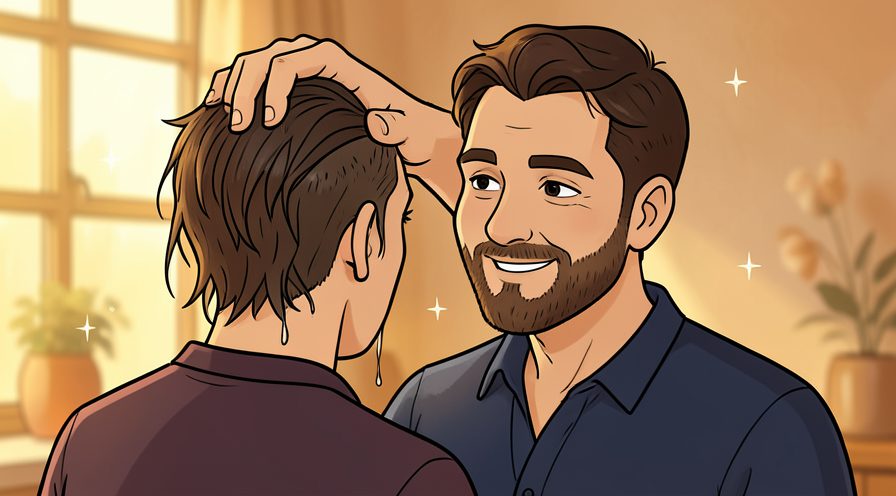
Step 18: Use a wide tooth comb to distribute it
Start near the ends and work up so you never yank a knot. If conditions are different today, adjust one thing at a time and leave everything else unchanged.
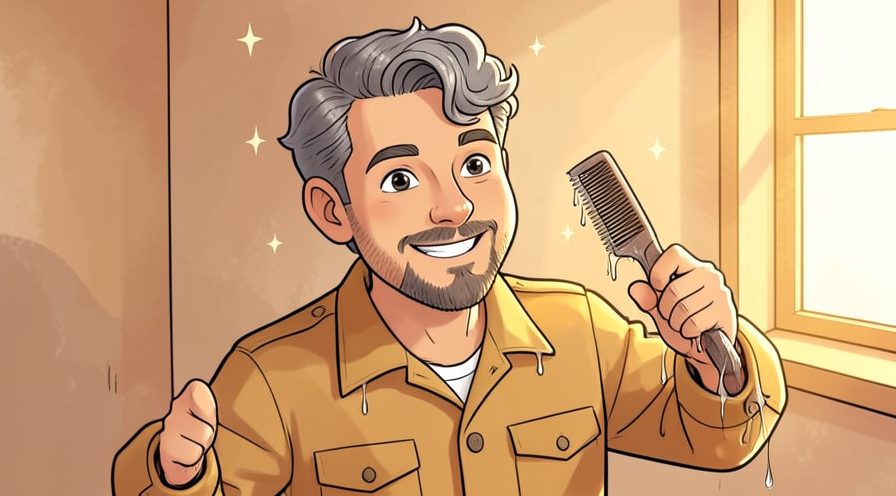
Step 19: Leave it for the time on the label
Longer is not automatically better and some formulas are meant to rinse quickly. If you are unsure, do less than you think you need and check again; you can always repeat the step.
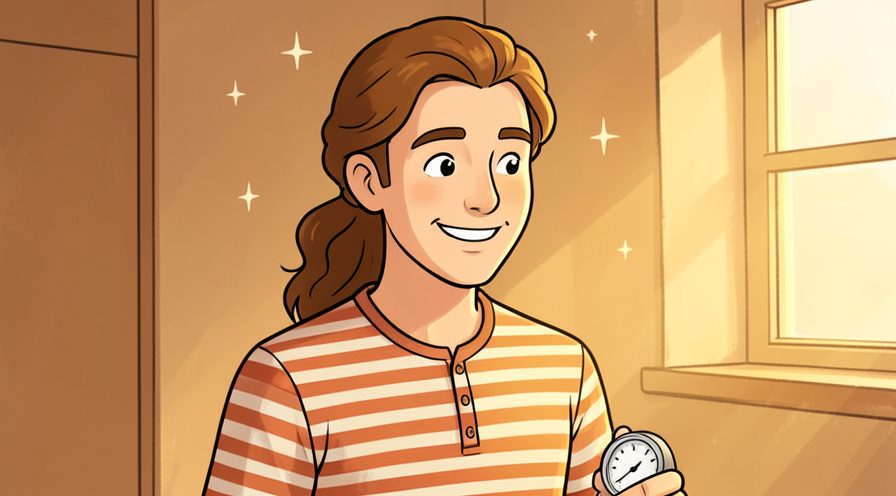
Step 20: Rinse with lukewarm or cool water
Continue until the hair feels clean rather than slippery. Note what you changed, because the same adjustment usually applies the next time you work on your hair.
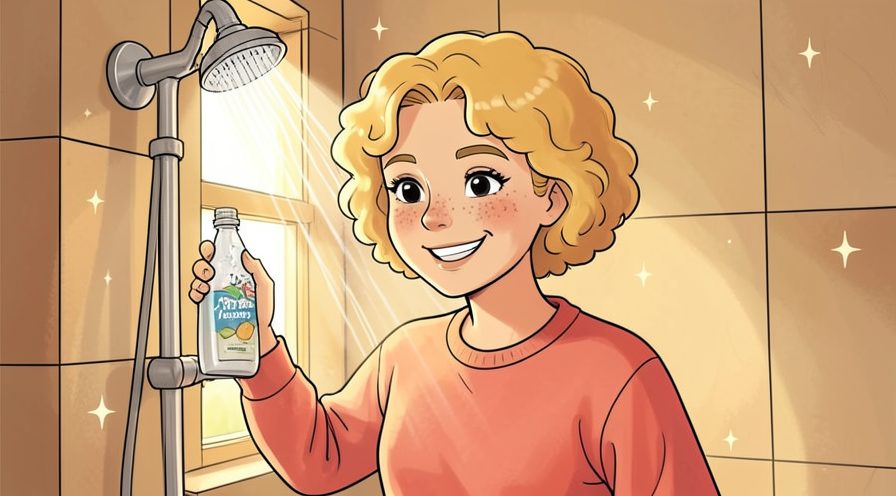
Step 21: Press water out with your hands
Wringing twists the strand and encourages frizz. Choose the gentlest option that still works, then increase only if the result is not holding.
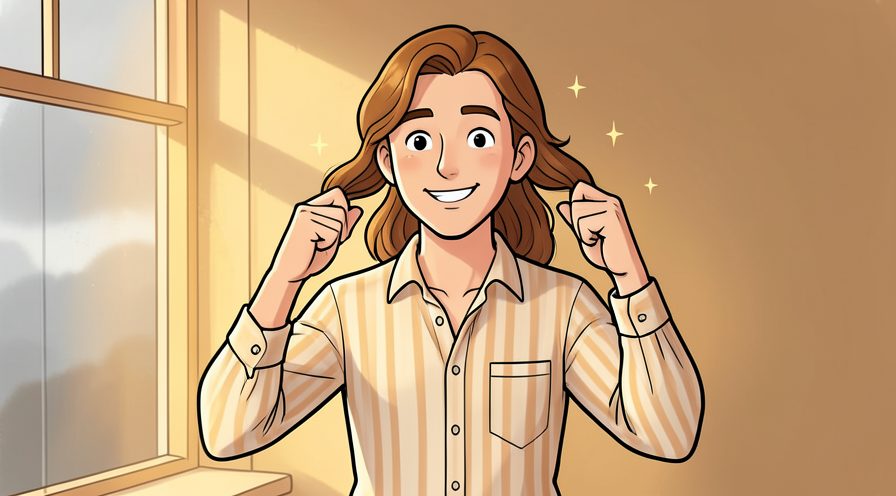
Step 22: Wrap in a microfiber towel or soft shirt
Ordinary terry loops catch and roughen the cuticle. If you are unsure, do less than you think you need and check again; you can always repeat the step.

Step 23: Blot instead of rubbing
Press sections of the towel against the hair and let it absorb. A slightly imperfect result here is fine and can be corrected later; a rushed fix usually costs more time.

Step 24: Detangle from the bottom upward
Hold the section above the knot so the pull never reaches the scalp. Check the edges and the parts you cannot see easily; those are where most beginners miss something.
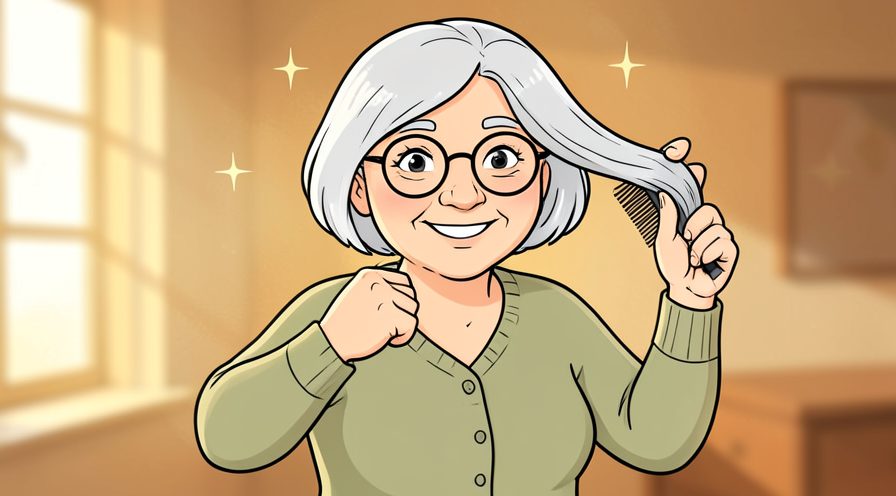
Step 25: Add leave-in conditioner only where needed
A pea sized amount on the ends is enough for most hair. Finish with a quick check of the whole area rather than only the part you just handled.

Step 26: Let hair air dry partway first
Starting with a blow dryer on soaking hair means more heat for longer. Keep everything you might need within reach before starting, so you are not searching mid-step.

Step 27: Use heat protectant before any dryer
Apply it evenly and keep the dryer moving rather than holding it in one spot. Use a light touch first; pressure and extra material are much easier to add than to remove.

Step 28: Finish with the nozzle pointing down the shaft
Directing airflow from root to tip keeps the cuticle lying flat. Give this stage a couple of minutes before moving on, because rushing here is the usual reason your hair ends up uneven.
Keep going: How to Do a Manicure at Home uses the same illustrated format and is a good next read. More checklists live in the Beauty & Style category.

Method 3 of 3: Find Your Own Routine and Fix Problems
Step 29: Notice how your scalp feels on day two
Oiliness or itch is the signal for wash day, not the calendar. Let it settle for a moment before judging the result, since the first impression often changes.
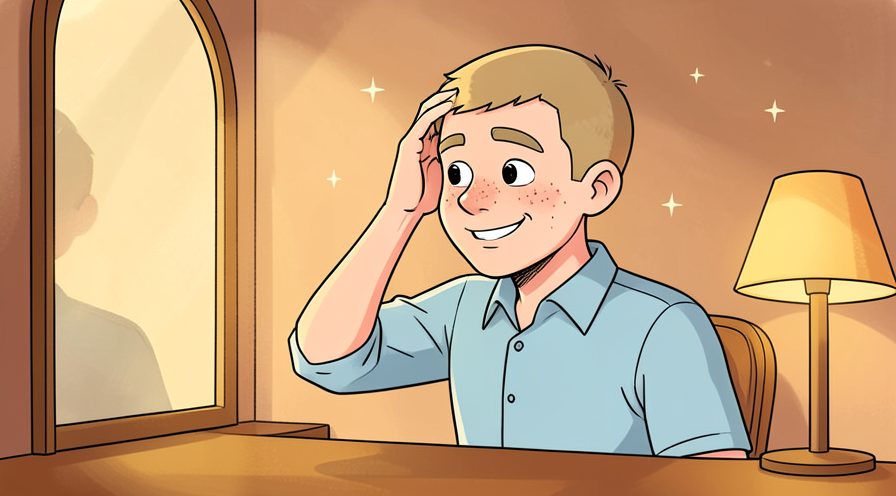
Step 30: Wash more often if roots go flat quickly
Fine straight hair often needs a shorter gap than coarse curly hair. Note what you changed, because the same adjustment usually applies the next time you work on your hair.

Step 31: Condition dry ends between washes
A tiny amount on the ends can help without rewetting the whole head. Photograph or jot down the finished stage once, which gives you a reference for the next attempt.

Step 32: Try a clarifying wash once a month
It removes mineral and styling buildup that makes hair look dull. Use a timer or a quick count rather than guessing, especially on your first few attempts.

Step 33: Consider a filter if your water is hard
Mineral deposits can leave hair rough and scalp itchy. Keep the same order every time, since a fixed sequence is easier to repeat than a list of separate decisions.

Step 34: Give a new product two weeks
Switching every wash makes it impossible to tell what helped. Read the label or the guidance for your hair once before acting, since small differences matter here.
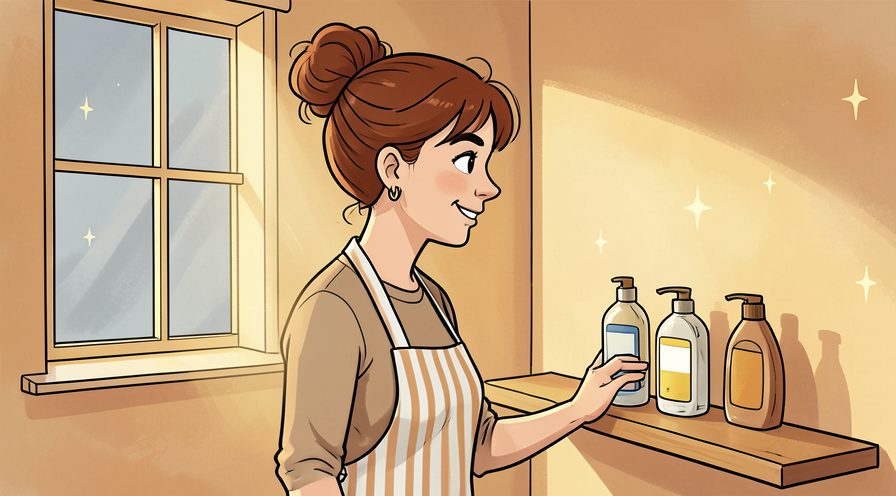
Step 35: Protect hair overnight with a loose tie
A soft scrunchie low on the head reduces friction against the pillow. When in doubt, pause and compare against the picture above before continuing.

Step 36: Clean brushes and combs weekly
Old product on bristles goes straight back onto clean hair. Put the tools back in the same place afterward, so the next session starts without a search.
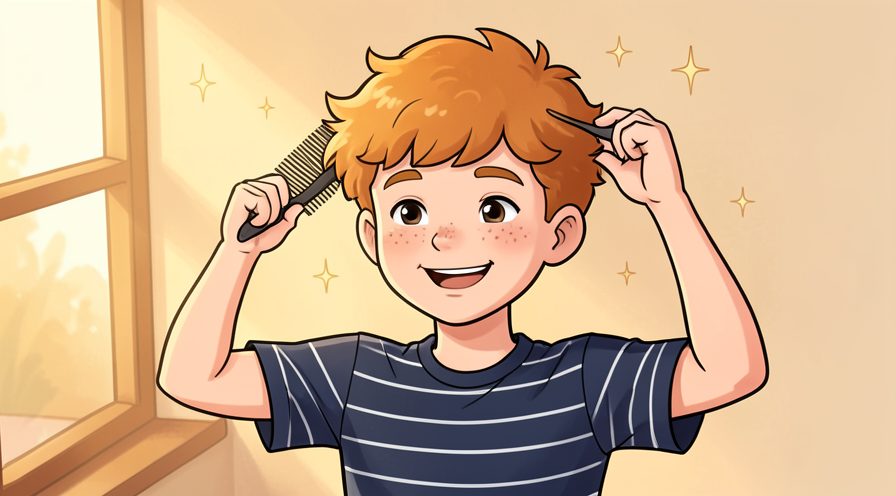
Step 37: Trim split ends when they appear
No product repairs a split, and a small trim stops it travelling upward. Repeat the same motion at a steady pace rather than varying it, which keeps the finish consistent.
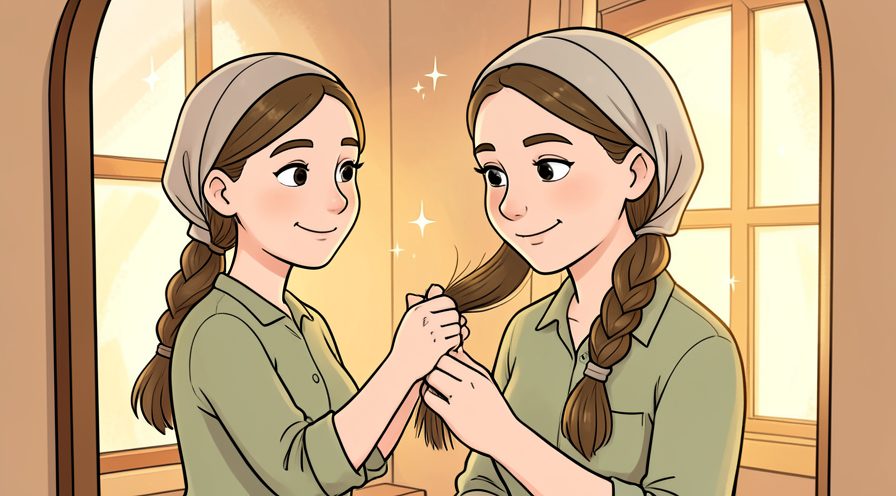
Step 38: Ask a clinician about persistent flaking or soreness
Ongoing itch or scale may be a scalp condition rather than a product problem. Stop and tidy up as soon as this part is done, so the next stage starts from a clear surface.
Keep going: How to Build a Skincare Routine uses the same illustrated format and is a good next read. More checklists live in the Beauty & Style category.

Tips
- Lather shampoo between your palms first, since a concentrated blob is hard to spread and easy to overuse.
- Rinse about twice as long as feels necessary, because leftover product is the usual cause of a dull itchy scalp. For another walkthrough, see How to Apply Foundation Evenly.
- If your ends are dry but roots are oily, treat the two areas differently rather than changing shampoo every week.
Warnings
- Avoid very hot water, which can irritate the scalp and lift the cuticle, making hair rougher. Official guidance: American Academy of Dermatology.
- Do not scratch with nails or use a rough towel turban that pulls at wet, stretchy strands.
Frequently asked questions
How often should I wash? Whenever your scalp feels oily or itchy; there is no single correct schedule.
Should I shampoo twice? Only if the first lather barely foams because of heavy product or very oily roots.
Is cold water necessary at the end? A cool rinse is pleasant and helps the cuticle lie flat, but lukewarm is fine.
References
- American Academy of Dermatology — everyday skin care. https://www.aad.org/public/everyday-care
- American Academy of Dermatology — skin health. https://www.aad.org/
- Skin Cancer Foundation — sun protection. https://www.skincancer.org/
- WebMD — skin and beauty reference. https://www.webmd.com/
- U.S. Centers for Disease Control and Prevention — sun safety. https://www.cdc.gov/
Every guide is reviewed against its sources. See our editorial policy.


Reader comments
0 so farFinished this guide? Tell other readers what worked, what didn't, and what you would change.