Polish chips early when it is applied over oily, damp, or ridged nails, or when two thick coats are rushed on at once. The fix is unglamorous prep and patience: shape dry nails, clean the surface, and build three very thin layers.
This guide covers the prep, the polish application, and the small aftercare habits that add days to the finish.
How to use this guide
Work through the illustrated steps in order. Every step has its own picture, so you can check what a finished stage should look like before you move on. If you only have a minute, skim the Quick steps box above and come back for the details.
Related guides
- How to Apply Foundation Evenly
- How to Wash Your Hair the Right Way
- How to Shape Your Eyebrows at Home
- How to Build a Skincare Routine
- Browse all Beauty & Style guides
- All HowCompass guides
Trusted external resources
- American Academy of Dermatology — everyday skin care
- American Academy of Dermatology — skin health
- Skin Cancer Foundation — sun protection
A note on sources
We check each guide against the official resources listed in References at the end of this article. External links open in a new tab; the related guides above stay on this site.
Quick steps
- Remove old polish and shape dry nails with a fine file
- Clean the nail surface and push cuticles back gently
- Apply a base coat, two thin colour coats, and a top coat with dry time between
Things you'll need
- Acetone-free polish remover and cotton pads
- A fine grit nail file and buffer
- Cuticle oil and a wooden pusher
- Base coat, colour, and top coat
- A small angled brush for cleanup
- A hand moisturizer
Step-by-step
Method 1 of 2: Prep the Nails Properly :: Do every step before opening the colour.
Step 1: Remove all old polish
Wipe each nail until no colour transfers to the pad. Keep everything you might need within reach before starting, so you are not searching mid-step.

Step 2: Wash and dry your hands thoroughly
Any lotion or oil left on the plate stops polish adhering. Use a timer or a quick count rather than guessing, especially on your first few attempts.
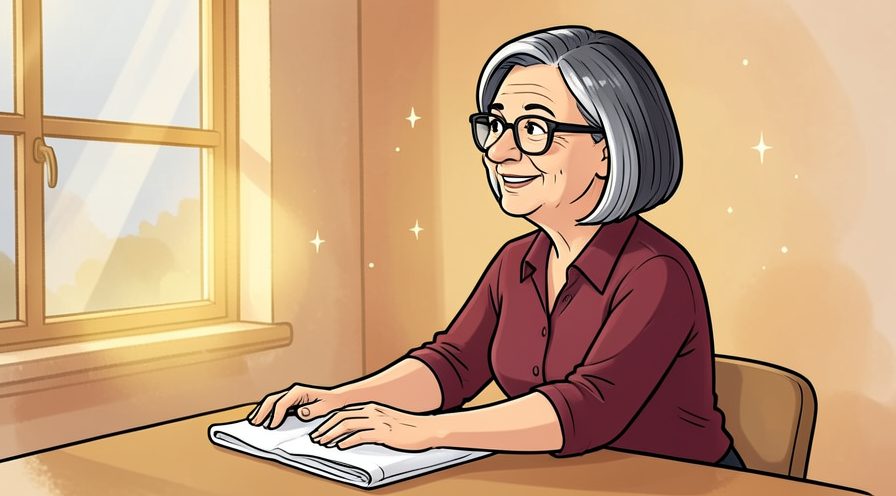
Step 3: Gather everything within reach
Once polish is open you do not want to search for a top coat. Finish with a quick check of the whole area rather than only the part you just handled.
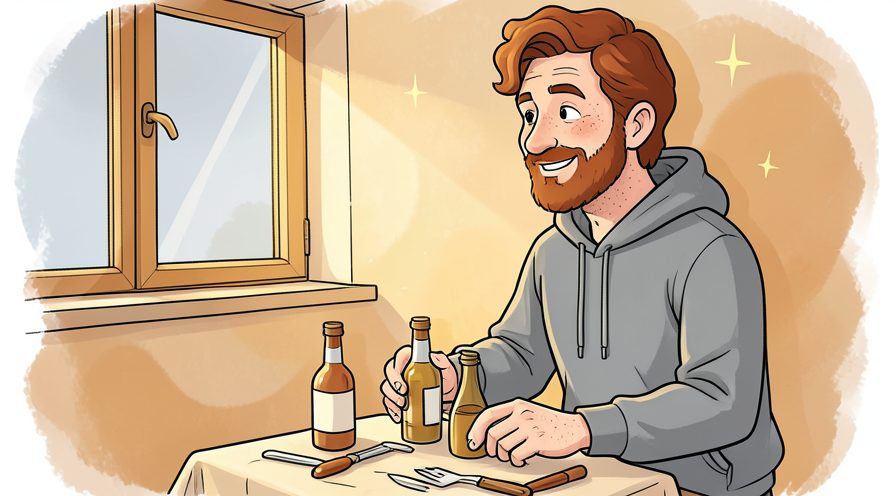
Step 4: Sit in good light near an open window
Daylight makes thin streaks and missed edges obvious. Repeat the same motion at a steady pace rather than varying it, which keeps the finish consistent.

Step 5: File dry nails in one direction
A back-and-forth sawing motion splits the nail layers. A slightly imperfect result here is fine and can be corrected later; a rushed fix usually costs more time.
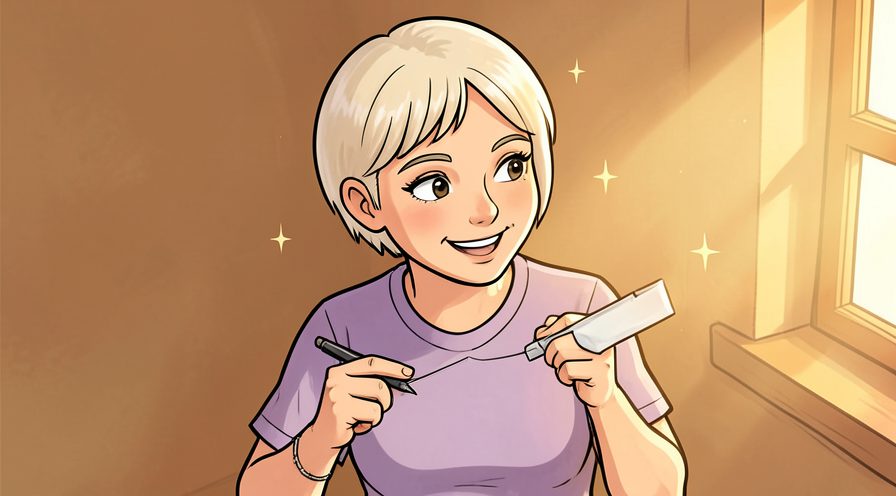
Step 6: Buff the surface very lightly
Two or three passes smooth ridges without thinning the nail. Give this stage a couple of minutes before moving on, because rushing here is the usual reason your manicure ends up uneven.
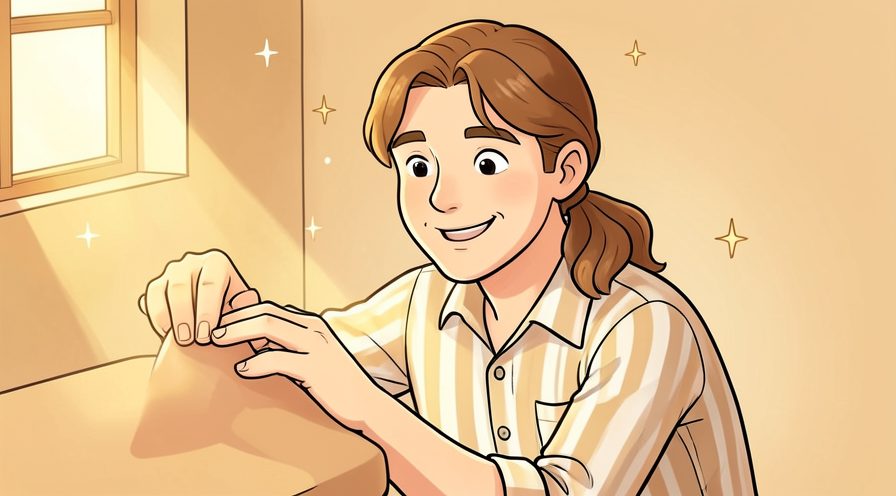
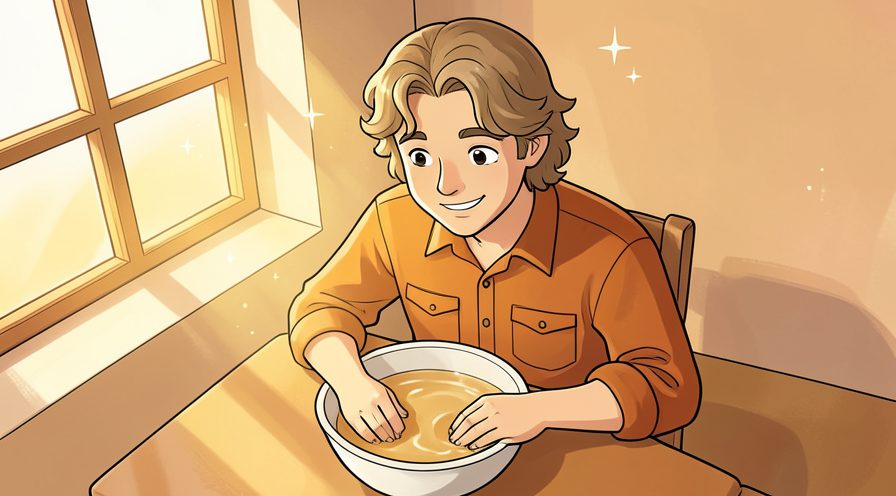
Step 7: Soak fingertips briefly in warm water
A few minutes softens the cuticle enough for gentle work. Work in small passes and look at the result after each one, so a slip is easy to fix while it is still small.
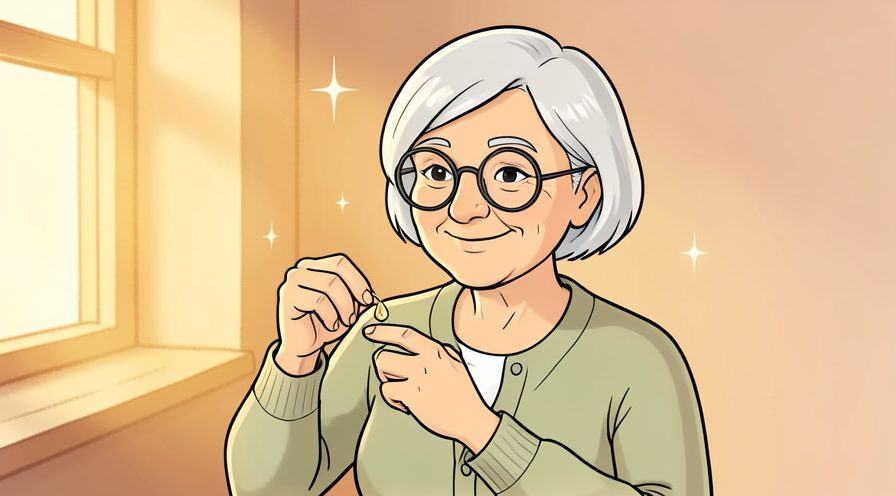
Step 8: Apply a drop of cuticle oil
Massage it around the nail fold rather than the nail plate. Stop and tidy up as soon as this part is done, so the next stage starts from a clear surface.
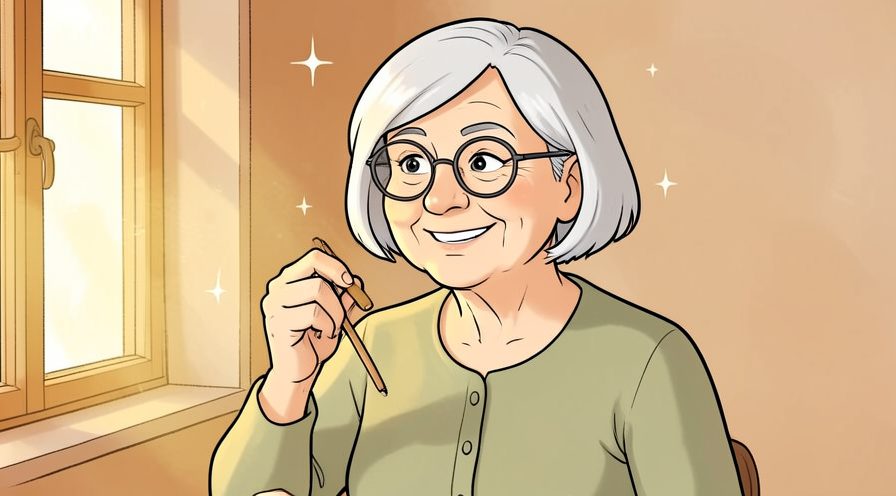
Step 9: Push the cuticle back gently
Use a wooden pusher at a shallow angle with light pressure. Note what you changed, because the same adjustment usually applies the next time you work on your manicure.
Step 10: Snip only a loose hangnail
Cuticles themselves should stay intact. Read the label or the guidance for your manicure once before acting, since small differences matter here.

Step 11: Wipe each nail clean one last time
A final pass removes oil before the base coat goes on. Check the edges and the parts you cannot see easily; those are where most beginners miss something.
Keep going: How to Wash Your Hair the Right Way uses the same illustrated format and is a good next read. More checklists live in the Beauty & Style category.
Method 2 of 2: Apply Thin Layers and Protect the Finish :: More thin coats always beat one thick one.
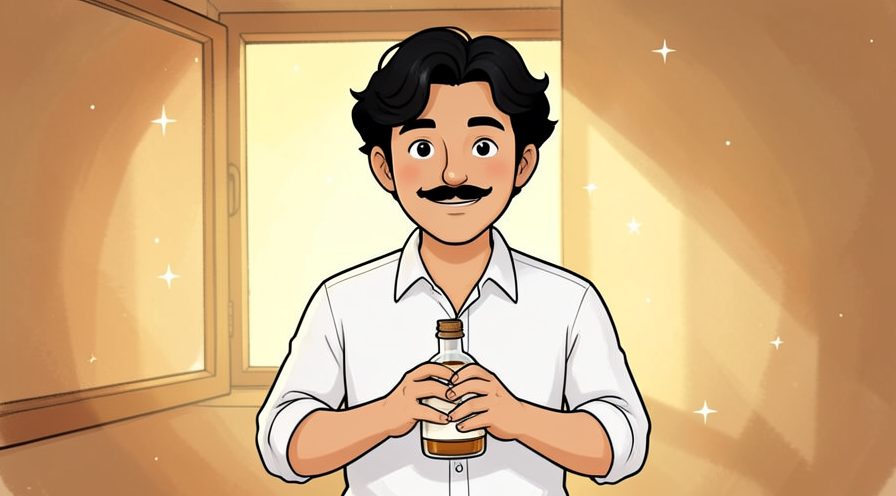
Step 12: Roll the colour bottle between your palms
Mixing without shaking keeps air bubbles out. Use a light touch first; pressure and extra material are much easier to add than to remove.
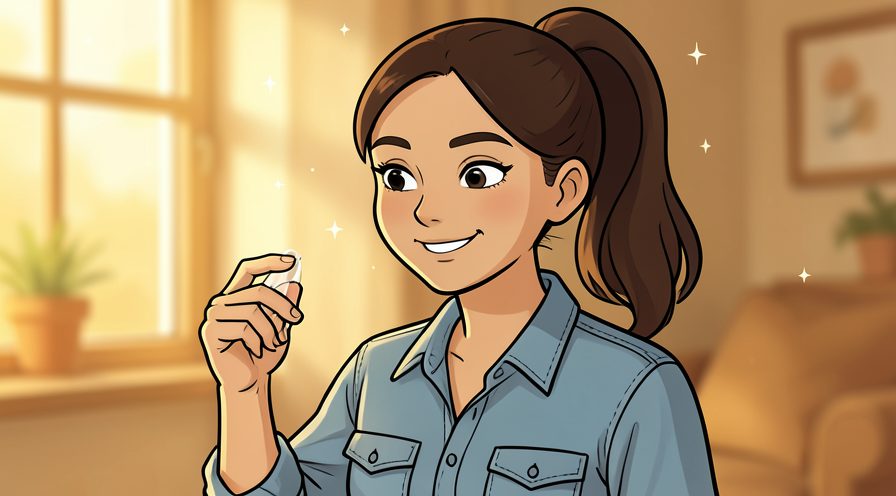
Step 13: Apply a thin base coat
One even layer gives colour something to grip. Let it settle for a moment before judging the result, since the first impression often changes.
Step 14: Let the base coat dry for two minutes
It should feel dry to a light touch, not tacky. Choose the gentlest option that still works, then increase only if the result is not holding.

Step 15: Wipe most polish off the brush
A small bead on one side is enough for a whole nail. Put the tools back in the same place afterward, so the next session starts without a search.
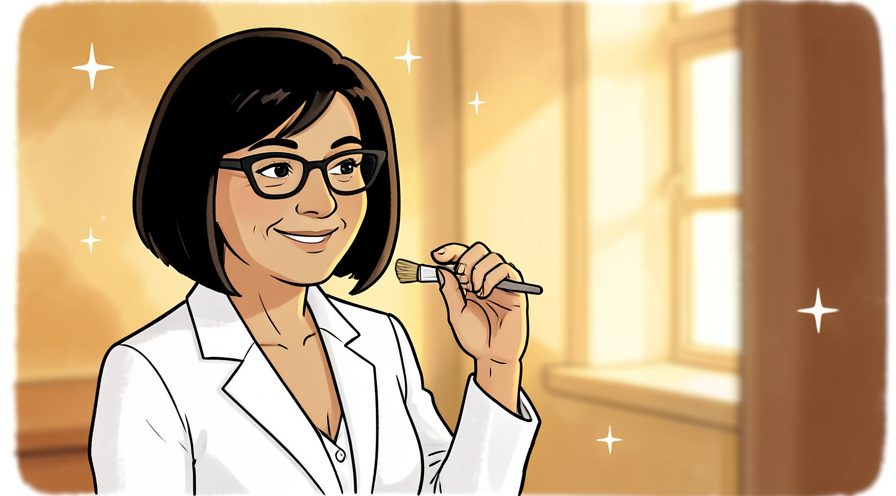
Step 16: Paint three strokes down each nail
One centre stroke and one on each side covers without flooding. Photograph or jot down the finished stage once, which gives you a reference for the next attempt.
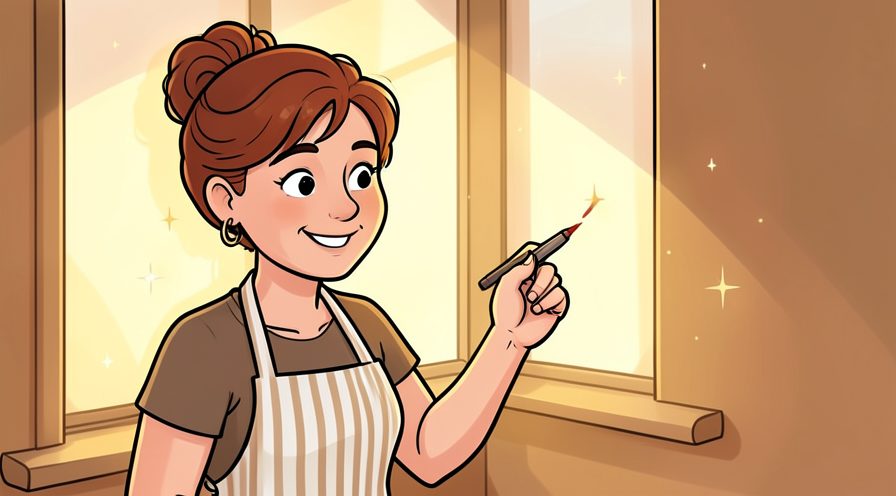
Step 17: Cap the free edge
A light swipe along the tip slows chipping noticeably. If conditions are different today, adjust one thing at a time and leave everything else unchanged.
Step 18: Wait two minutes before the second coat
Rushing traps solvent and causes dents later. When in doubt, pause and compare against the picture above before continuing.
Step 19: Add a second thin colour coat
Two thin layers give even colour without a thick film. If you are unsure, do less than you think you need and check again; you can always repeat the step.

Step 20: Clean the edges with a small angled brush
Dip it in remover and trace neatly around the nail fold. Keep the same order every time, since a fixed sequence is easier to repeat than a list of separate decisions.

Step 21: Seal with a thin top coat
Cover the surface and the free edge again. If you are unsure, do less than you think you need and check again; you can always repeat the step.

Step 22: Keep hands still for at least ten minutes
Most chips and sheet marks happen in this window. If conditions are different today, adjust one thing at a time and leave everything else unchanged.

Step 23: Avoid hot water and washing up for a few hours
Heat and soaking soften a fresh finish. Use a timer or a quick count rather than guessing, especially on your first few attempts.
Step 24: Massage in cuticle oil the next day
Daily oil keeps the surrounding skin flexible. Work in small passes and look at the result after each one, so a slip is easy to fix while it is still small.

Step 25: Moisturize after every hand wash
Dry skin lifts the edges of polish. Choose the gentlest option that still works, then increase only if the result is not holding.

Step 26: Remove polish gently when it finally chips
Soak a pad rather than peeling, which strips nail layers. Repeat the same motion at a steady pace rather than varying it, which keeps the finish consistent.
Keep going: How to Shape Your Eyebrows at Home uses the same illustrated format and is a good next read. More checklists live in the Beauty & Style category.

Tips
- Shape nails before soaking, since wet nails are softer and tear more easily.
- Roll the polish bottle between your palms instead of shaking it, which reduces bubbles. For another walkthrough, see How to Apply Foundation Evenly.
- Cap the free edge of each nail with every coat to slow down tip chipping.
Warnings
- Do not cut cuticles aggressively, since they protect the nail bed from infection. Official guidance: American Academy of Dermatology.
- Work in a ventilated room and keep polish away from open flames.
Frequently asked questions
How long should I wait between coats? About two minutes for thin layers, longer if the polish still looks wet.
Why does polish bubble? Usually thick coats, shaking the bottle, or warm humid air.
How do I make it last? Thin layers, capped edges, gloves for washing up, and cuticle oil daily.
References
- American Academy of Dermatology — everyday skin care. https://www.aad.org/public/everyday-care
- American Academy of Dermatology — skin health. https://www.aad.org/
- Skin Cancer Foundation — sun protection. https://www.skincancer.org/
- WebMD — skin and beauty reference. https://www.webmd.com/
- U.S. Centers for Disease Control and Prevention — sun safety. https://www.cdc.gov/
Every guide is reviewed against its sources. See our editorial policy.


Reader comments
0 so farFinished this guide? Tell other readers what worked, what didn't, and what you would change.