The classic brow mistake is using a magnifying mirror and plucking until everything looks perfectly even up close. At that distance every tiny hair looks like a mistake, and a few minutes later the shape is too thin. Mapping three points with a pencil and stepping back often is a much safer method.
This guide covers the setup and mapping, a conservative shaping pass, and the aftercare and maintenance that keep the result looking natural.
How to use this guide
Work through the illustrated steps in order. Every step has its own picture, so you can check what a finished stage should look like before you move on. If you only have a minute, skim the Quick steps box above and come back for the details.
Related guides
- How to Apply Foundation Evenly
- How to Wash Your Hair the Right Way
- How to Do a Manicure at Home
- How to Build a Skincare Routine
- Browse all Beauty & Style guides
- All HowCompass guides
Trusted external resources
- American Academy of Dermatology — everyday skin care
- American Academy of Dermatology — skin health
- Skin Cancer Foundation — sun protection
A note on sources
We check each guide against the official resources listed in References at the end of this article. External links open in a new tab; the related guides above stay on this site.
Quick steps
- Let brows grow for three weeks and work in even daylight
- Mark the start, arch, and tail with a pencil before touching tweezers
- Remove only obvious strays below the line, alternating brows every few hairs
Things you'll need
- A clean spoolie brush
- Slanted tweezers
- Small brow scissors
- A white or light brow pencil
- A regular mirror plus good daylight
- A cool compress and gentle moisturizer
Step-by-step
Method 1 of 3: Map the Shape Before Removing Anything :: Preparation is what keeps a home tidy from becoming a reshaping accident.
Step 1: Let the brows grow for three weeks
Regrowth shows your natural line and makes strays obvious. Choose the gentlest option that still works, then increase only if the result is not holding.
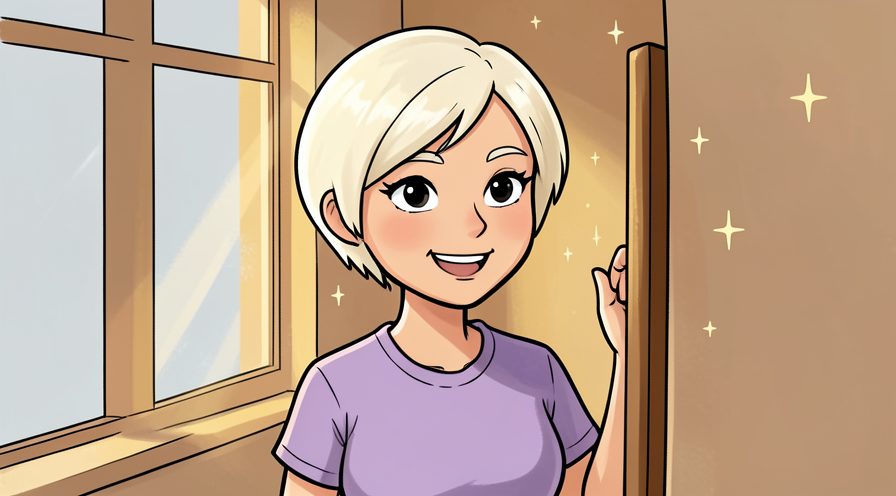
Step 2: Gather clean tools on a clear surface
Tweezers, spoolie, scissors, and a light pencil should all be within reach. Use a light touch first; pressure and extra material are much easier to add than to remove.
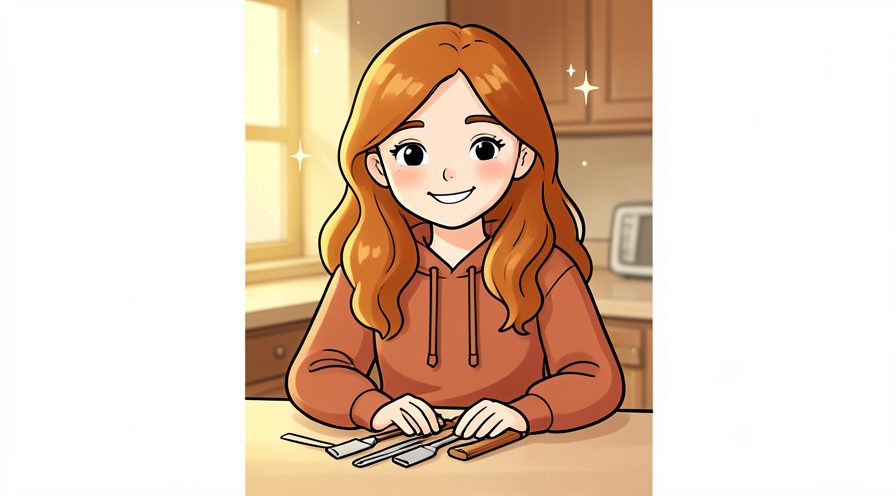
Step 3: Wash your hands and wipe the tweezers
Clean skin and clean tools reduce the chance of irritation. Stop and tidy up as soon as this part is done, so the next stage starts from a clear surface.
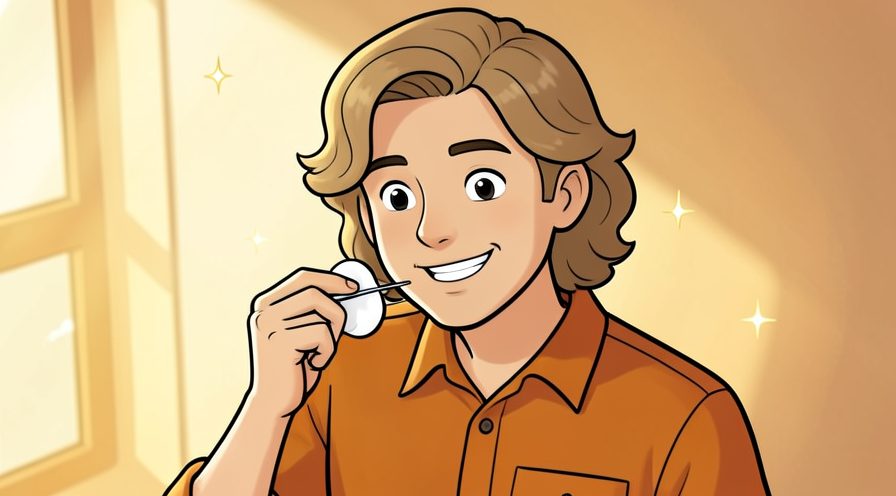
Step 4: Sit in even natural daylight
Bathroom bulbs cast shadows that distort the shape. Note what you changed, because the same adjustment usually applies the next time you work on your eyebrows.
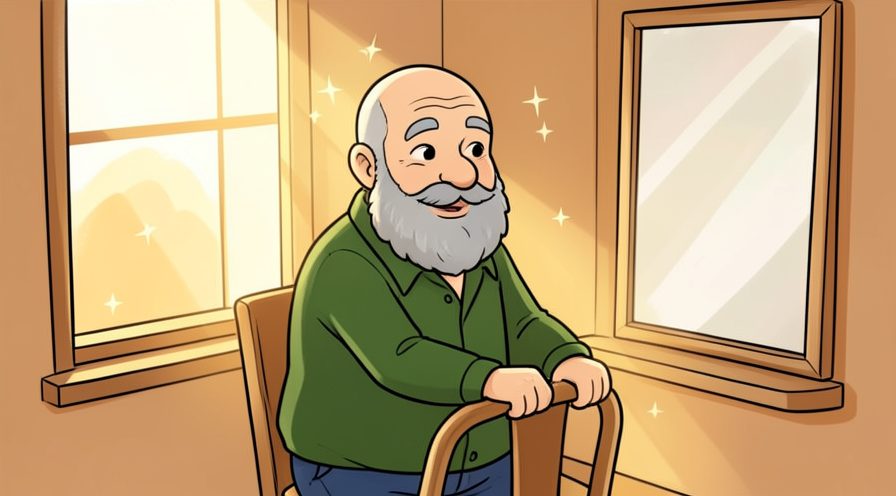
Step 5: Use a normal mirror, not a magnifying one
Magnification makes every tiny hair look important. Check the edges and the parts you cannot see easily; those are where most beginners miss something.
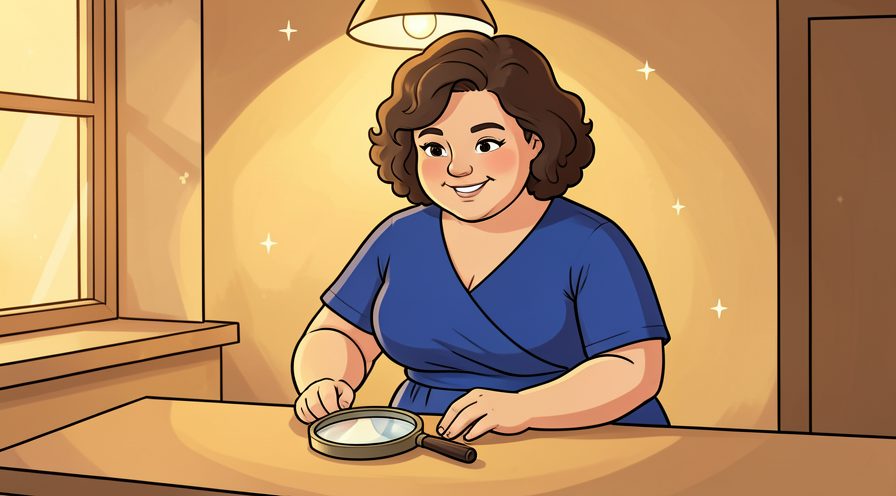
Step 6: Brush all hairs straight up
An upward brush reveals the top line and any long hairs. Give this stage a couple of minutes before moving on, because rushing here is the usual reason your eyebrows ends up uneven.
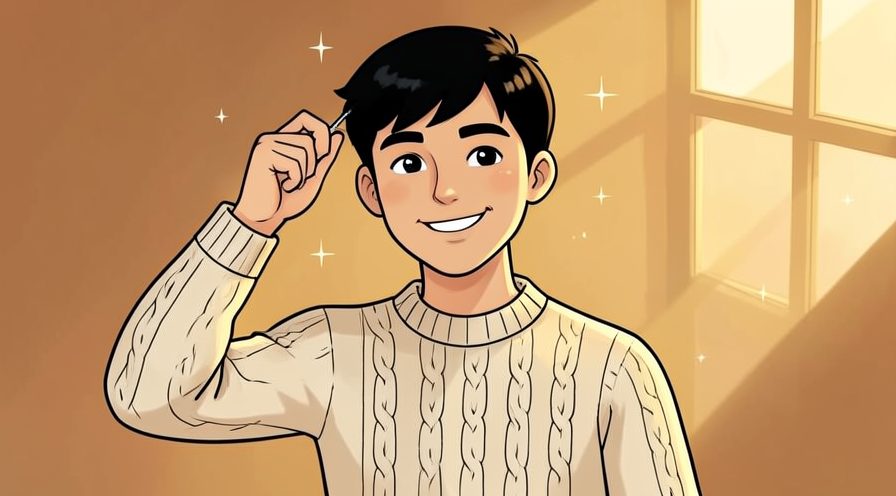
Step 7: Hold a pencil vertically beside the nose
Where it meets the brow is a reasonable starting point. Read the label or the guidance for your eyebrows once before acting, since small differences matter here.

Step 8: Mark that start point lightly
A small dot is enough and wipes away later. Use a timer or a quick count rather than guessing, especially on your first few attempts.
Step 9: Angle the pencil past the outer eye to find the tail
The line shows roughly where the brow should end. Let it settle for a moment before judging the result, since the first impression often changes.
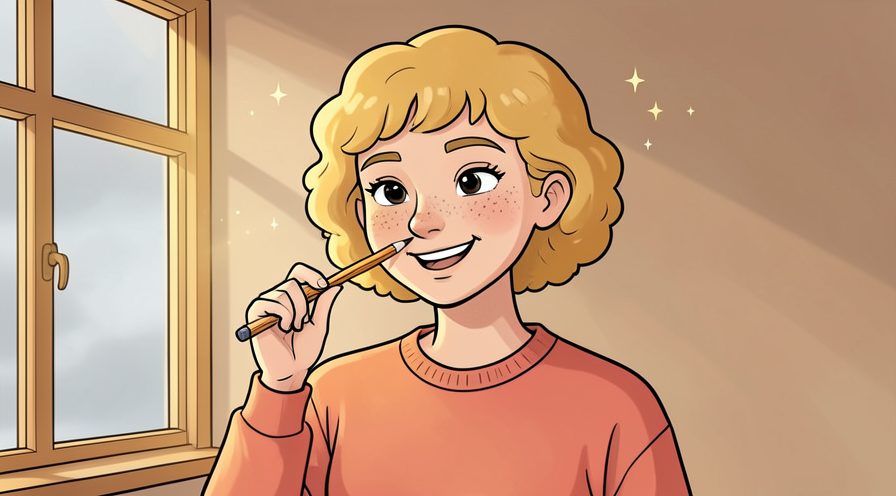
Step 10: Mark the tail point
Anything well beyond this mark is usually a stray. Keep everything you might need within reach before starting, so you are not searching mid-step.
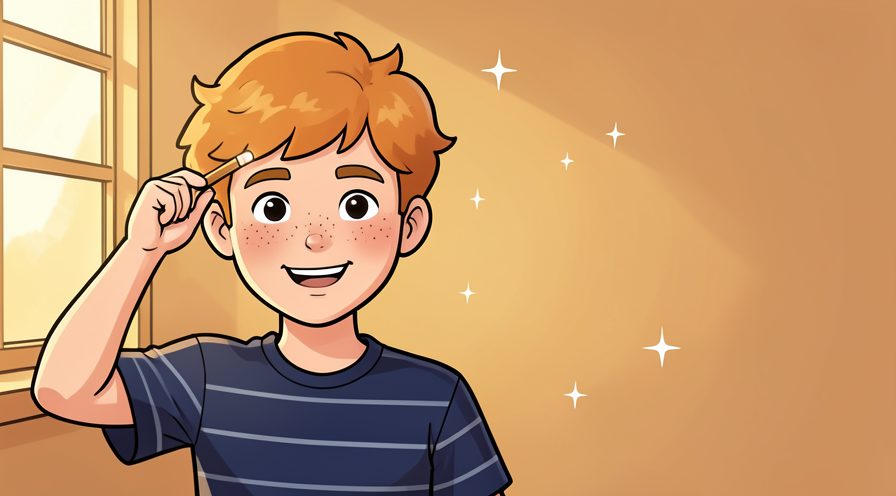
Step 11: Find the arch by looking straight ahead
The highest point usually sits above the outer edge of the iris. Photograph or jot down the finished stage once, which gives you a reference for the next attempt.
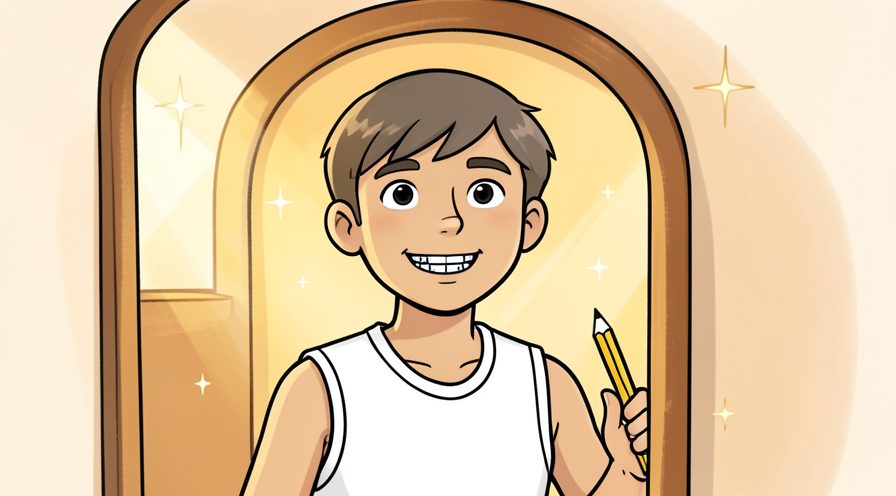
Step 12: Mark the arch with a third dot
Three dots now describe the shape you are protecting. When in doubt, pause and compare against the picture above before continuing.
Step 13: Compare the two sets of marks from arm's length
Small natural asymmetry is completely normal. Work in small passes and look at the result after each one, so a slip is easy to fix while it is still small.
Step 14: Decide on a conservative goal
Cleaning below the line is enough for a first attempt. Keep the same order every time, since a fixed sequence is easier to repeat than a list of separate decisions.
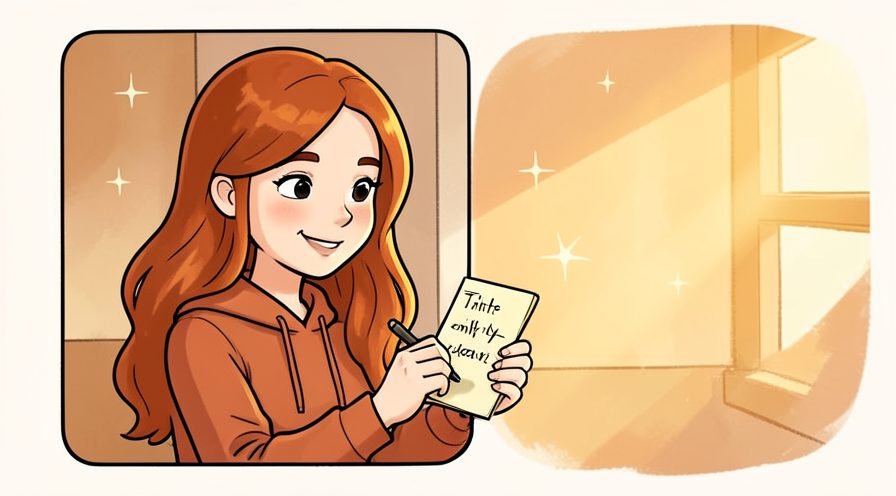
Step 15: Warm the skin with a compress or after a shower
Warmth makes hair release more comfortably. If conditions are different today, adjust one thing at a time and leave everything else unchanged.
Keep going: How to Wash Your Hair the Right Way uses the same illustrated format and is a good next read. More checklists live in the Beauty & Style category.
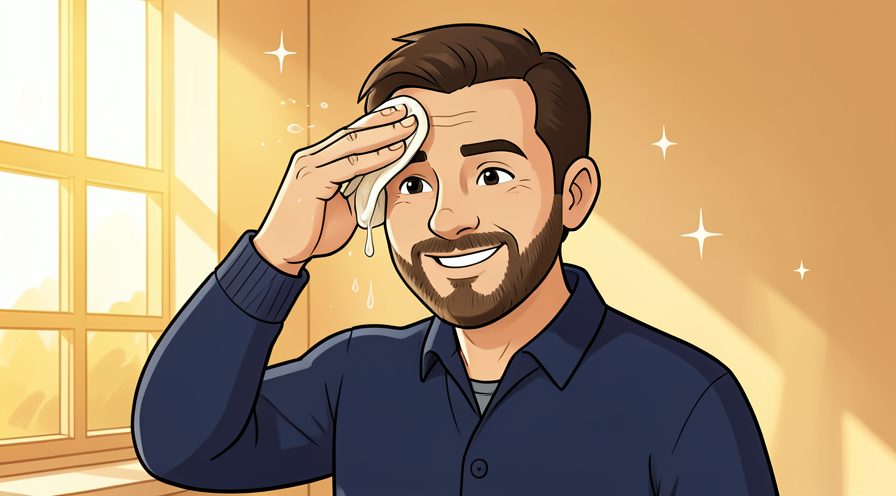
Method 2 of 3: Pluck and Trim Conservatively :: Work slowly, alternate sides, and keep stepping back.
Step 16: Hold the skin taut with your free hand
Tension makes each hair easier to grip and less uncomfortable. A slightly imperfect result here is fine and can be corrected later; a rushed fix usually costs more time.

Step 17: Grip one hair close to the root
Slanted tweezers give better control than a pointed tip. Repeat the same motion at a steady pace rather than varying it, which keeps the finish consistent.
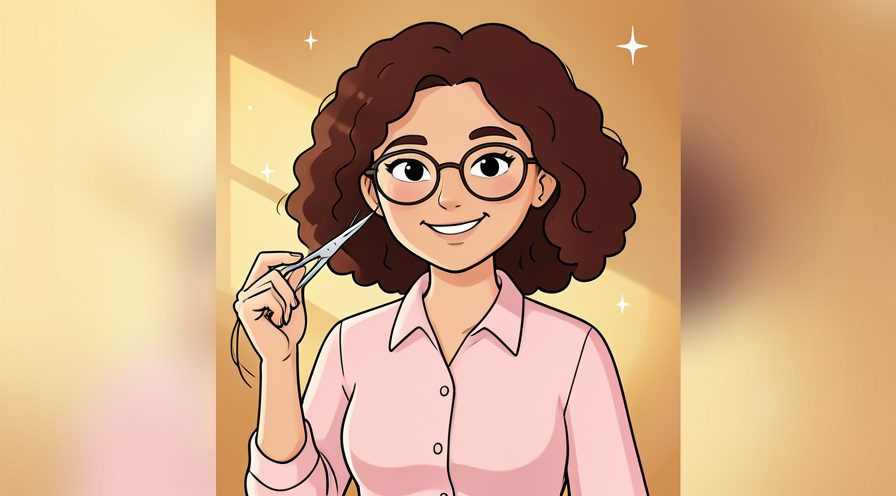
Step 18: Pull in the direction of growth
Following the hair angle reduces breakage. Finish with a quick check of the whole area rather than only the part you just handled.
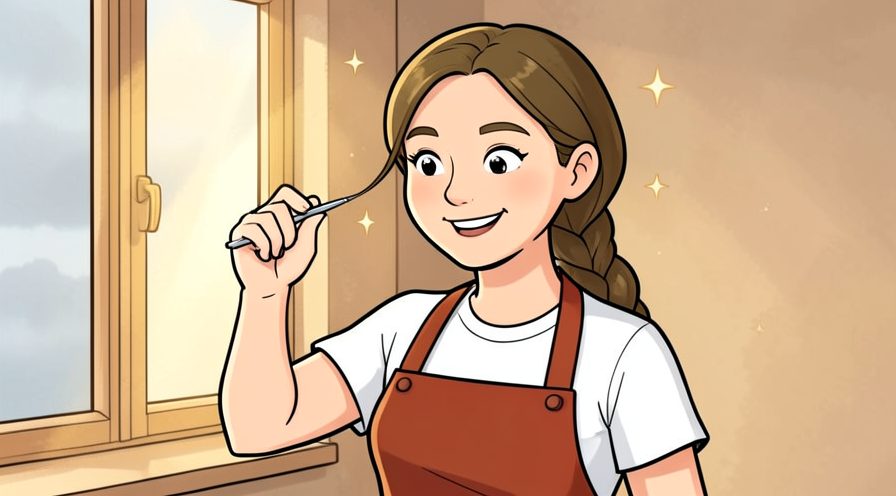
Step 19: Remove only obvious strays below the marked line
Leave anything inside the shape alone for now. If you are unsure, do less than you think you need and check again; you can always repeat the step.
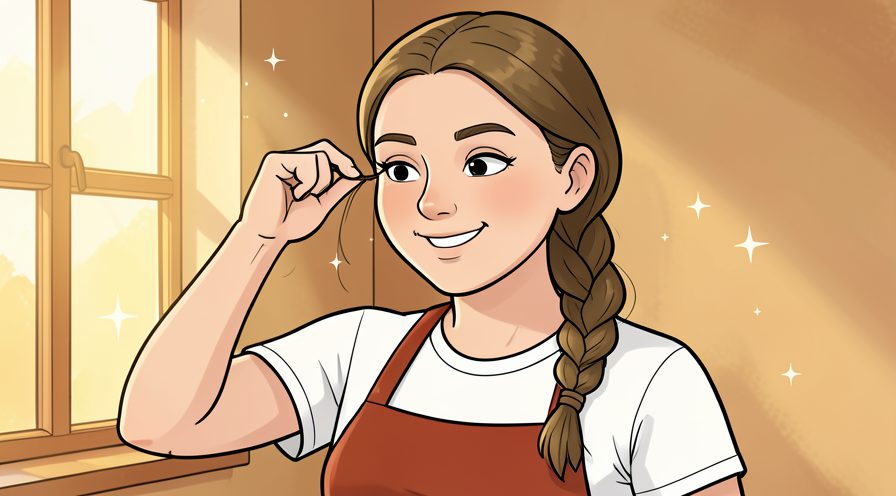
Step 20: Do three or four hairs, then switch sides
Alternating keeps the two brows developing together. Put the tools back in the same place afterward, so the next session starts without a search.
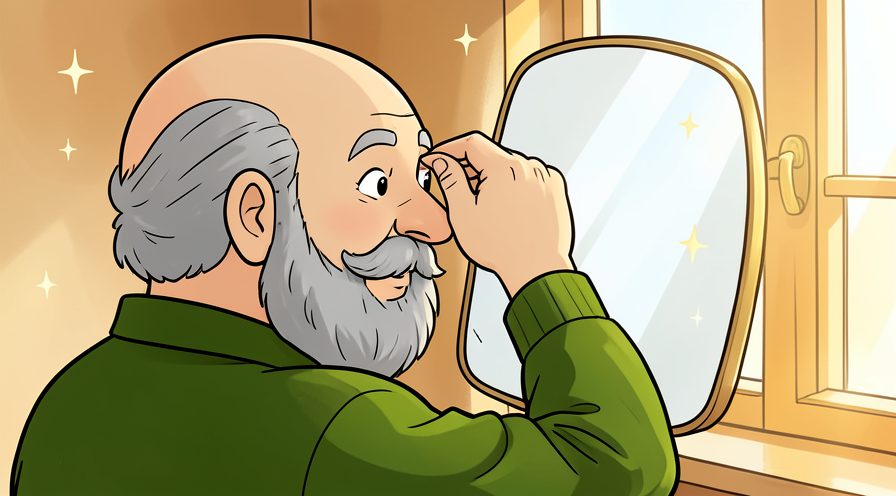
Step 21: Step back from the mirror every few minutes
A normal viewing distance is the one other people see. Use a timer or a quick count rather than guessing, especially on your first few attempts.
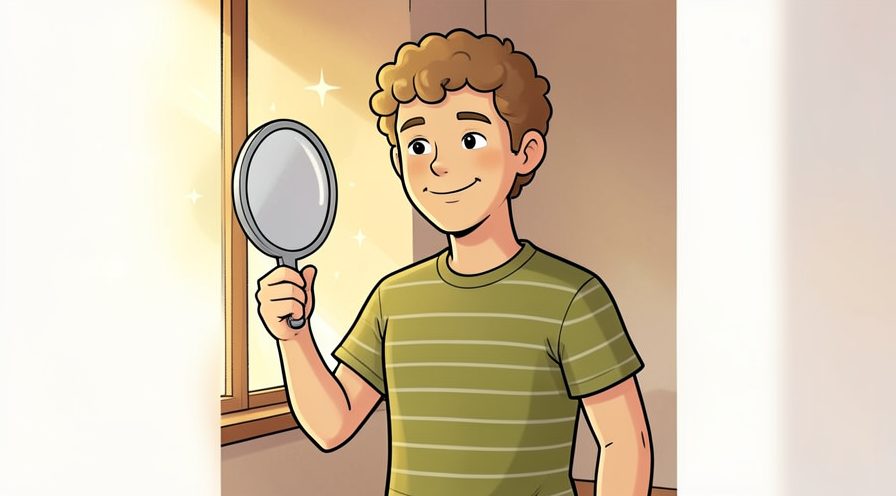
Step 22: Leave the top line untouched
Removing hairs above the brow flattens the arch quickly. Put the tools back in the same place afterward, so the next session starts without a search.
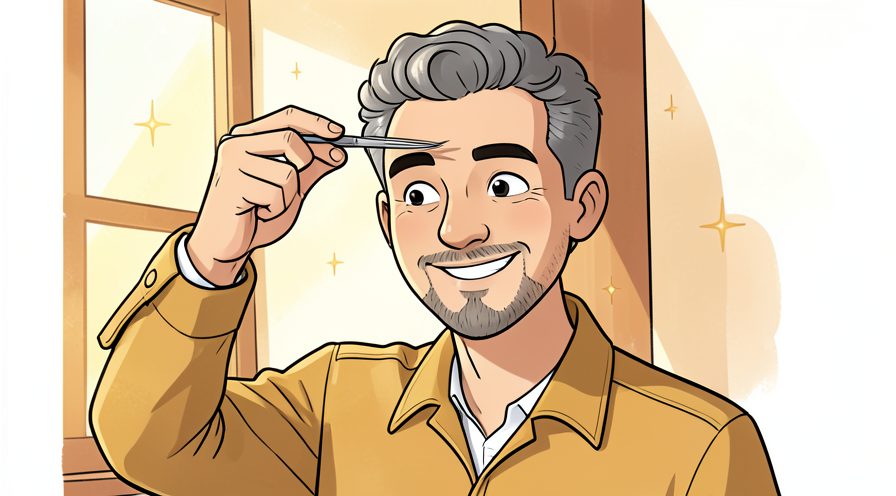
Step 23: Ignore faint fine hairs between the brows
Only clear the obvious centre strays. Stop and tidy up as soon as this part is done, so the next stage starts from a clear surface.
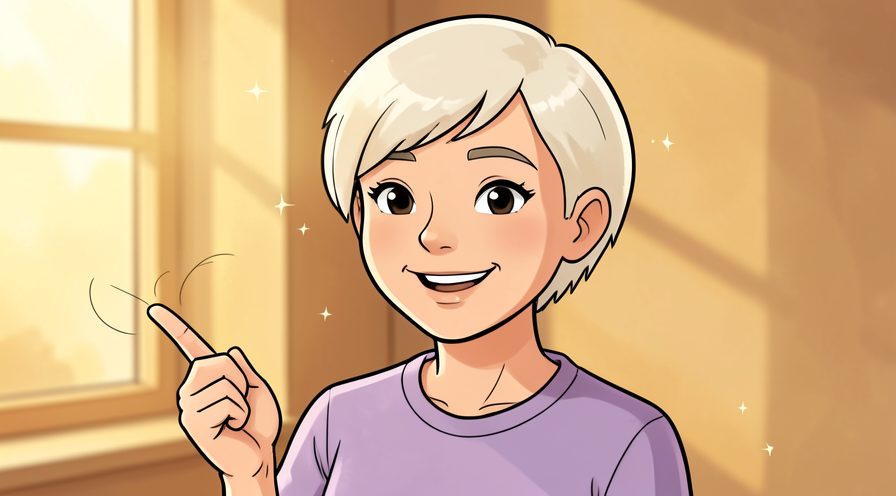
Step 24: Brush upward again before trimming
Only hairs clearly past the top line need cutting. Keep everything you might need within reach before starting, so you are not searching mid-step.
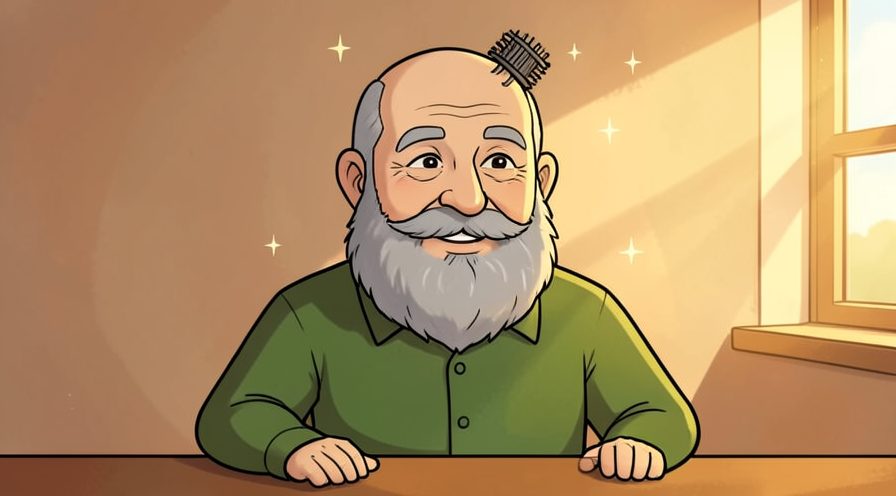
Step 25: Snip one long hair at a time
Never cut across a whole row of hairs at once. Read the label or the guidance for your eyebrows once before acting, since small differences matter here.
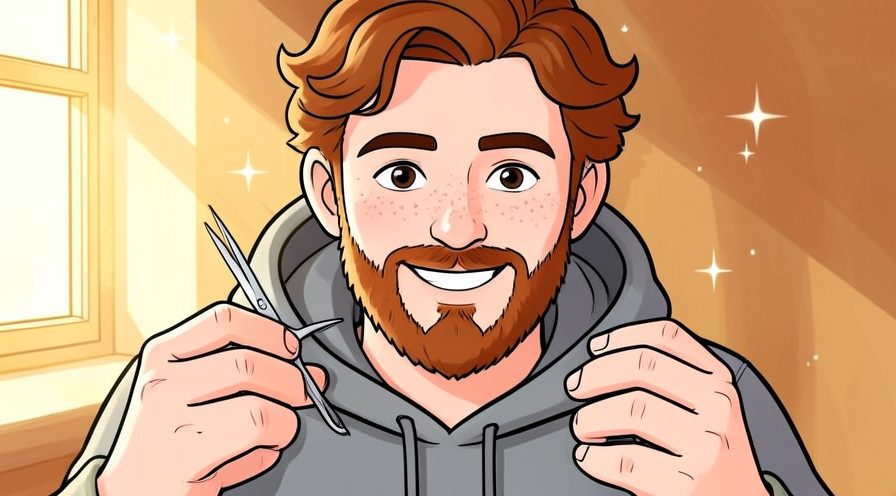
Step 26: Set a ten minute limit
A time cap is the simplest protection against over-plucking. Give this stage a couple of minutes before moving on, because rushing here is the usual reason your eyebrows ends up uneven.
Keep going: How to Do a Manicure at Home uses the same illustrated format and is a good next read. More checklists live in the Beauty & Style category.
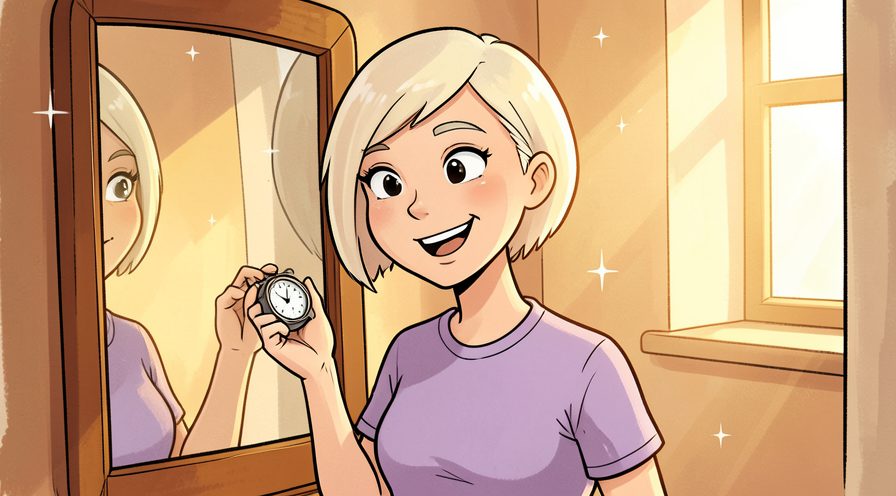
Method 3 of 3: Soothe, Check, and Maintain
Step 27: Wipe away the pencil marks
A damp cotton pad removes the guide dots. Check the edges and the parts you cannot see easily; those are where most beginners miss something.
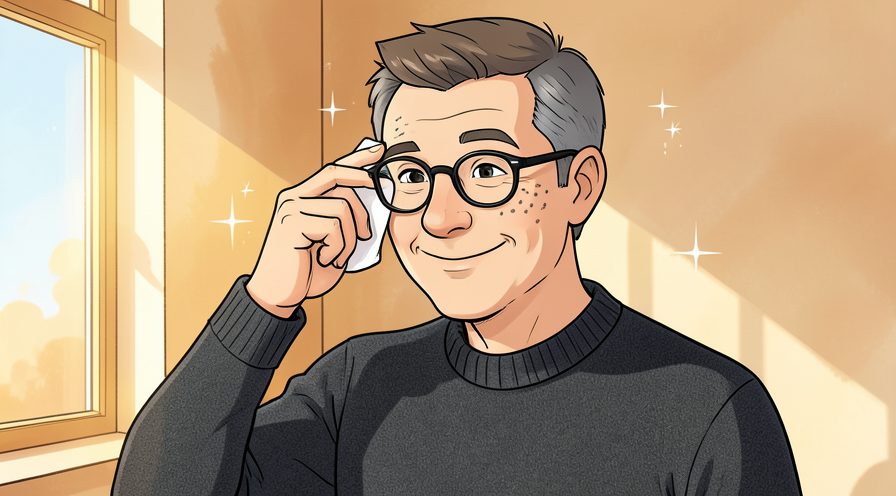
Step 28: Press a cool compress over the area
It calms redness after a shaping session. Choose the gentlest option that still works, then increase only if the result is not holding.
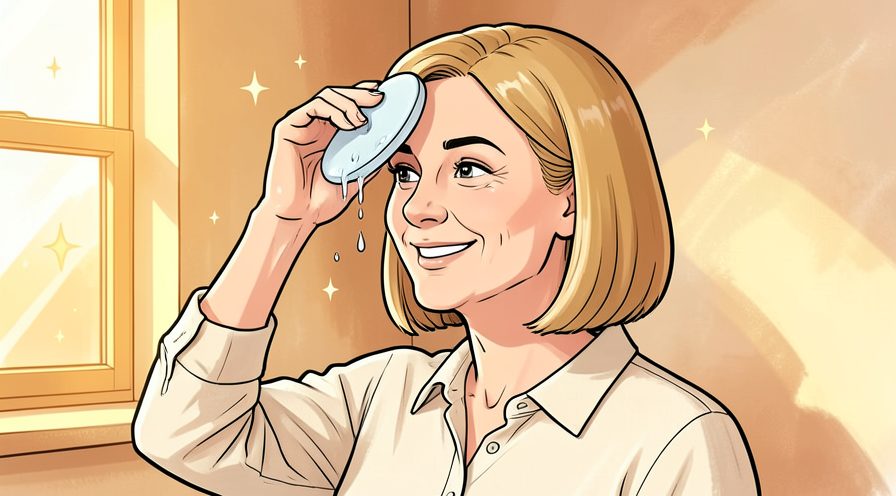
Step 29: Skip makeup for about an hour
Open follicles are easily irritated by product. Note what you changed, because the same adjustment usually applies the next time you work on your eyebrows.
Step 30: Avoid strong sun or a hot sauna that day
Freshly plucked skin reacts easily to heat. Photograph or jot down the finished stage once, which gives you a reference for the next attempt.
Step 31: Do not pick at any small bump
Picking leads to scabs and can affect regrowth. If conditions are different today, adjust one thing at a time and leave everything else unchanged.
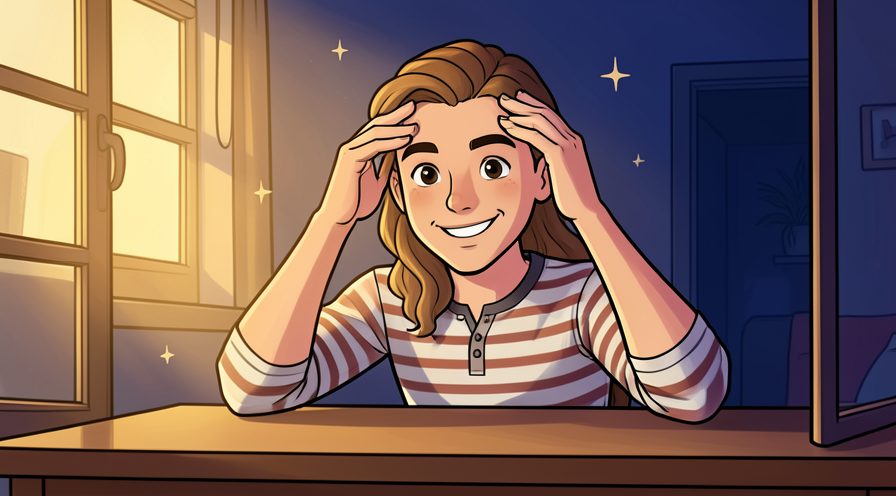
Step 32: Fill sparsely with a light pencil if needed
Short feather strokes look more natural than a solid block. When in doubt, pause and compare against the picture above before continuing.
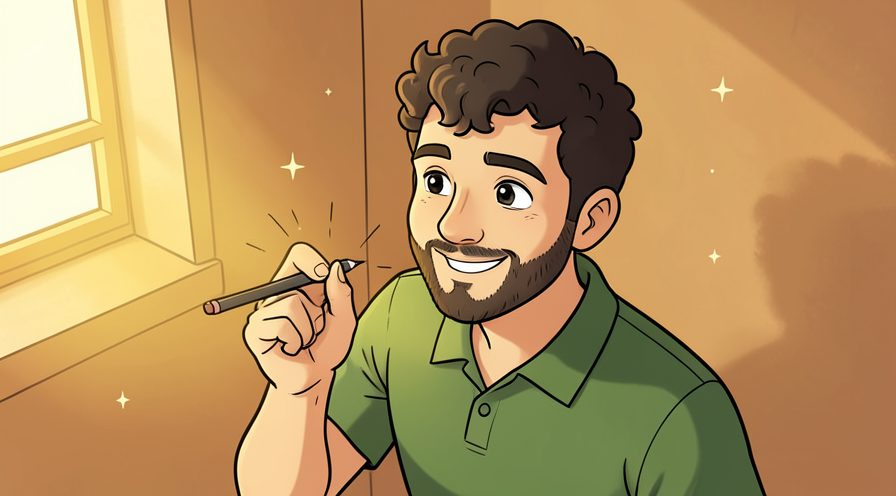
Step 33: Brush through with a clear gel
A quick comb sets the shape without adding colour. Keep the same order every time, since a fixed sequence is easier to repeat than a list of separate decisions.
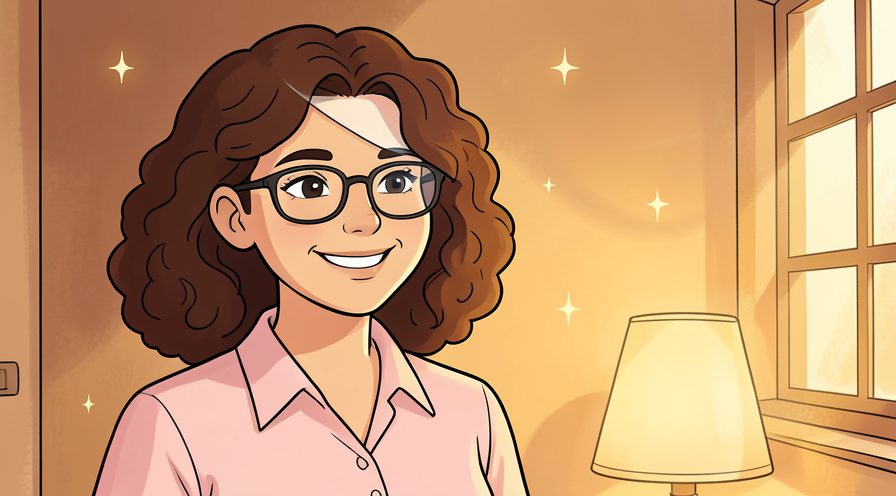
Step 34: Check the result in daylight outdoors
A window is good, but outside light is the final test. Work in small passes and look at the result after each one, so a slip is easy to fix while it is still small.
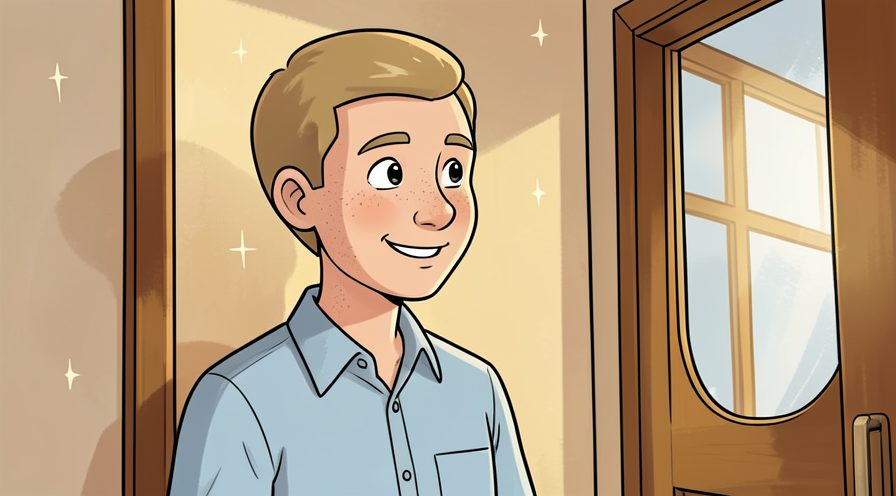
Step 35: Take a photo for your next session
A reference stops you reshaping from scratch each time. Use a light touch first; pressure and extra material are much easier to add than to remove.

Step 36: Brush them into place each morning
A daily comb keeps the shape tidy without any extra plucking. If you are unsure, do less than you think you need and check again; you can always repeat the step.
Step 37: Wait two to three weeks before the next tidy
Regrowth is slow and frequent plucking thins the brow. Let it settle for a moment before judging the result, since the first impression often changes.
Step 38: Map again each time rather than following memory
Faces and brows look different day to day. A slightly imperfect result here is fine and can be corrected later; a rushed fix usually costs more time.

Step 39: See a professional for a big shape change
A major arch change is worth doing in person. Repeat the same motion at a steady pace rather than varying it, which keeps the finish consistent.
Keep going: How to Build a Skincare Routine uses the same illustrated format and is a good next read. More checklists live in the Beauty & Style category.
Tips
- Map both brows before removing anything, since comparing as you go invites over-correction.
- Brows are sisters, not twins, so a small difference is normal. For another walkthrough, see How to Apply Foundation Evenly.
- Trim only hairs that clearly extend past the top line, and never cut while holding the hair straight out.
Warnings
- Do not pluck above the brow or chase a higher arch at home, since that area shapes the whole face and is easy to overdo. Official guidance: American Academy of Dermatology.
- Stop if the skin becomes red and sore, and avoid tweezing over moles, irritation, or active breakouts.
Frequently asked questions
How often should I tidy up? Every two to three weeks is enough for most people.
Should I trim before plucking? Pluck first, then trim only the longest hairs so you can see the real line.
What if I over-plucked? Stop completely for several weeks and fill lightly with pencil while they regrow.
References
- American Academy of Dermatology — everyday skin care. https://www.aad.org/public/everyday-care
- American Academy of Dermatology — skin health. https://www.aad.org/
- Skin Cancer Foundation — sun protection. https://www.skincancer.org/
- WebMD — skin and beauty reference. https://www.webmd.com/
- U.S. Centers for Disease Control and Prevention — sun safety. https://www.cdc.gov/
Every guide is reviewed against its sources. See our editorial policy.
Reader comments
0 so farFinished this guide? Tell other readers what worked, what didn't, and what you would change.