A saline solution is nothing more than salt dissolved in water, yet a properly made batch does more than water ever can. In a bottle of saline, the salt holds at a body-friendly concentration, so it can be used to rinse a scraped knee, flush a sore throat, irrigate the nose, and even preserve surgical instruments or fresh produce, without the sting of plain water and without the burning of a strong salty mix.
This guide walks you through The Safe Home Saline Method, a twelve-step routine that covers measuring the right ratio, mixing it thoroughly, boiling it for safety, cooling it properly, and storing it correctly so it stays clean and usable for days. Every step is written for a normal home kitchen and a standard container, so you can prepare a fresh batch in about twenty minutes and use it with confidence for light-care tasks.
Quick tip: Always start with the ratio, never a pinch. A saline solution is only safe when the salt concentration matches the body, and that concentration comes from measuring the two ingredients carefully. Improving the salt amount by feel is the single most common way people ruin a batch.
Step-by-step
Step 1: Step 1: Understand What Saline Actually Is
Saline is simply salt, or sodium chloride, dissolved in water. At body-compatible concentration, usually around 0.9 percent, it is the fluid the body is happiest with: watery enough to rinse, salty enough to keep cells intact. Add too little salt and it stings or pulls; add too much and it burns and dries tissues. Knowing this before you mix removes the guesswork from every later step.

Step 2: Step 2: Choose the Right Salt
Not all salt behaves the same in water. For a reliable saline, use plain non-iodized salt, either pure refined table salt without additives or pure sodium chloride from a pharmacy. Avoid iodized salt for anything that touches tissues, and skip table salt with anti-caking chemicals or added minerals, because those additives change how the solution behaves and how it lasts.

Step 3: Step 3: Pick a Clean Container
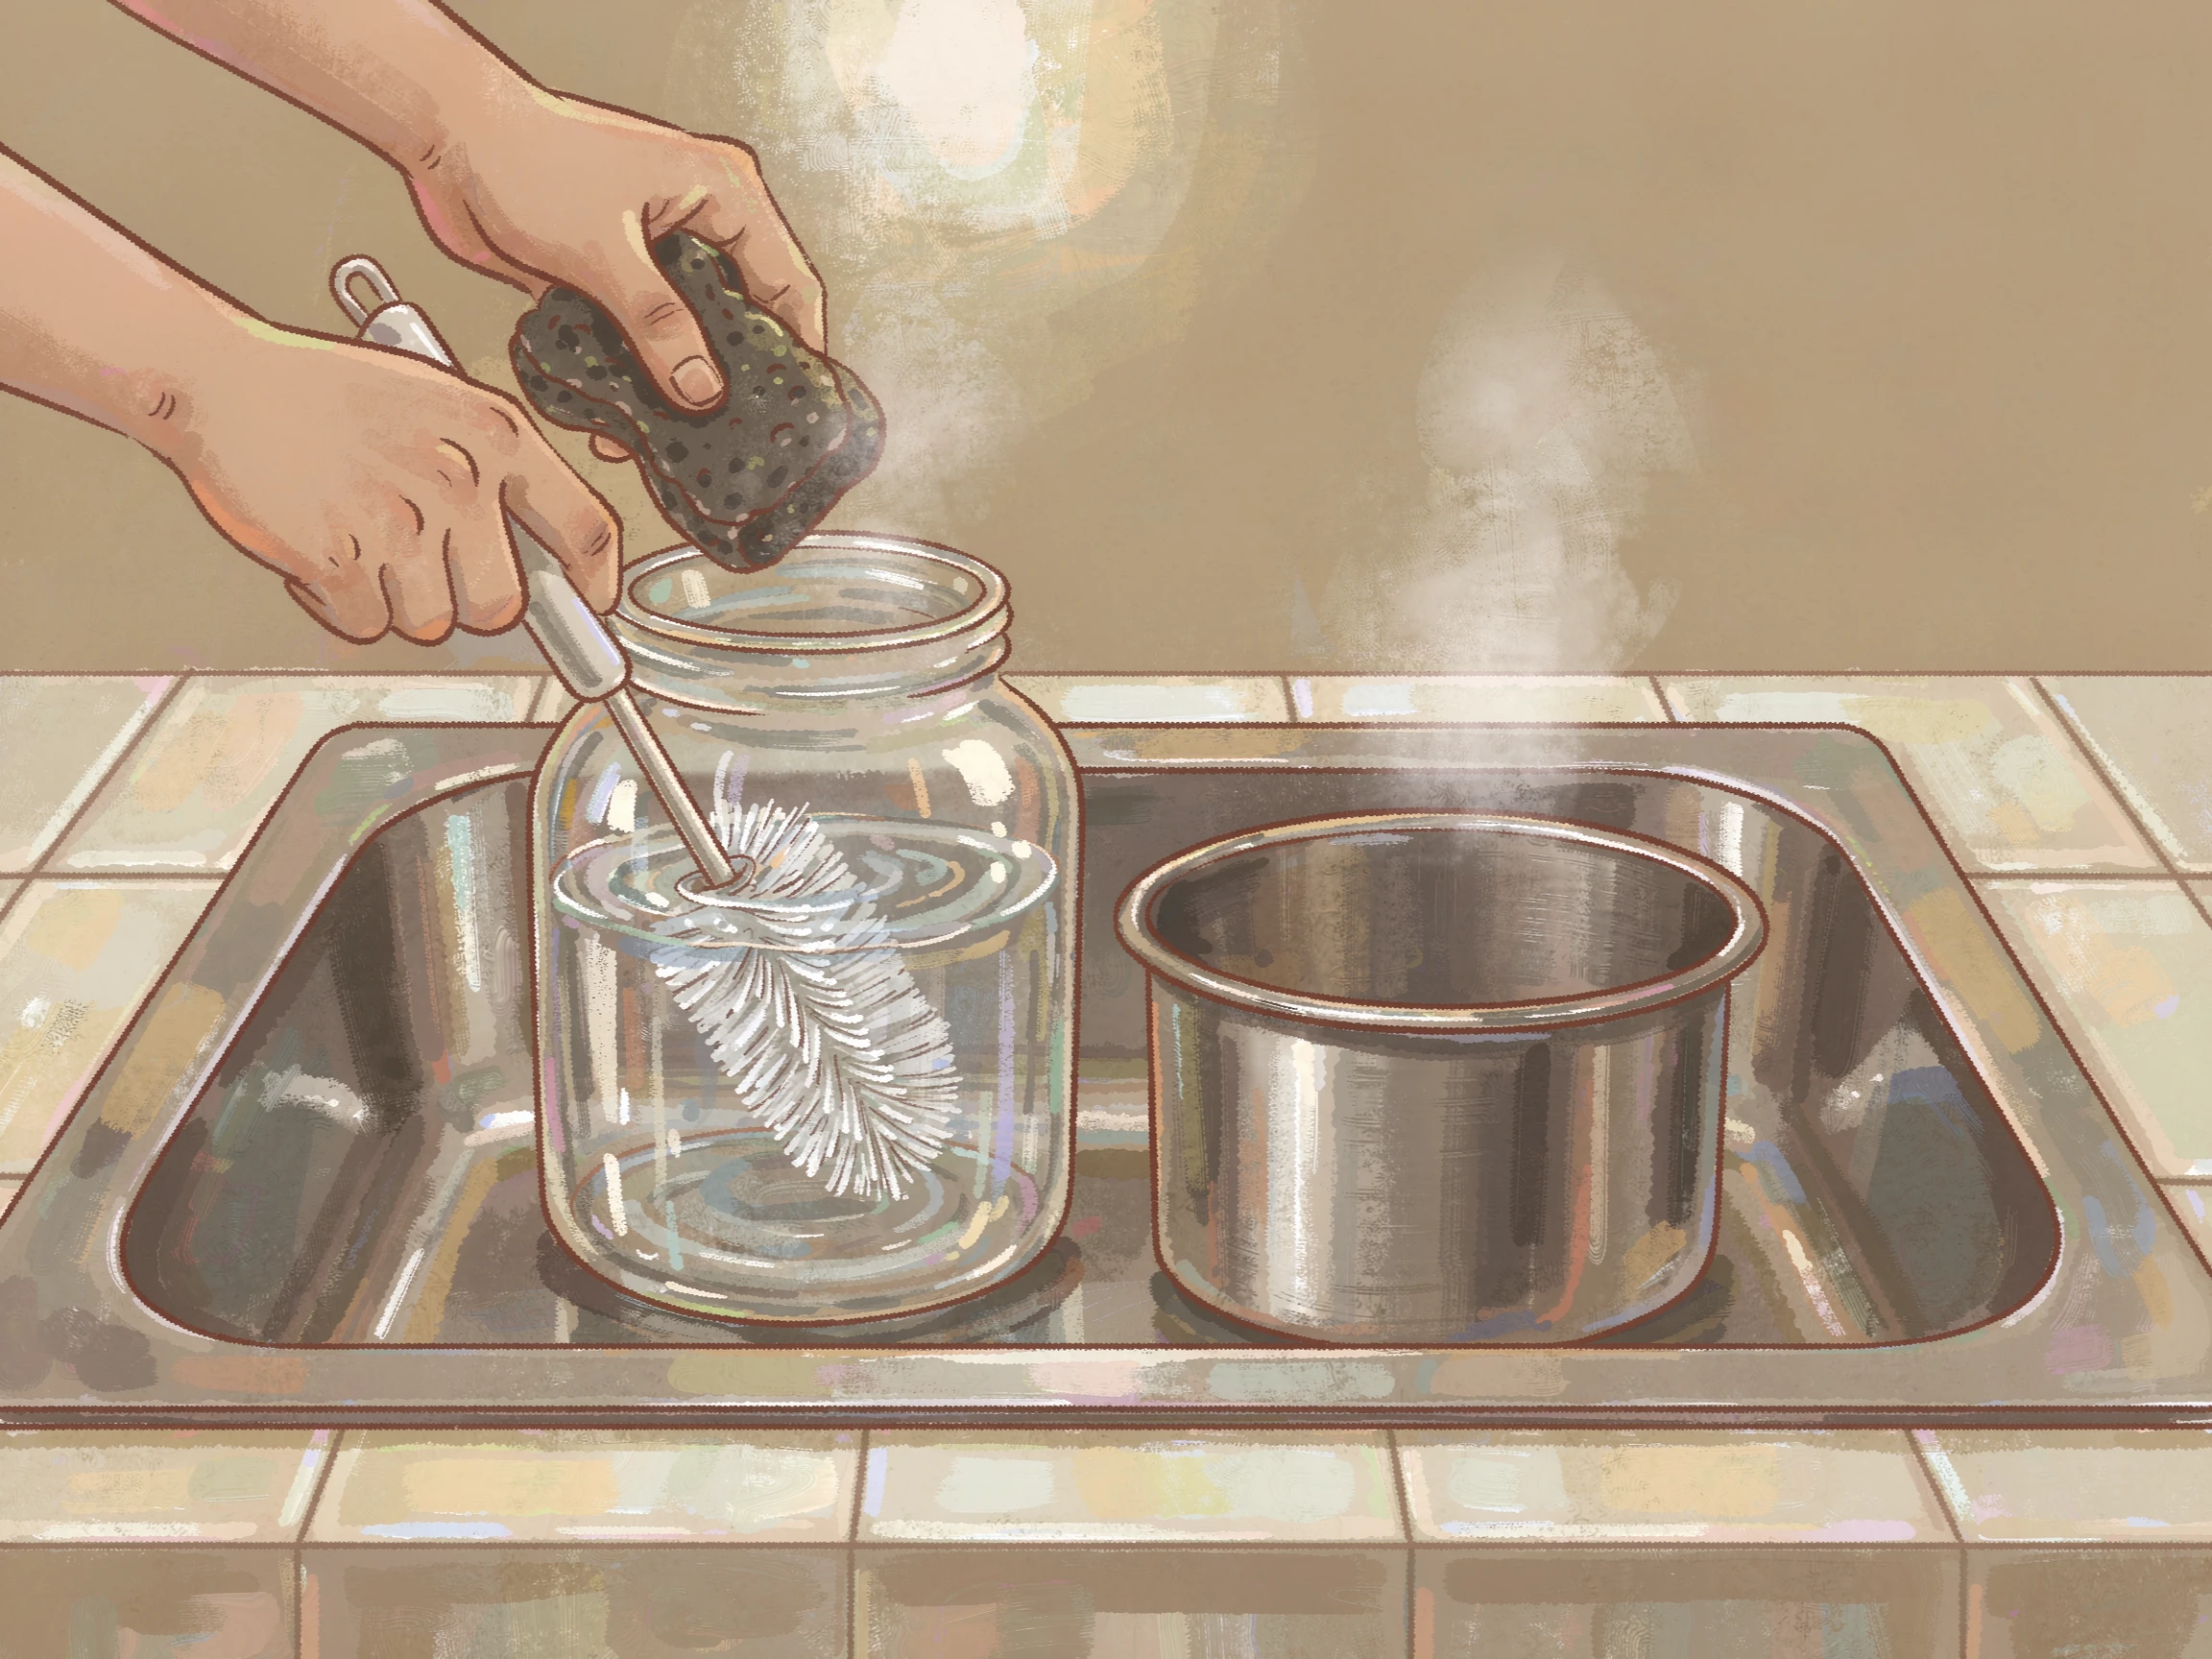
Your container does the protecting. For a mixing vessel, choose a non-porous bowl, a clean pot, or a thoroughly washed glass jar. If you are boiling the solution, use a stainless steel pot or heat-proof glass rather than plastic, which can warp, and never use a container that previously held harsh chemicals. Wash it in hot soapy water, rinse well, and if you can, sterilize it in boiling water before mixing.
Step 4: Step 4: Measure the Water Amount
The ratio begins with the water, and it must be exact. Use clean, drinkable water. Distilled water is the safest choice for anything that will touch skin, eyes, or nasal passages, while well-boiled and cooled tap water is acceptable for general cleaning uses. Measure the water with a clean measuring cup rather than estimating, because the whole ratio depends on knowing exactly how much liquid you have.

Step 5: Step 5: Measure the Salt to Match
For a body-compatible saline solution, use the standard concentration of about 9 grams of salt per 1 liter of water, which is roughly one teaspoon per cup for a household batch. Measure the salt with a proper spoon or a kitchen scale rather than a handful; the grams matter more than the scoop. If you are making a small batch for a single rinse, scale down evenly rather than doubling the salt.

Step 6: Step 6: Mix Slowly and Dissolve Completely
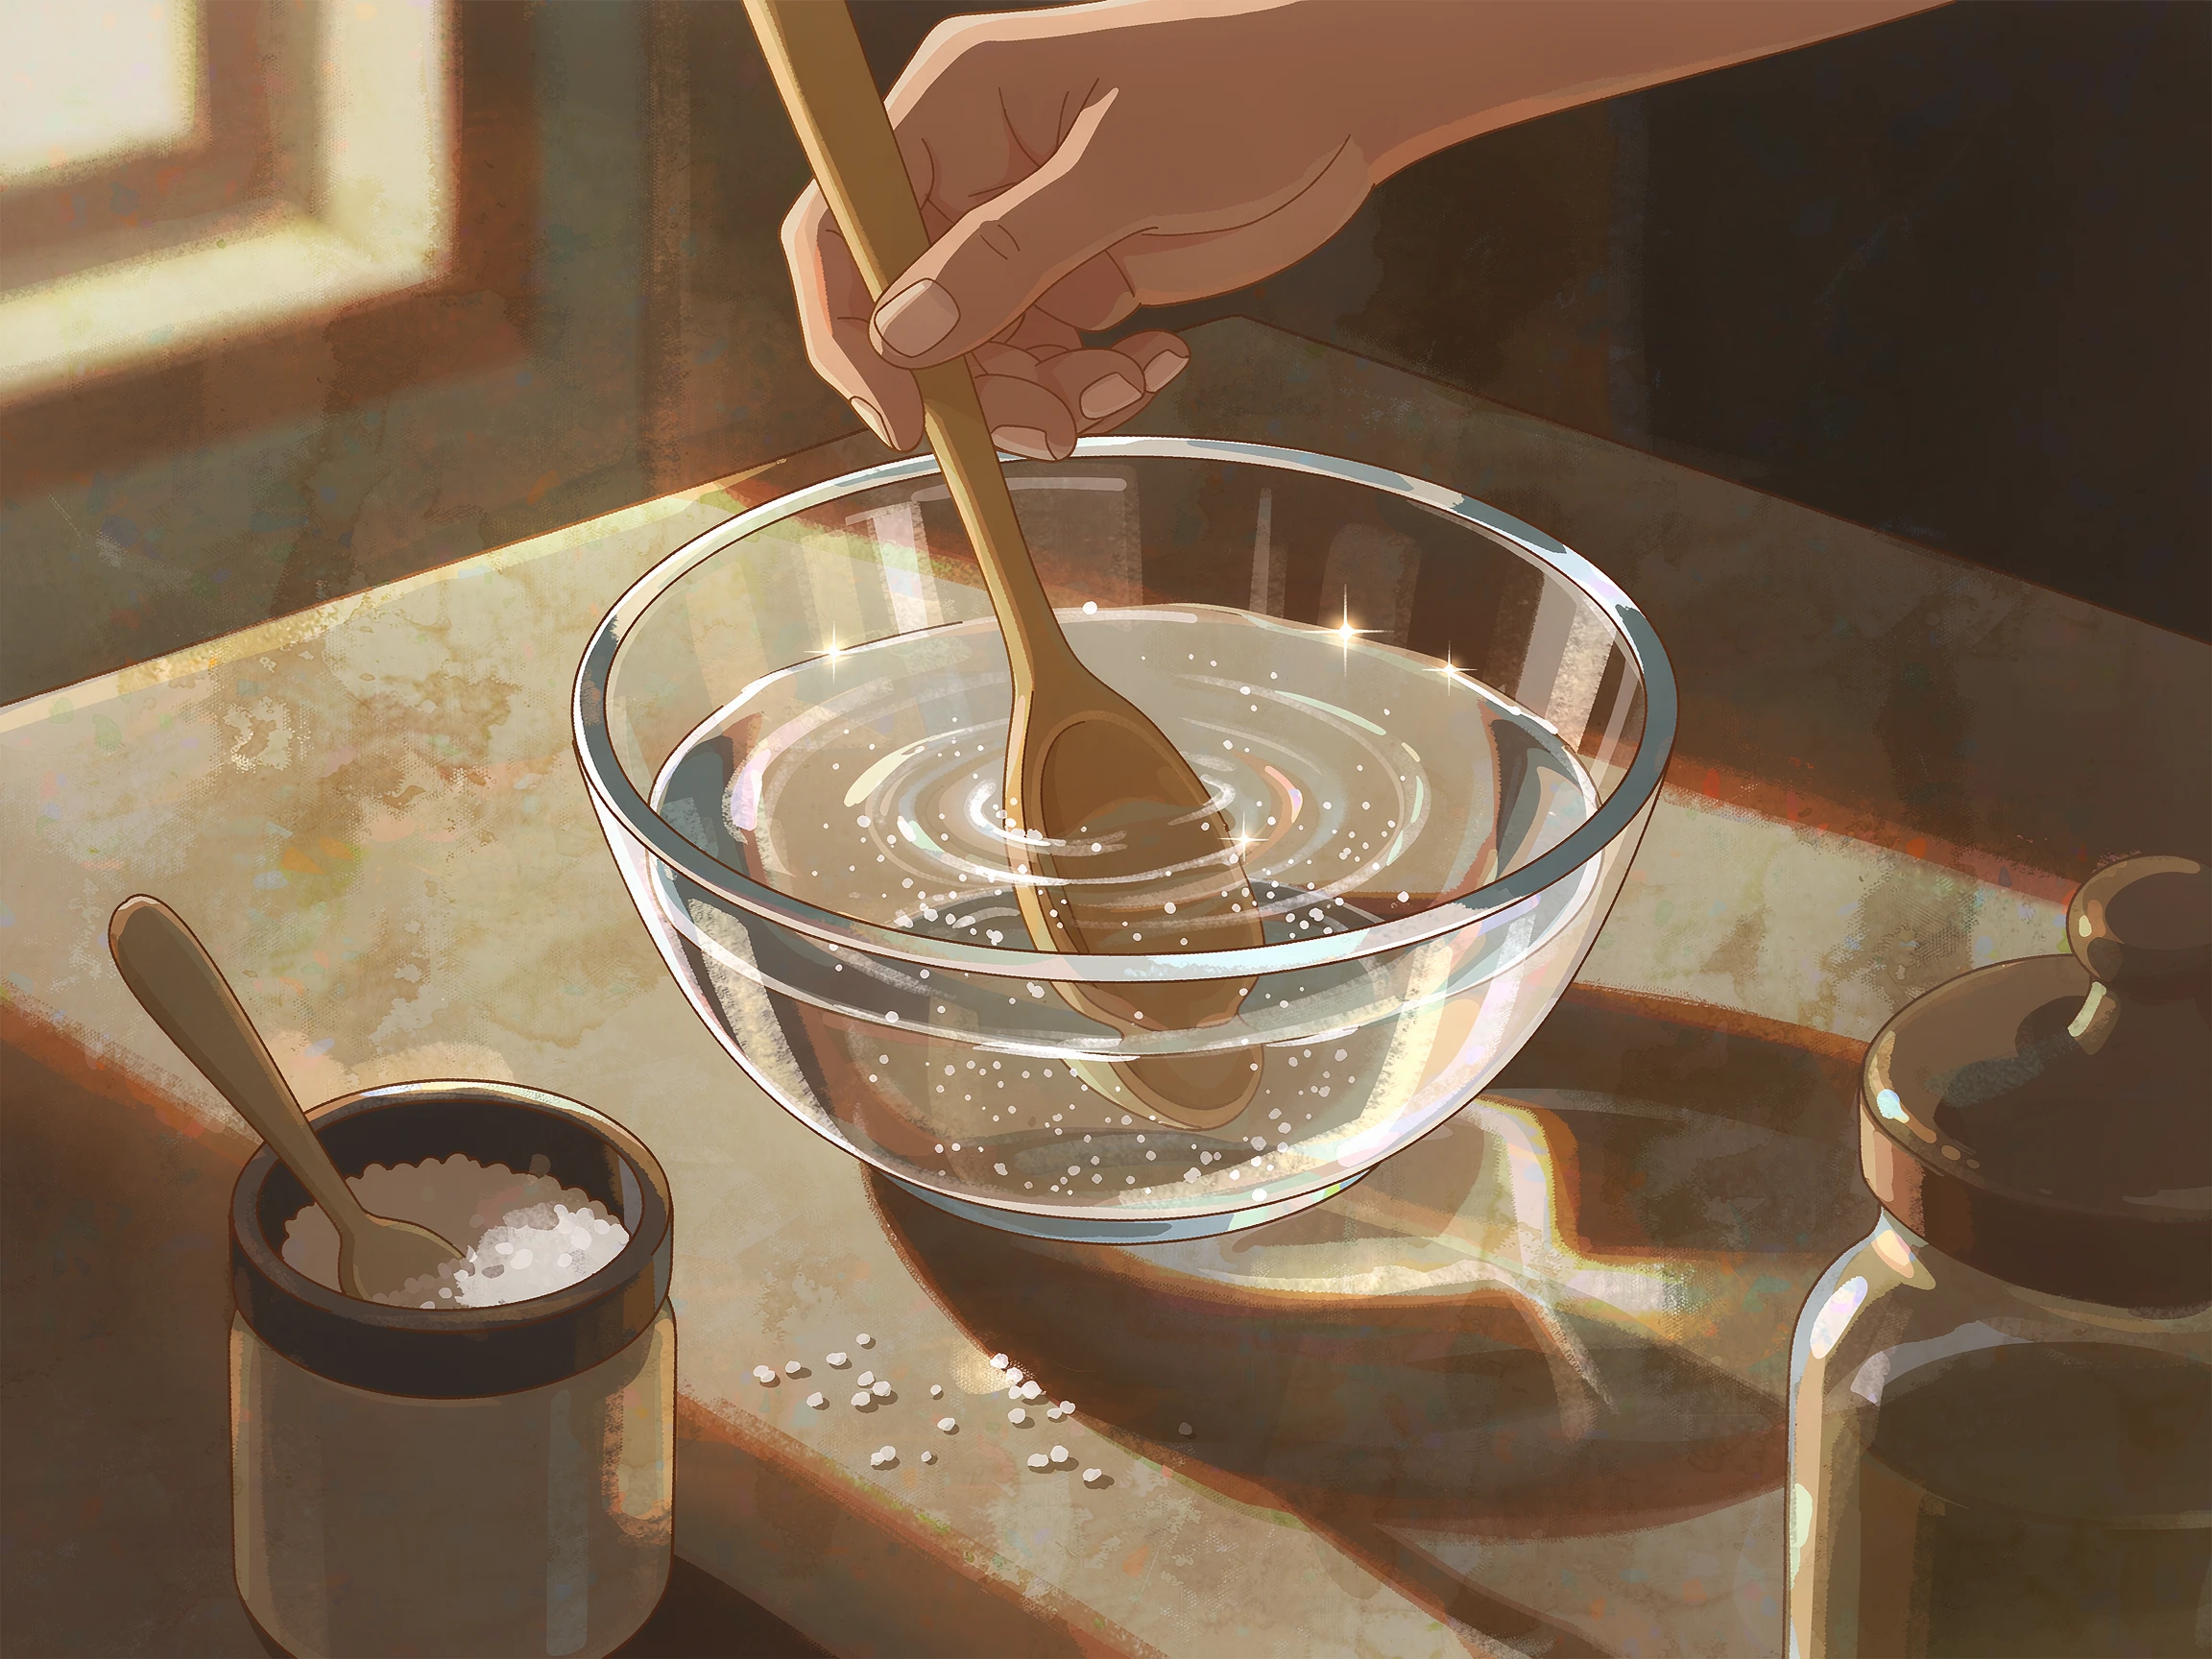
Add the salt to the water, not the other way around, and stir slowly with a clean spoon or whisk. Salt needs a little time in water to fully dissolve, and crystals sitting in the bottom mean the concentration in the liquid is lower than you calculated. Stir until the liquid is perfectly clear, with no crystals visible, and scrape the bottom and the sides of the container as you go.
Step 7: Step 7: Boil for Safety When Needed
For any solution that will touch skin, eyes, or nasal passages, heat it to boiling, then let it cool. Boiling kills off bacteria and gives the solution a clean starting point. Use a stainless steel pot, let the mix come to a full rolling boil for a minute, and keep the lid on until you start cooling. For cleaning-only uses such as rinsing instruments, boiling is optional but always the safer choice.

Step 8: Step 8: Cool It Completely Before Use
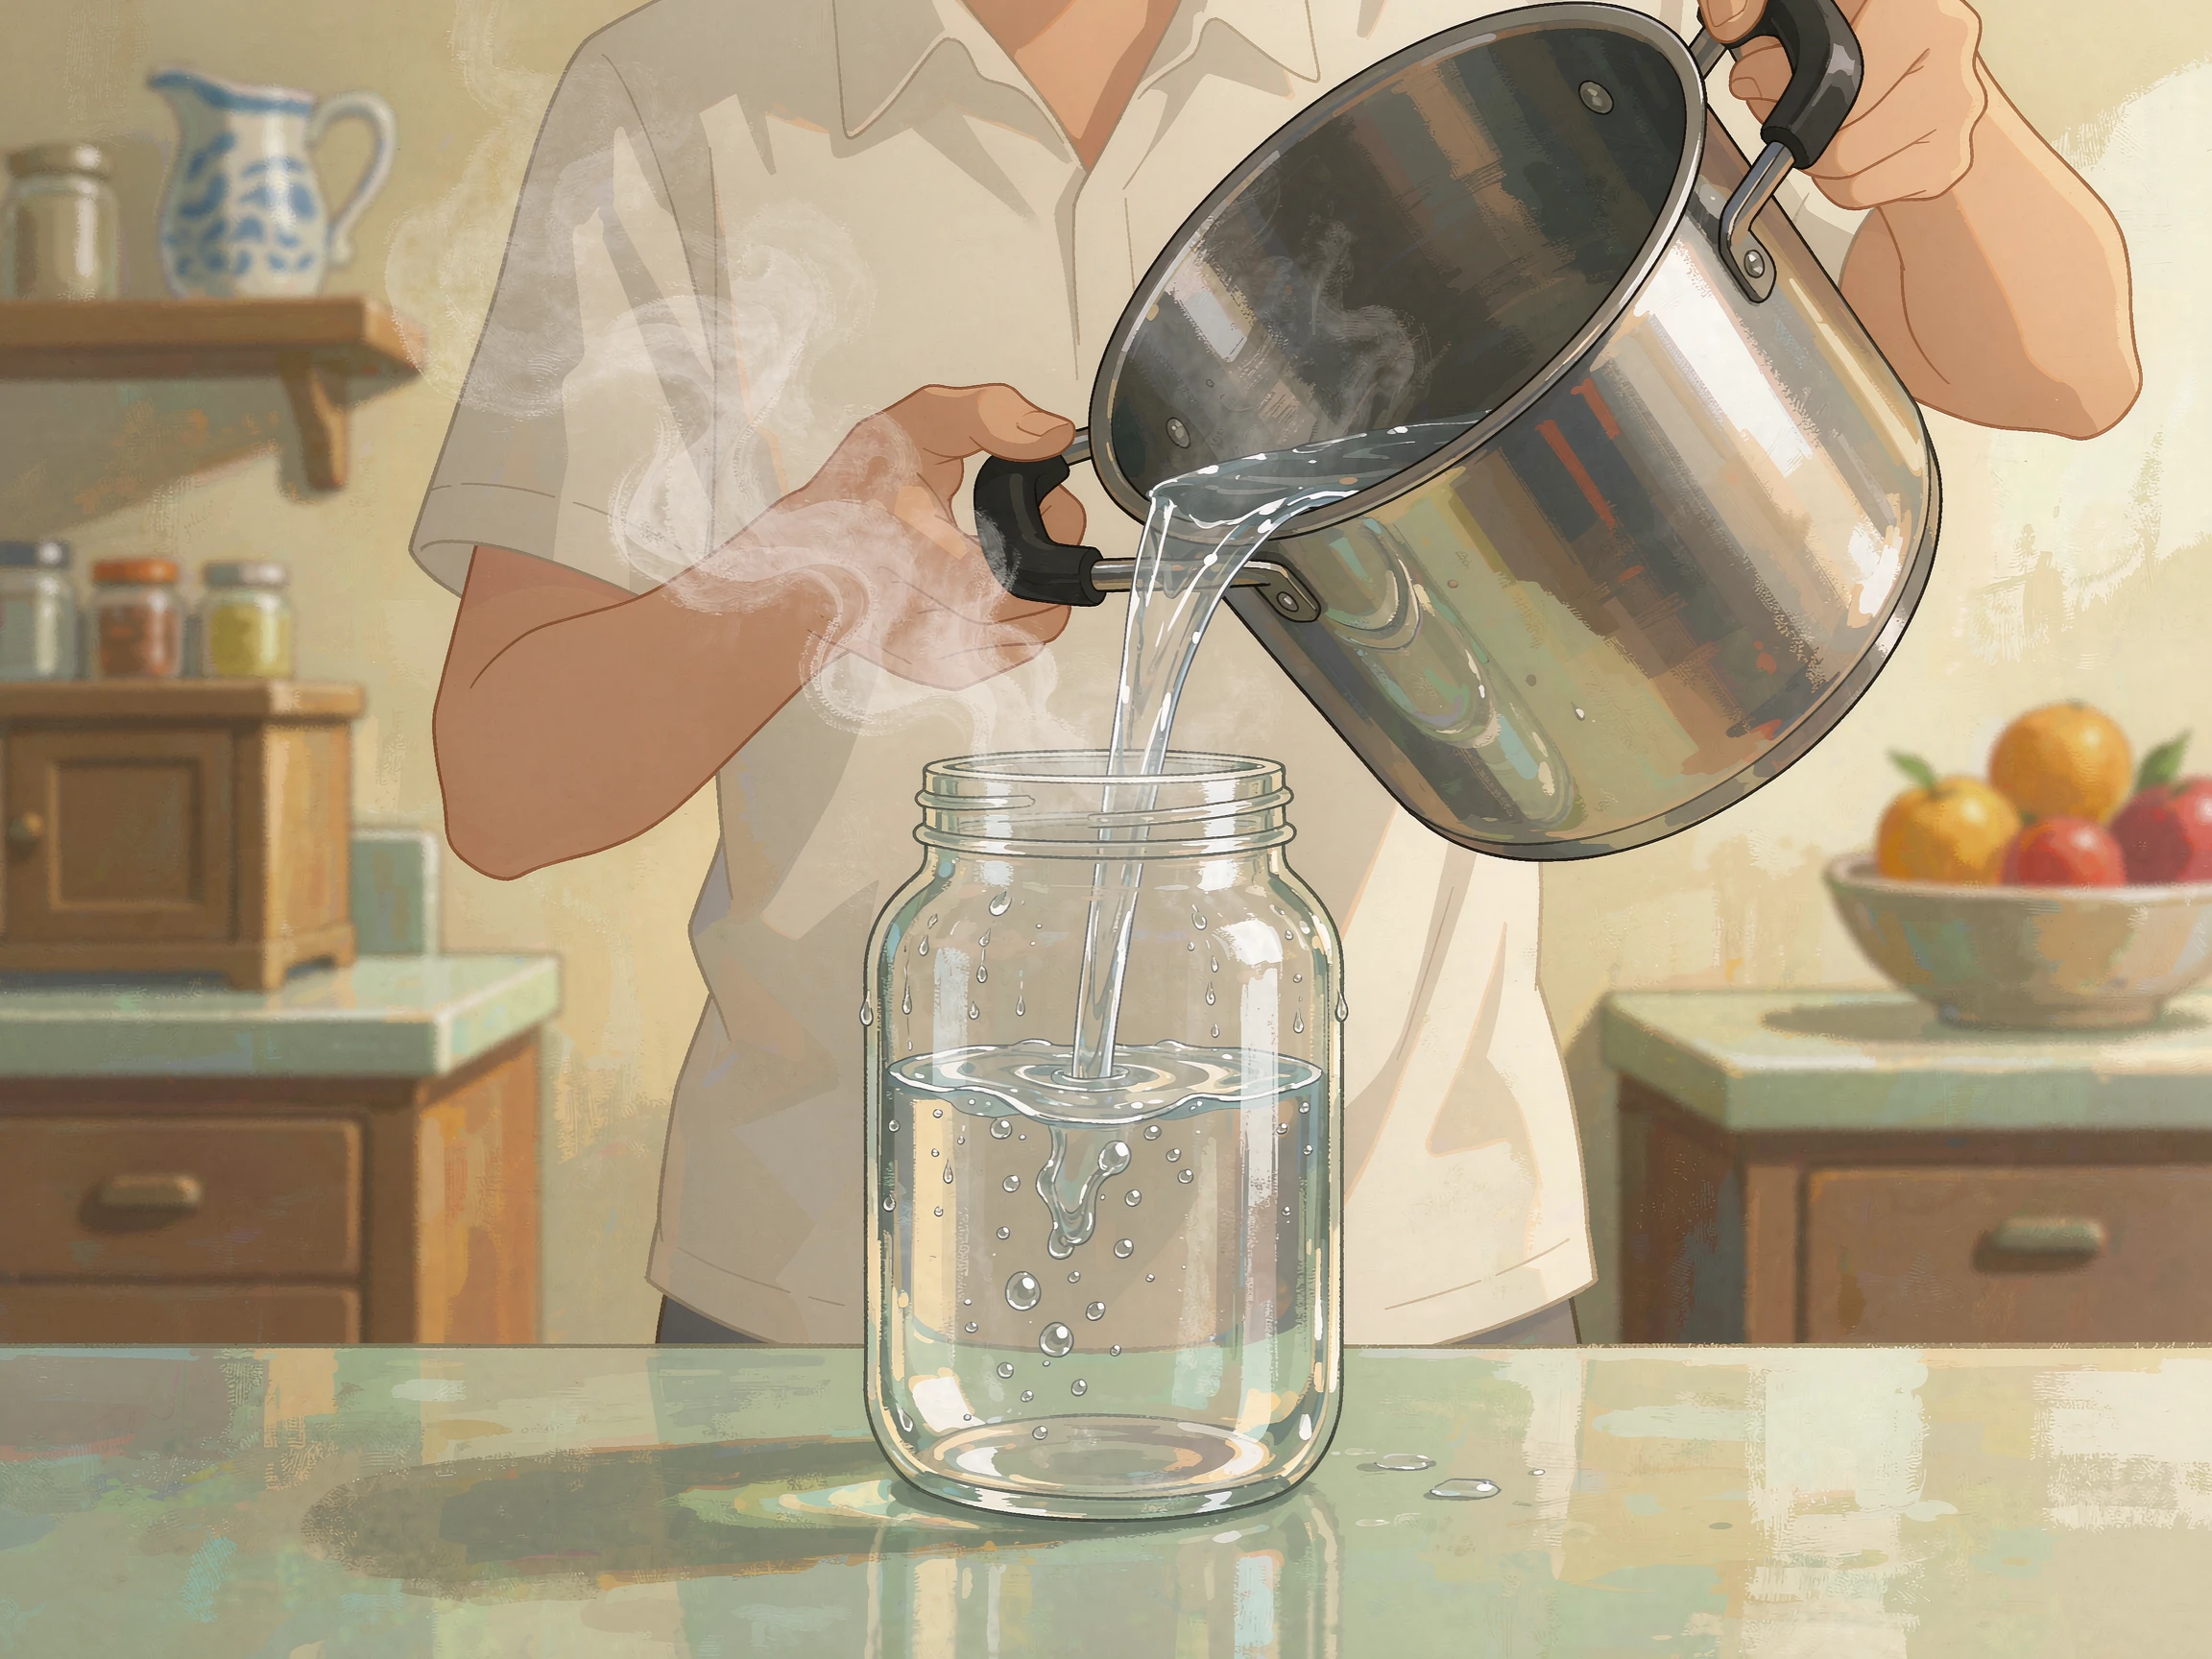
Hot or warm saline is not just uncomfortable; it harms the tissues it is meant to help. Pour the heated solution into a clean, sterile container and let it cool to room temperature before you use or store it. Never use a batch that is still warm, and never cool it by setting the container on a cold surface, because condensation can introduce contamination.
Step 9: Step 9: Store It in a Clean, Sealed Container
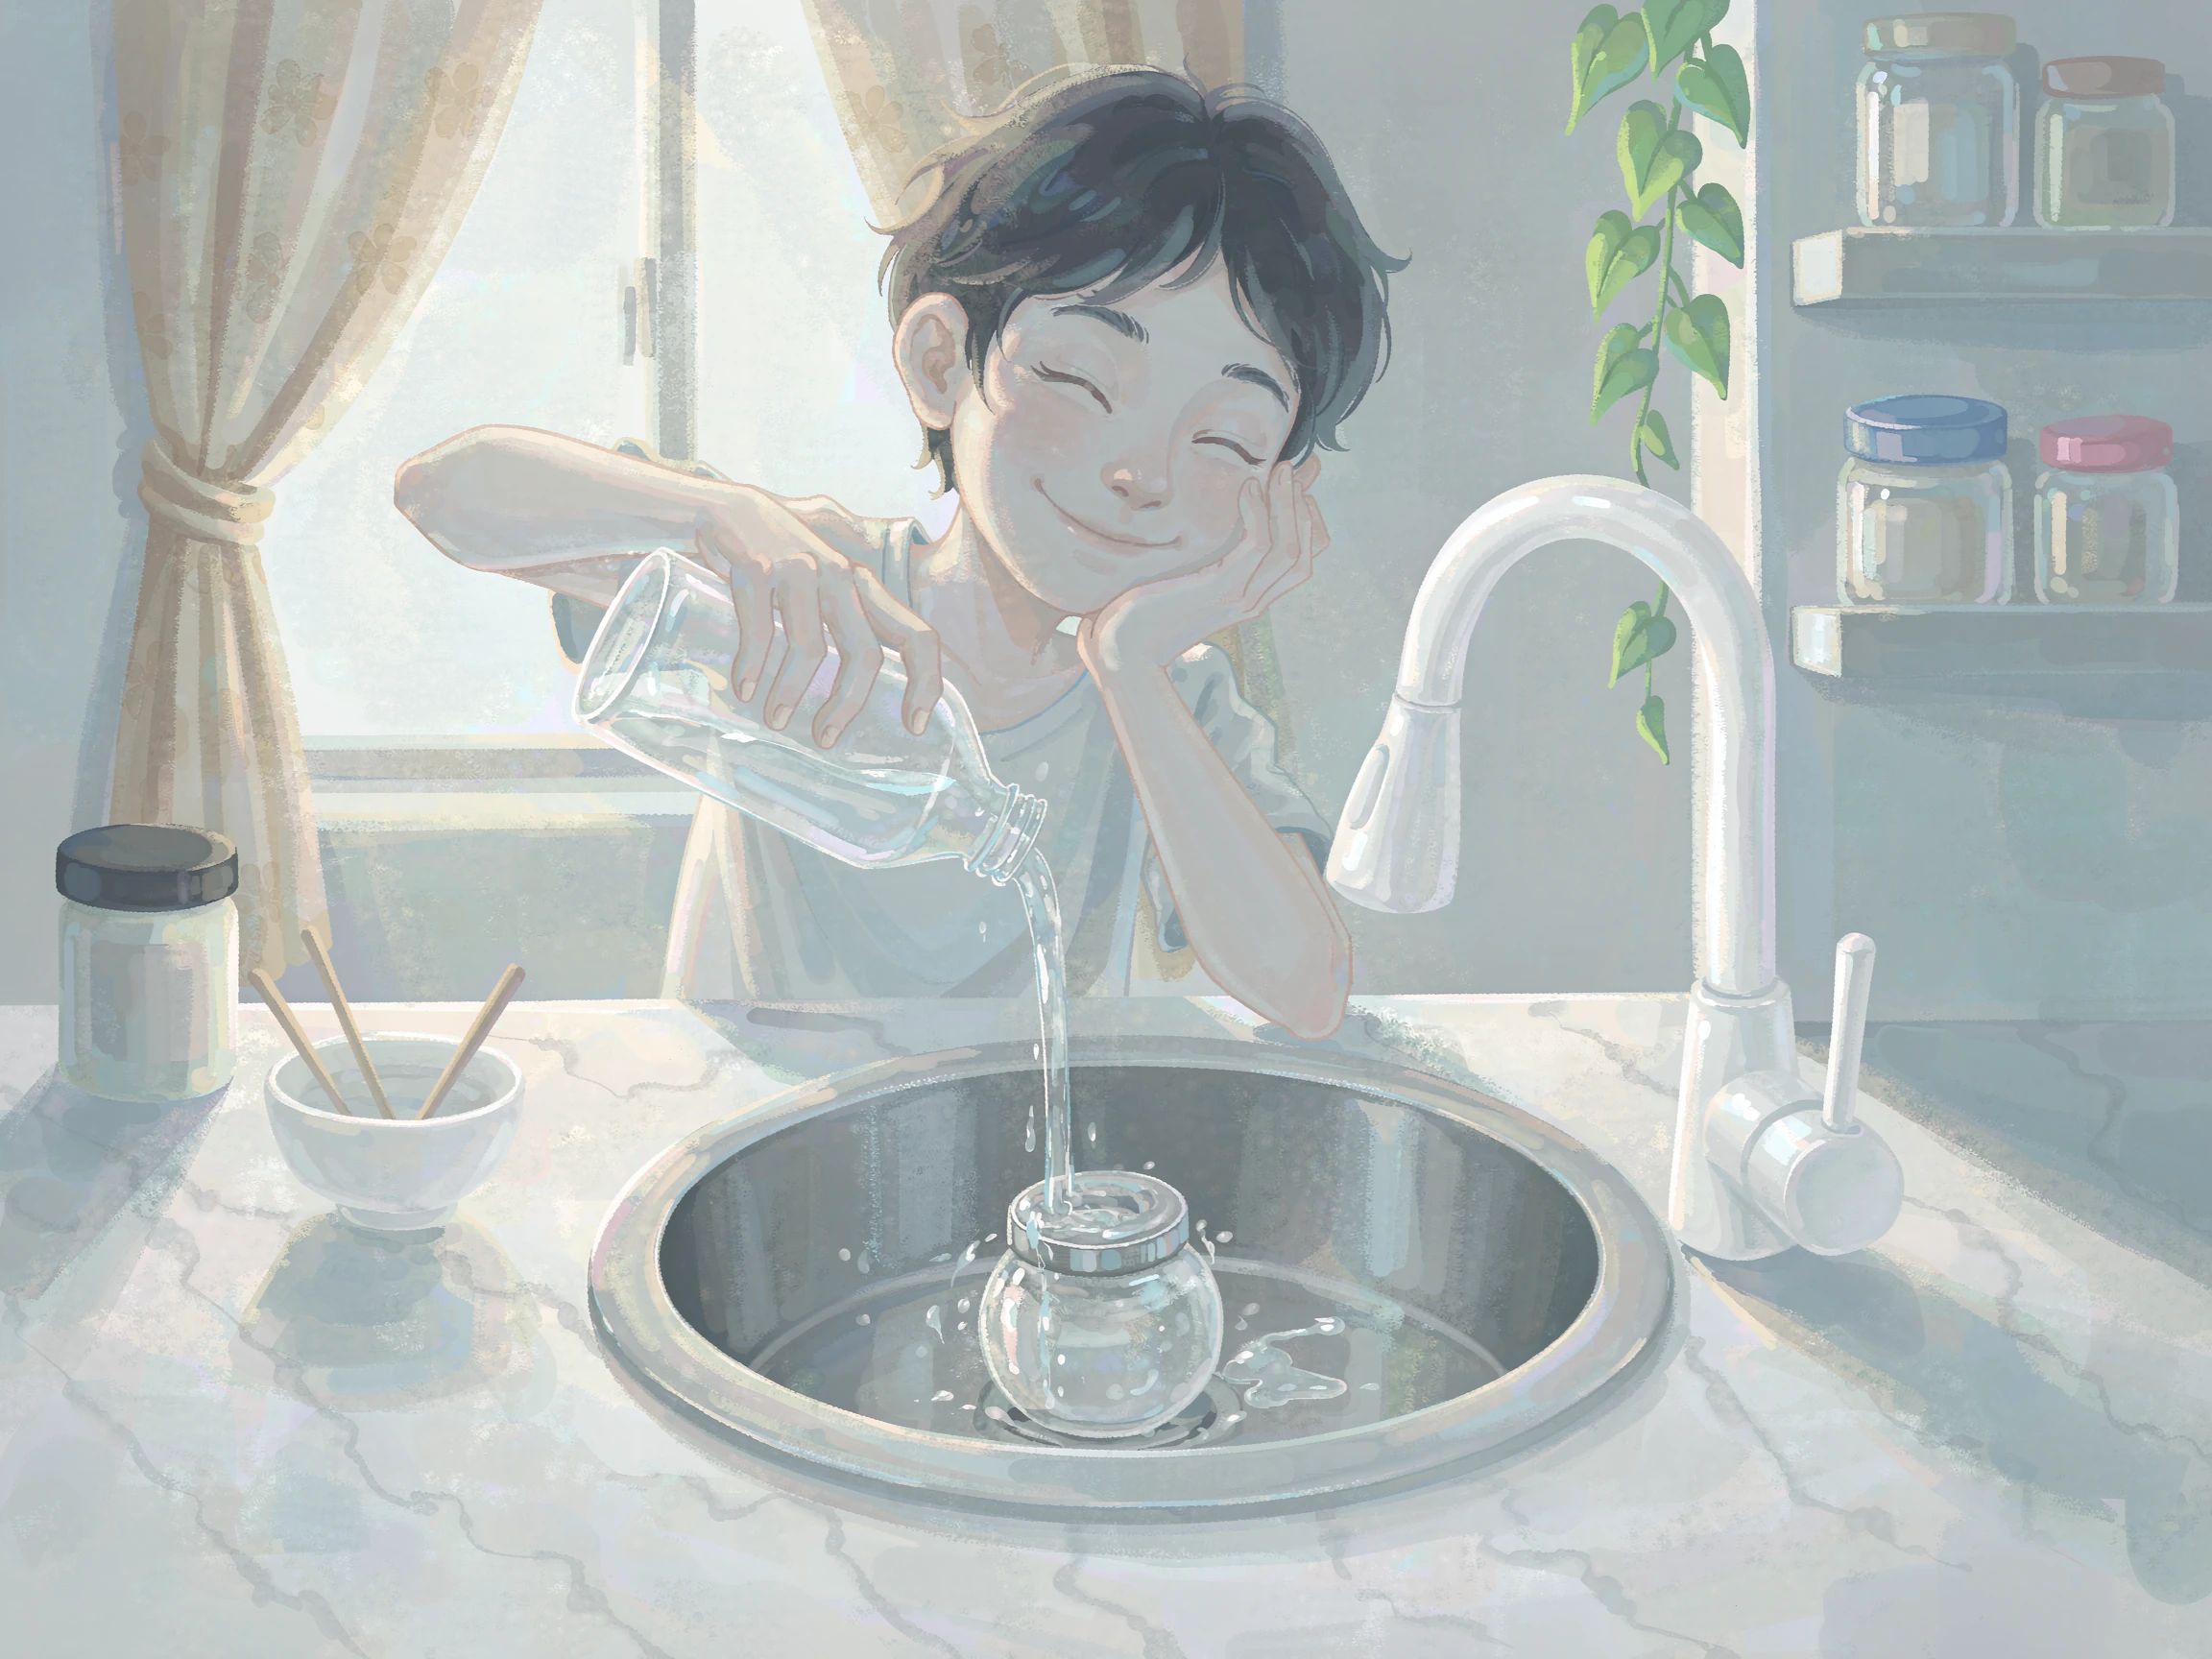
Transfer the cooled solution into a clean bottle or jar that you have washed and dried thoroughly. Cover it tightly with a lid or a sealed cap, and label it with the date you made it. Store it in a cool, dark place away from heat and light, and pour it out rather than dipping fingers into the jar. A properly stored batch of plain saline keeps for about one week.

Step 10: Step 10: Use It for Its Right Purpose
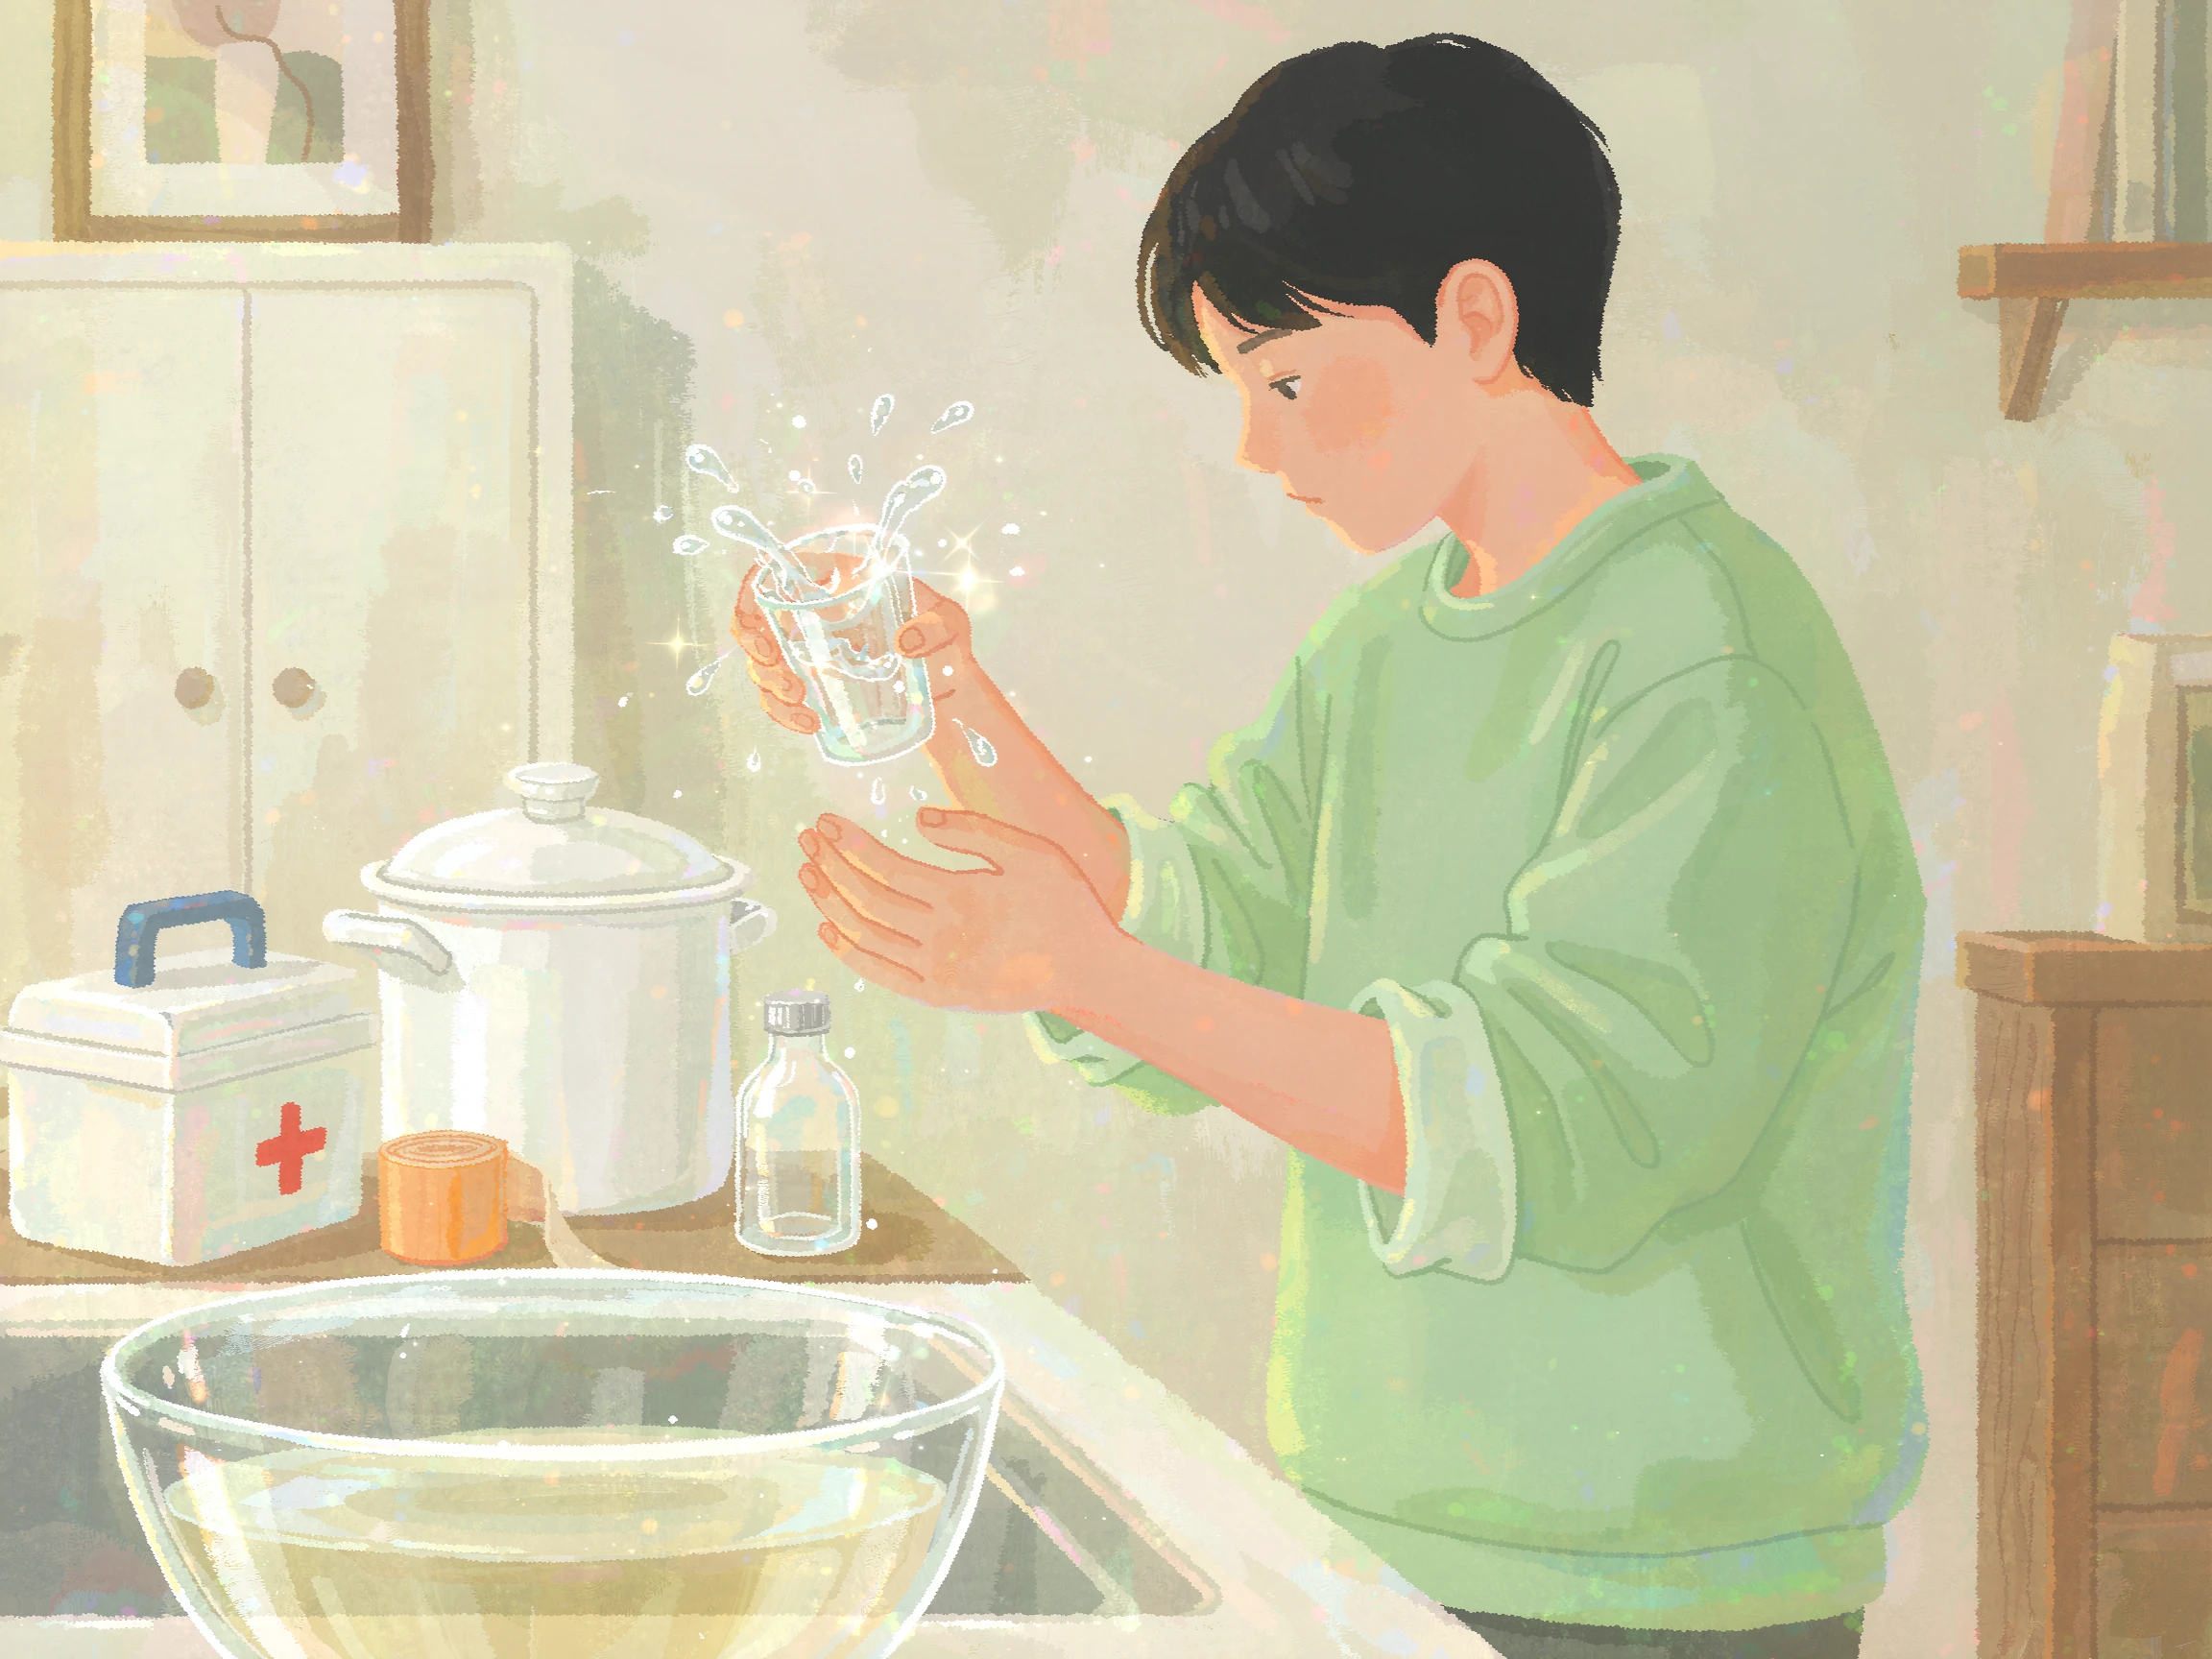
Saline suits the gentle jobs it was made for: rinsing a scrape or cut, soothing a sore throat by gargling, irrigating the nose with a nasal rinse, and cleaning or rinsing small household items. Use it clean, never reuse a batch after it has been used on skin or surfaces, and never put a used batch back into the storage jar.
Step 11: Step 11: Discard It on Time
Even the cleanest home-made saline does not last forever. Discard any batch that has been sitting for more than about one week, or any batch that has become cloudy, coloured, or smells off; these signs mean the solution is no longer safe to use. Pour it away, wash the container thoroughly, and make a fresh batch when you need it again.
Step 12: Step 12: Keep Your Routine Simple and Safe
Home saline is a small task that pays off with habit, not effort. Make fresh batches on a schedule rather than guessing, keep the salt and containers dedicated to this purpose, and wash everything well between batches. If you need a concentration for a specific use such as nasal rinsing, measure that recipe exactly rather than estimating, and when in doubt, keep the batch plain and mild.
Final Thoughts: A saline solution comes down to three things: the right salt, the right amount of water, and a little patience while it dissolves and cools. Measure carefully, boil when the use calls for it, store it clean, use it within a week, and discard it without regret when it is past its time. That routine turns a simple mix of salt and water into a reliable, dependable household helper, safe enough for the gentle jobs, and simple enough to make again any day of the week.



Reader comments
0 so farFinished this guide? Tell other readers what worked, what didn't, and what you would change.