Your files live on one disk, and one disk is a single point of failure: a power surge, a dropped laptop, a failing controller, or ransomware can take the whole thing at once. An external drive fixes that in an afternoon. It is fast, cheap, works without internet, restores in minutes instead of hours, and gives you a copy that does not depend on someone else's server staying online.
This guide walks you through The External Drive Backup Method, a twelve-step routine that starts with deciding what actually matters, then covers choosing and formatting the right drive, building versioned file backups plus a full system image, encrypting everything, verifying the copy, testing a real restore, automating the schedule, and rotating a second drive offsite so that fire, theft, or ransomware cannot take your backup along with your PC.
Quick tip: Never buy a drive that is exactly the same size as your data. Buy roughly twice the space you need. Versioned history, deleted files, and a system image all need room, and a nearly full drive silently stops updating.
Step-by-step
Step 1: Step 1: Decide What Actually Needs Backing Up
Start with a written inventory rather than a tool. List the folders you would genuinely miss: documents, photos, tax records, project files, browser bookmarks, password manager exports, and any creative work stored only on this machine. Then note the total size by right-clicking each folder and checking Properties. Programs and Windows itself do not need backing up because they can be reinstalled; your data cannot. This list becomes the checklist your external drive must cover, and it tells you exactly what size drive to buy in the next steps.

Step 2: Step 2: Set Up the 3-2-1 Rule
Three copies, two media types, one offsite. The working copy stays on your computer, the external drive becomes the second copy at home, and a third copy lives in cloud storage or on a second drive kept at another address. The point is that no single event such as fire, flood, theft, or a spilled coffee can destroy every copy at once. Write the plan down next to your folder list so you can see at a glance which copy covers which risk, and which one you still need to create.

Step 3: Step 3: Choose the Right Drive, Size, and Format
Add up the sizes from your inventory: a typical photo library runs 50 to 200 GB, documents rarely pass 10 GB, and video projects can be far larger. Buy an external SSD if your budget allows, since it backs up and restores several times faster than a spinning drive, and buy roughly twice the capacity you measured so history has room to grow. Then format it once before use: right-click the drive in This PC and choose Format, using NTFS for a Windows-only backup or exFAT if you also need to read it on a Mac, and give it a clear label such as BACKUP-2026. A labelled, freshly formatted drive prevents the most common mistake of all, which is backing up to the wrong disk.

Step 4: Step 4: Turn On File History for Everyday Files
Windows includes File History, which keeps versioned copies of your personal folders on the external drive. Open Settings > System > Storage > Advanced storage settings > Backup options, add the drive, and enable Automatically back up my files with hourly snapshots. On a Mac the equivalent is Time Machine. Hourly versions matter more than people expect, because the most common restore is not a dead disk but a document overwritten an hour ago.
Step 5: Step 5: Create a Full System Image on the Drive
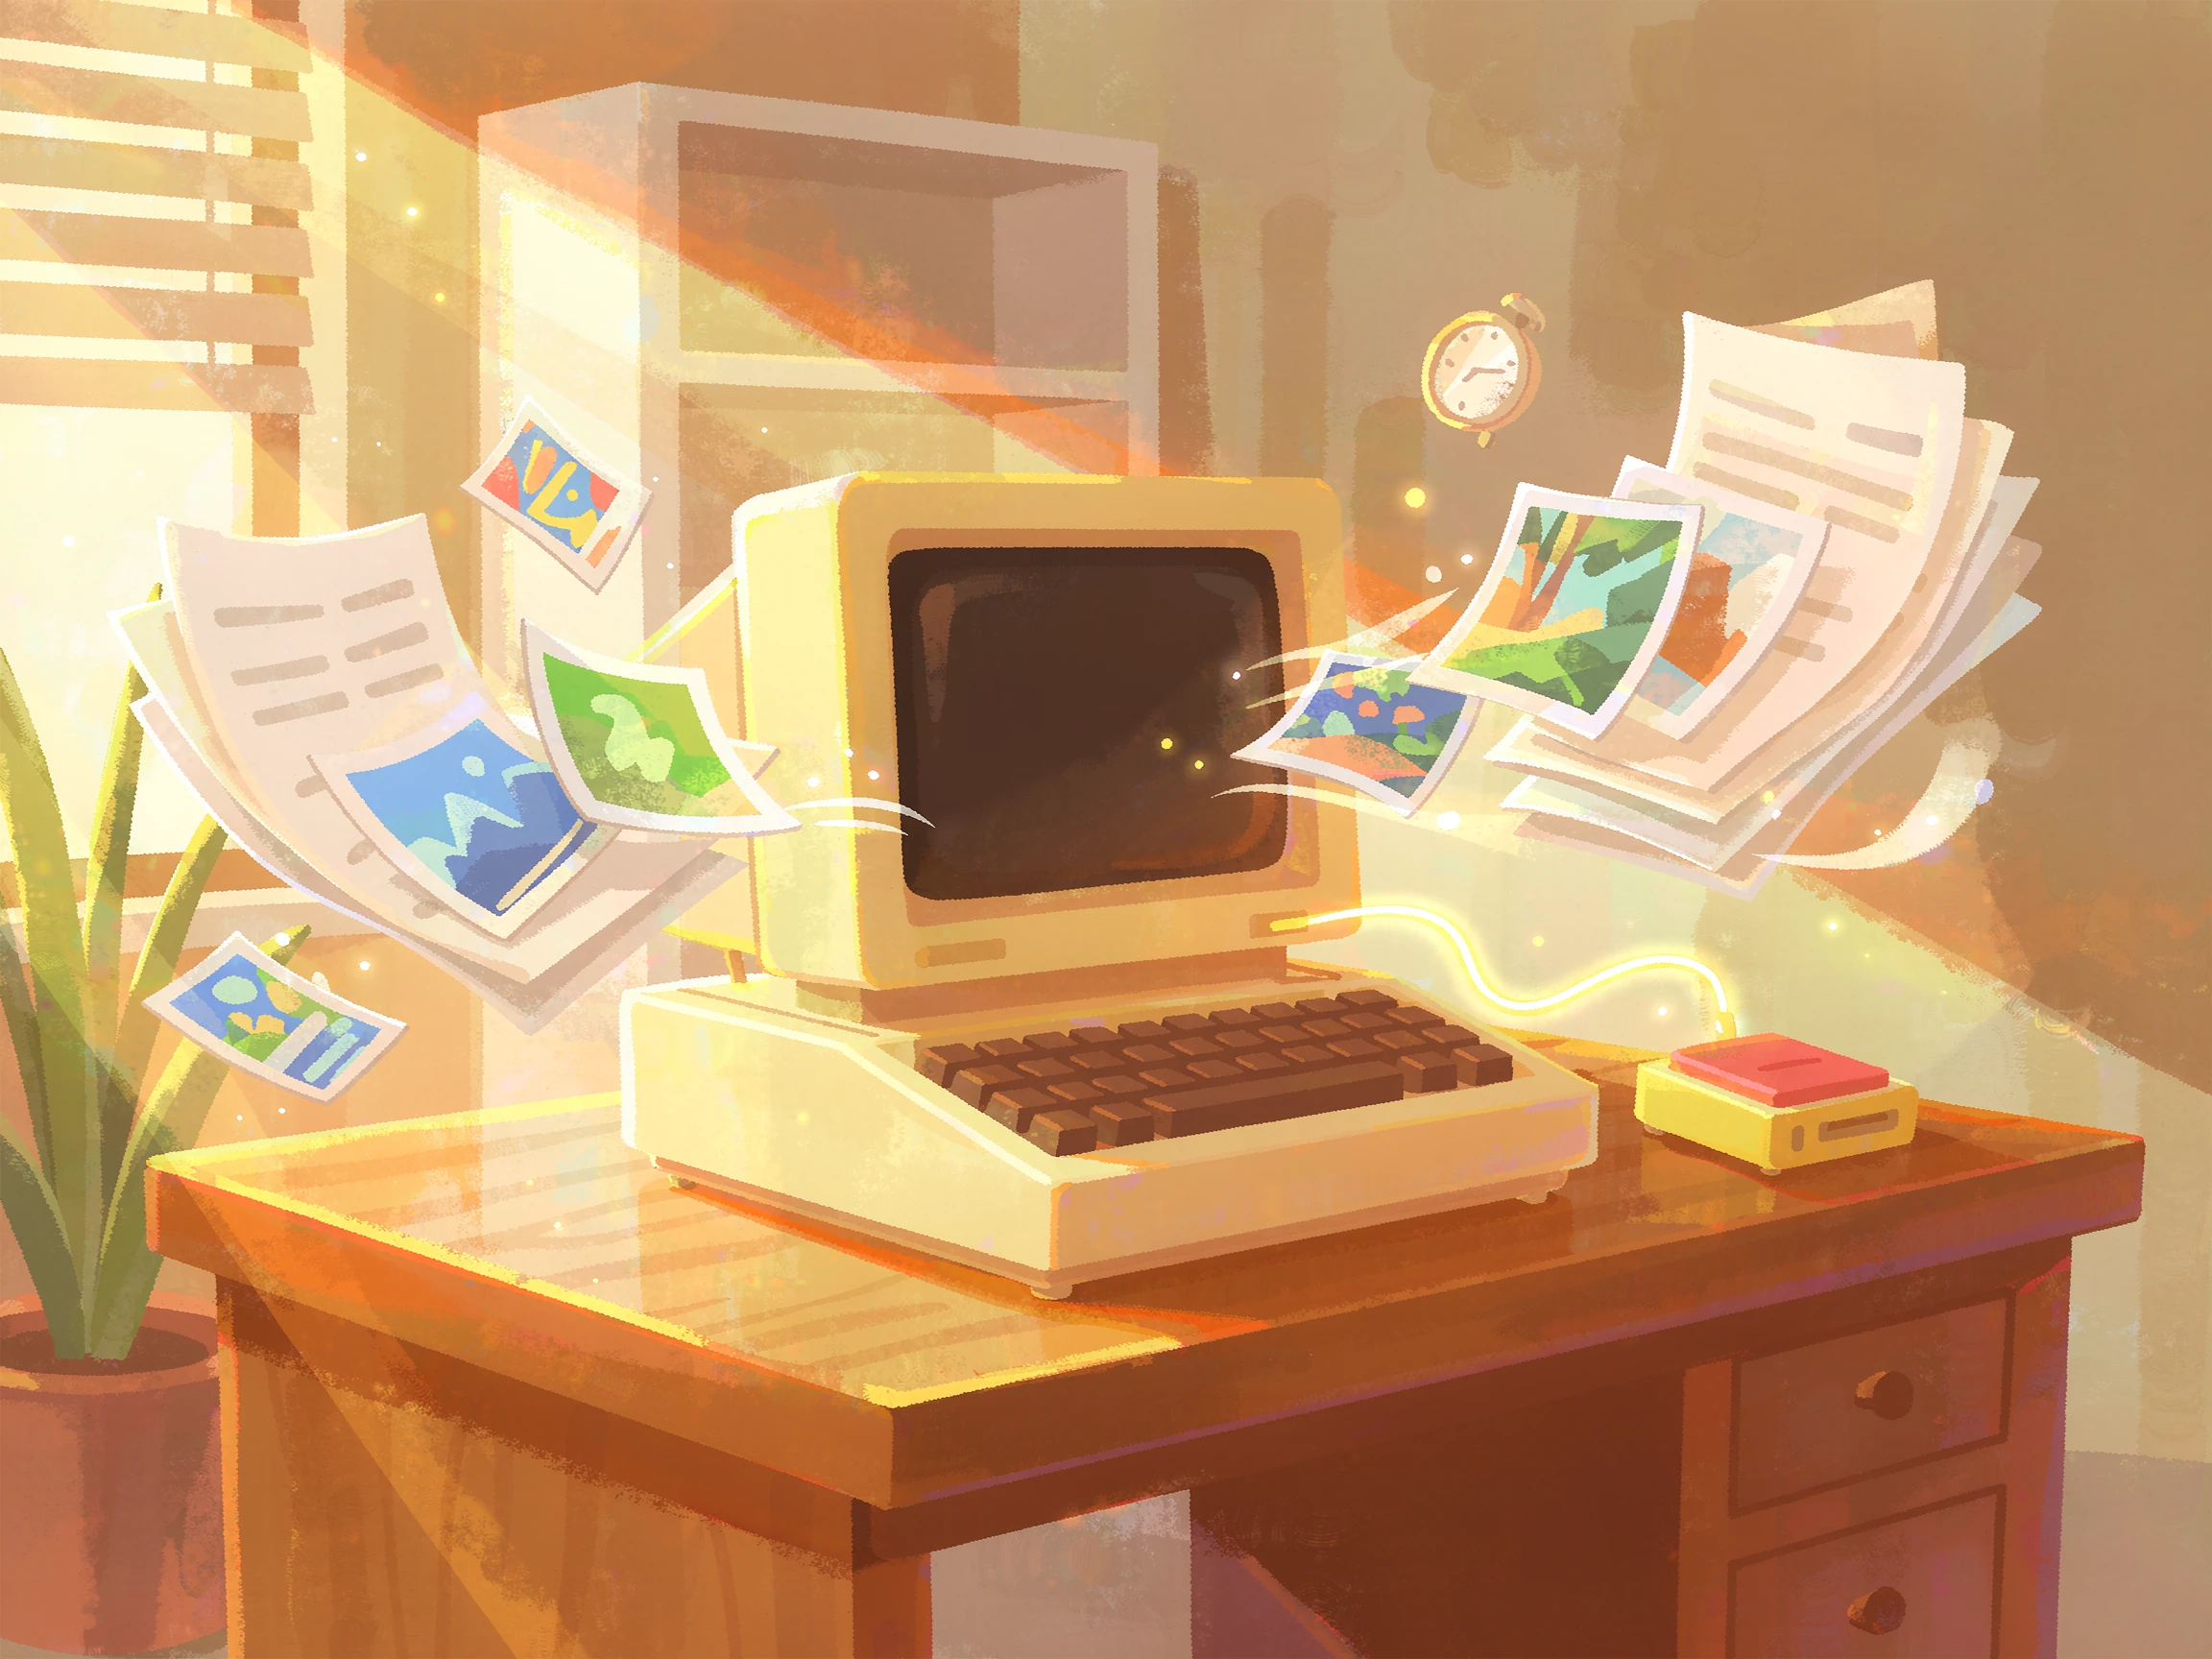
File History protects files; a system image protects the whole machine, including Windows, drivers, and installed programs, so you can return to a working setup in a single restore. Use the built-in Backup and Restore (Windows 7) > Create a system image, or a reputable imaging tool, and write it to the external drive in its own folder. Refresh the image after big changes such as a Windows feature update or a major software install, and keep it separate from your File History folder so the two never overwrite each other.

Step 6: Step 6: Include Photos and Phone Data
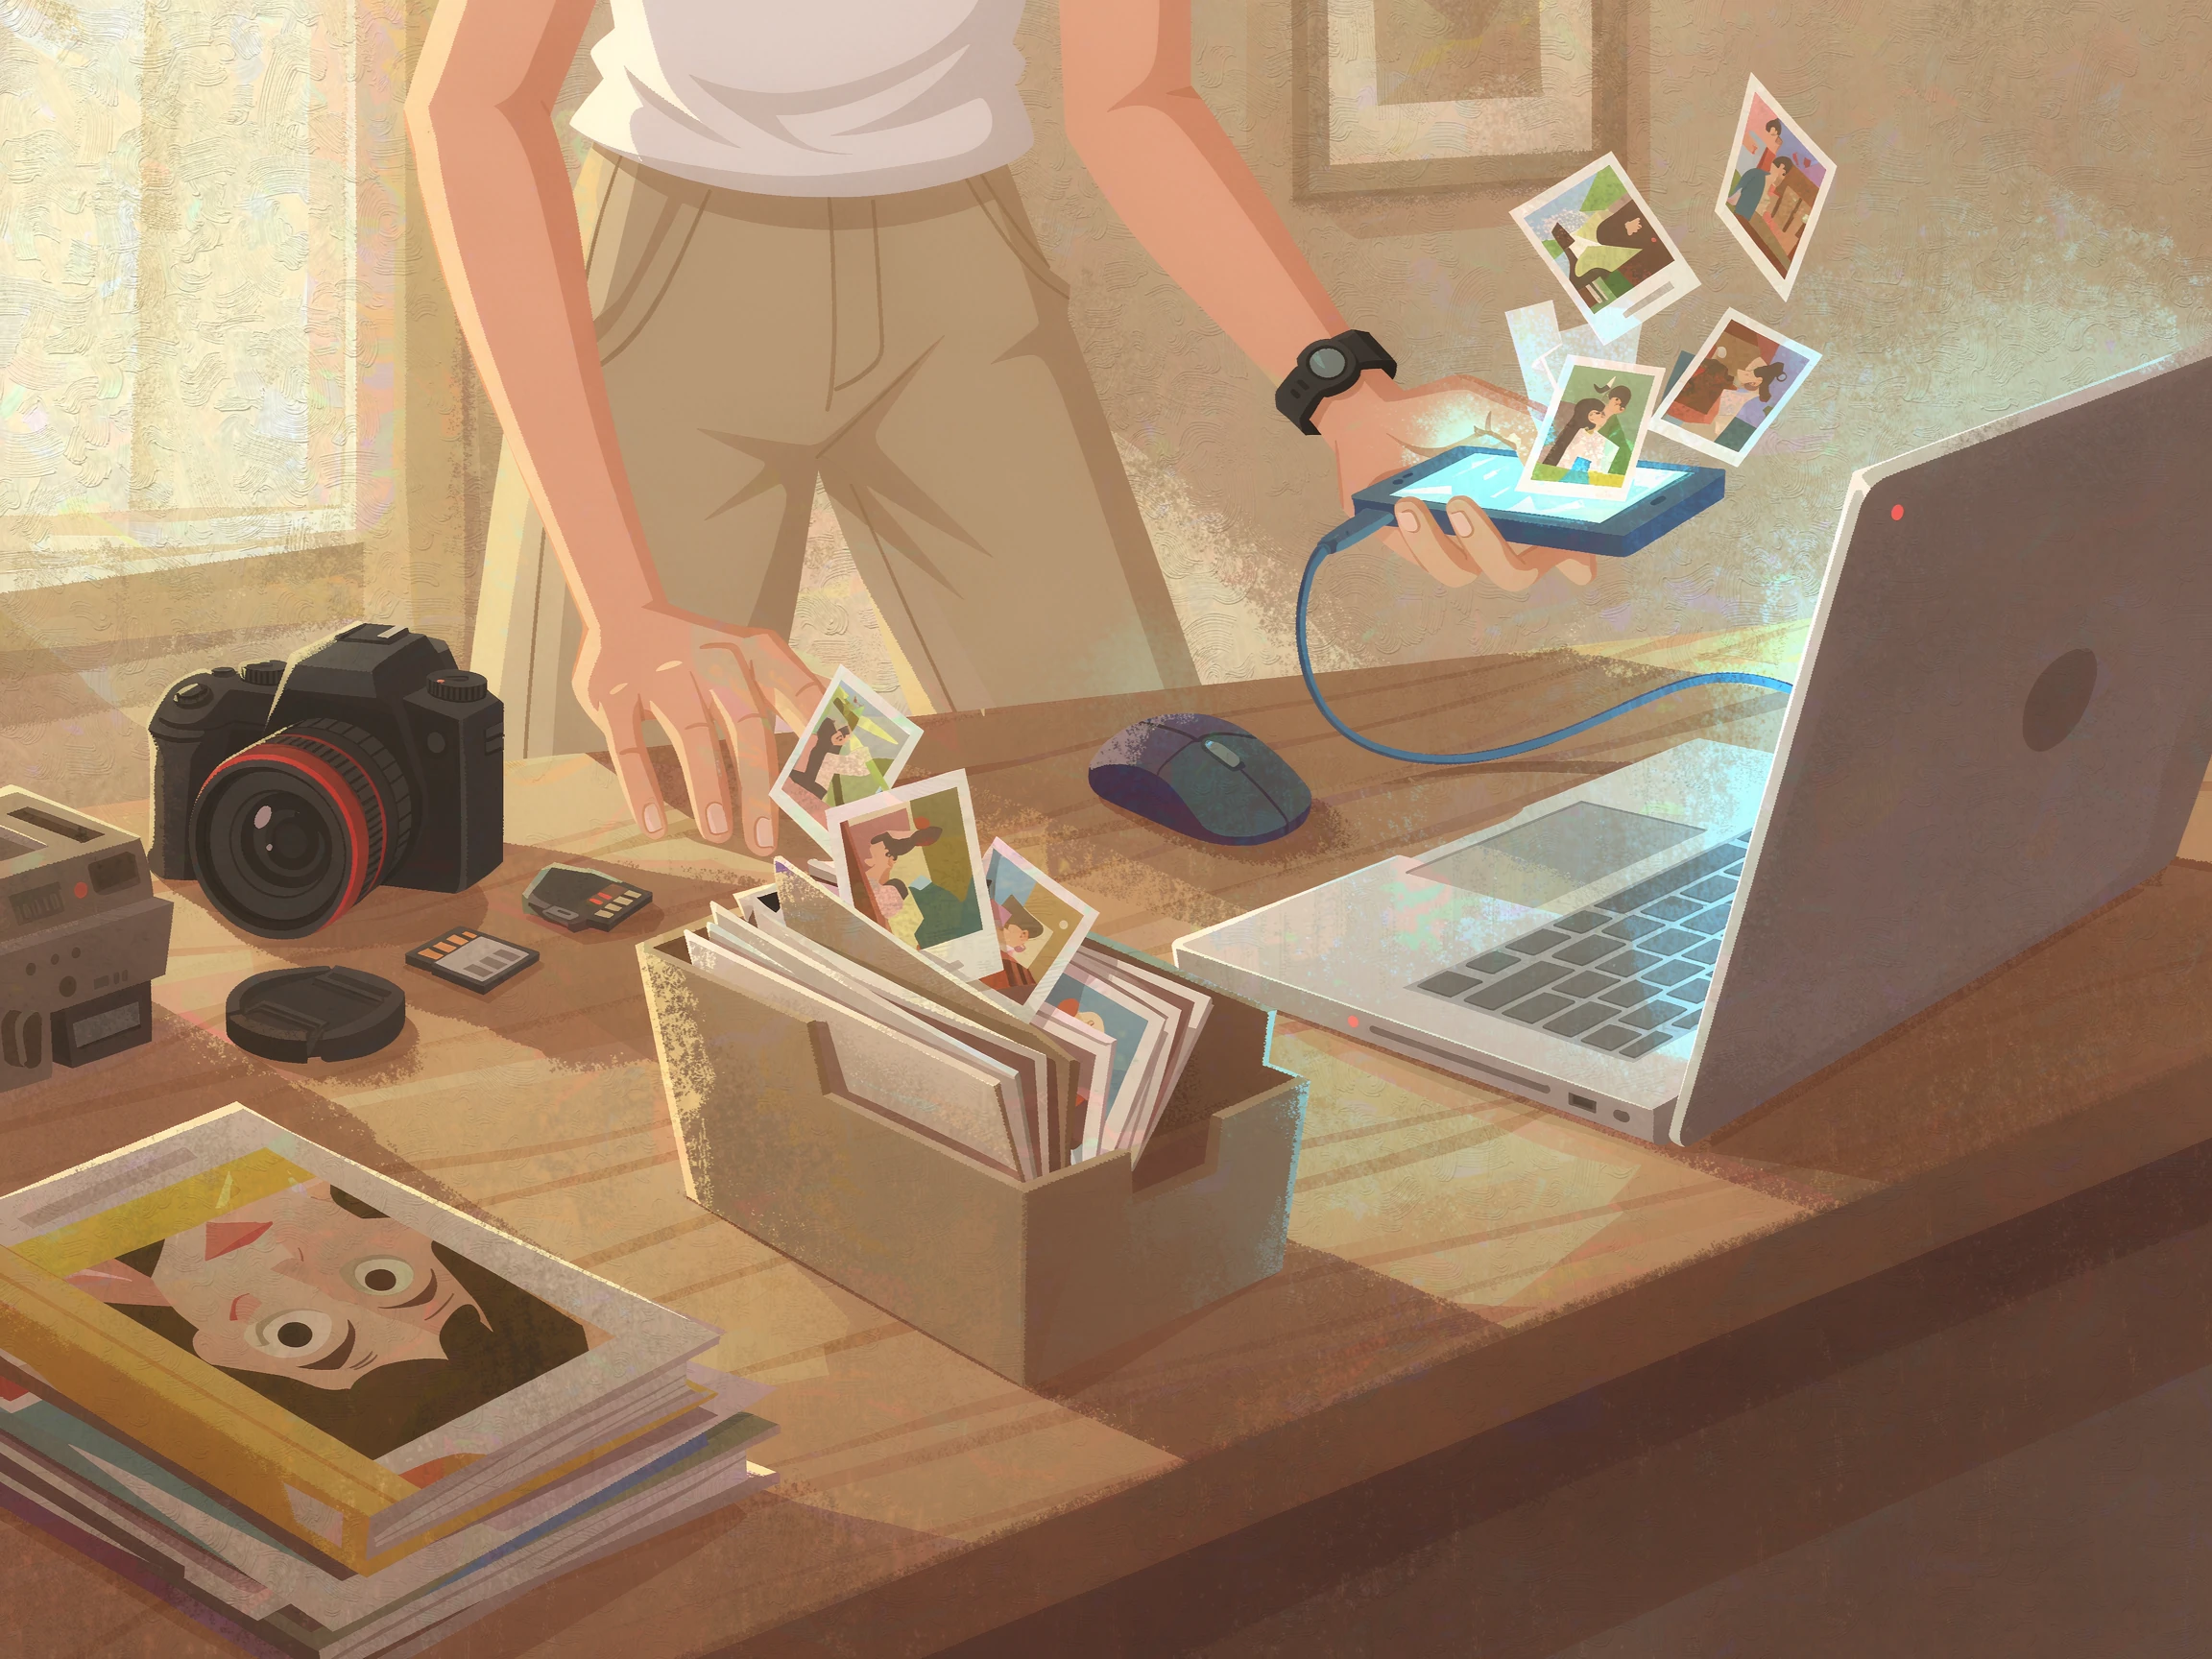
Phones and cameras hold the photos people mourn most when they are lost. Import new pictures from your phone and memory cards into the folders your backup already covers, ideally monthly, and export chat histories and contacts you would hate to lose. Do this before formatting any memory card. Everything worth keeping should end up inside the same protected folder tree, so one drive and one schedule cover all of it.
Step 7: Step 7: Encrypt the Drive and Store the Key
An unencrypted external drive is a wallet with your whole life inside: anyone who picks it up can read every document on it. On Windows, enable BitLocker or Device encryption on the backup drive; on a Mac, choose Encrypted when formatting the disk for Time Machine. Write the recovery key on paper or save it in your password manager, never on the same drive and never only inside a browser session. Losing the key means losing the backup, so treat the key as part of the backup itself.

Step 8: Step 8: Verify the First Backup and Test a Restore
When the first run finishes, compare the drive used space and file count with your inventory; a suspiciously small number means folders were skipped. Then do the test almost everyone skips: restore three random files from the drive into a different folder and open them. Better still, open the drive on another computer to prove the password and the drive itself work away from your machine. A backup you have never restored from is unverified, and unverified backups fail exactly when you need them.

Step 9: Step 9: Schedule Backups and Eject Safely
Set File History or Time Machine to run hourly and confirm the schedule is actually active, then create a monthly reminder to plug the drive in for a full refresh if it is not permanently attached. Always use Safely Remove Hardware before unplugging, because yanking the cable mid-write is a classic way to corrupt a backup set. Check the app status panel once a month: a scheduled backup that silently stopped working looks exactly like a healthy one.
Step 10: Step 10: Add a Cloud Copy as the Third Layer
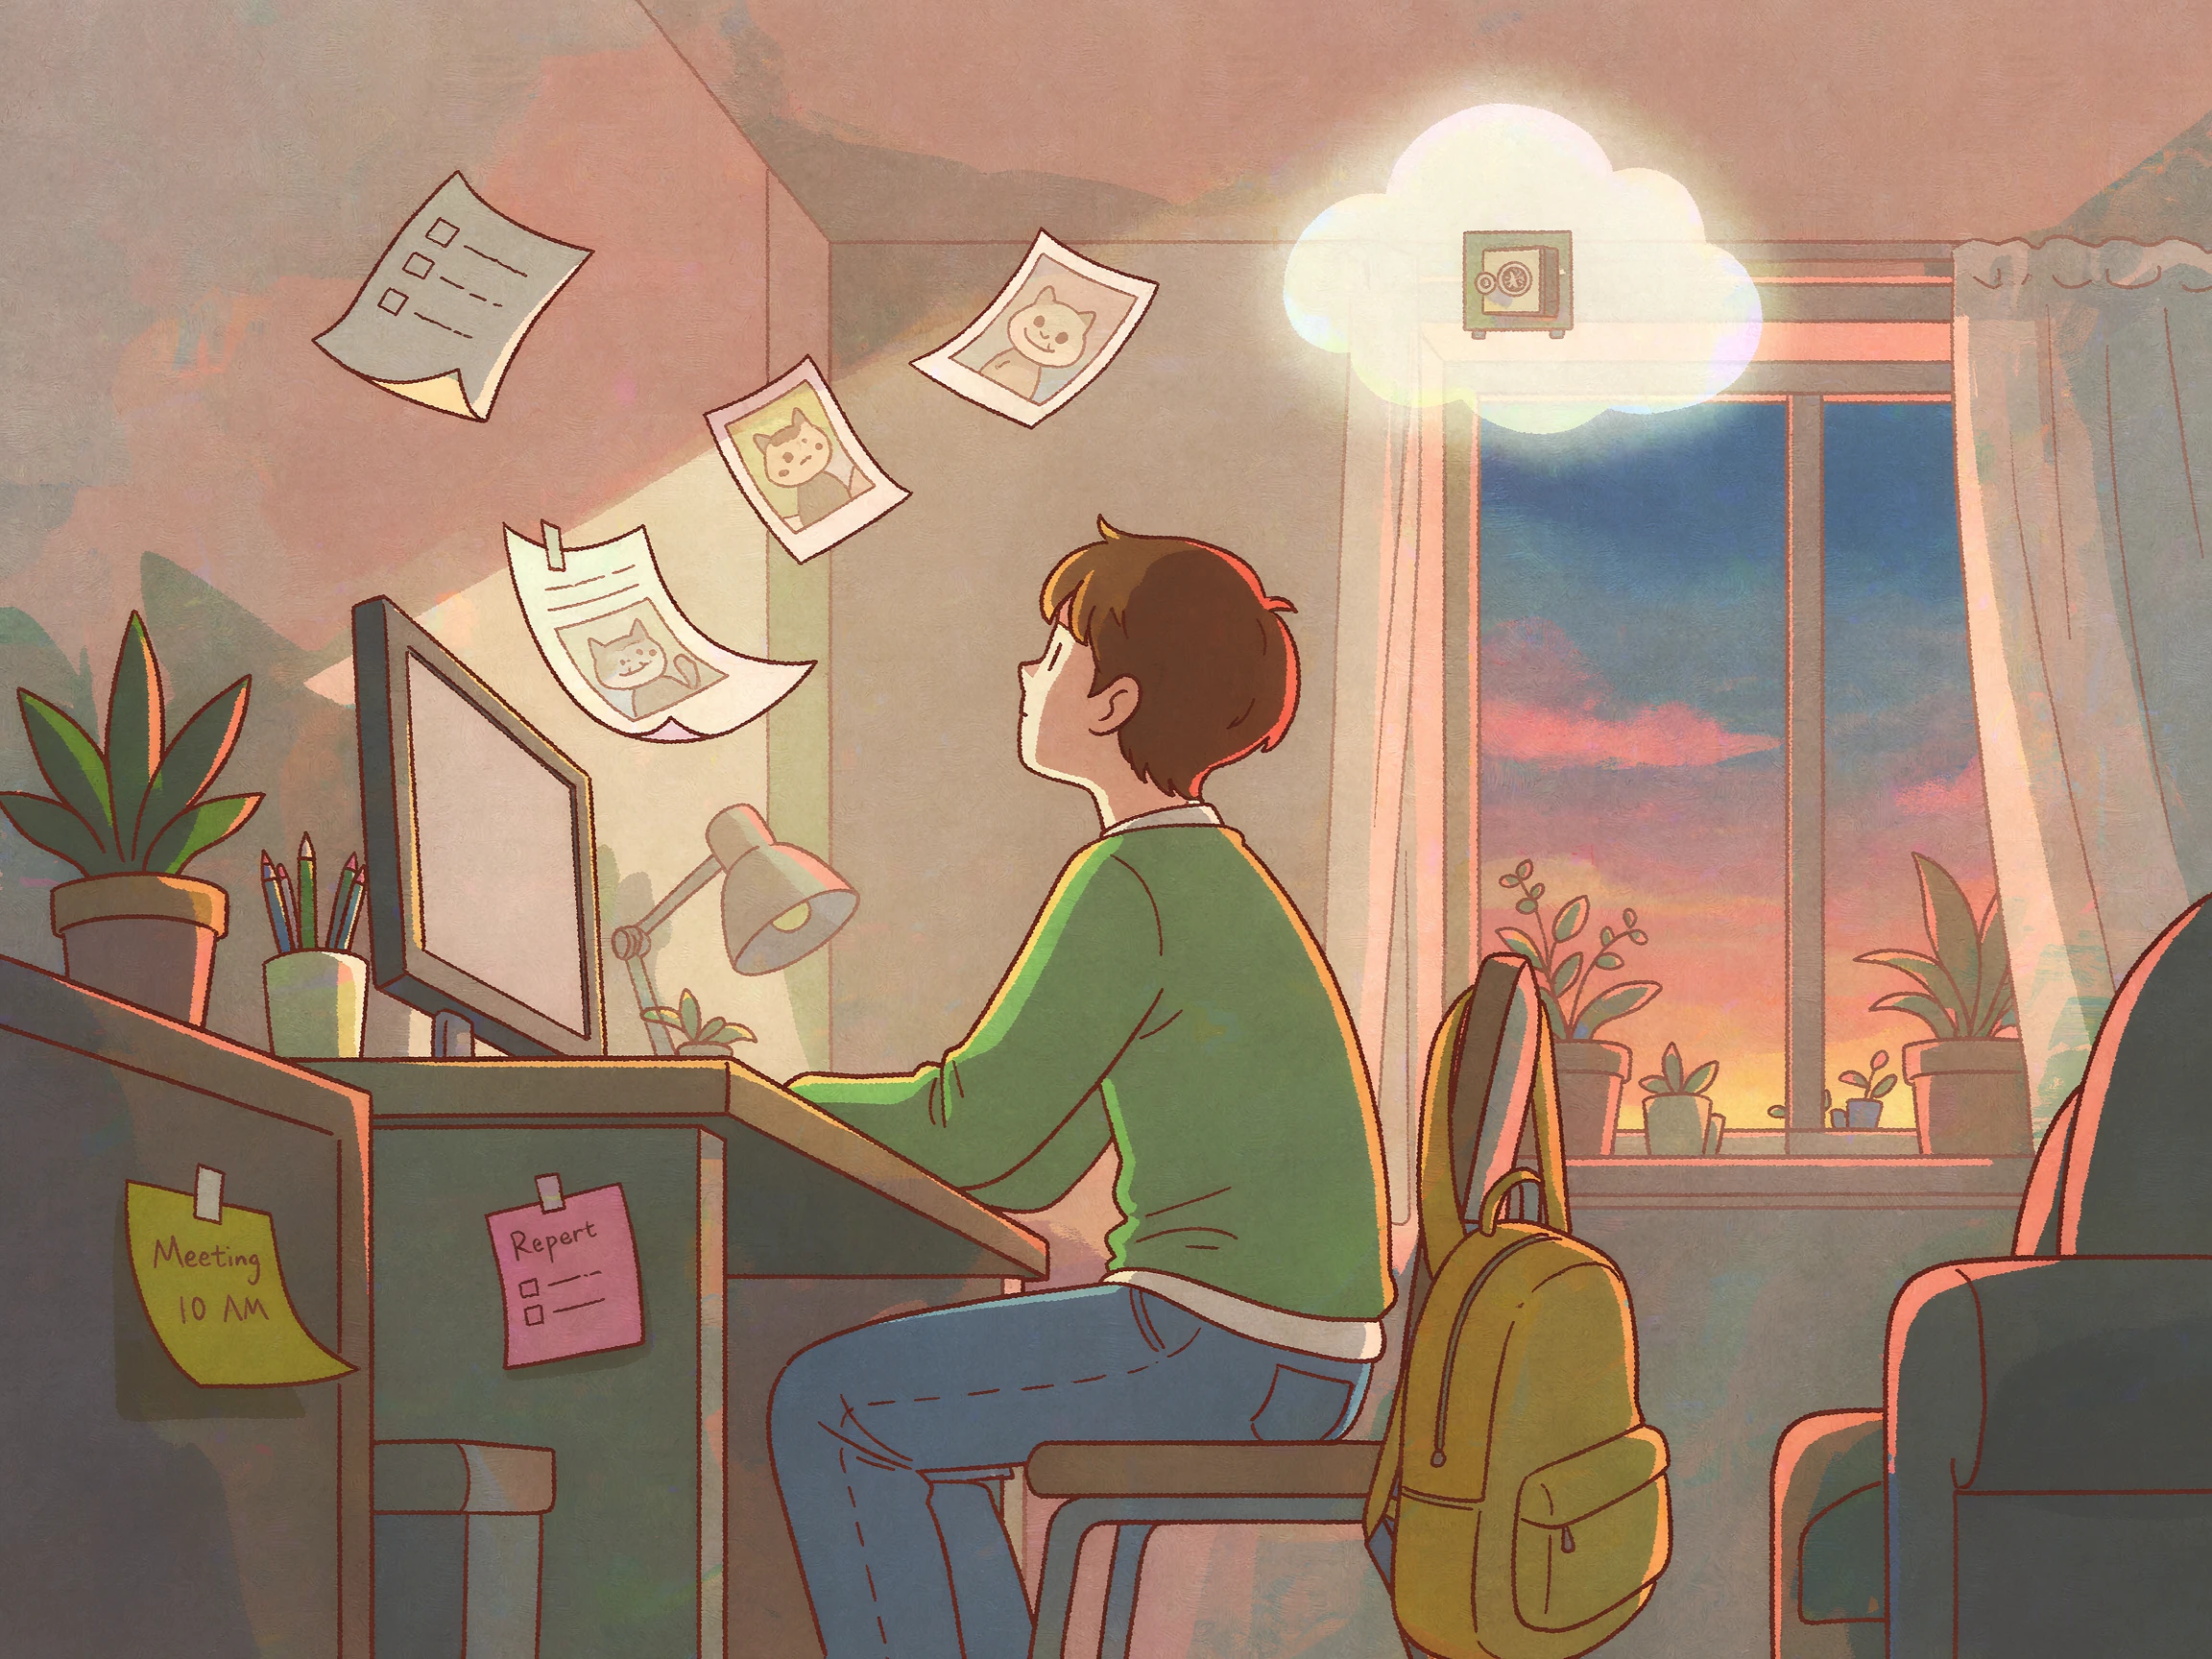
The external drive does not protect you from fire, theft, or a flood, so complete the 3-2-1 rule with an offsite copy. Choose a service that backs up automatically rather than one you have to remember to run, confirm it uploads continuously in the background, and enable version history so an accidental deletion or a ransomware encryption does not propagate straight to your only remote copy. After the first upload finishes, check the web interface to confirm the files really arrived.
Step 11: Step 11: Keep a Disconnected Copy
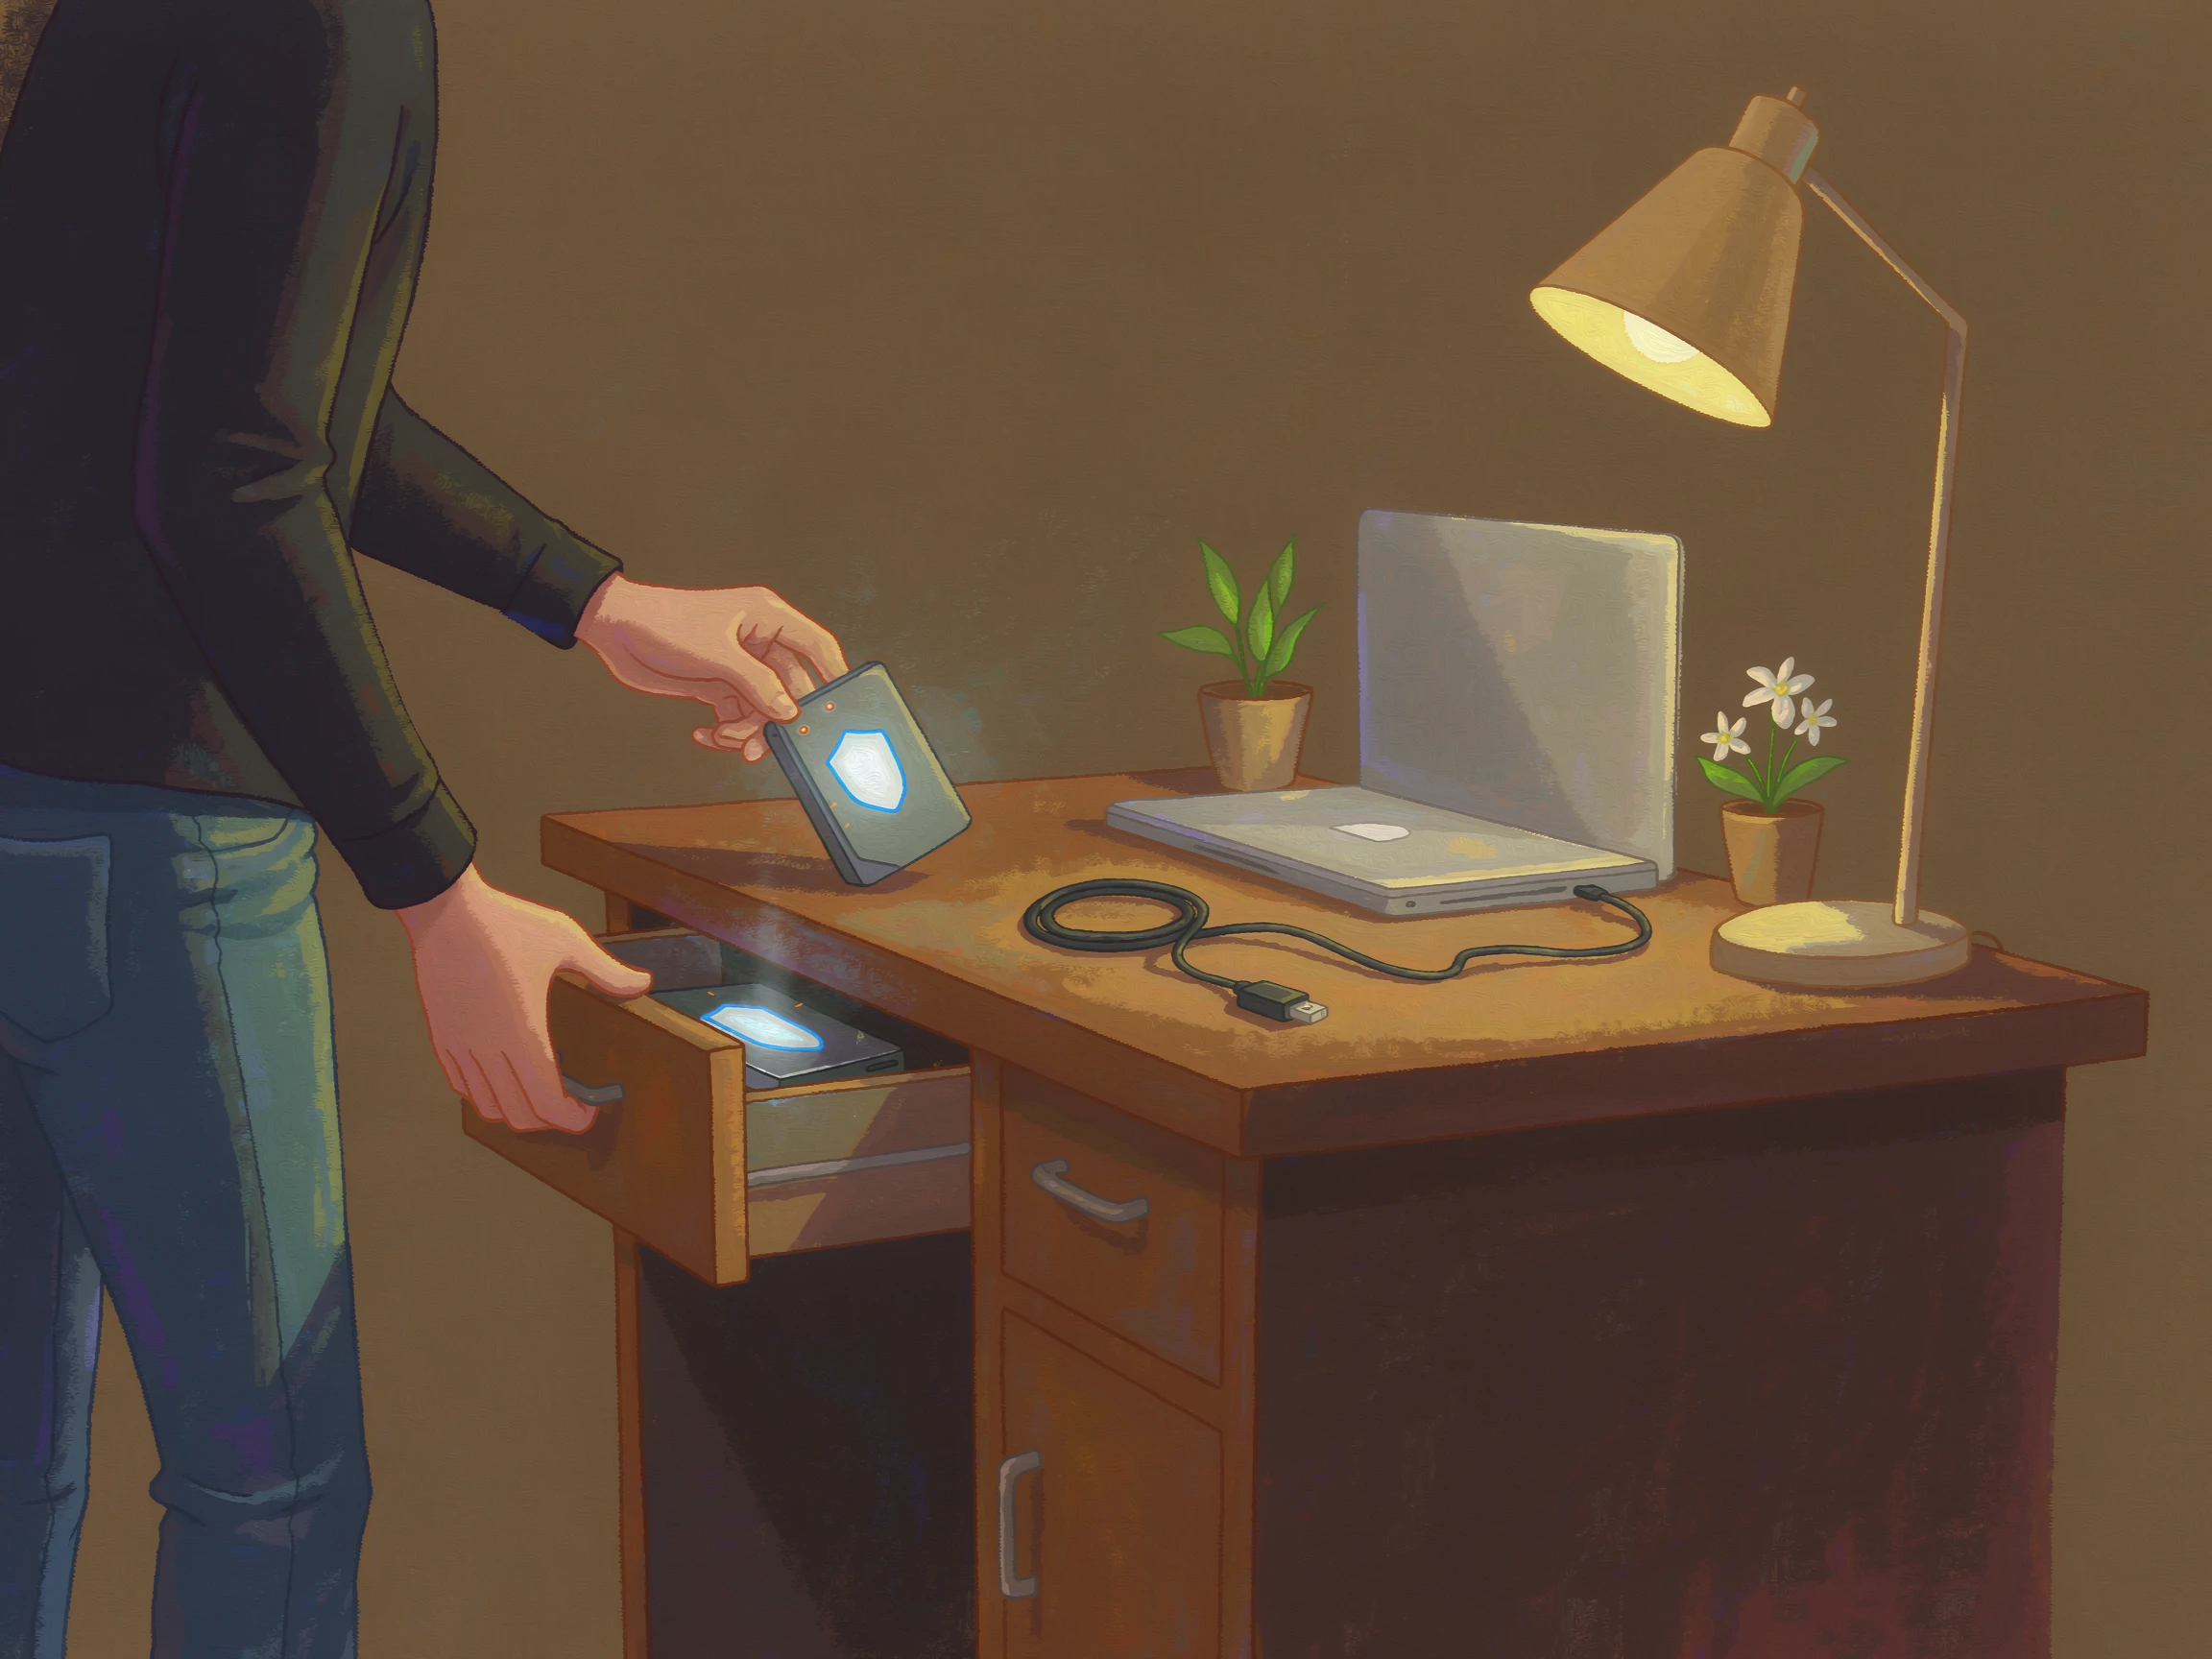
Ransomware encrypts every drive it can reach, including a permanently connected USB drive, so at least one copy should stay disconnected when you are not actively backing up. Unplug the drive after each session and store it in a drawer or a safe rather than leaving it on the desk. If you prefer to leave a drive permanently connected for convenience, enable a cloud service with version history or object lock as the safety net that can still restore files after they have been encrypted.
Step 12: Step 12: Rotate Drives Offsite and Check Health
The final layer is physical redundancy: buy a second identical drive, rotate it with the first every month, and keep the idle one at another address such as a relative home, an office drawer, or a safe. Fire and theft reach your PC and your desk drive together, but not a drive that lives somewhere else and is plugged in only during rotation. Once a quarter, check both drives for SMART warnings, replace anything older than about four years, update the folder inventory, and repeat the restore test from step eight. Write a short recovery note covering where the drives are, what the passwords are, and who to call.
Final Thoughts: An external drive is the cheapest, fastest, most underrated piece of data insurance you can own. Measure what matters, buy twice the space you need, format and encrypt it properly, run versioned file backups plus one full system image, prove the restore works, automate the schedule, and rotate a second drive offsite. The whole routine takes one afternoon and about fifteen minutes a month. Do it before the disk fails, and the worst day of your digital life becomes a minor inconvenience instead of a permanent loss.




Reader comments
0 so farFinished this guide? Tell other readers what worked, what didn't, and what you would change.