The fireman's carry is one of the most practical rescue skills a person can learn, and it has earned its place for good reason: it moves an unconscious or injured person over a distance using the carrier's own strength and balance, keeping the casualty secure against the chest while both of the carrier's hands stay free to open doors, climb stairs, and navigate rough ground. Done correctly, it protects the person being carried and protects your back.
This guide walks you through The Safe Fireman's Carry Method, a twelve-step routine that covers preparing yourself and the casualty, lifting with your legs, securing the person across your shoulder, balancing the load, carrying steadily, and getting the person down safely at the destination. Every step is written for an able-bodied rescuer moving a person of roughly similar or lighter weight, and it emphasizes the body mechanics that make the carry possible without injury.
Quick tip: The fireman's carry is a technique, not a race. Before you lift anyone, make sure the path ahead is clear and the person needs moving. A quick check of the scene and the casualty turns a good lift into a safe one, and a safe lift into a rescue you can actually finish.
Step-by-step
Step 1: Step 1: Assess the Scene and the Casualty
Before you touch the person, take a breath and look around. Check for hazards along the route you will carry them through, such as broken glass, downed wires, smoke, traffic, or unstable ground, and confirm the path is clear. Then check the casualty: are they conscious, breathing, bleeding heavily, or showing signs of a spinal injury? If the situation involves a dangerous environment or a suspected serious injury, call emergency services and follow their instructions before attempting the carry.

Step 2: Step 2: Prepare the Carrier's Body
A carry is only as safe as the person doing it. Stand with your feet shoulder-width apart, your back straight, and your knees soft and ready to bend. Tighten the muscles of your core so your spine stays protected as you lift, and keep your shoulders square to the direction you will move. A moment spent setting your stance and your posture prepares your legs and back to do the work instead of your arms.
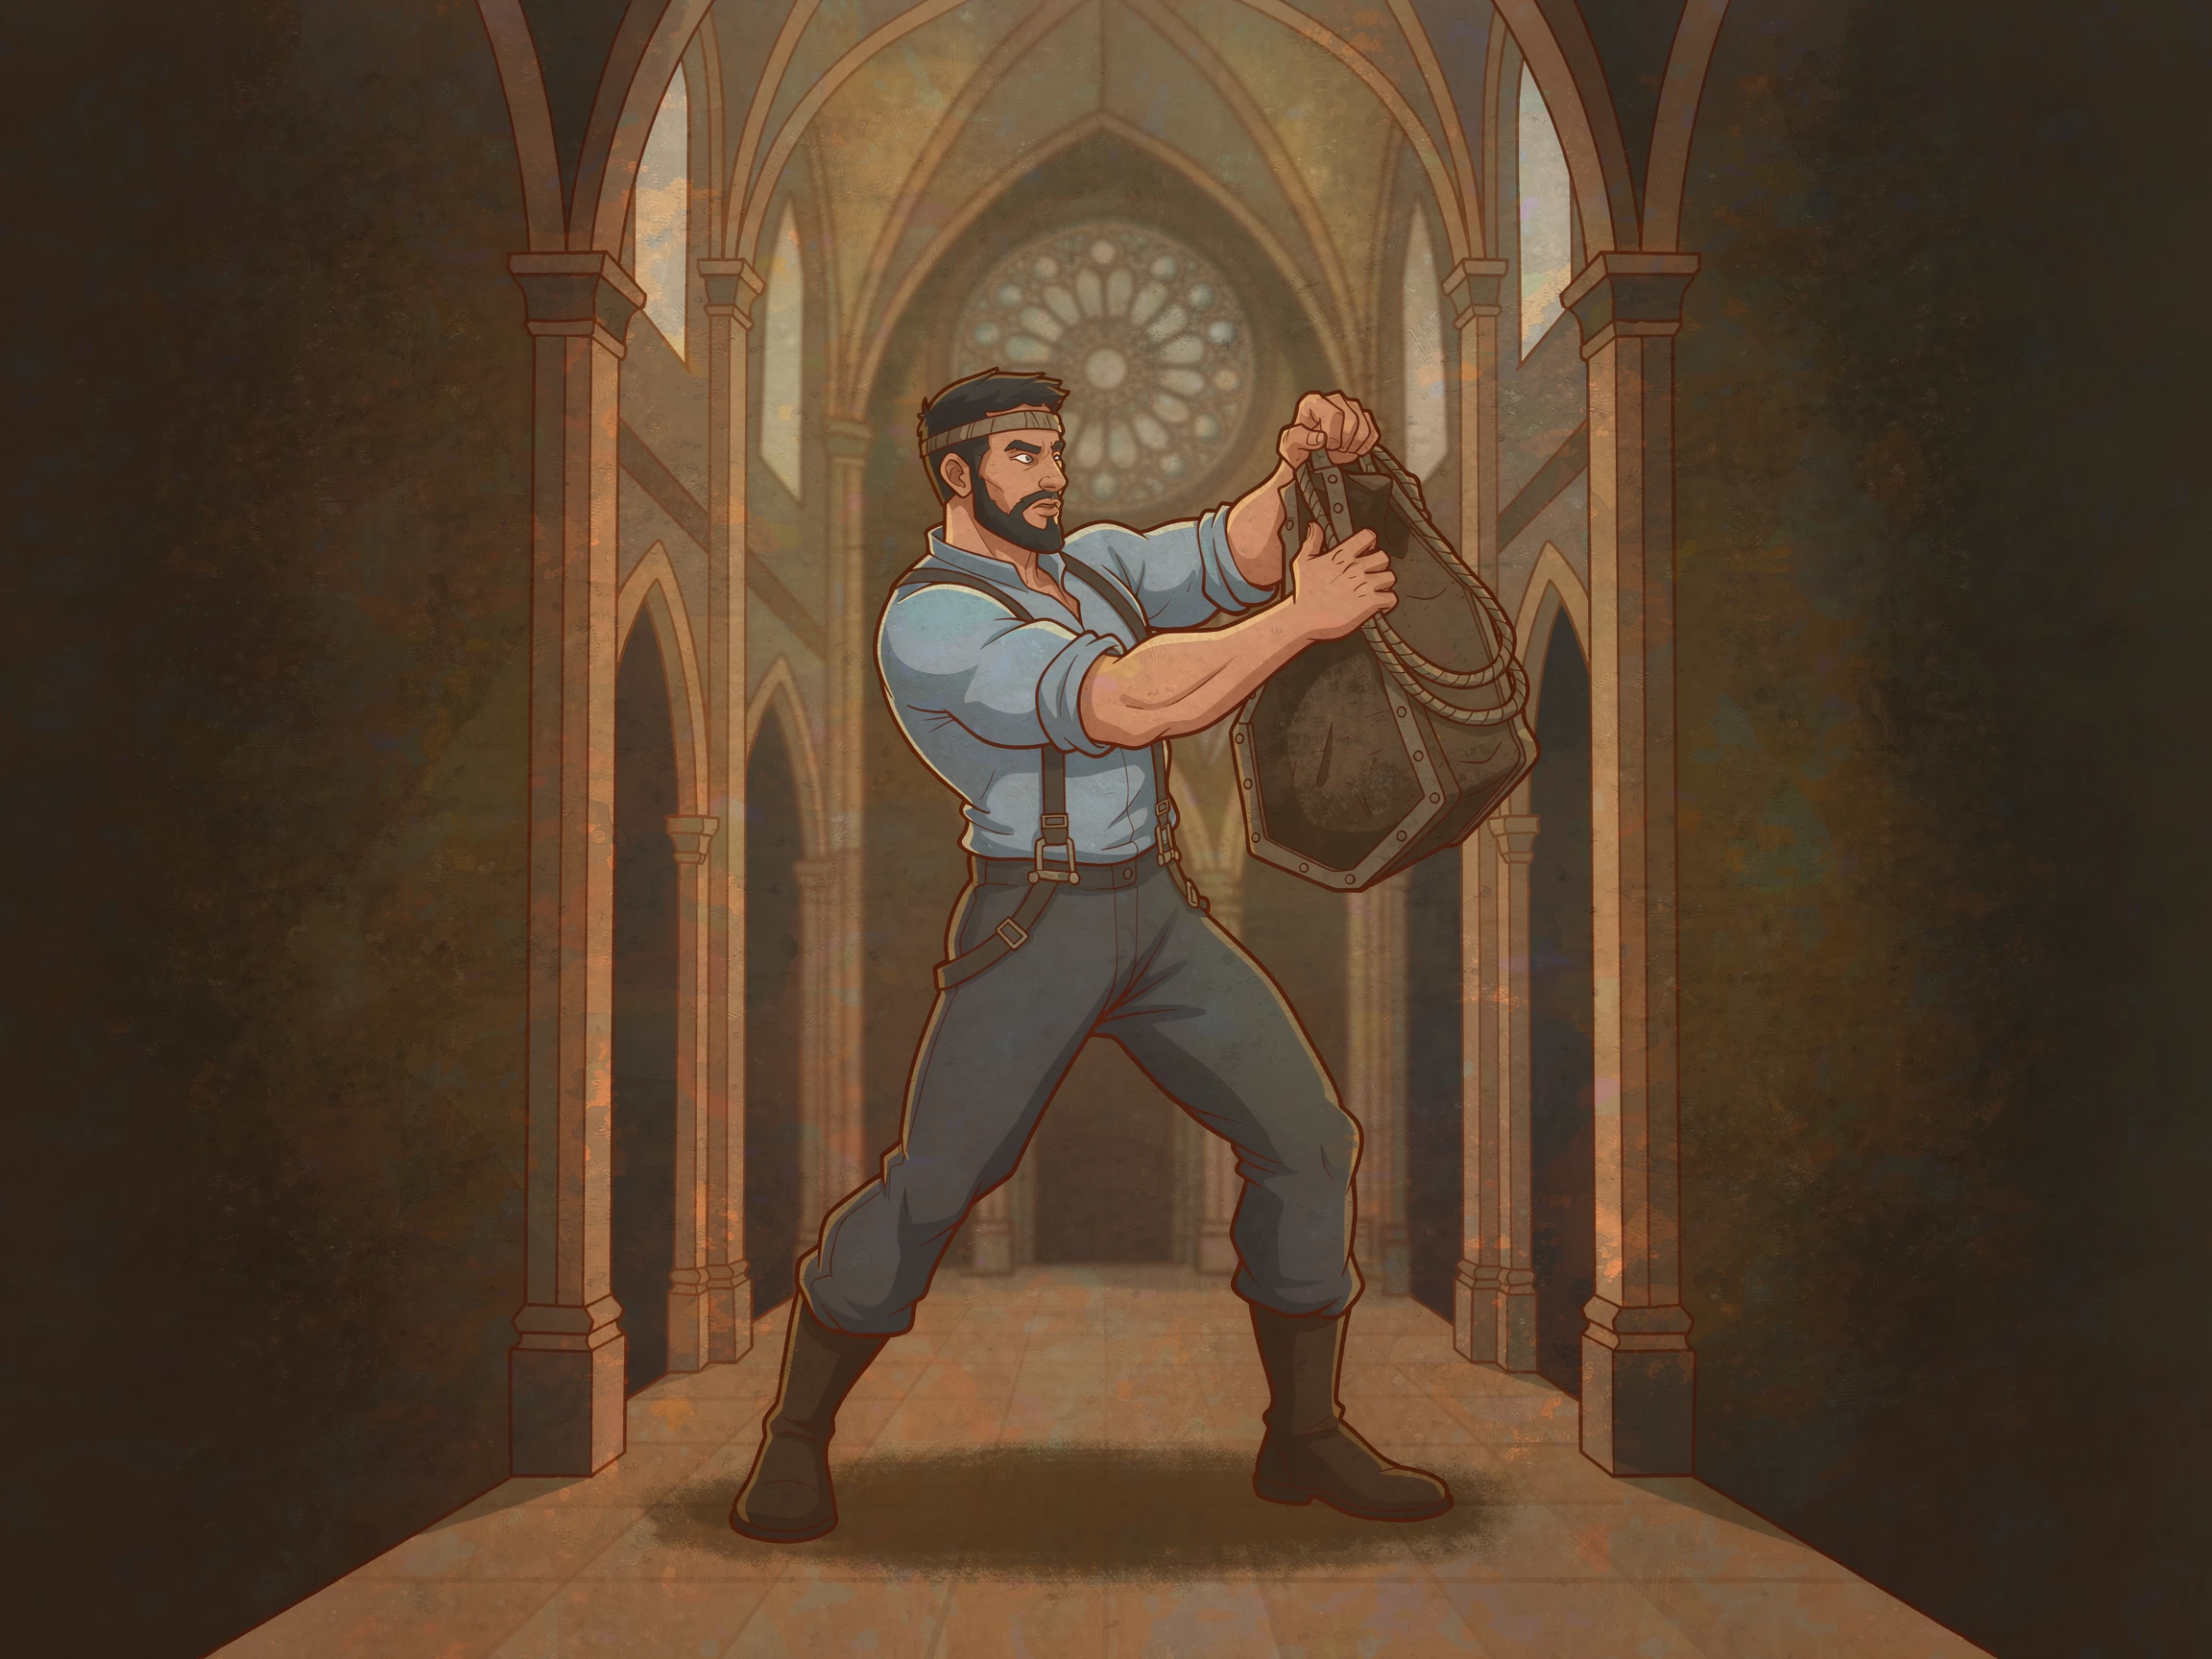
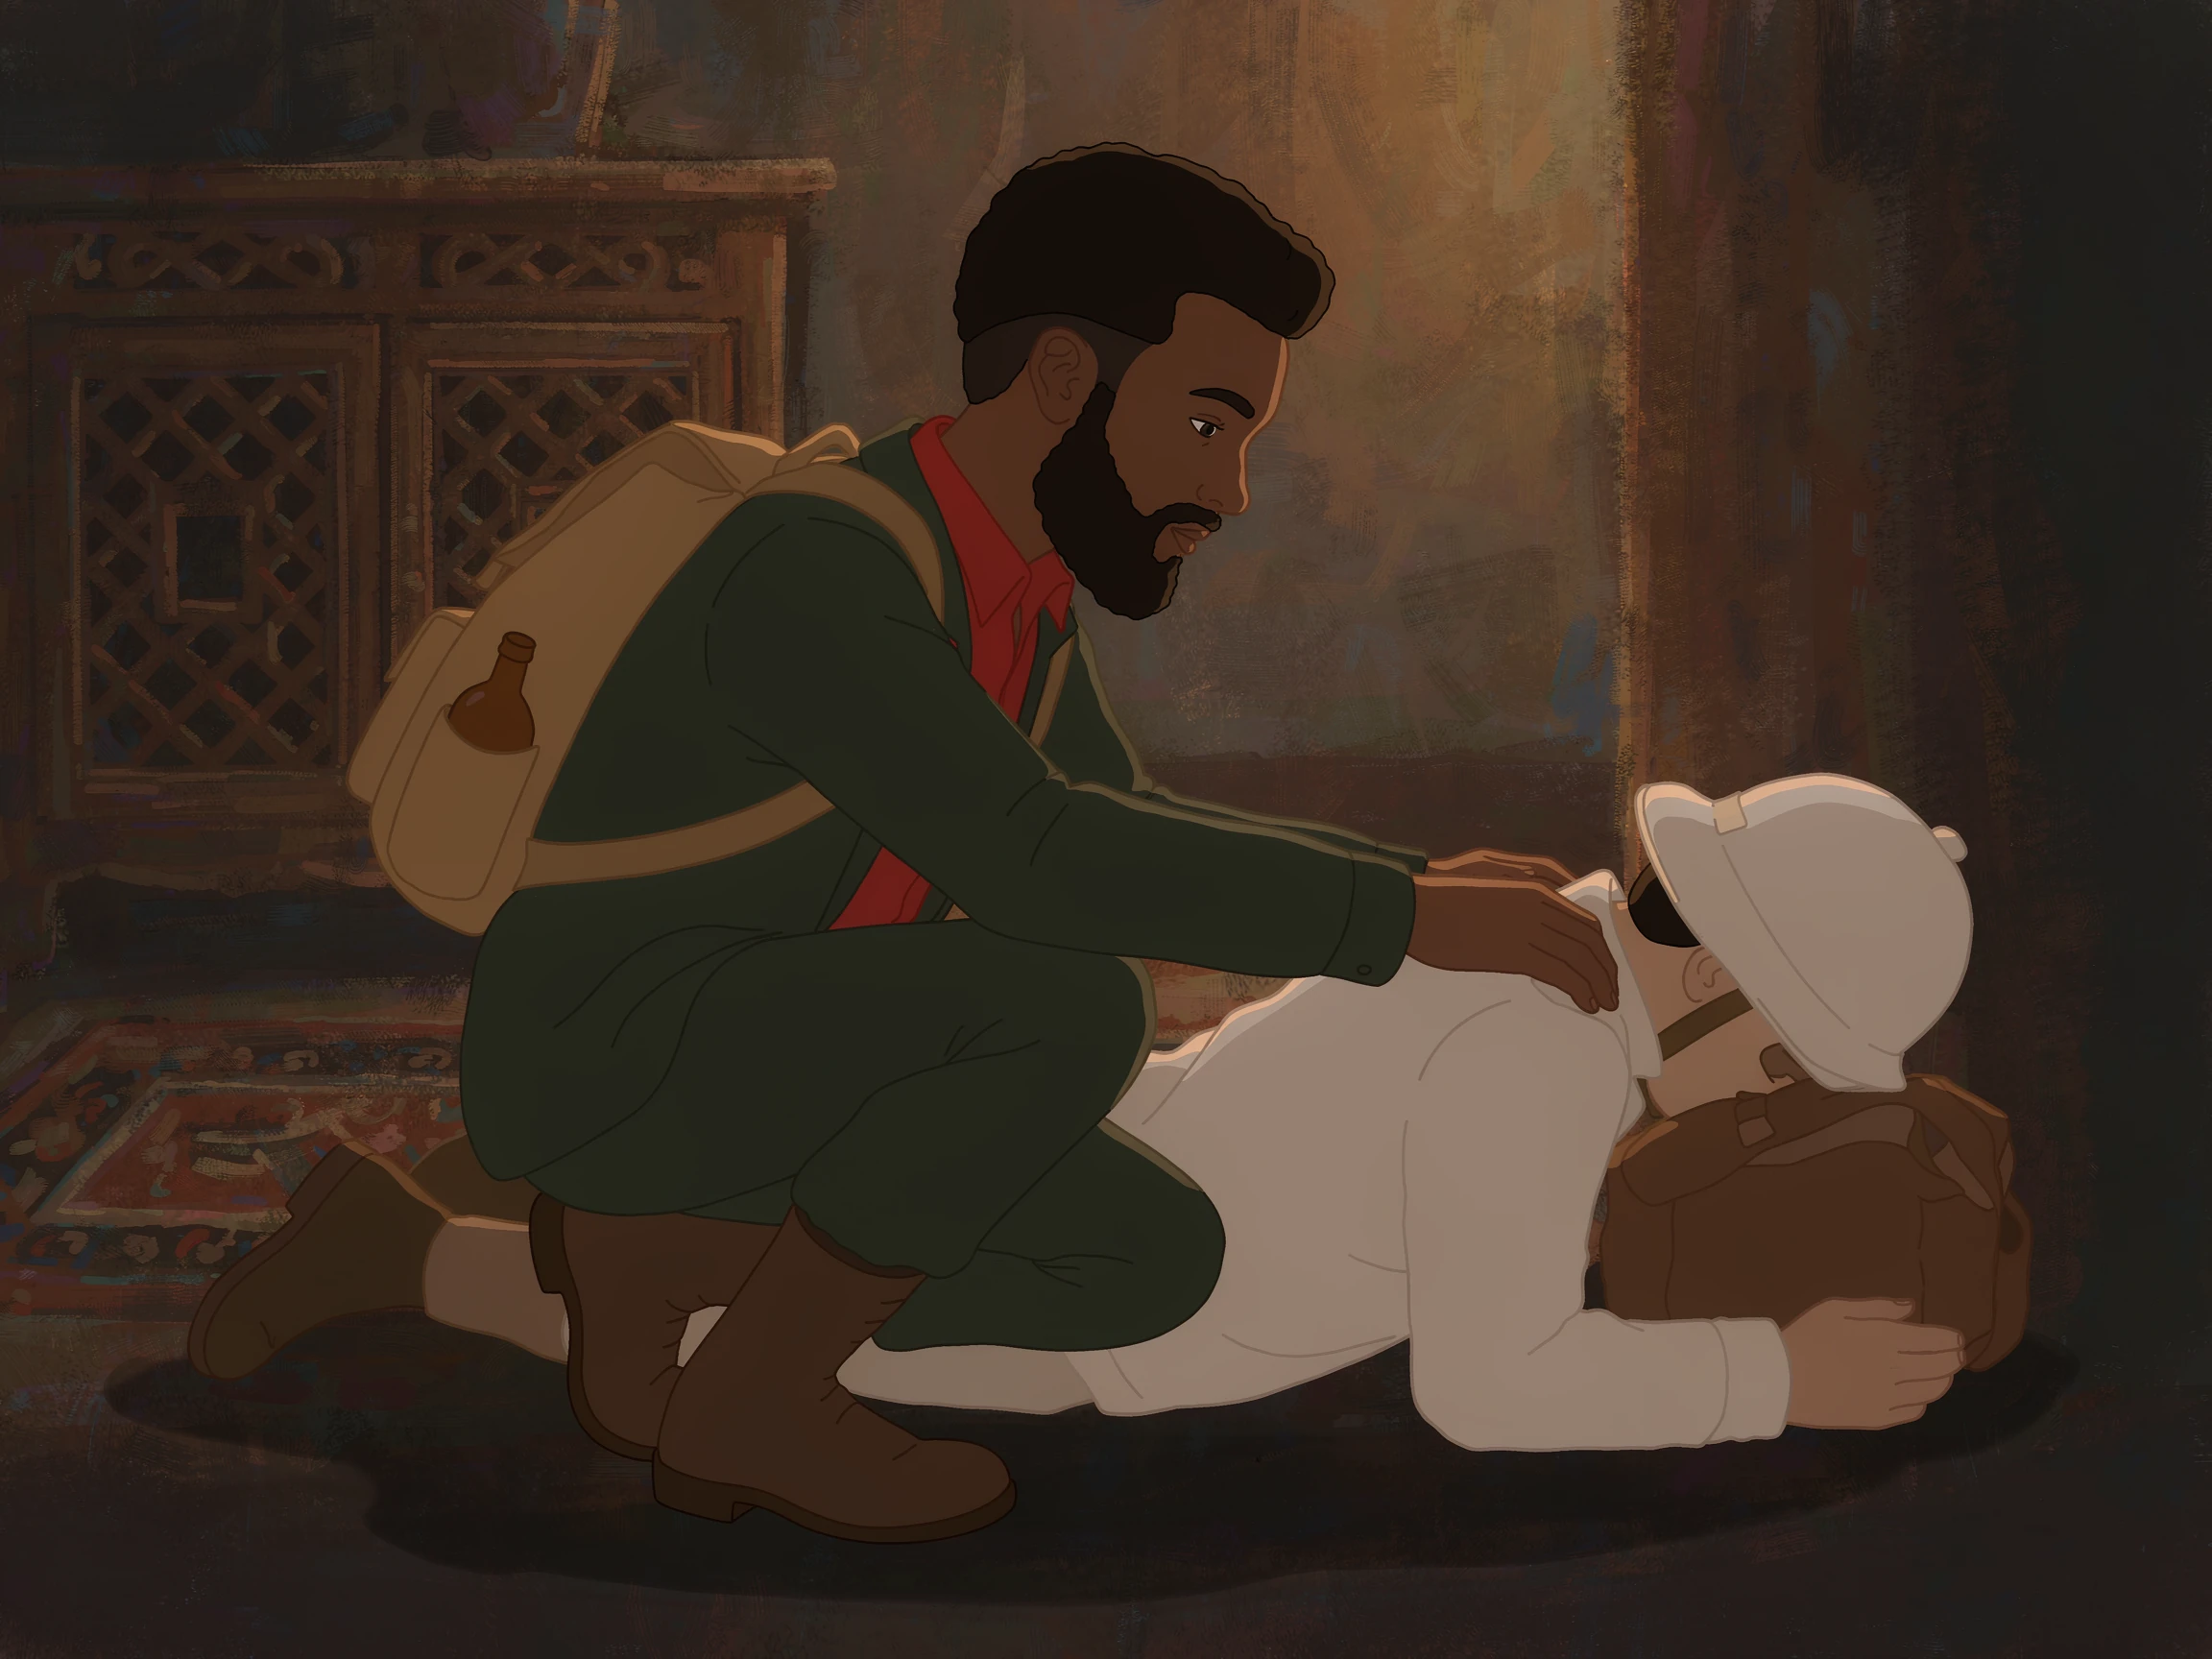
Step 3: Step 3: Position Yourself Beside the Casualty
Kneel or crouch on one knee next to the person, facing the direction you intend to carry them. Your body should be close and parallel to theirs, with your near-side hand reaching across to their far shoulder and the other hand ready at their near thigh. This position puts you close enough to control the lift, low enough to use your legs, and oriented the same way the carry will go.
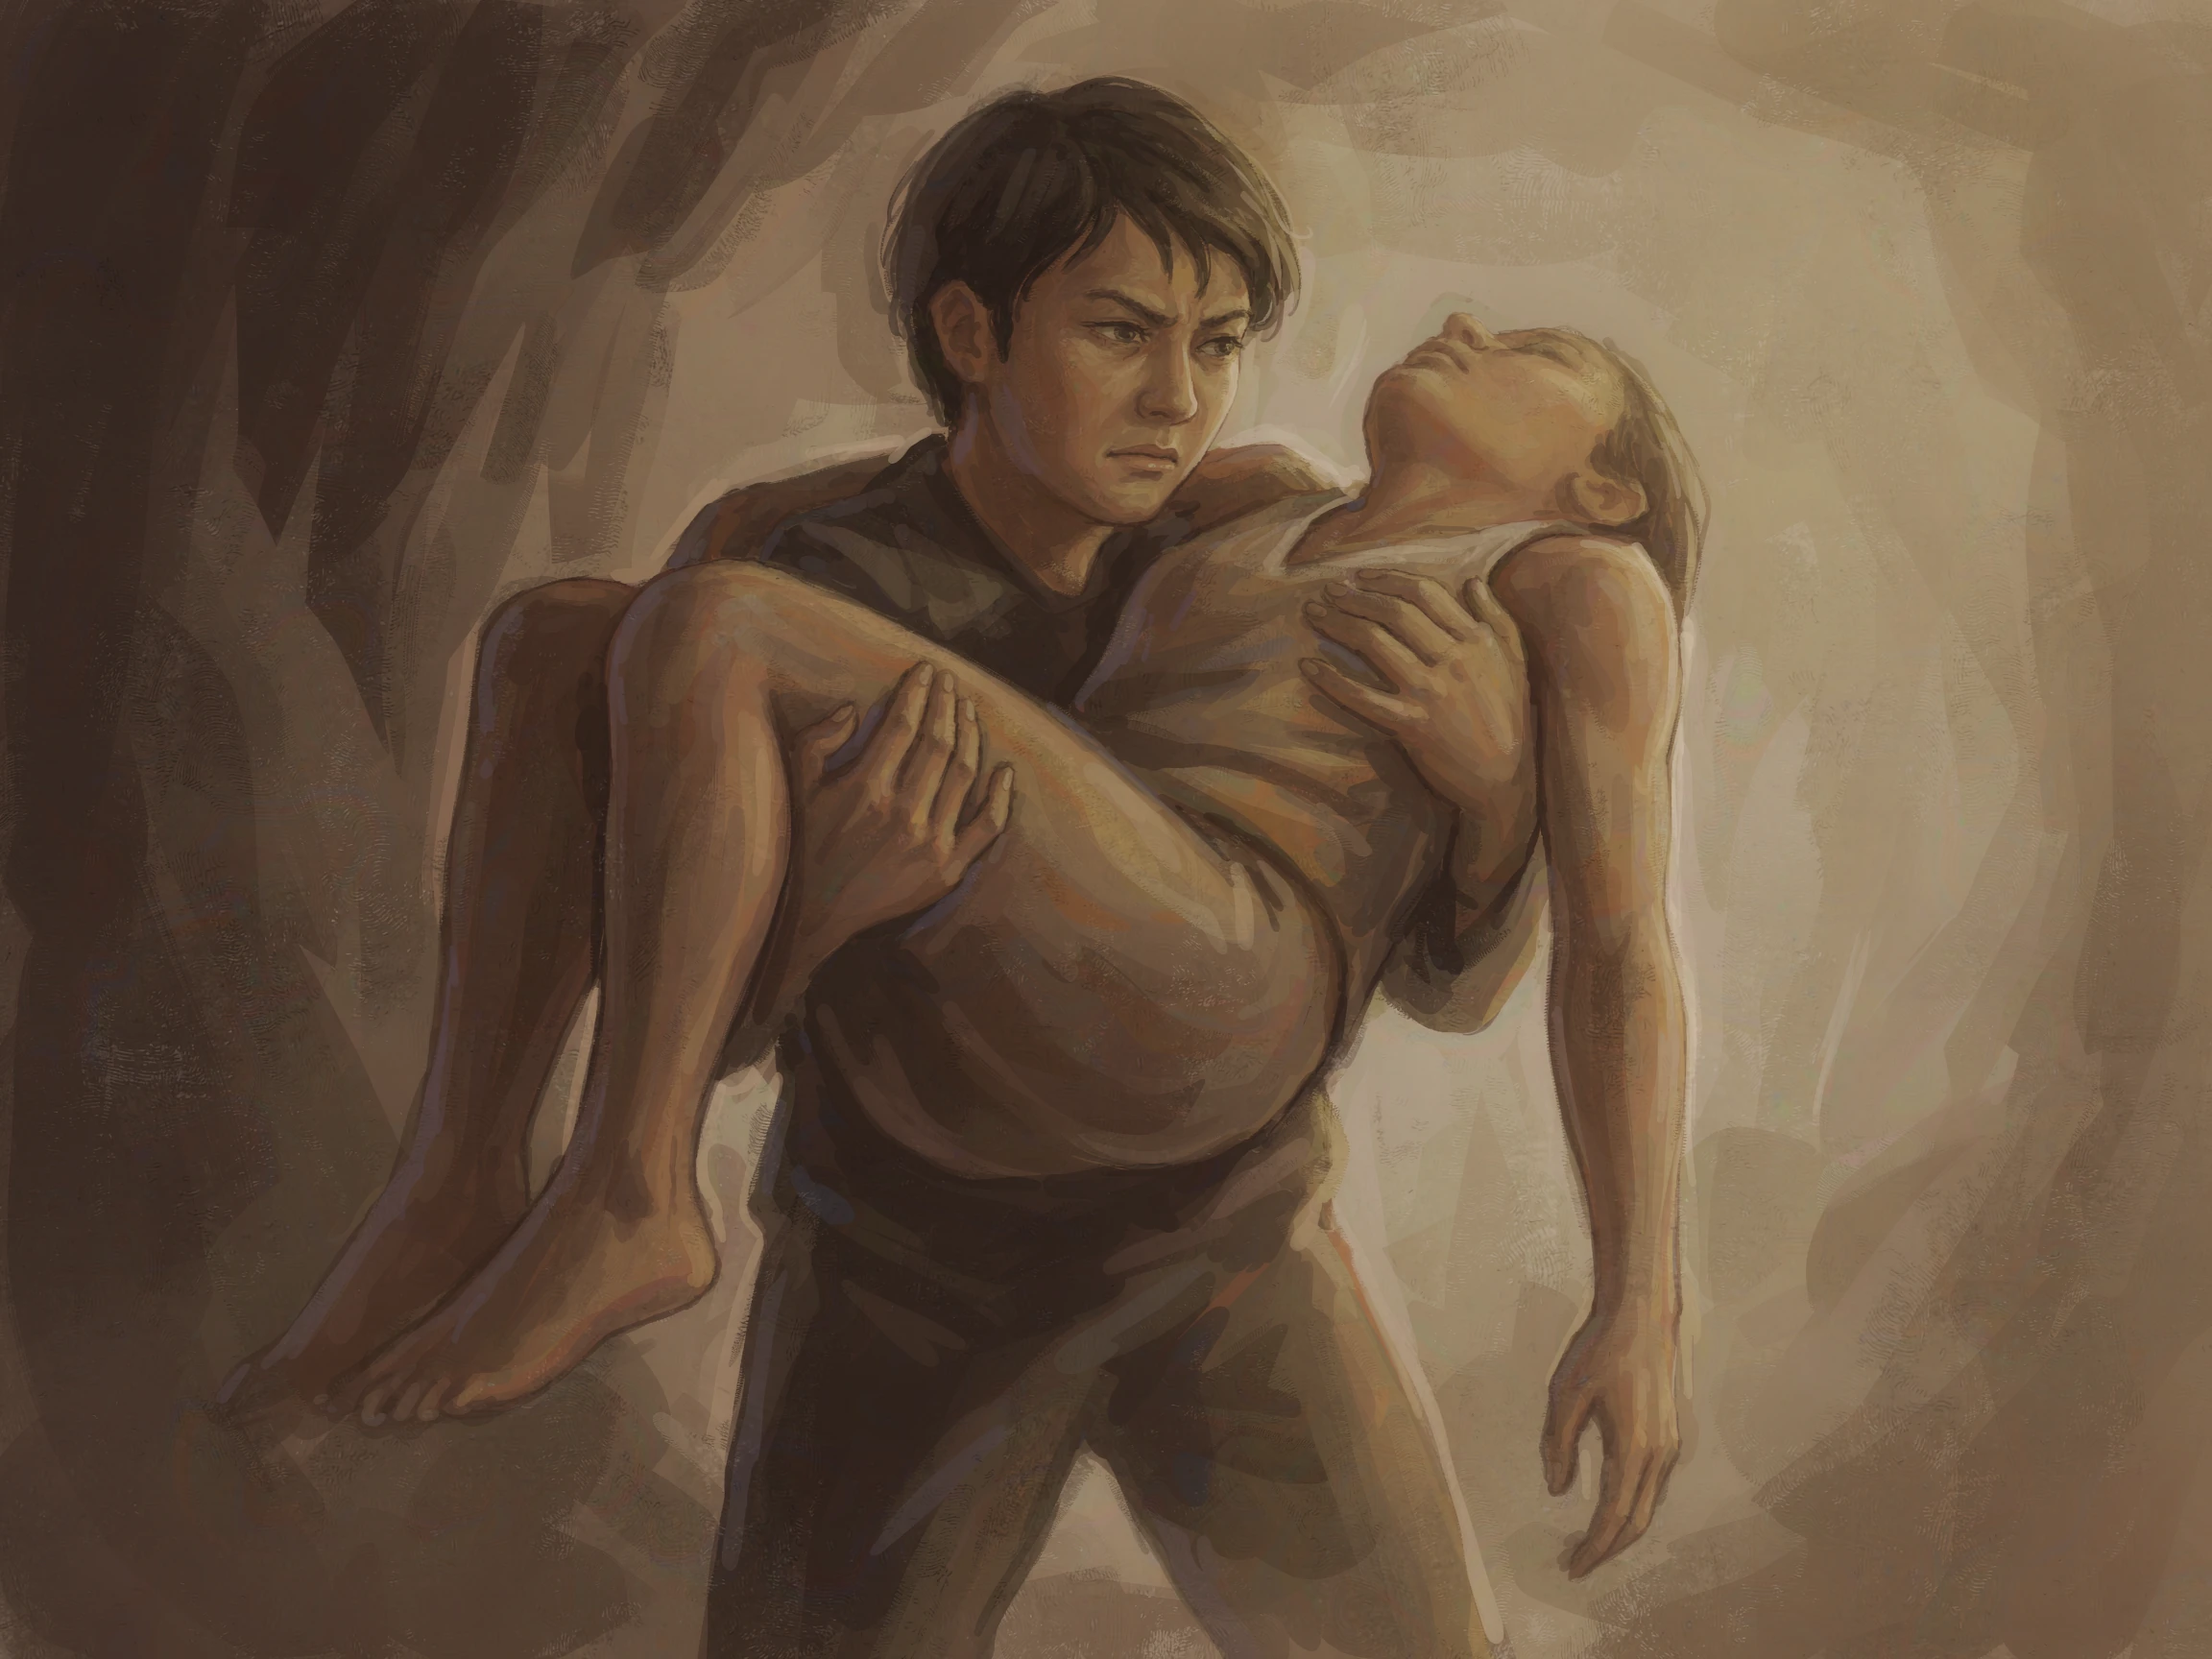
Step 4: Step 4: Lift with Your Legs, Not Your Back
Keep your back straight and let your leg and thigh muscles do the lifting. With the casualty weight close to your body, rise smoothly to a half-standing position, sliding them upward rather than jerking them up. The nearer you keep the person to your center of gravity, the less strain your back takes. If the load feels far or awkward, lower it back and adjust your grip before you commit to standing fully.
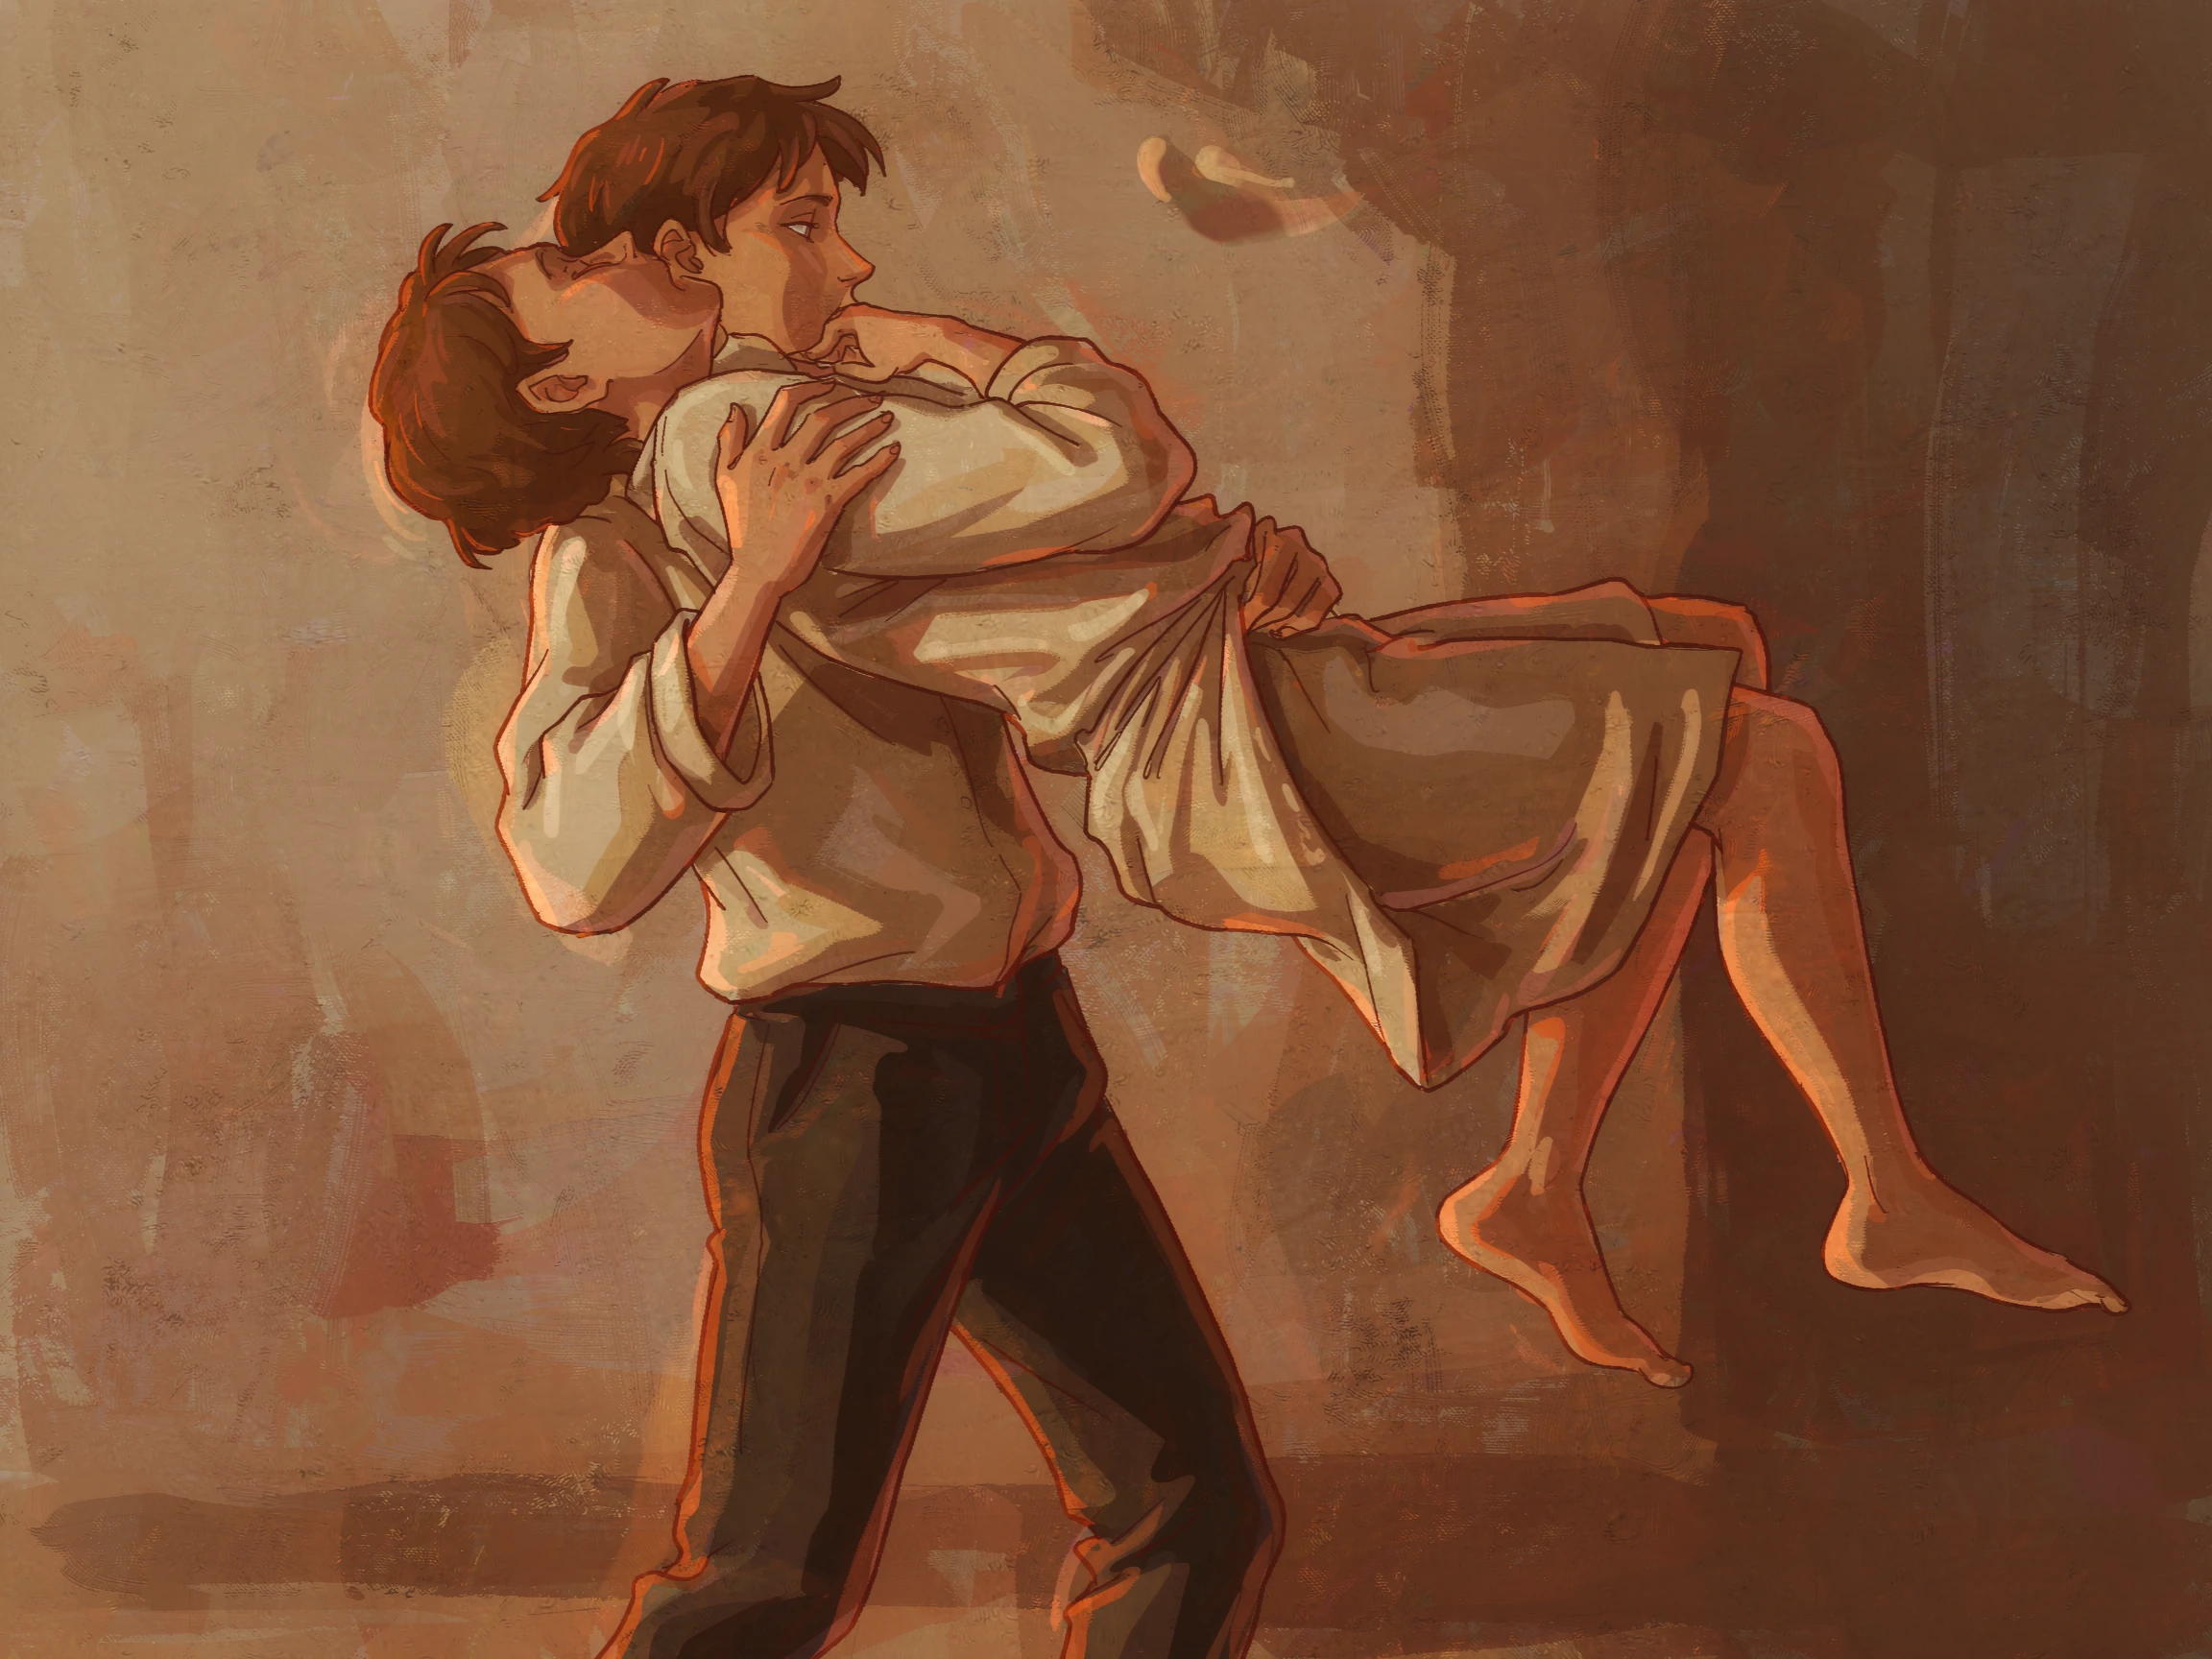
Step 5: Step 5: Slide the Casualty Across Your Shoulder
As you rise, pivot and slide the person across your far shoulder so that their torso rests across your upper back and shoulder, with their weight evenly distributed and their head and neck supported as much as possible. The casualty should sit high and close, not hanging low where their legs would drag or their weight would pull you off balance.
Step 6: Step 6: Secure the Carry With Your Near Arm
Bring your arm on the side under the casualty around and over them, and grasp their far-side clothing, wrist, or upper arm firmly. That arm now locks the person against your shoulder and keeps them from slipping or rolling off as you move. Your grip should be firm but not crushing, and it should be high enough on the torso to keep the load stable.
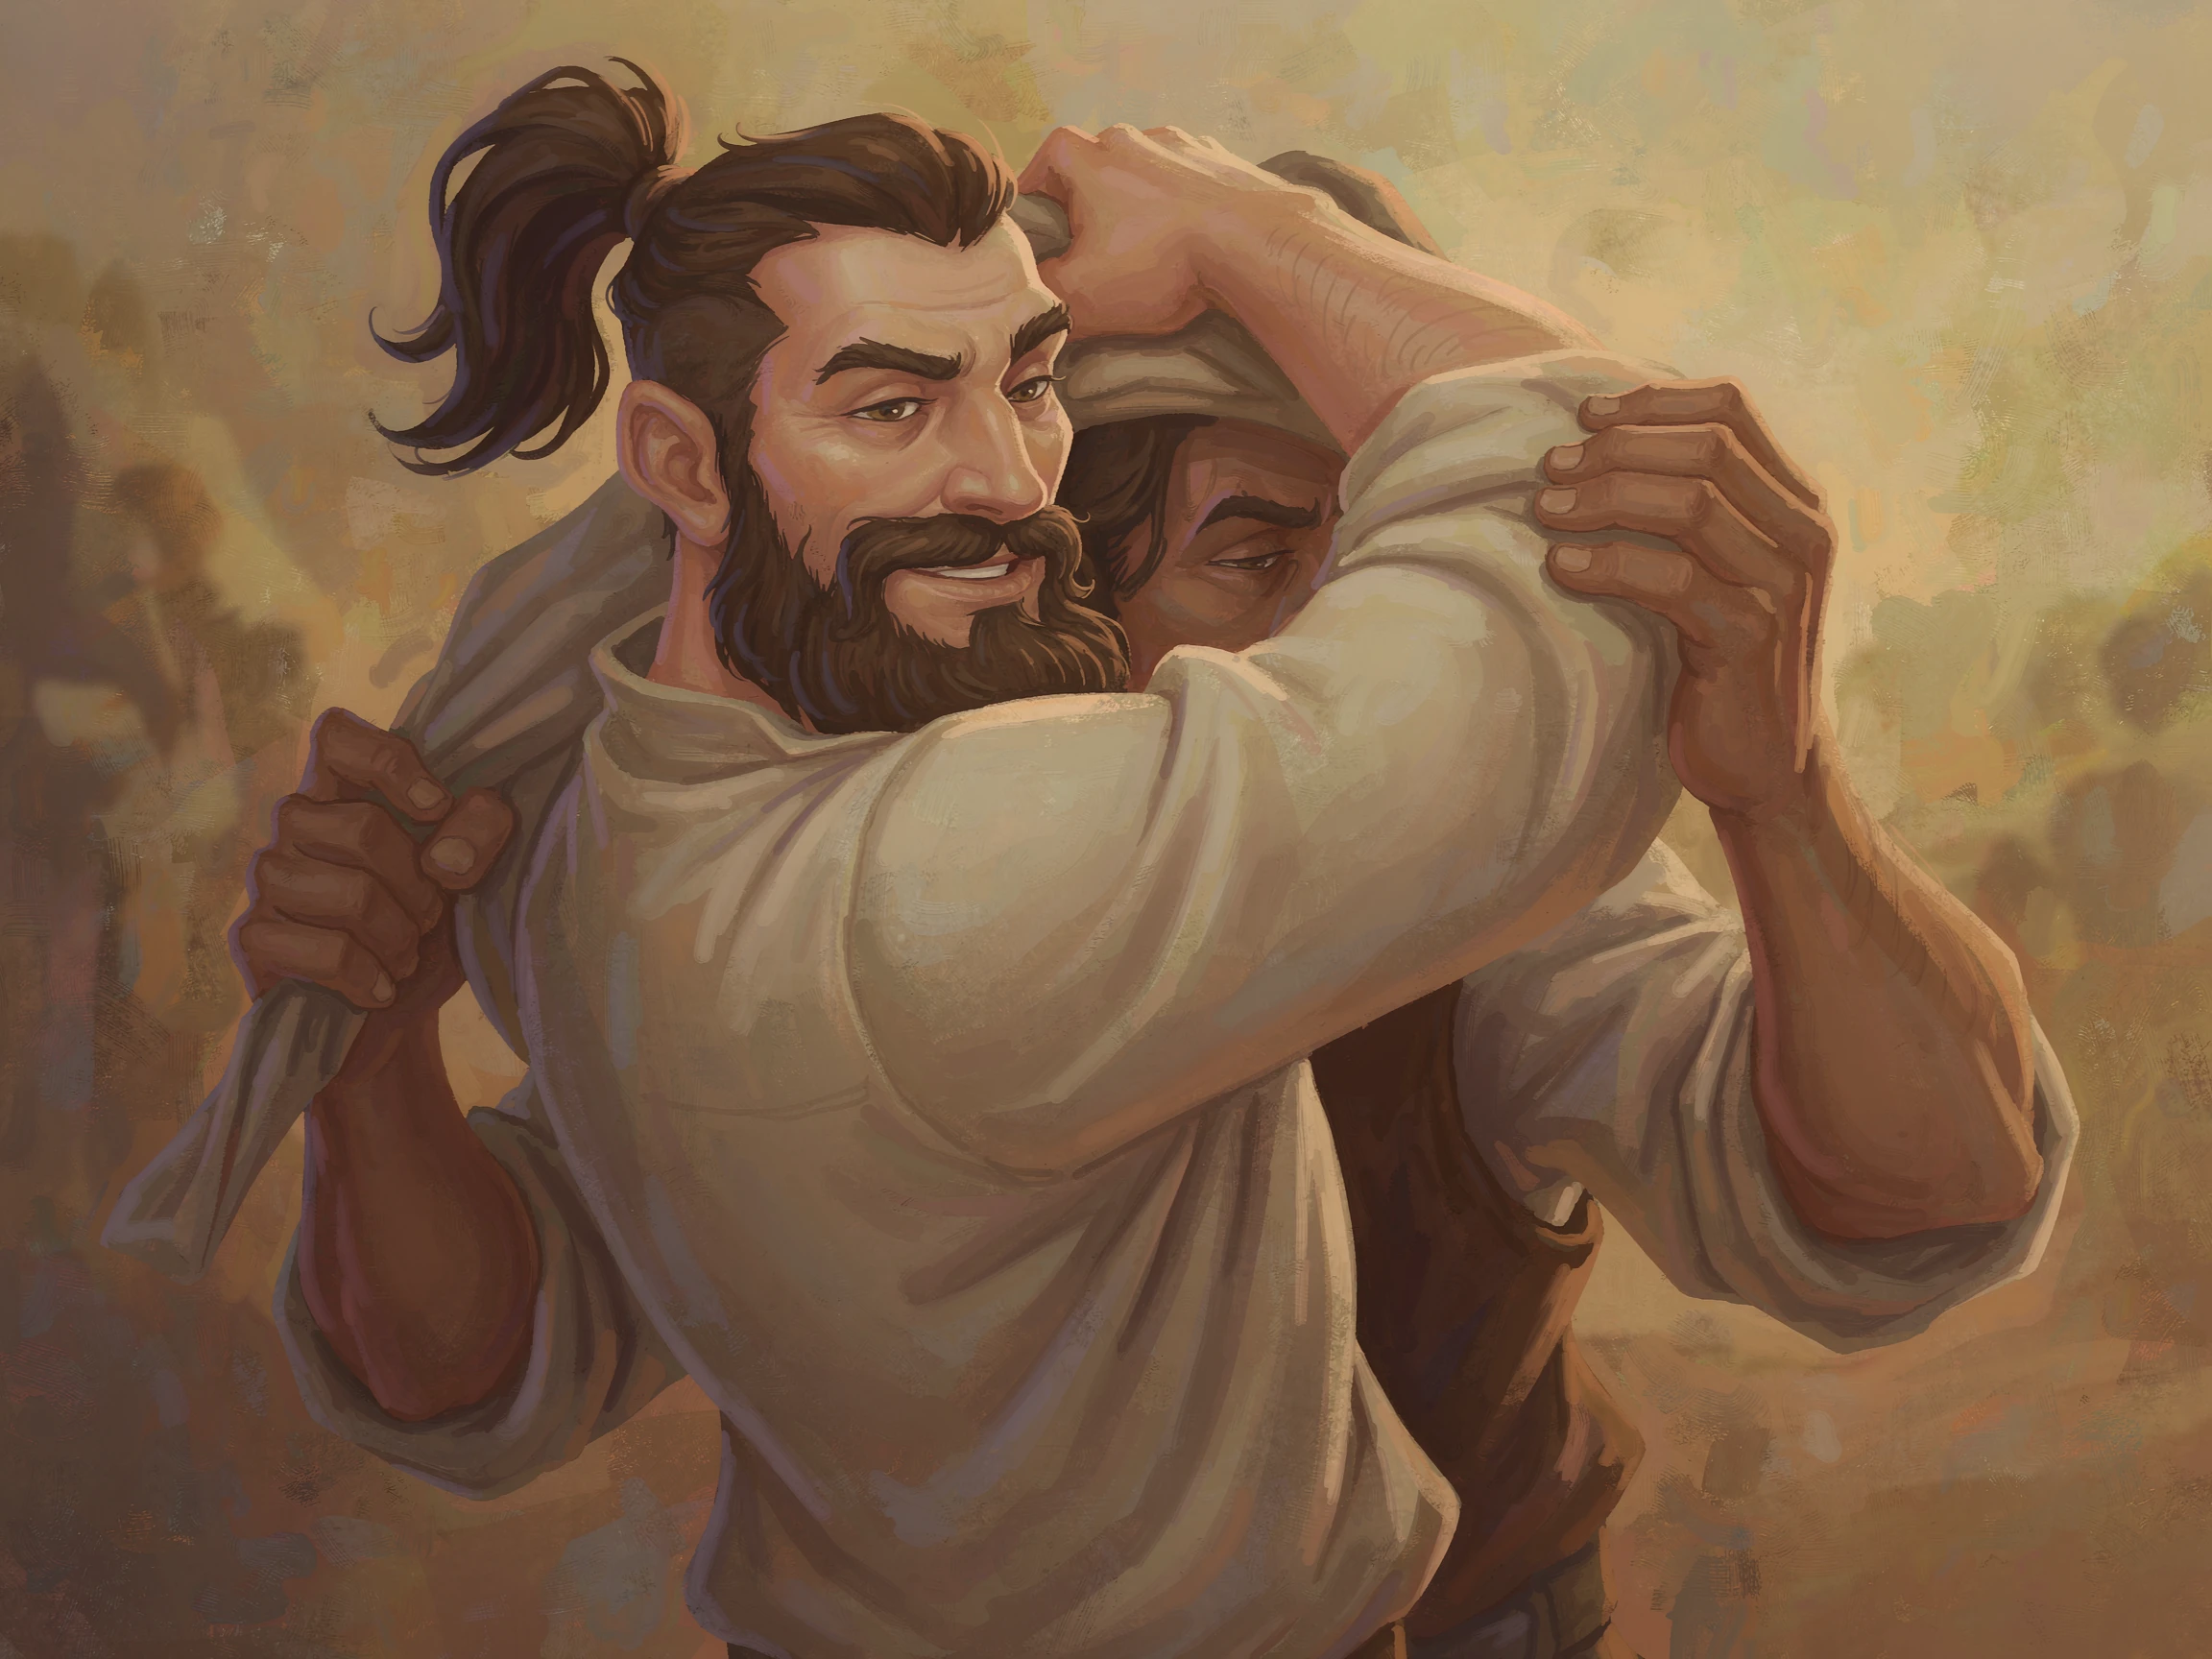
Step 7: Step 7: Keep Your Free Arm Free and Ready
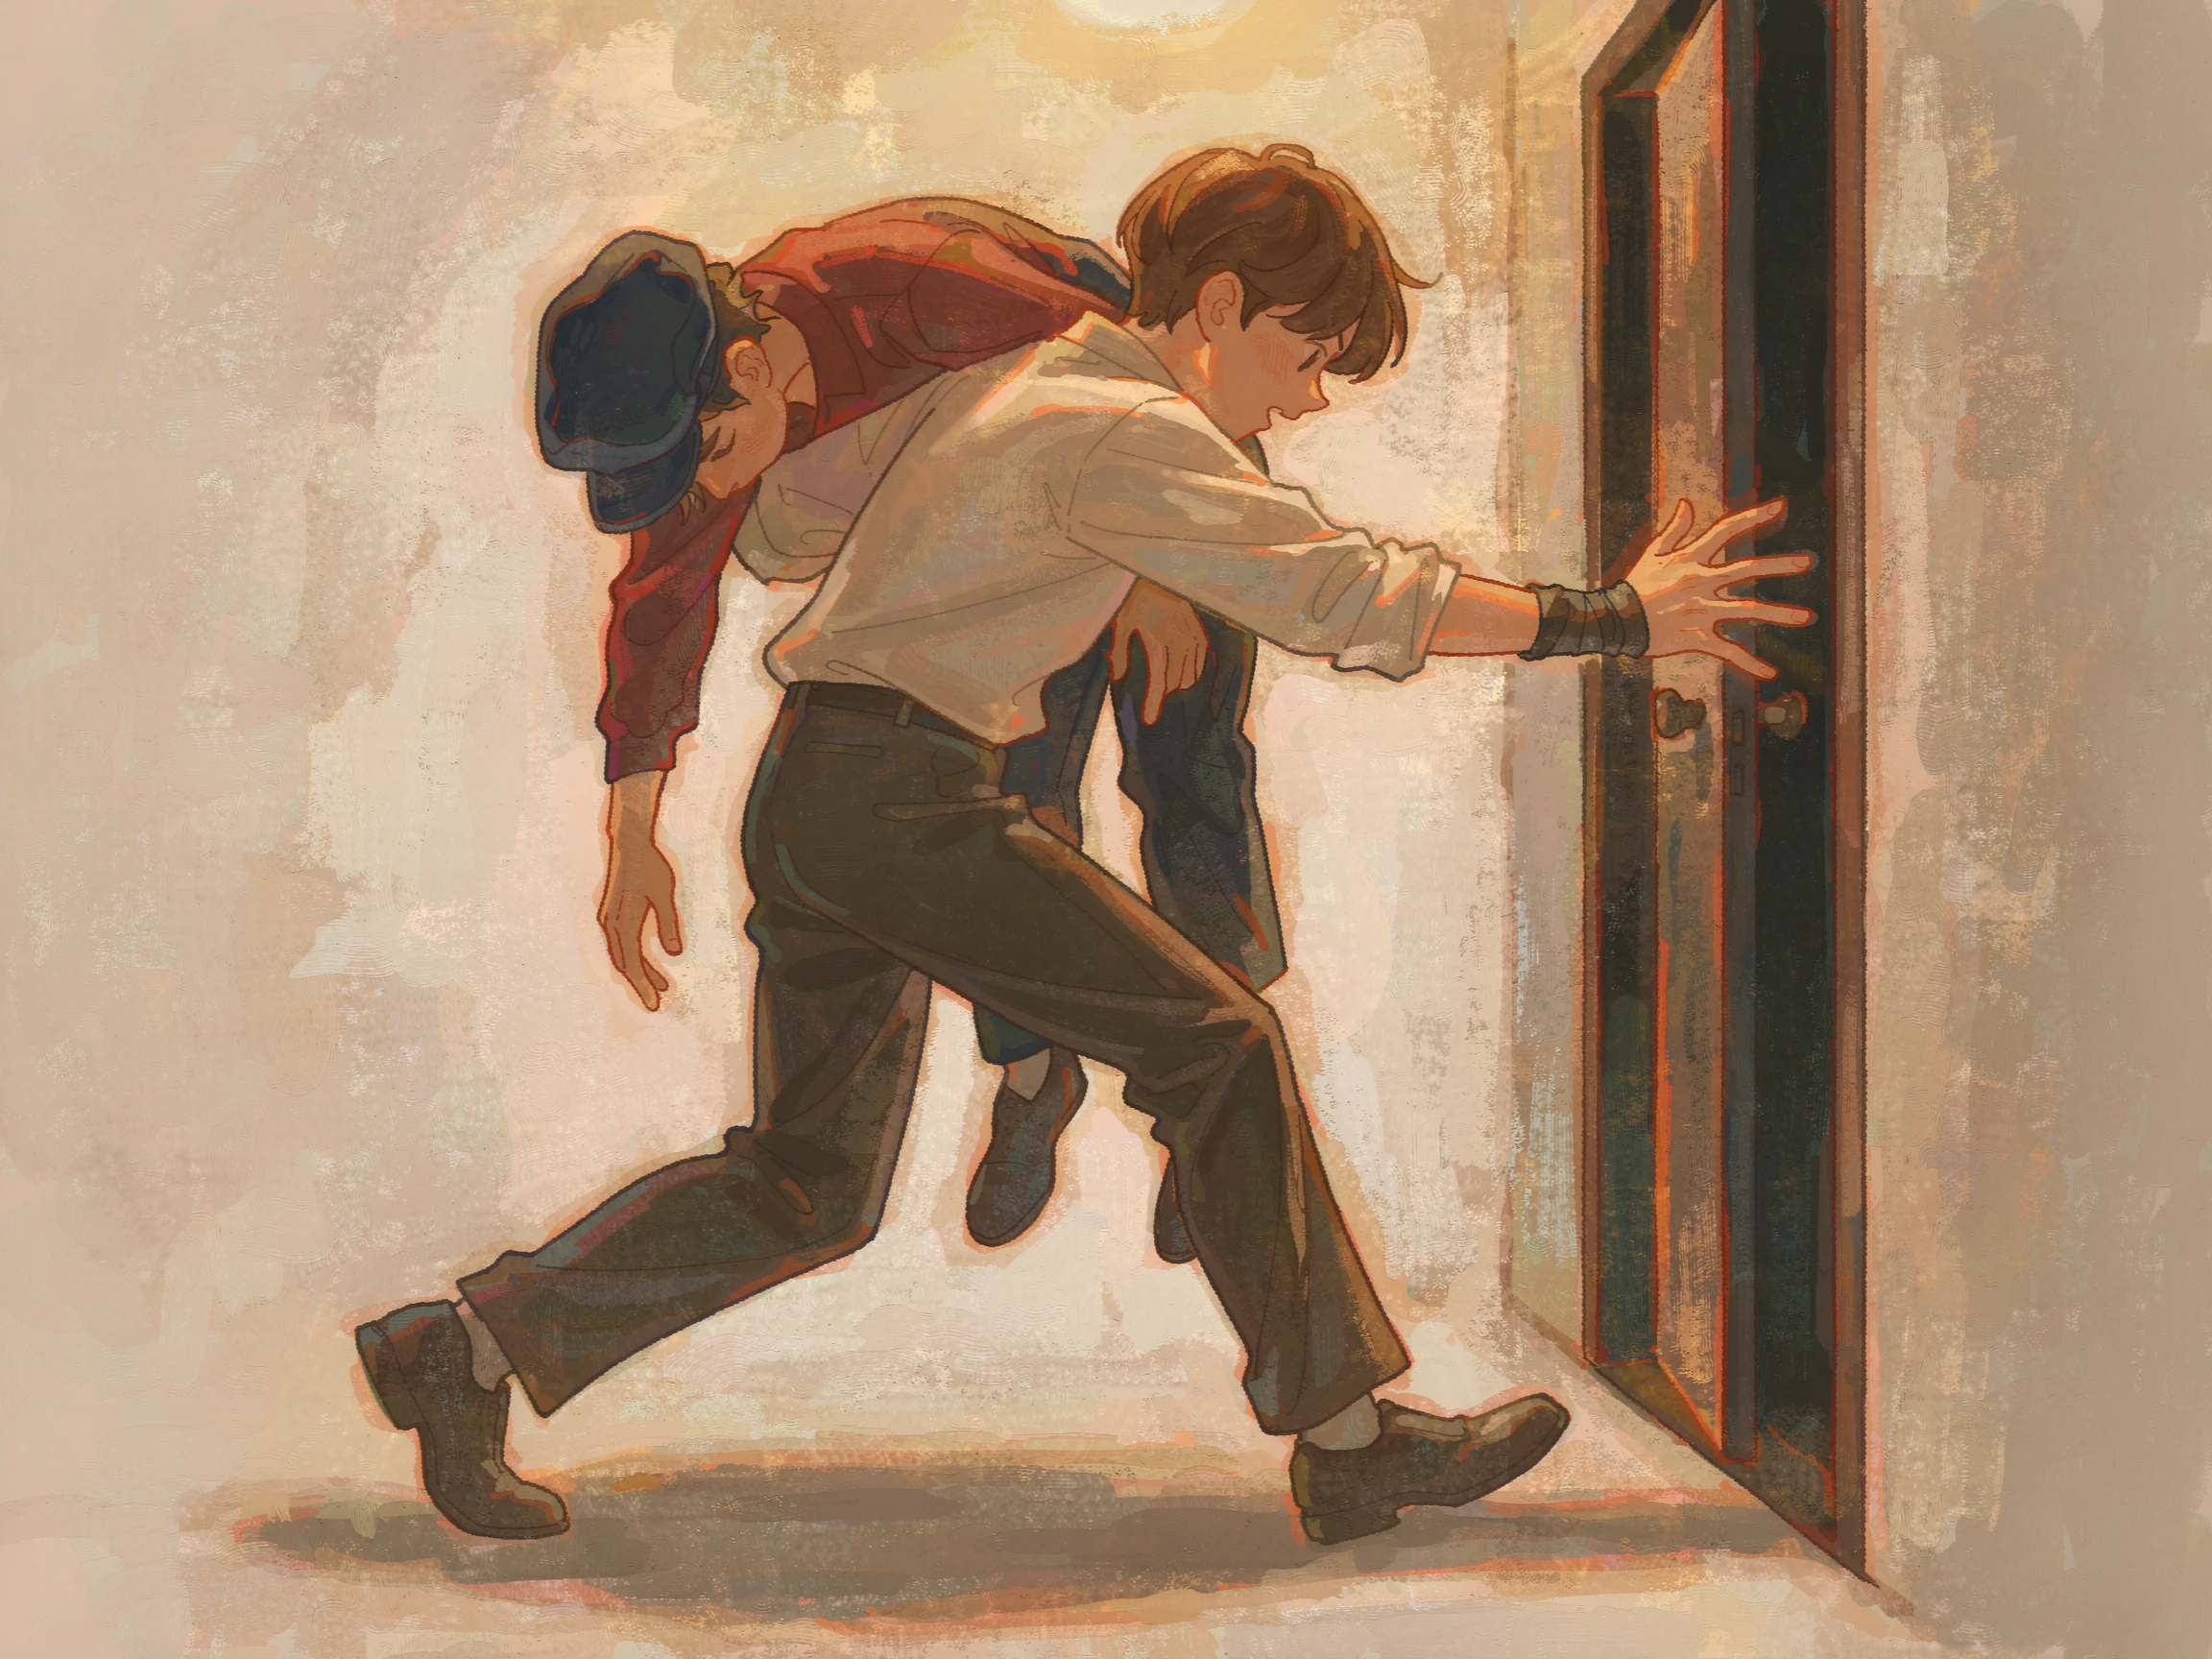
Your other arm stays free, and this is the heart of the technique. It can hold a door, steady yourself on a stair rail, lower your head under a low beam, or catch your balance on rough ground. Keep it relaxed and available, because that free arm is what turns the carry from a lift into a controlled movement through a real environment.
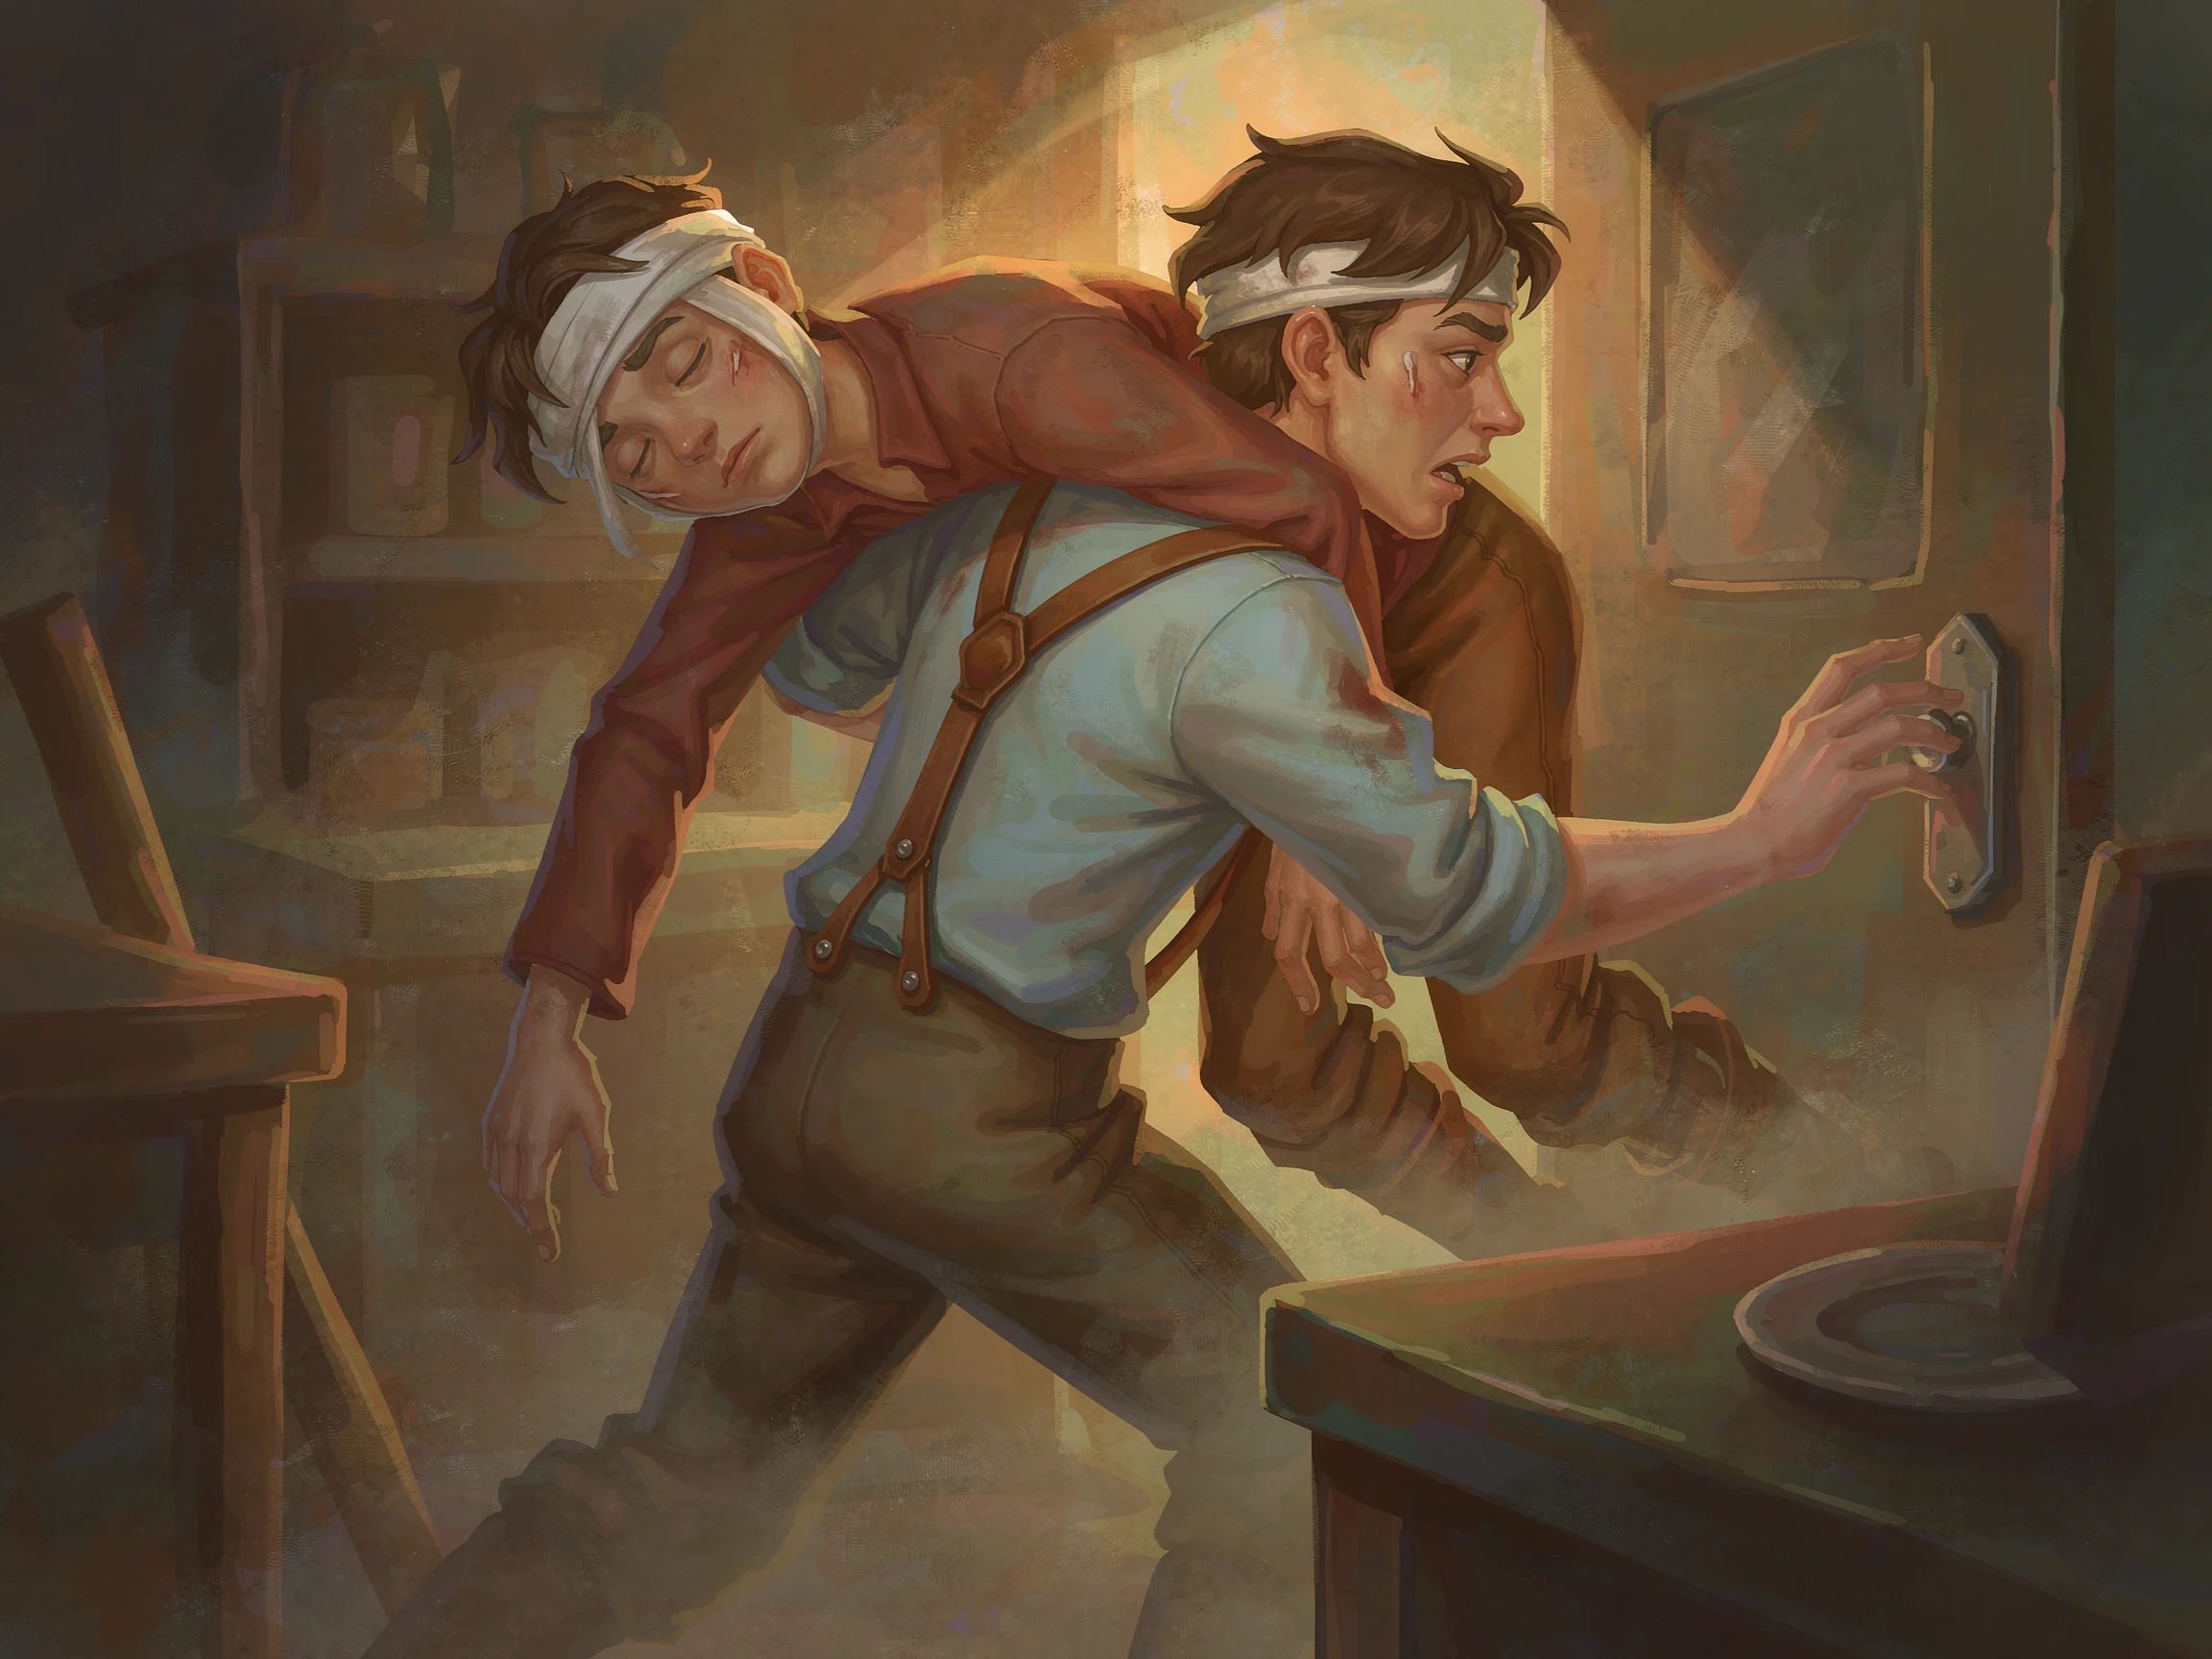
Step 8: Step 8: Balance the Load Before You Move
Before taking a step, stand still and feel the load. The casualty should be settled across your shoulder, your near arm is securing them, your back is straight, and your feet are set. Shift your weight gently to test your balance. If anything feels unstable, adjust the person position on your shoulder before you move. A balanced carry at the start prevents a stumble mid-route.
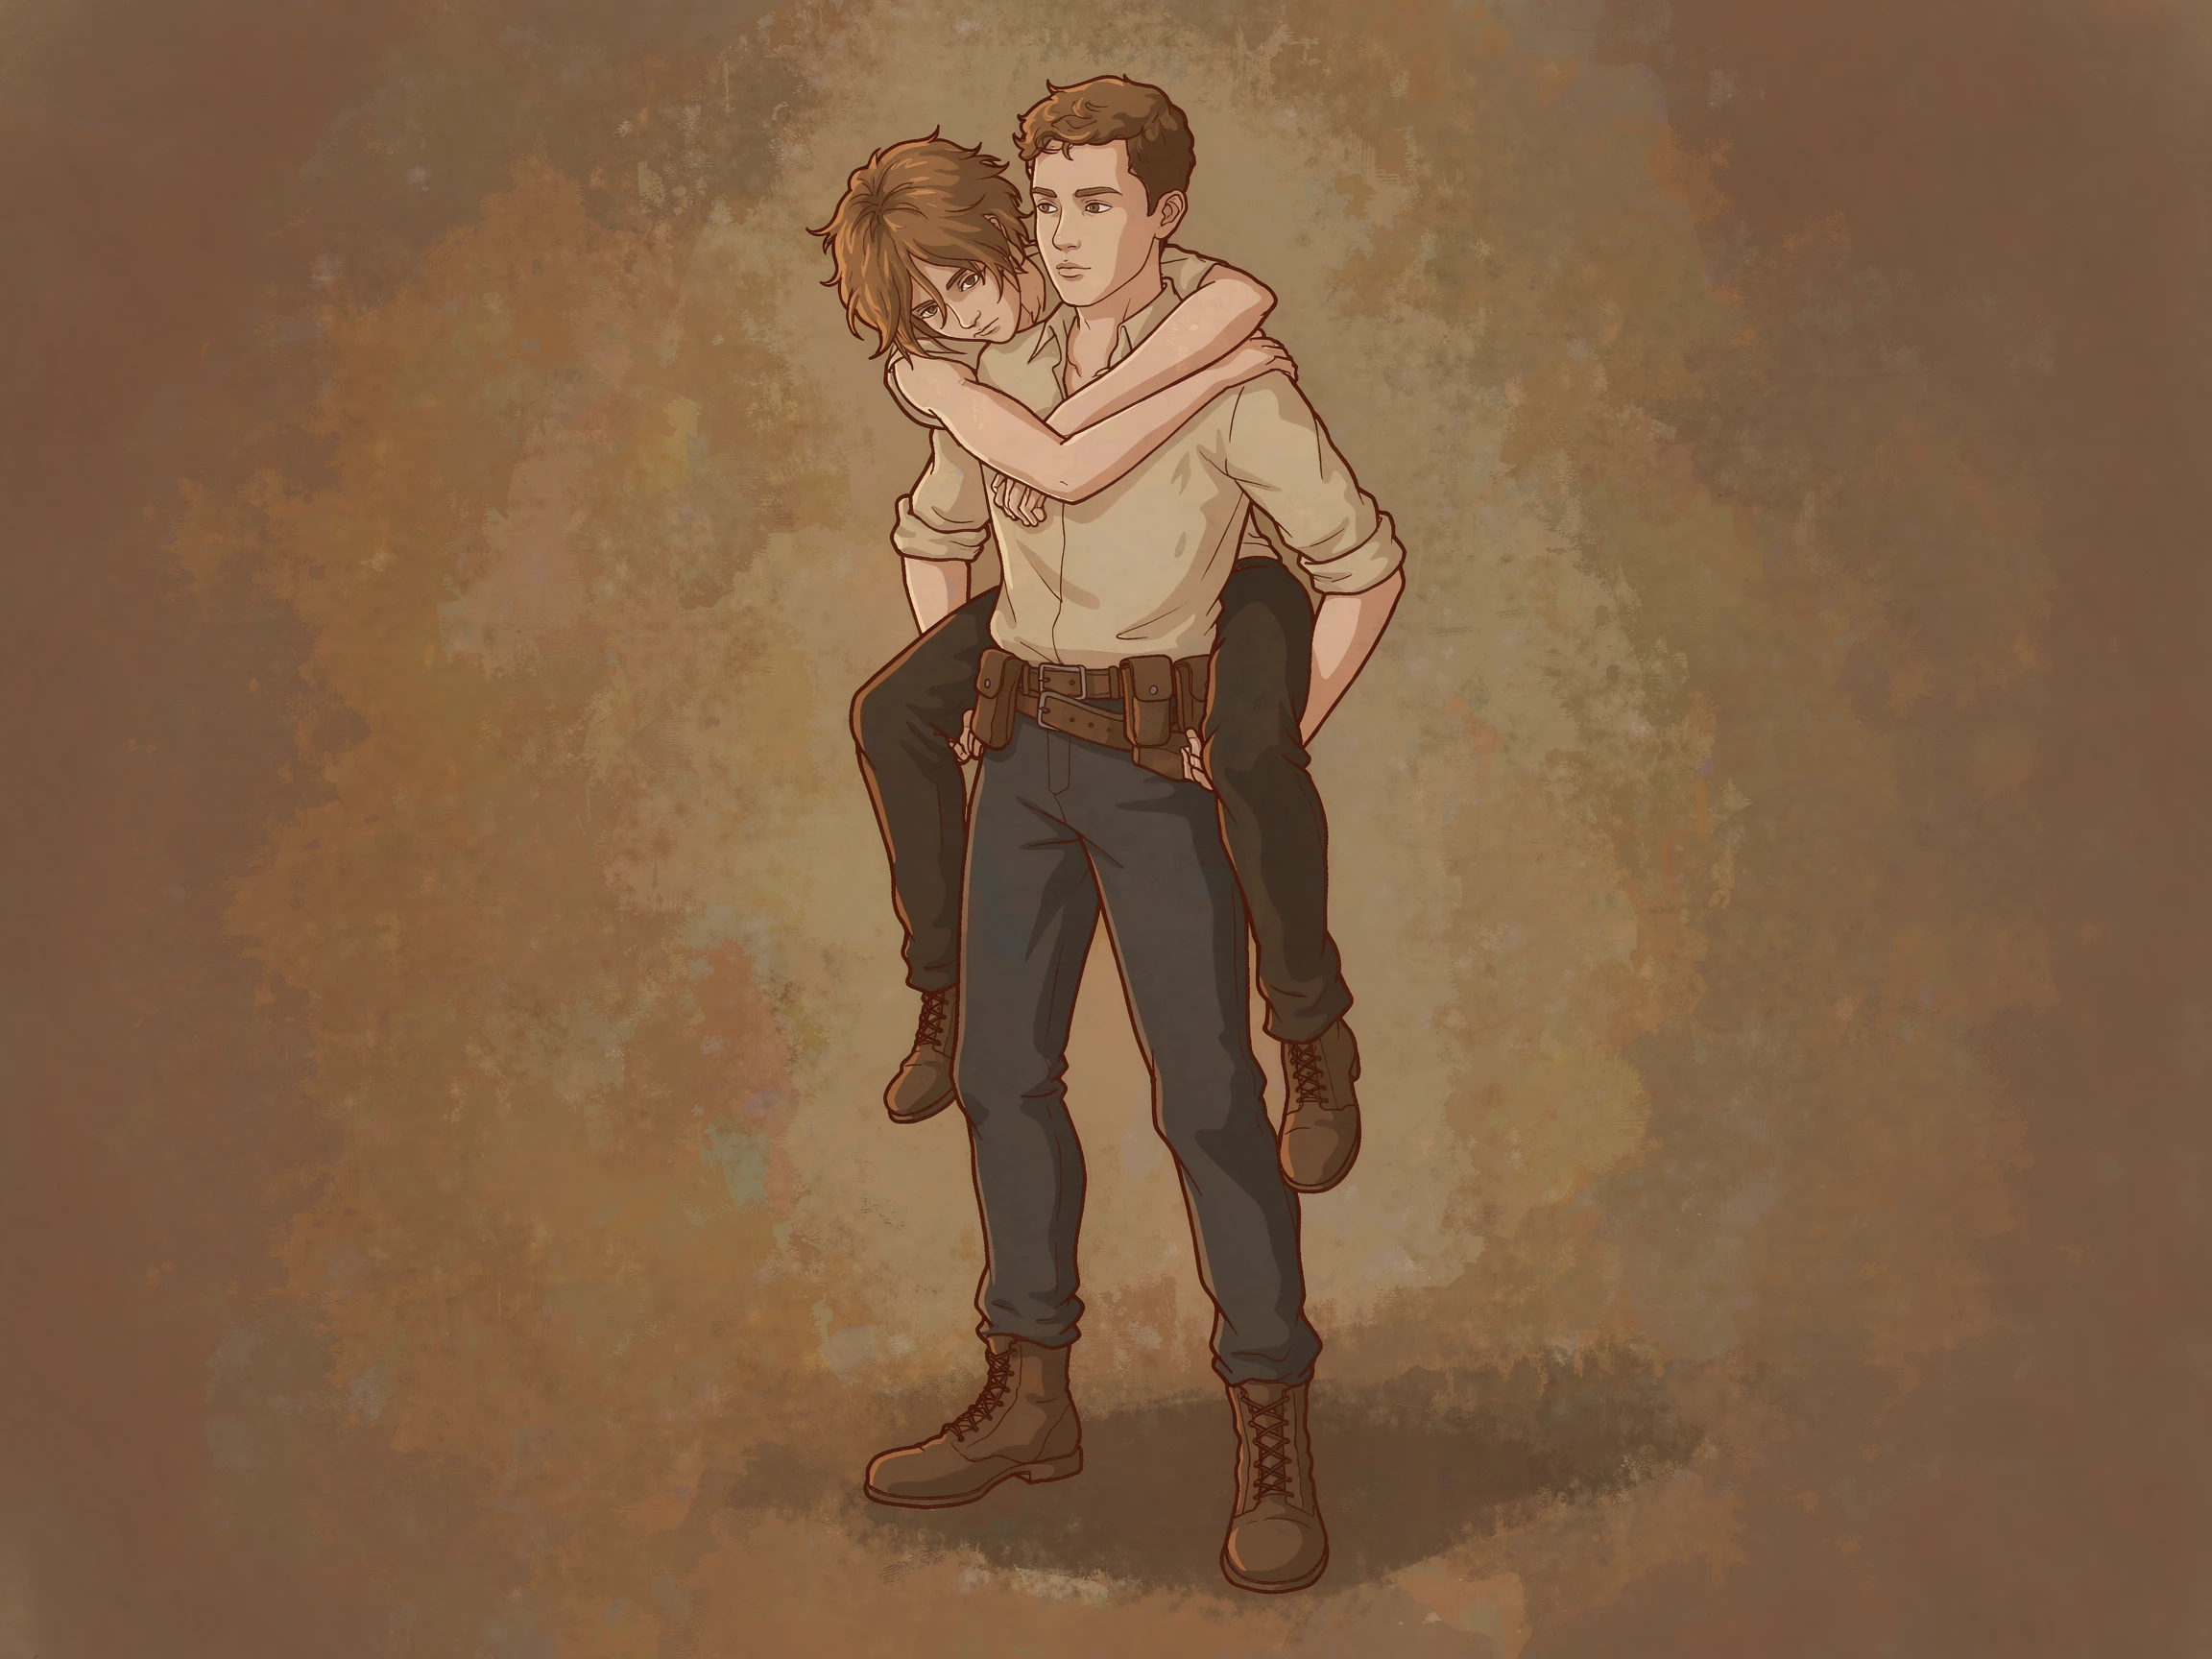
Step 9: Step 9: Walk Steadily and Watch Your Step
Move in the direction you planned, with short, controlled steps rather than long strides. Keep your pace steady and your eyes on the ground ahead, watching for obstacles, steps, and changes in level. Let your legs absorb the load, keep your core engaged, and avoid twisting or jerking. Smooth, even movement is far safer for you and far less jarring for the person you are carrying.
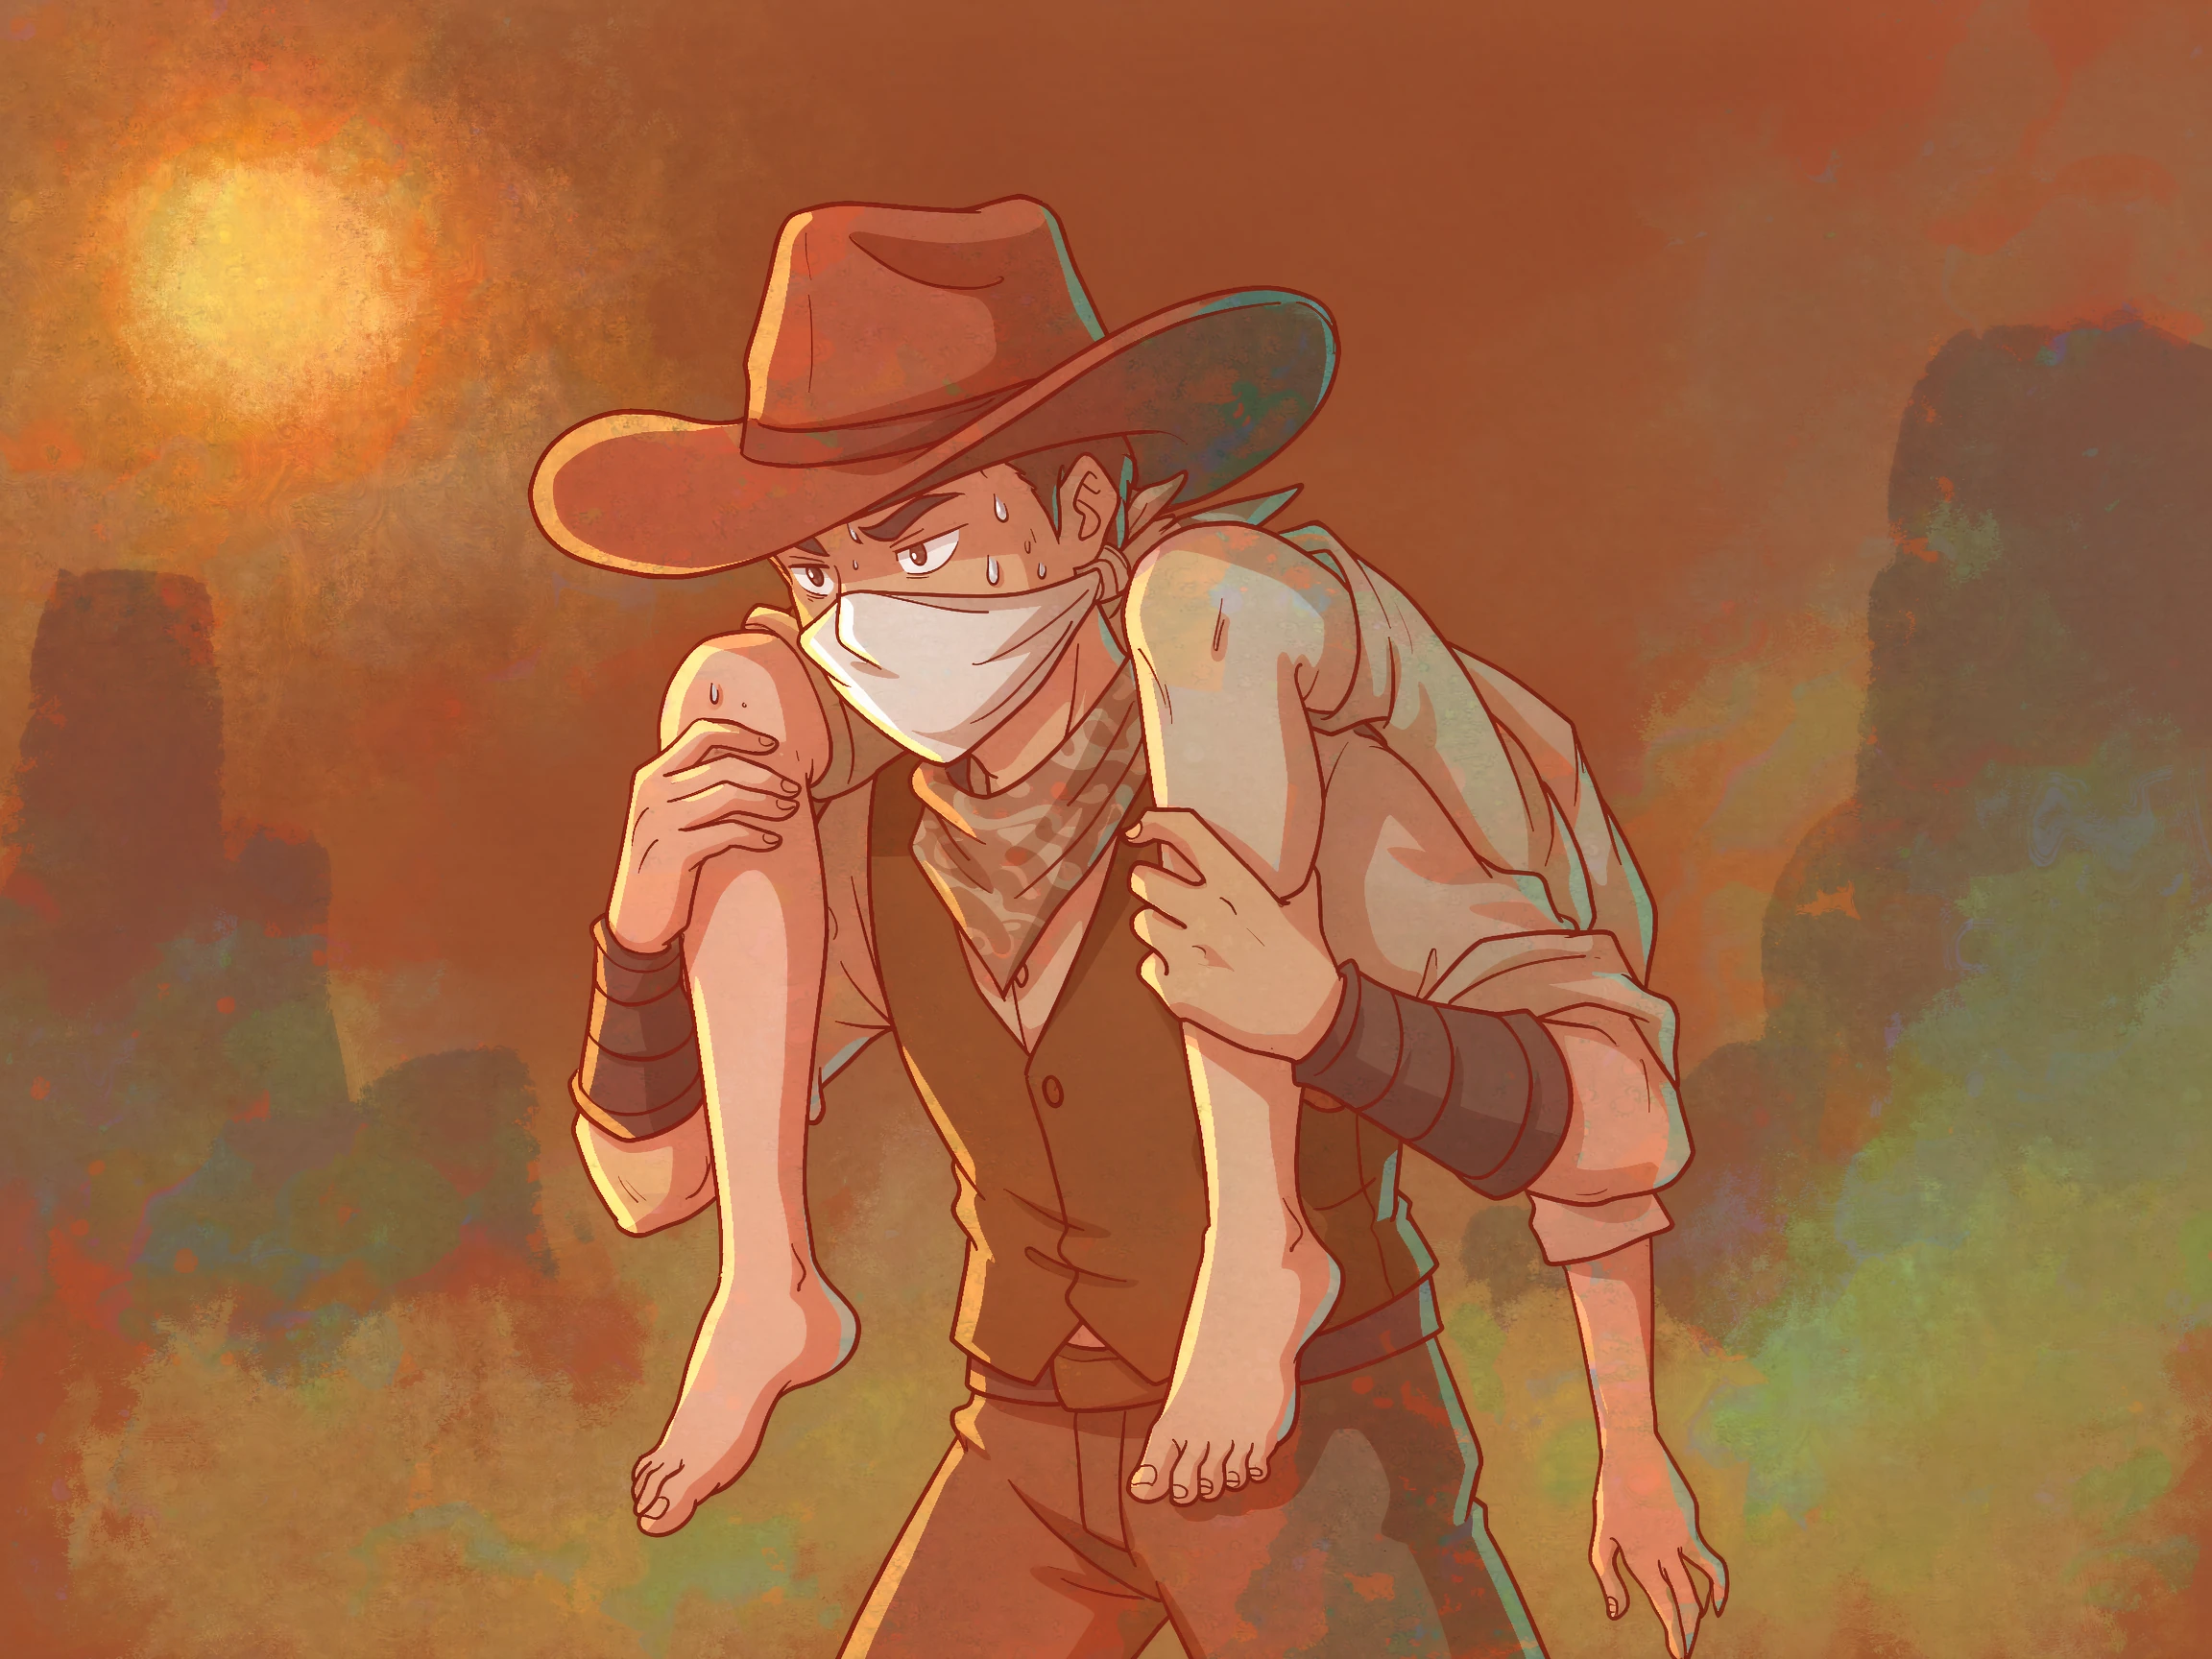
Step 10: Step 10: Clear Obstacles With Your Free Arm
Doors, gates, low branches, and narrow passages are exactly what your free arm is for. Reach ahead to open a door, push aside a branch, or steady yourself on a rail as you pass. If the route is too narrow or too obstructed for the carry, lower the casualty safely and consider whether a different route, a buddy, or a stretcher is the better option. The technique is a tool, not a rule you must force through anything.
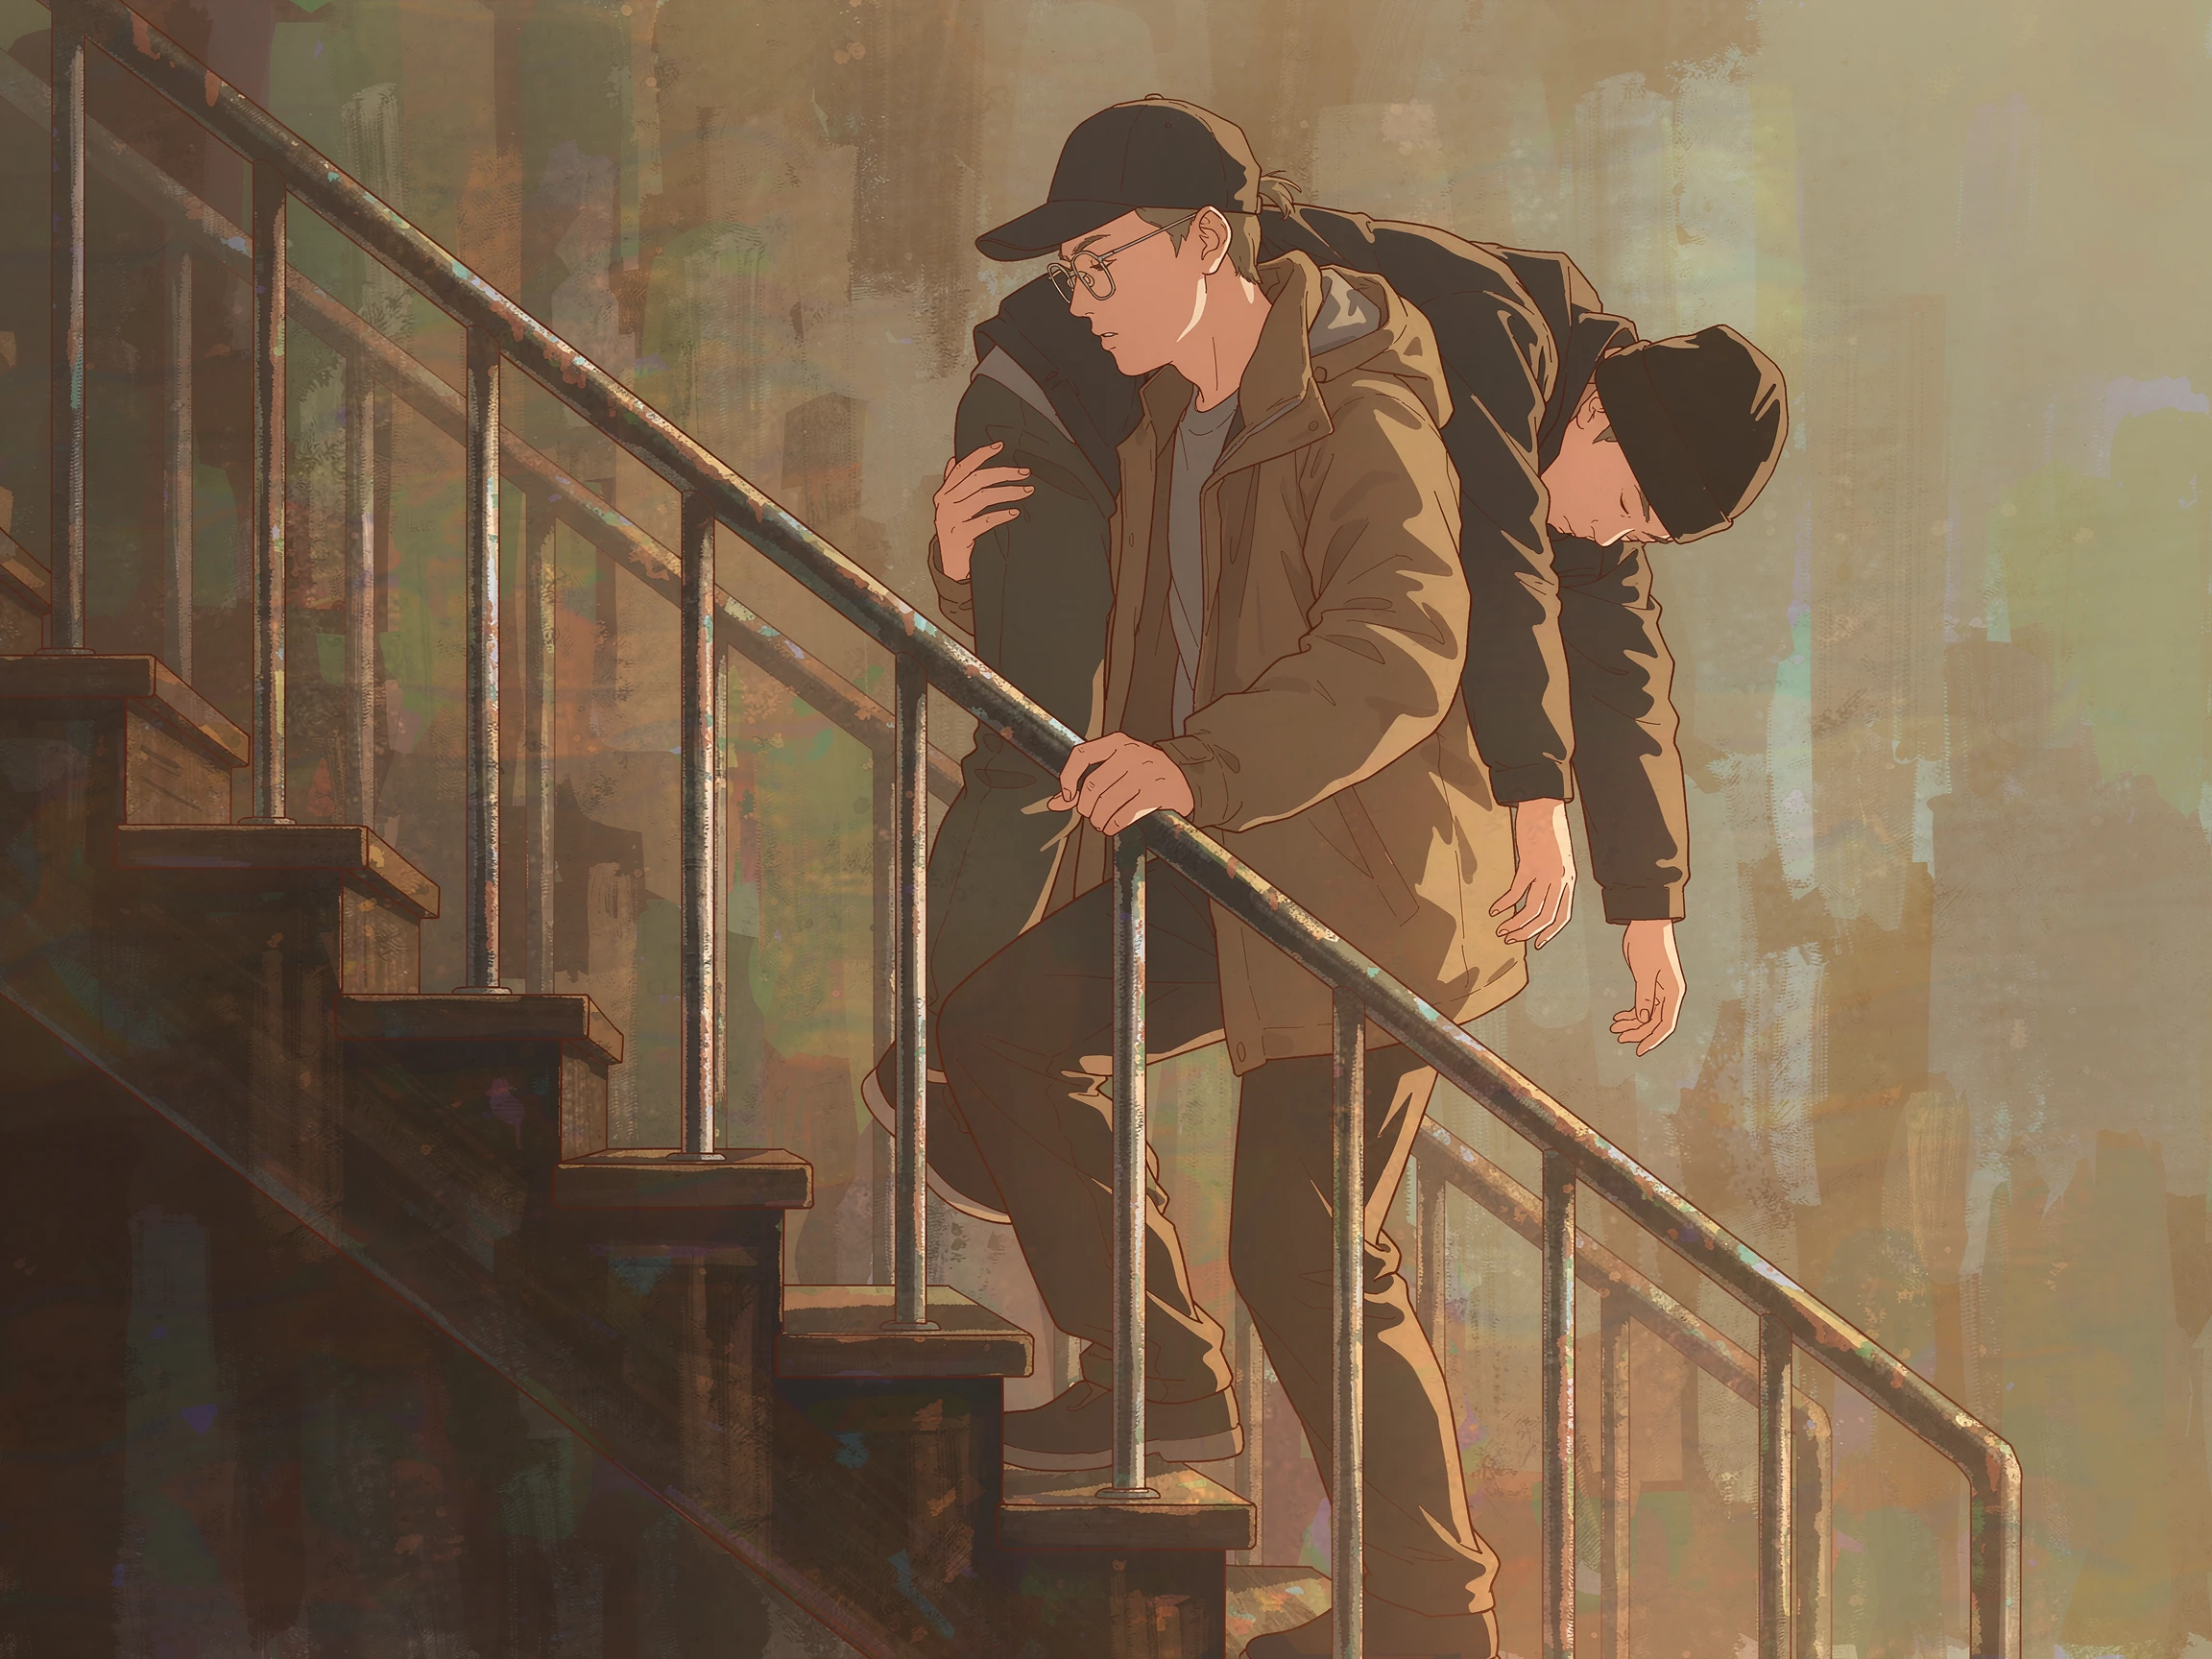
Step 11: Step 11: Adjust for Stairs and Uneven Ground
On stairs, step down one step at a time with the same foot you would use walking down normally, and keep the load close to your center as you go. On uneven or slippery ground, shorten your steps, plant each foot firmly, and let your free arm help with balance. Take your time on changes in level, because a slow, deliberate adjustment is the difference between completing the carry and dropping the person.
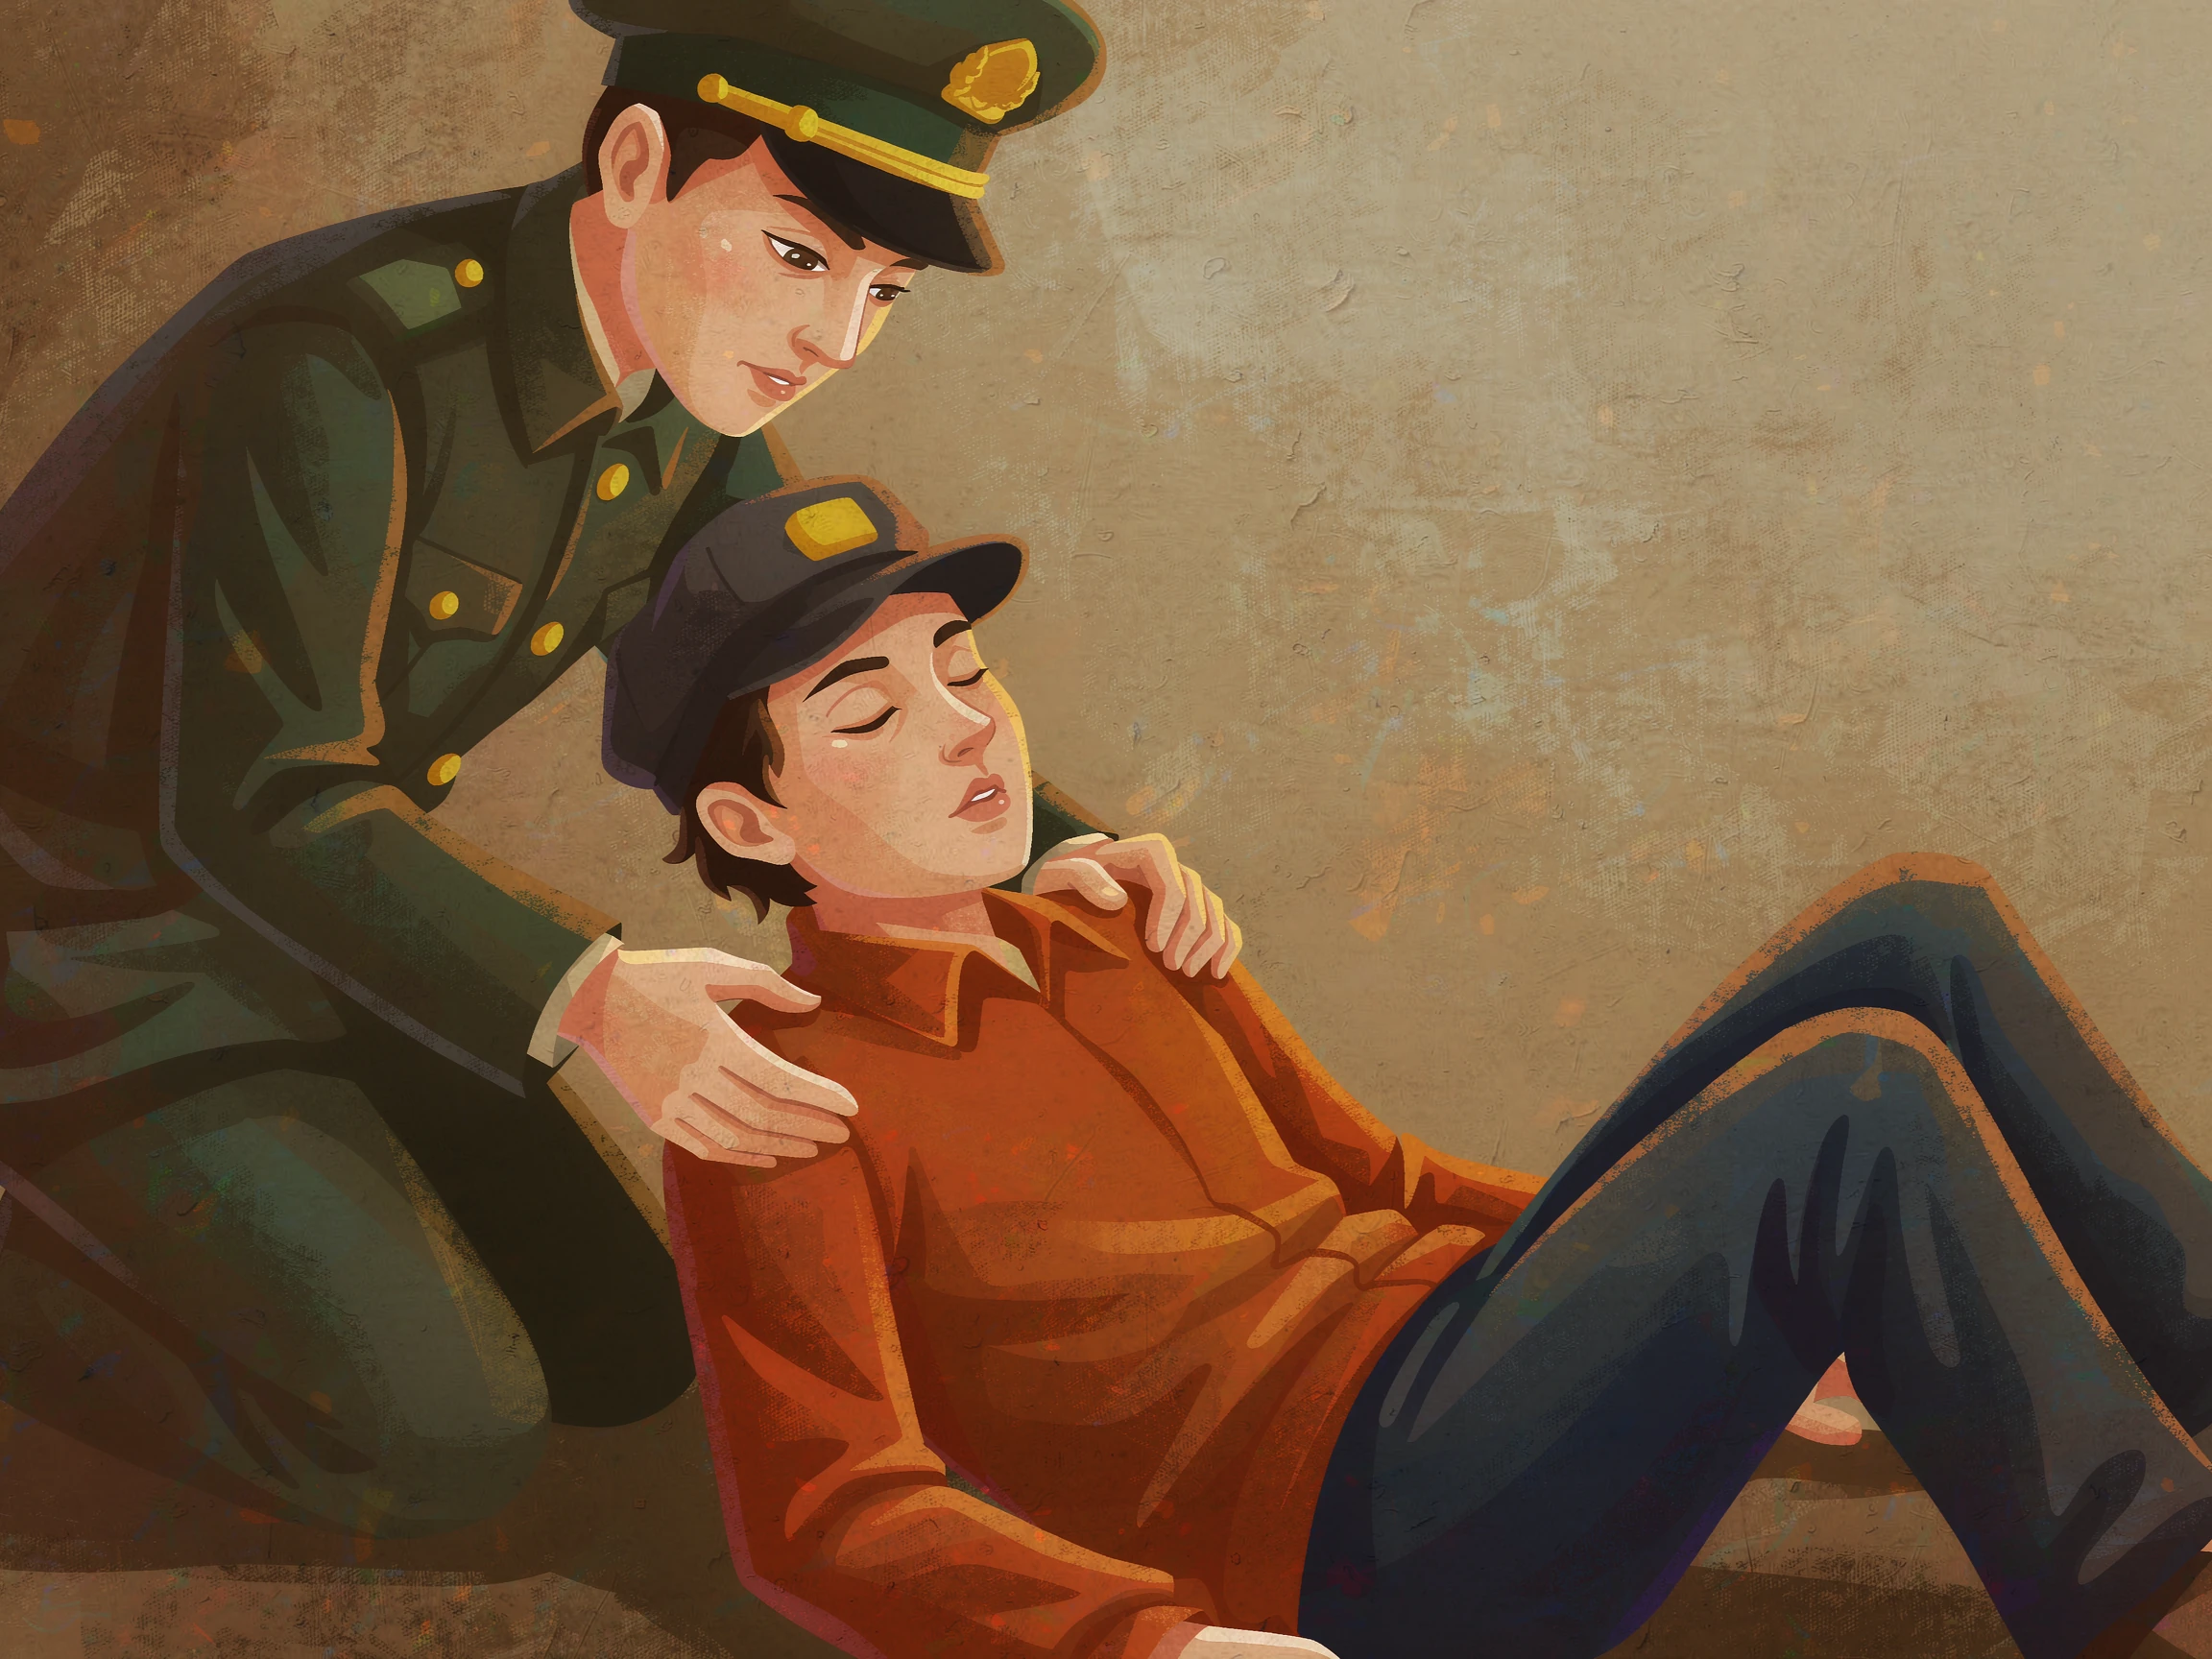
Step 12: Step 12: Set the Casualty Down Safely
When you reach the destination, stop, set your feet, and slowly lower the casualty to the ground with your legs, keeping their weight close to your body throughout the descent. Ease them onto their back or side in a stable position, then check on them again and keep them warm and still while you wait for help. Once the person is down and settled, take a moment to rest and shake the strain out of your own body.
Final Thoughts: The fireman's carry is a practical skill built on one principle: use your legs for strength, keep the load close and balanced, and keep one arm free to handle the world around you. Assess the scene, set your stance, lift smoothly, secure the person across your shoulder, and walk steadily with your eyes on the route. Practice the lift with a willing partner when nothing is wrong, and review the sequence from time to time so the technique stays sharp. If you ever need it, the fireman's carry lets you move someone who cannot move themselves, safely, steadily, and with your own back intact.



Reader comments
0 so farFinished this guide? Tell other readers what worked, what didn't, and what you would change.