SysMain, formerly called Superfetch, preloads frequently used apps into memory to speed up startup, but on some SSD-equipped PCs it can drive disk usage very high. Disabling the service through services.msc usually stops the constant disk activity without harming the system. Checking for background updates and free disk space first rules out other causes.
This guide walks through the process in clear illustrated steps, from the first preparation to a finished result. Each step has its own picture, so you can compare your progress as you go.
How to use this guide
Work through the steps in order. Method 1 of 2 covers the basics, and the later methods offer alternatives and finishing touches. If you only have a minute, skim the Quick steps box above and come back for the details.
Related guides
- How to Bake an apple pie from scratch
- How to Make candles at home
- How to Remove hard water stains
- How to Organize a garage on a budget
- Browse all Windows Troubleshooting guides
- All 52runoob guides
Trusted external resources
- Microsoft Learn — Configure services with sc
- Microsoft Support — Free up disk space in Windows
- Microsoft Support — Troubleshoot Windows Update issues
A note on sources
We check each guide against the official resources listed in References at the end of this article. External links open in a new tab; the related guides above stay on this site.
Quick steps
- Open Task Manager and confirm SysMain is the process using all the disk.
- Check that Windows Update or a scan is not already using the disk.
- Open services.msc and locate the SysMain service.
- Stop SysMain and set its Startup type to Disabled.
- Free disk space if the system drive is nearly full.
- Restart the PC and confirm disk usage has dropped.
Things you'll need
- A Windows 11 PC with administrator access
- Task Manager and the Services console
- An SSD and a reasonably free system drive
- About 10 minutes to change the service setting
Step-by-step
Method 1 of 2: Diagnose the Cause and Free Disk Space
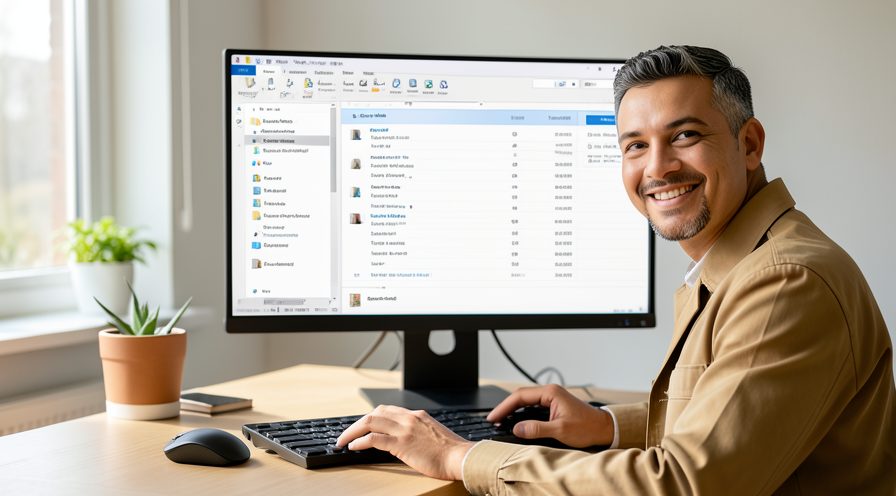
Step 1: Open Task Manager
Press Ctrl+Shift+Esc and open the Processes tab to view running services.
Step 2: Sort by disk usage
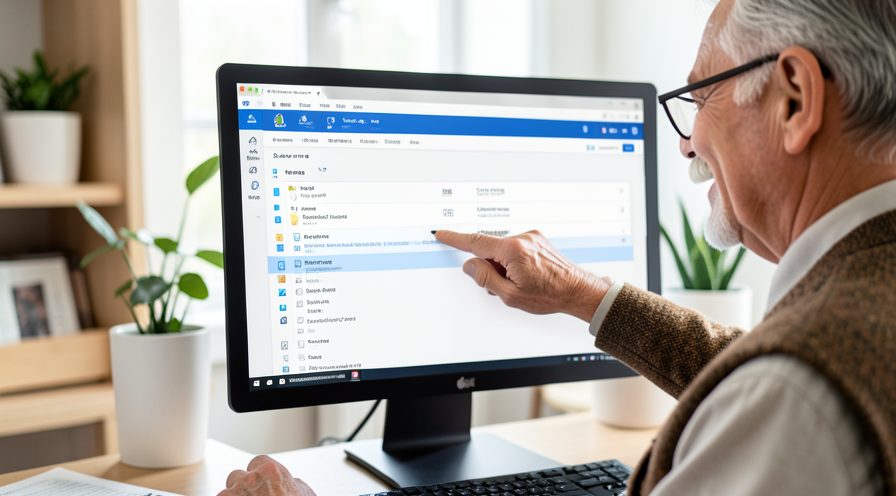
Click the Disk column header so the highest disk consumer appears first.
Step 3: Check the SysMain entry
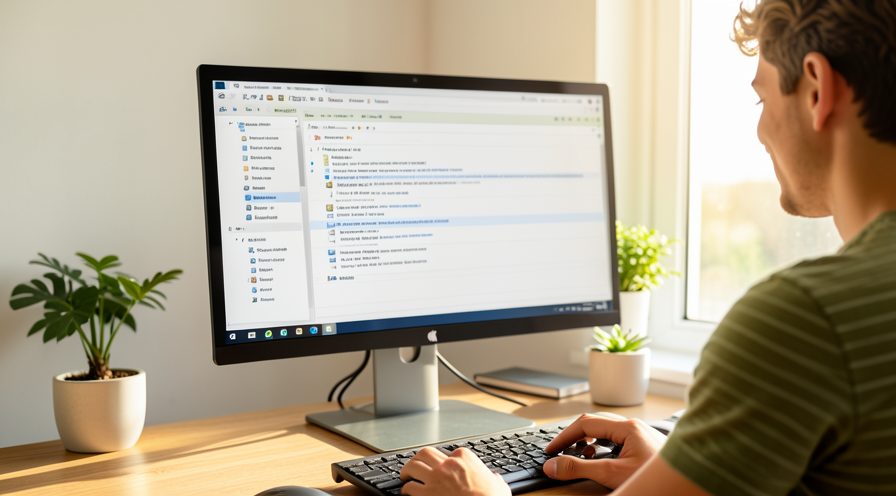
Look for SysMain near the top and note whether it is reading continuously at high disk.
Step 4: Rule out Windows Update
Open Windows Update settings and check that no update is currently installing.

Step 5: Rule out a security scan
Open Windows Security and see whether a scan is running in the background.

Step 6: Decide to disable
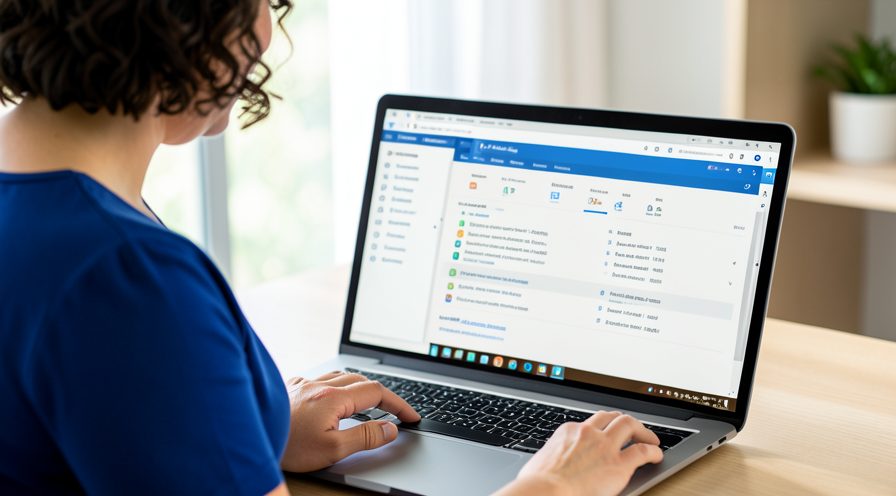
If SysMain is the main disk user on an SSD, proceed to change its service setting.
Step 7: Check free disk space
Open Storage settings and confirm the system drive has enough free space.
Step 8: Remove temporary files
Run Storage Sense or Disk Cleanup to clear files that add disk load.

Step 9: Check for pending updates
In Windows Update, install any pending update that might still be using the disk.

Step 10: Reboot the PC
Restart the computer once more after cleanup.
Method 2 of 2: Disable SysMain and Verify
Step 11: Open the Services console
Press the Windows key, open the Start menu, and launch the Services app as administrator.

Step 12: Locate SysMain
Scroll the list and double-click the SysMain entry to open its properties.
Step 13: Stop the service
Click the Stop button so SysMain releases the disk immediately.

Step 14: Set startup to Disabled
Change Startup type to Disabled so SysMain does not return after a restart.

Step 15: Apply the change
Click OK to save the new service setting.

Step 16: Restart the computer
Restart Windows so the change takes full effect.

Step 17: Monitor disk usage
Reopen Task Manager and confirm no process is pinned at very high disk.

Step 18: Re-enable if needed
If you miss preloading, set SysMain Startup type back to Automatic in Services.
Tips
- SSD users lose little by disabling SysMain because solid state drives are already fast.
- Check the Disk column in Task Manager before blaming SysMain alone.
- You can re-enable SysMain later by setting Startup type back to Automatic.
Warnings
- Disabling SysMain may slightly slow the launch of frequently used apps on mechanical drives.
- Do not disable unrelated services just to reduce disk usage.
- Back up important files before changing service startup types.
Frequently asked questions
What is SysMain (Superfetch)?
SysMain, formerly called Superfetch, is a Windows service that preloads frequently used applications into memory so they open faster. It learns your habits over time and reads ahead from the disk. On modern SSDs the benefit is small, which is why disabling it is a common fix for heavy disk use.
Is it safe to disable SysMain?
Yes, disabling SysMain is safe and reversible, and Windows continues to run normally. You may notice slightly slower app launches on a traditional hard drive. On an SSD the difference is usually negligible while disk usage drops.
Why does SysMain cause high disk usage?
SysMain constantly reads application data into memory, and on some systems it competes with updates, indexing, or antivirus scans. This can keep the disk saturated. Disabling it removes that background read load.
How do I disable SysMain in Windows 11?
Press the Windows key, open the Start menu, and launch the Services app. Find SysMain, double-click it, click Stop, and set Startup type to Disabled, then click OK and restart the PC. To undo it, set Startup type back to Automatic and start the service.
References
- Microsoft Learn — Configure services with sc. https://learn.microsoft.com/en-us/windows-server/administration/windows-commands/sc-config
- Microsoft Support — Free up disk space in Windows. https://support.microsoft.com/windows/free-up-drive-space-in-windows-85529ccb-c365-490d-b548-831022bc9b32
- Microsoft Support — Troubleshoot Windows Update issues. https://support.microsoft.com/en-us/help/4540879
- wikiHow — How to Fix SysMain (Superfetch) Using 100% Disk on Windows 11. https://www.wikihow.com/Speed-Up-Your-Computer
Every guide is reviewed against its sources. See our editorial policy.


Reader comments
0 so farFinished this guide? Tell other readers what worked, what didn't, and what you would change.