ShellExperienceHost.exe drives the taskbar, Start menu, Action Center and notifications in Windows 11. High CPU after an update usually comes from a corrupted notification cache, a flood of app notifications, or a damaged shell component rather than a virus. Restart the process, clear the notification cache, install the latest updates and run SFC to repair system files.
This guide walks through the process in clear illustrated steps, from the first preparation to a finished result. Each step has its own picture, so you can compare your progress as you go.
How to use this guide
Work through the steps in order. Method 1 of 3 covers the basics, and the later methods offer alternatives and finishing touches. If you only have a minute, skim the Quick steps box above and come back for the details.
Related guides
- How to Make a simple tomato sauce
- How to Remove carpet stains
- How to Compost at home
- How to Do a manicure at home
- Browse all Fix Slow Device guides
- All 52runoob guides
Trusted external resources
- Microsoft Support — Use System File Checker to repair files
- Microsoft Support — Troubleshoot Windows Update issues
- Microsoft Support — Configure startup applications
A note on sources
We check each guide against the official resources listed in References at the end of this article. External links open in a new tab; the related guides above stay on this site.
Quick steps
- Confirm ShellExperienceHost.exe is using CPU in Task Manager.
- Restart the Shell Experience Host process from Task Manager.
- Clear the Windows notification cache folder.
- Turn off distracting app notifications in Settings.
- Install the latest cumulative Windows update.
- Run SFC and DISM to repair corrupted system files.
Things you'll need
- A Windows 11 PC with administrator access
- Task Manager and File Explorer built into Windows
- A recent restore point or backup before deleting cache files
- About 20 minutes to test changes and reboot
Step-by-step
Method 1 of 3: Restart the Process and Reduce Notifications
Step 1: Confirm the process in Task Manager
Press Ctrl+Shift+Esc, open Processes, and check whether Shell Experience Host is genuinely using high CPU.
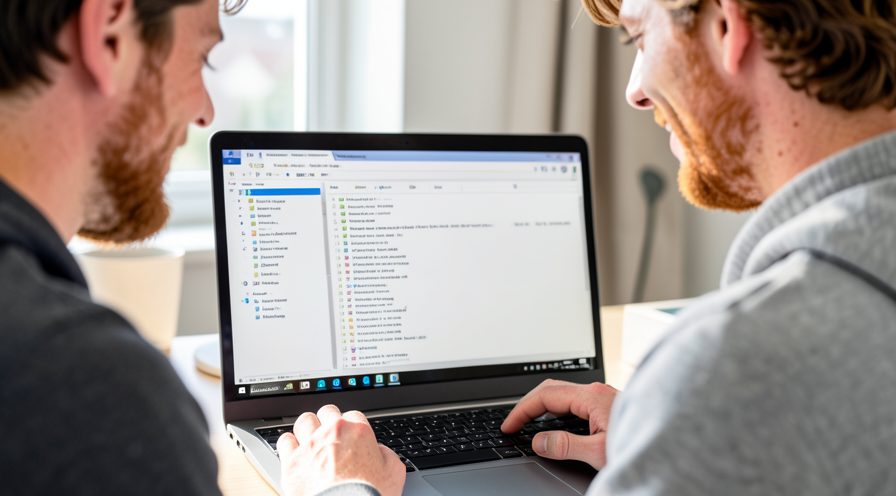
Step 2: Verify the file location
Right-click Shell Experience Host and choose Open file location to confirm it sits in the Windows System32 folder.
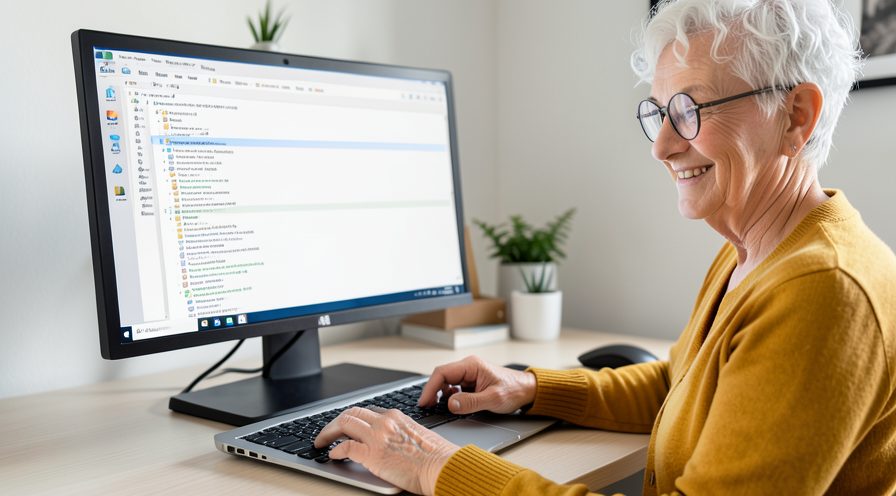
Step 3: Restart the process
Select Shell Experience Host and click Restart to reload the taskbar and notification components.
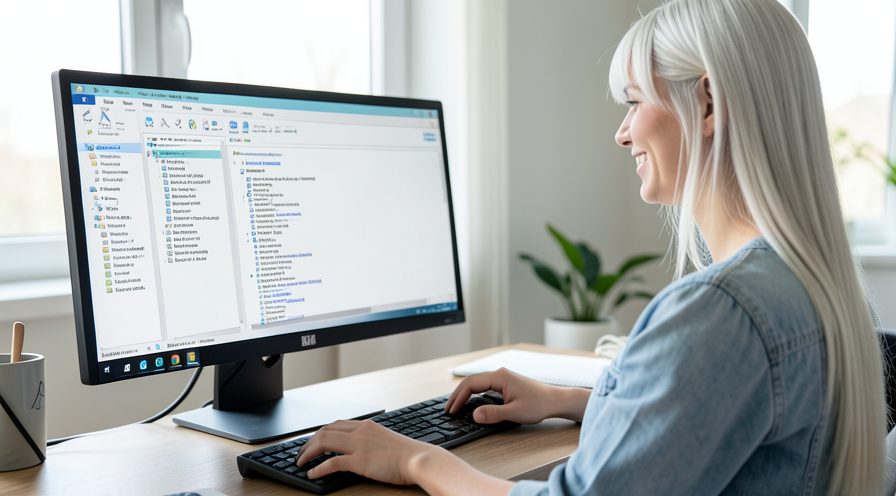
Step 4: Open notification settings
Open Settings, System, Notifications, to review which apps are allowed to show alerts.
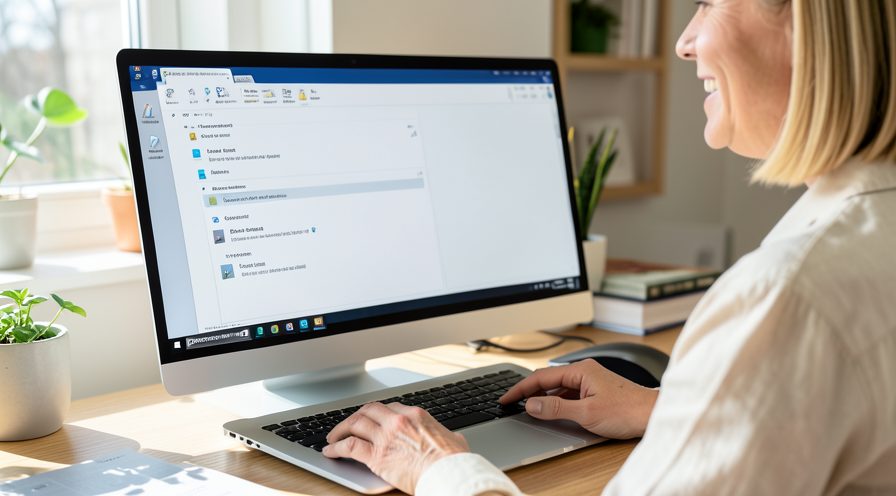
Step 5: Silence noisy apps
Switch off notifications for apps that constantly post alerts and clear any that are stuck.

Step 6: Enable focus assist
Turn on Do not disturb or a focus session to stop a flood of alerts from driving shell CPU.

Method 2 of 3: Clear the Notification Cache
Step 7: Open File Explorer options
Open File Explorer, select the View tab, and show hidden items so the app data folder is visible.
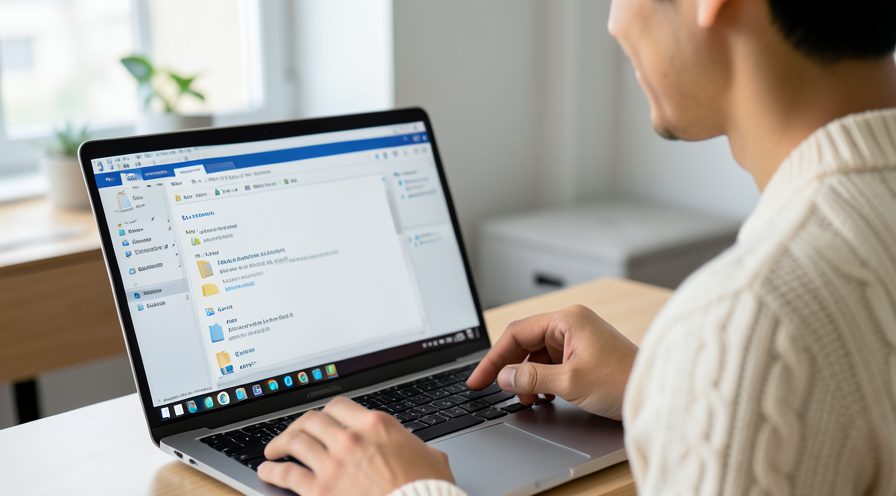
Step 8: Navigate to the packages folder
Browse to the local AppData Packages folder where shell and notification data is stored.
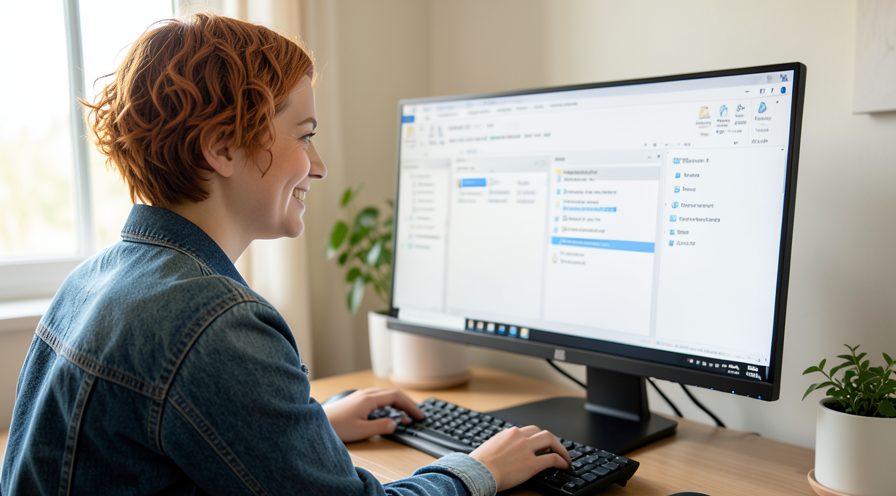
Step 9: Find the shell package
Locate the folder for the shell experience package that holds the cached notification database.
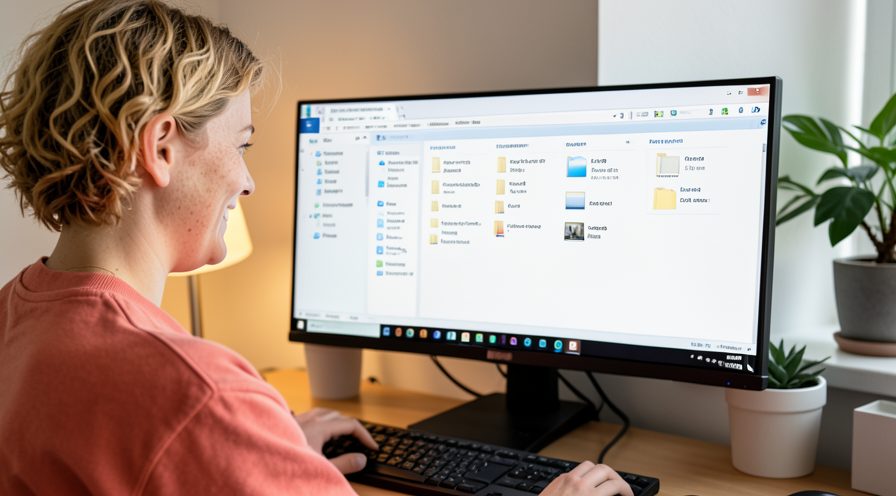
Step 10: Open the local state folder
Open the LocalState subfolder to reach the cached notification file used by the shell.
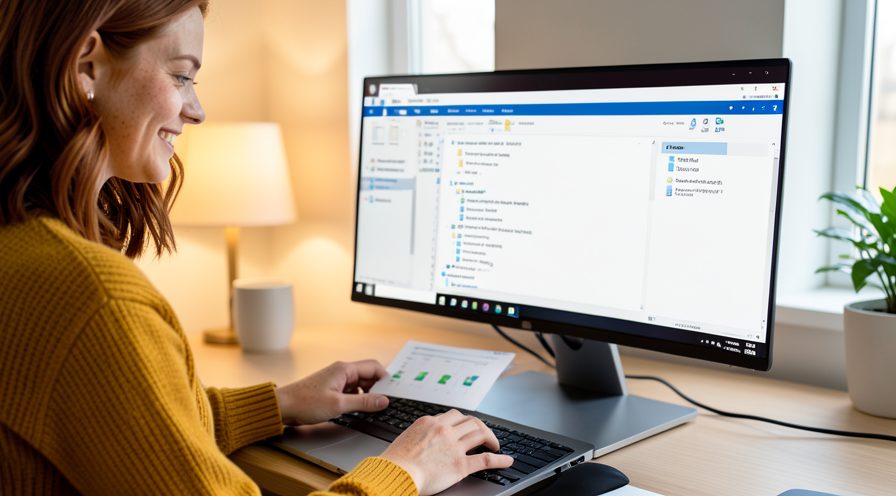
Step 11: Close the process first
Return to Task Manager, select Shell Experience Host, and click End task so the cache file is not locked.
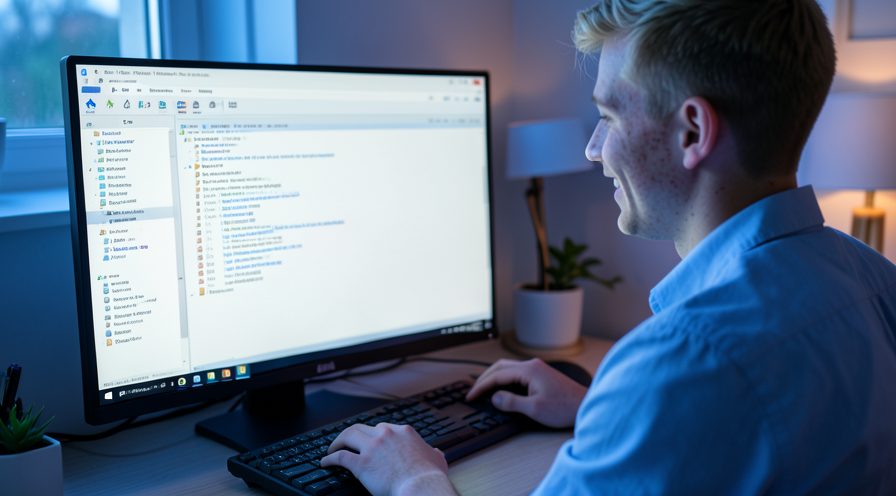
Step 12: Delete the cache database
Delete the cached notifications database file; Windows will rebuild a fresh copy on next sign-in.

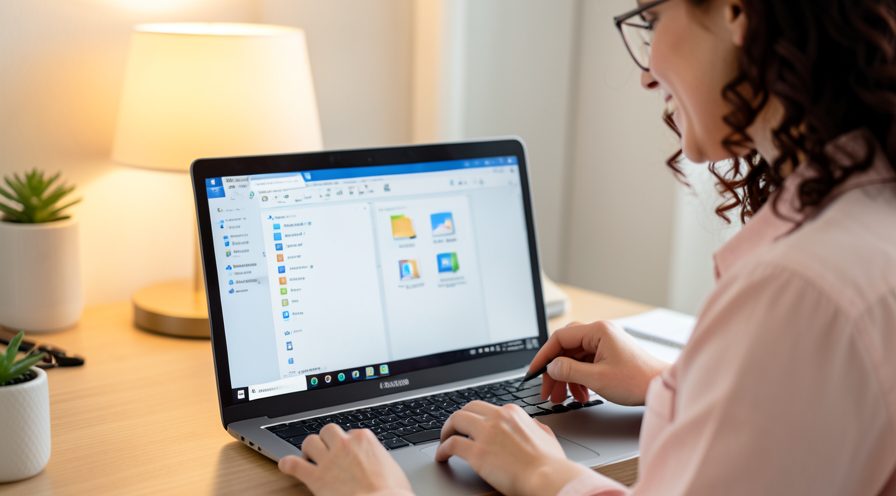
Step 13: Sign out and back in
Sign out of Windows and sign in again to let the shell recreate a clean notification cache.
Method 3 of 3: Update Windows and Repair System Files
Step 14: Check for updates
Open Settings, Windows Update, and click Check for updates to install the latest cumulative patch.
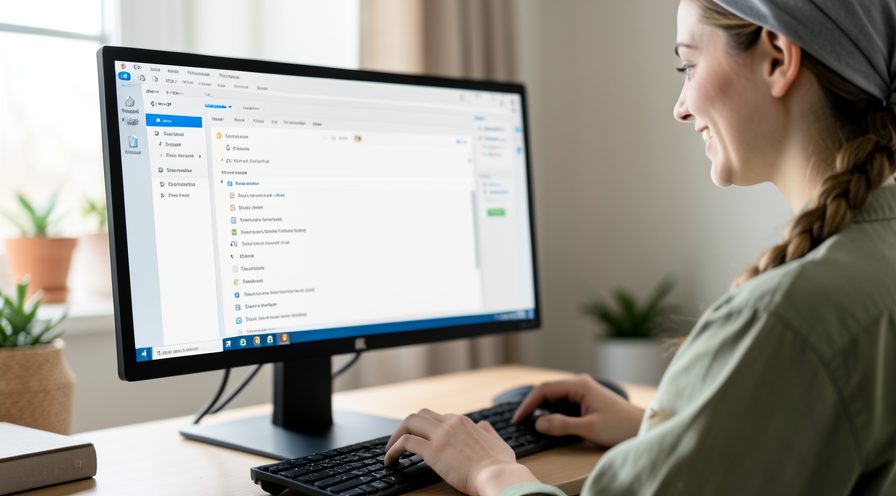
Step 15: Install optional updates
Open Advanced options, Optional updates, and install any pending system or driver updates.
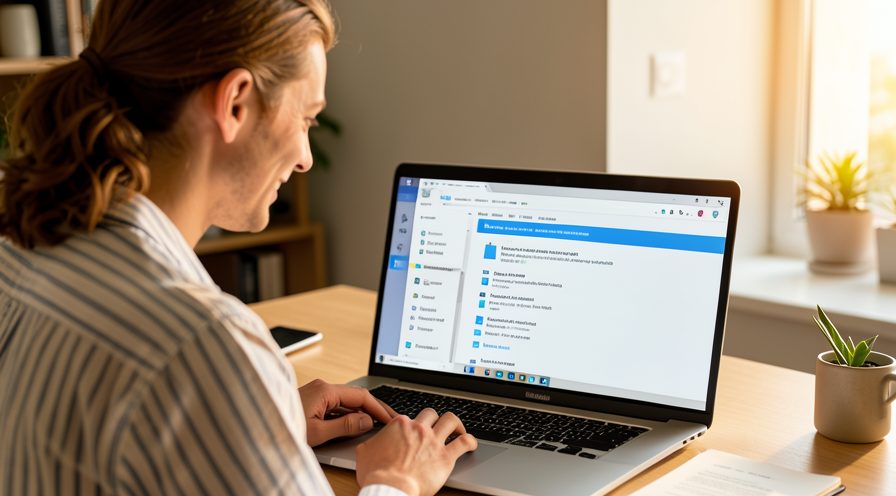
Step 16: Open the update troubleshooter
Run the Windows Update troubleshooter from Settings if updates fail to install.
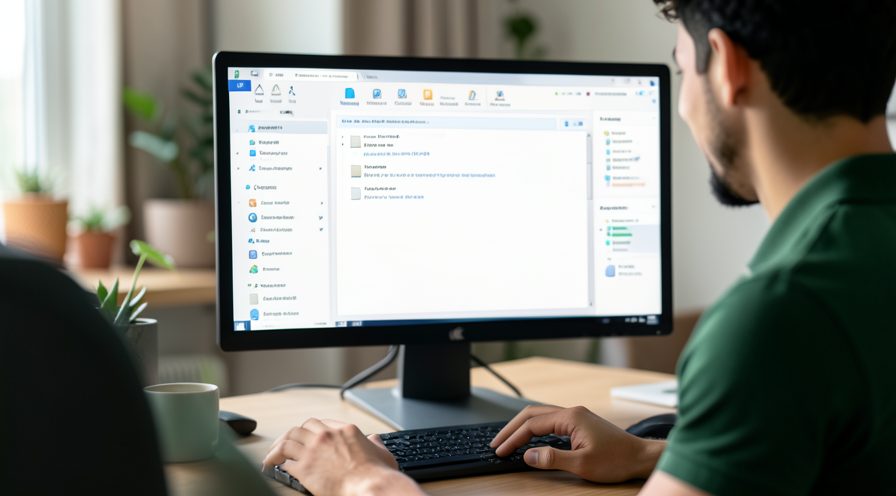
Step 17: Open an elevated command prompt
Search for Command Prompt in the Start menu and choose Run as administrator.
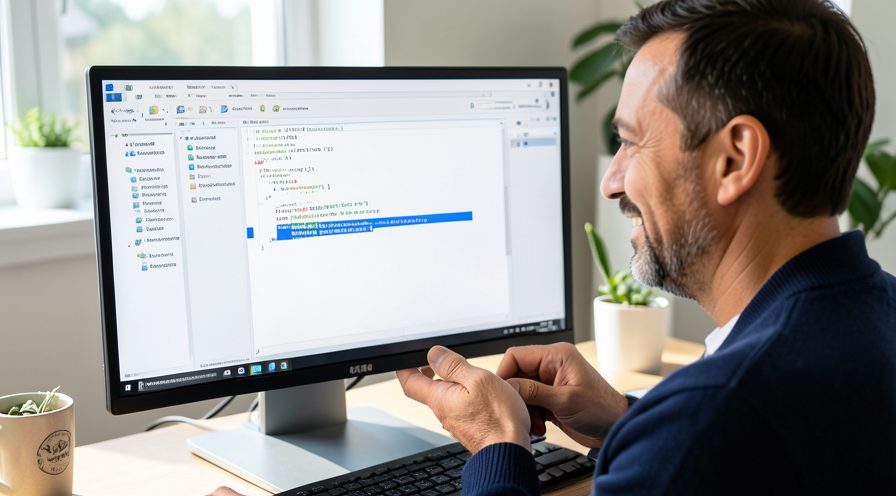
Step 18: Run System File Checker
Type the sfc scannow command and press Enter to scan and repair damaged Windows system files.

Step 19: Run DISM restore health
Run the DISM restore health command to repair the underlying Windows image if SFC found errors.
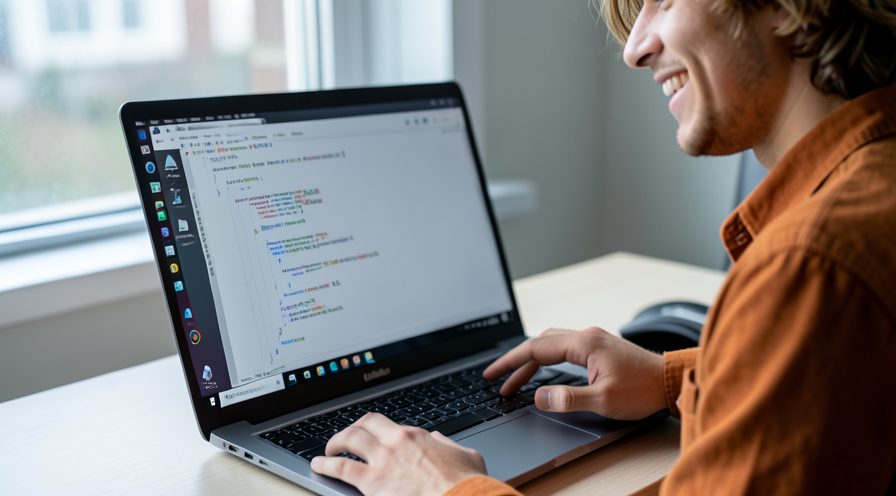
Step 20: Review event errors
Open Event Viewer and look under Windows Logs, Application, for shell-related errors after the update.
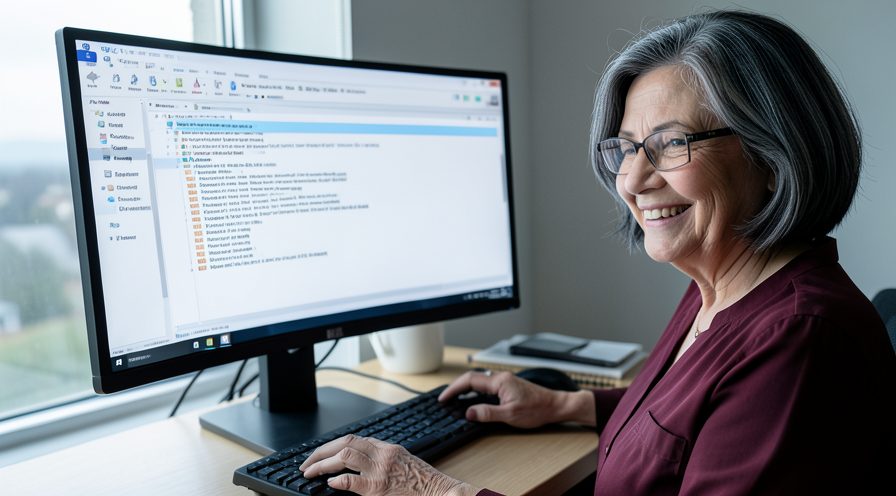
Step 21: Check startup apps
Open Task Manager, Startup apps, and disable unnecessary tools that load into the shell at sign-in.

Step 22: Restart the computer
Restart Windows so the updated shell components and repaired files load cleanly.
Tips
- Restarting Shell Experience Host only reloads the shell UI and does not close your apps.
- A single app spamming notifications can keep the process busy for hours.
- High CPU that starts right after an update often clears with the next cumulative update.
Warnings
- Do not delete ShellExperienceHost.exe from System32; it is a protected system file.
- Deleting the wrong notification database can reset your notification history.
- Back up before making registry or system file changes.
Frequently asked questions
Is ShellExperienceHost.exe safe?
Yes. ShellExperienceHost.exe is a signed Windows process stored in C:\Windows\System32 that powers the taskbar, Start menu and Action Center. If its file location is outside System32, scan with Windows Security because malware sometimes imitates the name.
Why did high CPU start after a Windows update?
Updates can leave a stale notification cache or a mismatched shell component, so ShellExperienceHost works harder until the cache is rebuilt. Restarting the process, clearing the cache and installing the follow-up update usually resolves it.
Can I disable ShellExperienceHost.exe?
No, it is integral to the Windows 11 shell and disabling it can break the taskbar and Start menu. The safe approach is to reduce its workload by limiting notifications and repairing corrupted files, not stopping the process.
Will restarting the process lose my work?
No. Restarting Shell Experience Host only refreshes shell elements like the taskbar and notifications; your open applications and documents remain untouched. It restarts automatically in a few seconds.
References
- Microsoft Support — Use System File Checker to repair files. https://support.microsoft.com/en-us/topic/use-the-system-file-checker-tool-to-repair-missing-or-corrupted-system-files-79aa86cb-ca52-166a-92a3-966e85d4094e
- Microsoft Support — Troubleshoot Windows Update issues. https://support.microsoft.com/en-us/windows/fix-windows-update-errors-85529ccb-c365-490d-b548-831022bc9b32
- Microsoft Support — Configure startup applications. https://support.microsoft.com/en-us/help/4558286
- wikiHow — How to Fix ShellExperienceHost.exe High CPU After a Windows Update. https://www.wikihow.com/Reduce-CPU-Usage
Every guide is reviewed against its sources. See our editorial policy.
Reader comments
0 so farFinished this guide? Tell other readers what worked, what didn't, and what you would change.