Desktop Window Manager (dwm.exe) composes everything you see on screen, so high CPU usually comes from demanding visuals such as animations, transparency, multiple high-resolution monitors, or a graphics driver bug rather than the process itself. Reduce visual effects, update the GPU driver, and check for a rogue app before treating dwm.exe as the cause.
This guide walks through the process in clear illustrated steps, from the first preparation to a finished result. Each step has its own picture, so you can compare your progress as you go.
How to use this guide
Work through the steps in order. Method 1 of 3 covers the basics, and the later methods offer alternatives and finishing touches. If you only have a minute, skim the Quick steps box above and come back for the details.
Related guides
- How to Tie a tie
- How to Reduce stress naturally
- How to Pay off credit card debt faster
- How to Screenshot on mac
- Browse all Fix Slow Device guides
- All 52runoob guides
Trusted external resources
- Microsoft Learn — Desktop Window Manager
- Microsoft Support — Change visual effects in Windows
- Microsoft Support — Troubleshoot Windows Update issues
A note on sources
We check each guide against the official resources listed in References at the end of this article. External links open in a new tab; the related guides above stay on this site.
Quick steps
- Open Task Manager and confirm dwm.exe is the process using CPU.
- Disable transparency and animation effects in Settings.
- Update or reinstall your graphics driver.
- Close or restart the app that spikes CPU when a window is moved.
- Lower the refresh rate on an extra high-resolution monitor.
- Run a clean boot to rule out background software conflicts.
Things you'll need
- A Windows 11 PC with administrator access
- Task Manager and Windows Settings built into Windows
- The latest graphics driver for your GPU
- About 15 minutes to test changes and reboot
Step-by-step
Method 1 of 3: Confirm and Reduce the Visual Load
Step 1: Confirm dwm.exe in Task Manager
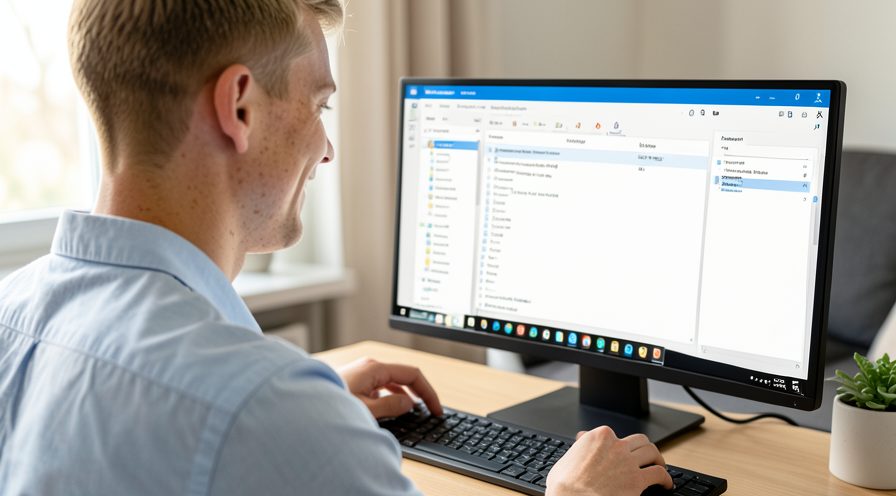
Press Ctrl+Shift+Esc, open the Processes tab, and check whether Desktop Window Manager is genuinely the process using CPU.
Step 2: Verify the process file location
Right-click Desktop Window Manager and choose Open file location to confirm it resolves inside the Windows System32 folder.

Step 3: Open performance options
Search for adjusting the appearance and performance of Windows in the Start menu and open the performance options dialog.

Step 4: Turn off transparency effects
Open Settings, Personalization, Colors, and switch off the Transparency effects toggle to cut composition work.
Step 5: Disable animation effects
In Performance Options, uncheck animate windows when minimizing and maximizing and the other animation boxes.
Step 6: Lower the refresh rate if needed
In Settings, System, Display, Advanced display, choose a lower refresh rate for a secondary monitor if CPU stays high.
Method 2 of 3: Update the Graphics Driver
Step 7: Identify your GPU
Open Device Manager, expand Display adapters, and note the exact graphics card model installed.
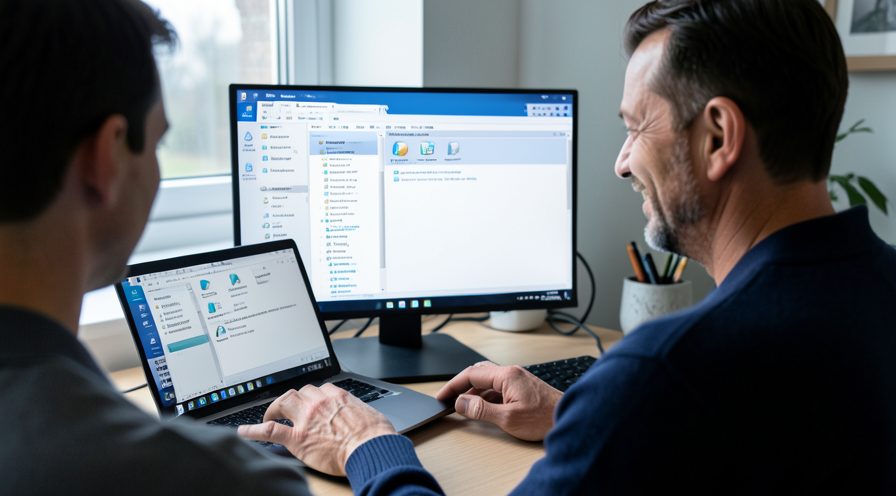
Step 8: Check Windows Update for drivers
Open Settings, Windows Update, Advanced options, Optional updates, and look for driver updates for your GPU.

Step 9: Download the driver from the manufacturer
Visit your GPU maker support page and download the latest Windows driver package for your exact model.
Step 10: Run the installer as administrator
Right-click the downloaded installer, choose Run as administrator, and follow the on-screen prompts.

Step 11: Choose a clean installation
When offered, select the clean installation option so old driver files do not keep causing composition bugs.

Step 12: Restart the computer
Finish the installation and restart Windows so the new driver fully loads.
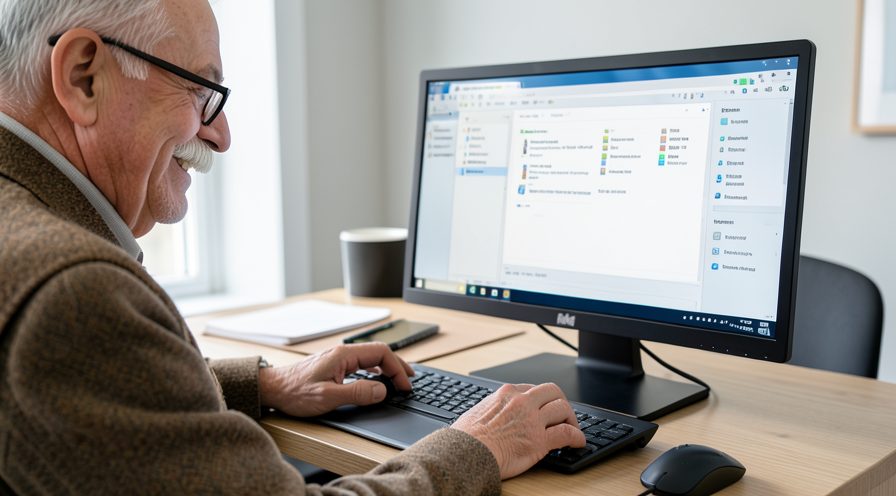
Step 13: Recheck dwm.exe CPU usage
Reopen Task Manager and confirm Desktop Window Manager now uses far less CPU during normal window movement.
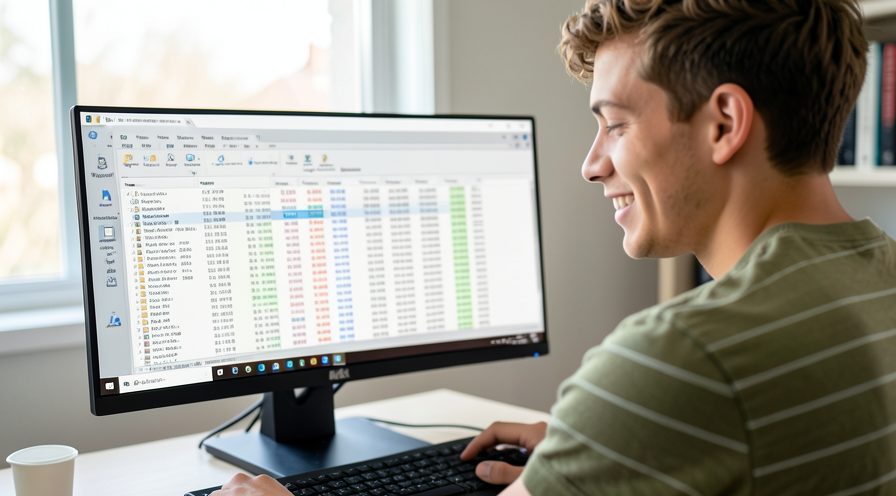
Step 14: Roll back if the problem began after updating
If high CPU started with the new driver, open Device Manager, right-click the GPU, choose Properties, and use Roll Back Driver.

Method 3 of 3: Find Rogue Apps and Run a Clean Boot
Step 15: Sort processes by CPU
In Task Manager, click the CPU column header so the heaviest processes rise to the top of the list.

Step 16: Close suspicious apps one at a time
Select a high-CPU app you do not need and click End task, then watch whether dwm.exe CPU drops.
Step 17: Disable heavy startup apps
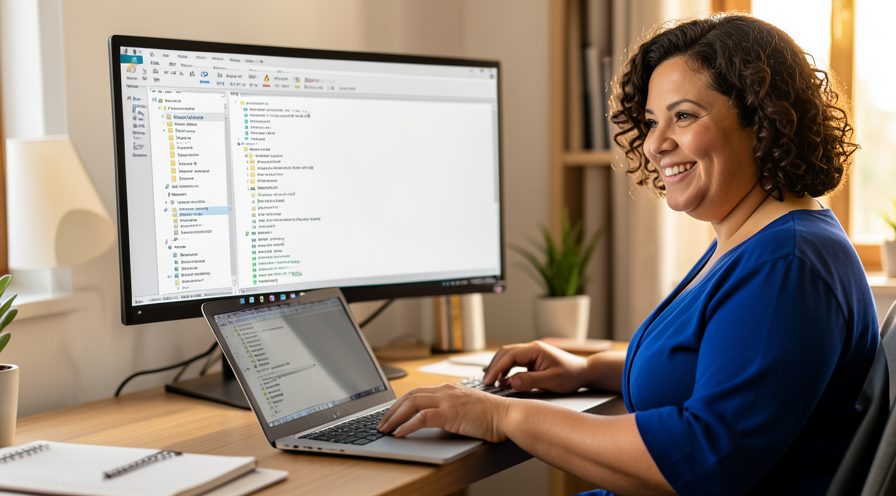
Open Task Manager, Startup apps, and switch off programs you do not need launching with Windows.
Step 18: Enable a clean boot
Press Windows plus R, type msconfig, and on the Services tab hide all Microsoft services, disable the rest, and restart.
Step 19: Isolate the conflicting software
Re-enable services in small groups after each restart until dwm.exe CPU spikes again, revealing the culprit.
Tips
- dwm.exe is a core Windows component and should not be disabled or ended.
- CPU usually drops at once when you turn off transparency and animations.
- A lagging dwm.exe often points to the GPU driver rather than the process.
Warnings
- Do not download a replacement dwm.exe from third-party sites — it is often malware.
- Ending dwm.exe will momentarily blank the screen and restart Explorer.
- Back up before rolling back a graphics driver.
Frequently asked questions
Is dwm.exe a virus?
dwm.exe is a legitimate Windows process stored in C:\Windows\System32. Malware sometimes uses similar names, so right-click the process in Task Manager and choose Open file location to confirm the real path, then scan with Windows Security if you are unsure.
Can I disable dwm.exe to stop high CPU?
No. Desktop Window Manager is required to draw the Windows interface and cannot be disabled. Instead reduce visual effects and update your graphics driver, which lowers its workload without breaking the desktop.
Why does dwm.exe spike when I move windows?
Moving or resizing windows forces dwm.exe to recompose the screen, so an outdated GPU driver or heavy transparency effects show up as high CPU during those actions. Turning off animations and updating the driver usually fixes it.
Does the number of monitors affect dwm.exe CPU?
Yes. Each additional high-resolution monitor increases the area dwm.exe must compose, especially at high refresh rates. Lowering resolution or refresh rate on a secondary display can noticeably reduce its CPU load.
References
- Microsoft Learn — Desktop Window Manager. https://learn.microsoft.com/en-us/windows/win32/dwm/dwm-overview
- Microsoft Support — Change visual effects in Windows. https://support.microsoft.com/kb/314482
- Microsoft Support — Troubleshoot Windows Update issues. https://support.microsoft.com/en-us/windows/fix-windows-update-errors-85529ccb-c365-490d-b548-831022bc9b32
- wikiHow — How to Fix dwm.exe (Desktop Window Manager) High CPU on Windows 11. https://www.wikihow.com/Fix-High-CPU-Usage
Every guide is reviewed against its sources. See our editorial policy.

Reader comments
0 so farFinished this guide? Tell other readers what worked, what didn't, and what you would change.