Your BIOS (or UEFI firmware) is the small piece of software that wakes up your hardware before Windows even starts. It rarely needs attention, but when a new CPU generation arrives, a security flaw is patched, or a stubborn stability bug appears, the manufacturer releases a firmware update that fixes it. Done carefully, a BIOS update takes about fifteen minutes and carries very little risk.
This guide walks you through The Safe BIOS Update Method, a twelve-step approach that covers checking your current version, finding the exact file for your machine, preparing power and storage, flashing the firmware, and verifying the result afterward. Every step is written for a normal Windows user, not a system builder, so you can follow along without disassembling anything.
Quick tip: The single most important rule of BIOS updating is power. Never flash on a laptop battery that is under 30%, and never flash during a thunderstorm. A stable power source prevents almost every failed update.
Step-by-step
Step 1: Step 1: Check Your Current BIOS Version
Before downloading anything, find out which firmware version you already have. Press Windows + R, type msinfo32, and press Enter. In the System Information window, look for the BIOS Version/Date line, which usually reads something like "American Megatrends Inc. 2.20, 3/14/2024." Write down both the version number and the date. You can also open Command Prompt and run wmic bios get smbiosbiosversion for a single-line answer. Knowing your starting point tells you whether an update actually exists, and it gives you a reference if you ever need to roll back.

Step 2: Step 2: Identify Your Exact Motherboard or PC Model
BIOS files are model-specific, and the wrong one can brick a board, so identity matters more than anything else here. In the same System Information window, check the System Manufacturer and System Model lines for a prebuilt PC or laptop. For a custom desktop, check BaseBoard Manufacturer and BaseBoard Product, which give you the motherboard model. If the model string is vague, the motherboard itself is also printed between the PCIe slots inside the case. Keep this exact string handy, because you will paste it into the manufacturer support page in the next step.

Step 3: Step 3: Download the BIOS File from the Manufacturer
Go directly to the support site of your PC or motherboard maker, such as Dell, HP, Lenovo, ASUS, MSI, Gigabyte, or ASRock, and search for your exact model. Open the Drivers & Downloads or Support section and filter by BIOS or Firmware. Only ever download from the official site: third-party BIOS collections and forum mirrors are a common source of corrupted or tampered files. If your machine is still under warranty, the manufacturer page is also the only place where a support agent can help you if something goes wrong.

Step 4: Step 4: Read the Release Notes Before You Flash
Every BIOS download comes with a release notes file that most people skip, and it is the most useful document in the whole process. It tells you what the update fixes, whether it requires a previous version to be installed first, whether it resets your settings, and how the vendor expects you to install it. A few manufacturers ship a bridge BIOS that must be applied before the latest one. Others warn that a specific update removes support for older CPUs. Two minutes of reading here saves hours of troubleshooting later.

Step 5: Step 5: Back Up Your Data and Record Your Settings
A BIOS update normally leaves your files untouched, but it is still a low-level operation, so treat it like any other maintenance task: back up anything irreplaceable to an external drive or the cloud first. Then restart and press the BIOS setup key, usually Del, F2, or F10, and photograph each settings screen with your phone. Pay particular attention to boot order, XMP/EXPO memory profile, Secure Boot, virtualization (VT-x/SVM), and any custom fan curves. Many updates reset these to defaults, and a photo makes restoring them a two-minute job instead of a guessing game.

Step 6: Step 6: Connect to Stable Power
Interrupted flashing is the number one cause of a dead motherboard, so power deserves its own step. On a laptop, plug in the AC adapter and confirm the battery is at least 30 percent charged, because most update utilities refuse to run otherwise. On a desktop, use a wall outlet rather than a power strip shared with a kettle or space heater, and if you own a UPS, plug into it. Avoid updating during a storm or during rolling brownouts. If the machine is a laptop with a removable battery in poor health, replace it or use a desktop for the update instead.
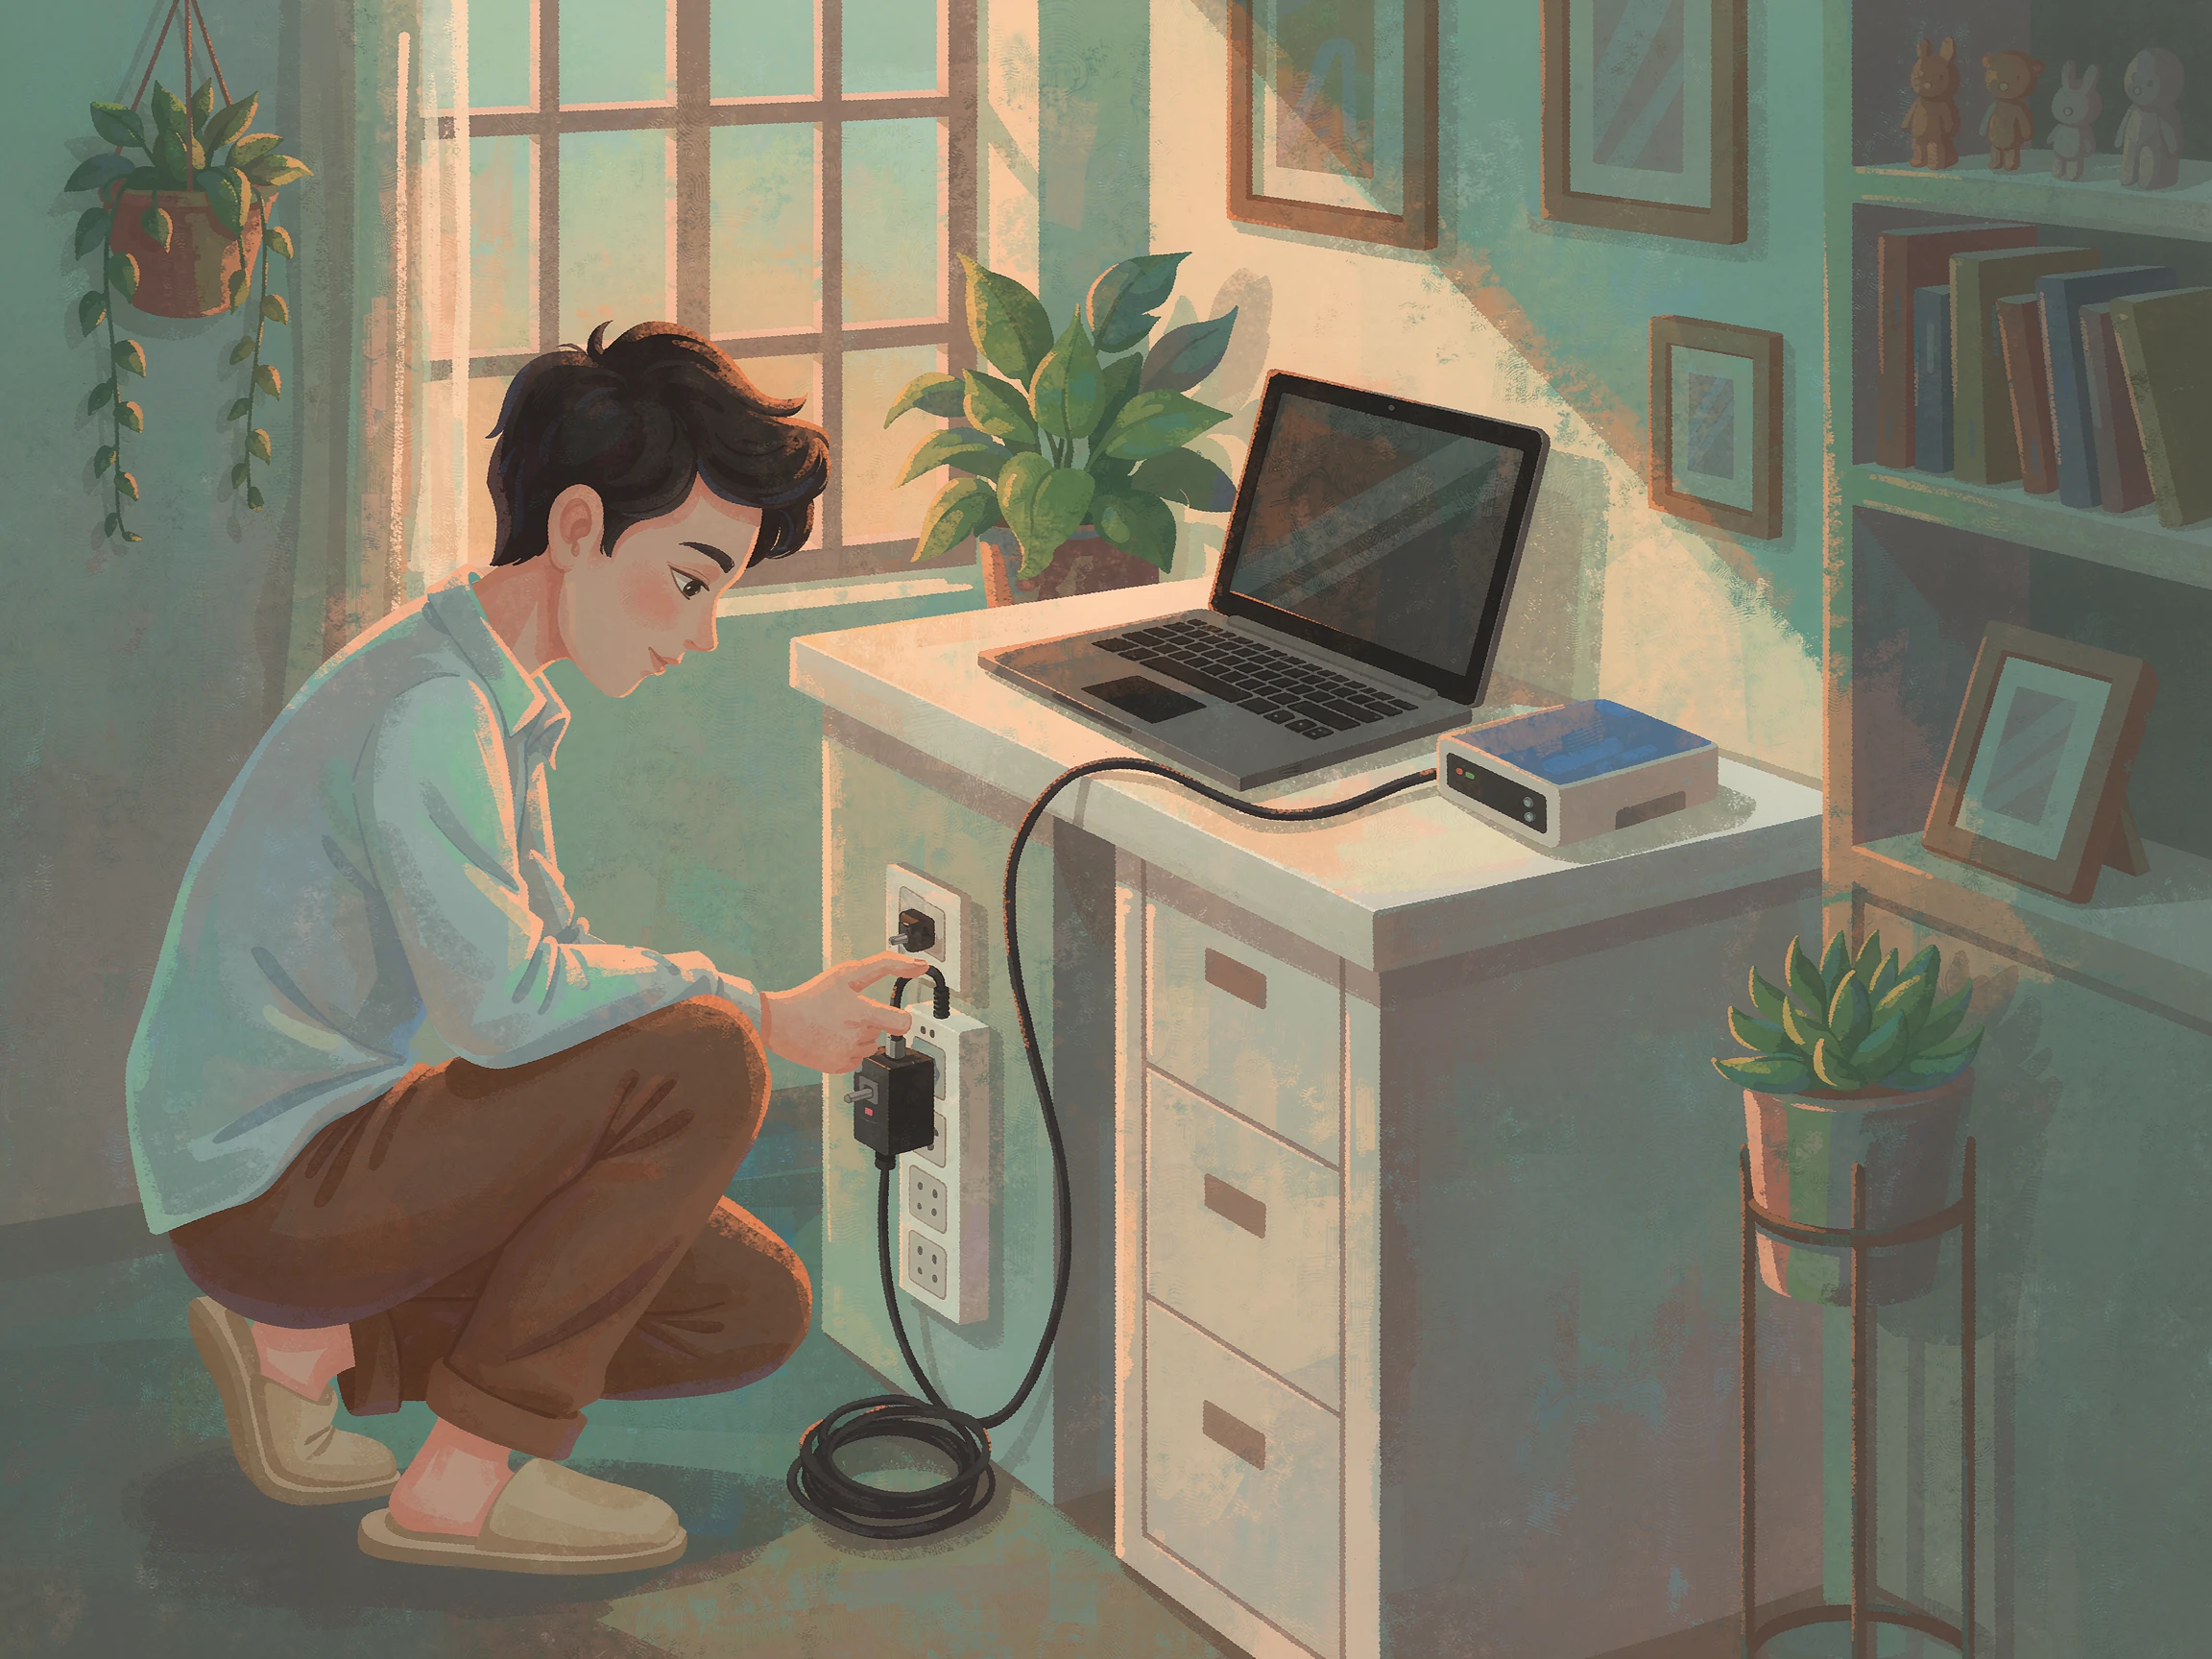
Step 7: Step 7: Prepare a FAT32 USB Flash Drive
If your vendor uses a USB-based update method, you need a small flash drive formatted as FAT32, not NTFS or exFAT. Insert the drive, open This PC, right-click it, choose Format, and select FAT32 (a drive of 32 GB or less formats this way natively). Copy the extracted BIOS file to the root of the drive, not inside a folder, and rename it only if the vendor instructions explicitly tell you to. Some boards look for a specific filename such as BIOS.ROM or a vendor-specific name, so follow the readme exactly.

Step 8: Step 8: Run the Manufacturer Windows Flash Utility
Most modern PCs from Dell, HP, Lenovo, and ASUS offer a Windows-based updater, which is the easiest route. Close every other program, save your work, and plug in the power adapter. Run the downloaded executable, accept the license, and confirm the version it offers matches the file you downloaded. The utility will warn you that the machine will restart and that the screen may stay black for a few minutes, which is expected. Let it work without clicking anything, and do not open other apps while it prepares the firmware image.

Step 9: Step 9: Or Flash from the Built-In BIOS Utility
Custom-built desktops and many laptops update more reliably from inside the firmware itself. Restart, press the setup key, and look for a tool named EZ Flash, M-Flash, Q-Flash, Instant Flash, or simply BIOS Update. Every vendor names it differently but they all do the same thing. Point the utility at the file on your USB drive, confirm the target version on screen, and approve the flash. This route skips Windows entirely, which is why support technicians prefer it when a system is unstable.

Step 10: Step 10: Never Interrupt the Flashing Process
Once the progress bar starts, your only job is to leave the machine alone. Do not press keys, do not close the lid, do not unplug anything, and do not power off even if the screen goes blank for several minutes, because writes to the firmware chip take time and the display often drops out mid-flash. Some boards restart two or three times on their own, which is normal. Only when the system posts and returns to Windows or the setup screen is the update finished. If the machine appears frozen for more than fifteen minutes, check the vendor recovery instructions before touching the power button.

Step 11: Step 11: Verify the New Version After Restart
When Windows comes back up, confirm the update actually took. Open msinfo32 again and compare the BIOS Version/Date line with what you wrote down in step one; the version number and date should both be newer. You can also check the vendor update utility, which usually shows the installed firmware revision. If the version has not changed, the flash may have been skipped, so re-run the utility and watch for an error message rather than assuming it worked. Verifying now prevents weeks of wondering why a fix did not help.

Step 12: Step 12: Restore Settings and Troubleshoot If Needed
Finally, reopen the BIOS setup and reapply the settings you photographed earlier: boot order first, then memory profile, Secure Boot, virtualization, and fan curves. If the machine boots but something feels off, clear the CMOS with the jumper or the coin-cell battery to return to factory defaults, then reapply settings one at a time. If it fails to post at all, most boards ship with a recovery mode, often triggered by a USB drive with a specific filename or a dedicated BIOS Flashback button on the rear panel, that can restore firmware without a working CPU display.
Final Thoughts: A BIOS update is one of the few maintenance tasks that sounds scarier than it is. Check your version, confirm the exact model, download from the manufacturer, keep the power steady, and then let the flash finish without interference. That sequence handles the overwhelming majority of cases. Keep the old version number written down, keep a backup of your data, and photograph your settings while you are in there. With those habits in place, updating firmware becomes a routine fifteen-minute job you can do whenever a security patch or a new hardware upgrade calls for it.




Reader comments
0 so farFinished this guide? Tell other readers what worked, what didn't, and what you would change.