lsass.exe is the Local Security Authority process that enforces security policy, verifies logons and handles passwords in Windows 11. High CPU is commonly caused by repeated failed logons, a network authentication loop, a faulty credential provider, or malware rather than the system file itself. Check Event Viewer for logon storms, scan for malware, review cached credentials and system files, and never try to kill the process.
This guide walks through the process in clear illustrated steps, from the first preparation to a finished result. Each step has its own picture, so you can compare your progress as you go.
How to use this guide
Work through the steps in order. Method 1 of 2 covers the basics, and the later methods offer alternatives and finishing touches. If you only have a minute, skim the Quick steps box above and come back for the details.
Related guides
- How to Drink more water every day
- How to Improve your handwriting
- How to Clean a showerhead
- How to Cut back on sugar gradually
- Browse all Fix Slow Device guides
- All 52runoob guides
Trusted external resources
- Microsoft Support — Stay protected with Windows Security
- Microsoft Support — Use System File Checker to repair files
- Microsoft Learn — Event Viewer
A note on sources
We check each guide against the official resources listed in References at the end of this article. External links open in a new tab; the related guides above stay on this site.
Quick steps
- Confirm lsass.exe is using CPU in Task Manager.
- Verify its file location is in System32.
- Check Event Viewer for repeated failed logons.
- Run a full malware scan with Windows Security.
- Review cached credentials and credential providers.
- Run SFC and DISM to repair system files.
Things you'll need
- A Windows 11 PC with administrator access
- Task Manager, Event Viewer and Windows Security
- A record of any services or apps using saved credentials
- About 25 minutes to review logs and run scans
Step-by-step
Method 1 of 2: Verify the Process and Investigate Logons
Step 1: Confirm lsass.exe in Task Manager
Press Ctrl+Shift+Esc, open Processes, and check whether Local Security Authority is genuinely using high CPU.

Step 2: Verify the file location
Right-click Local Security Authority and choose Open file location to confirm it is in the Windows System32 folder.

Step 3: Open Event Viewer
Press Windows plus R, type eventvwr, and press Enter to open the Event Viewer console.
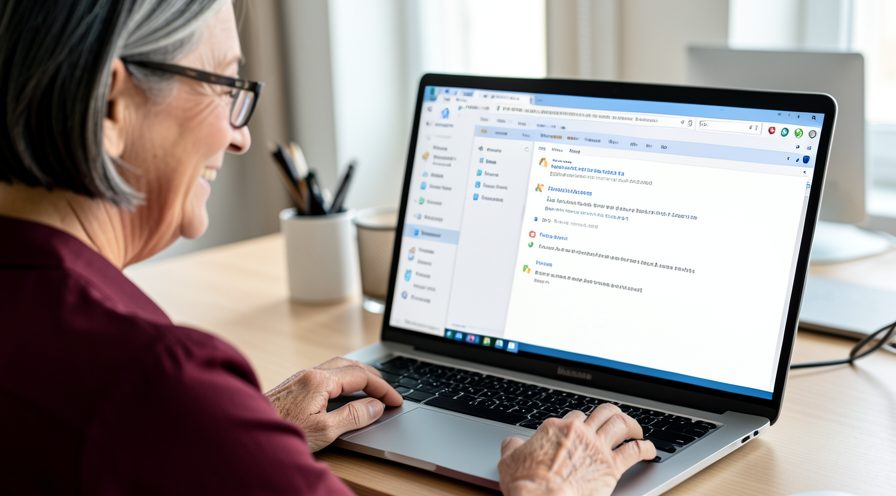
Step 4: Find security logon events
Expand Windows Logs, Security, and look for a burst of logon or logon failure entries.

Step 5: Identify the source
Open a failure event and note the account name and workstation that generated the repeated attempts.

Step 6: Check scheduled tasks
Open Task Scheduler and look for tasks that run under an account with an outdated saved password.
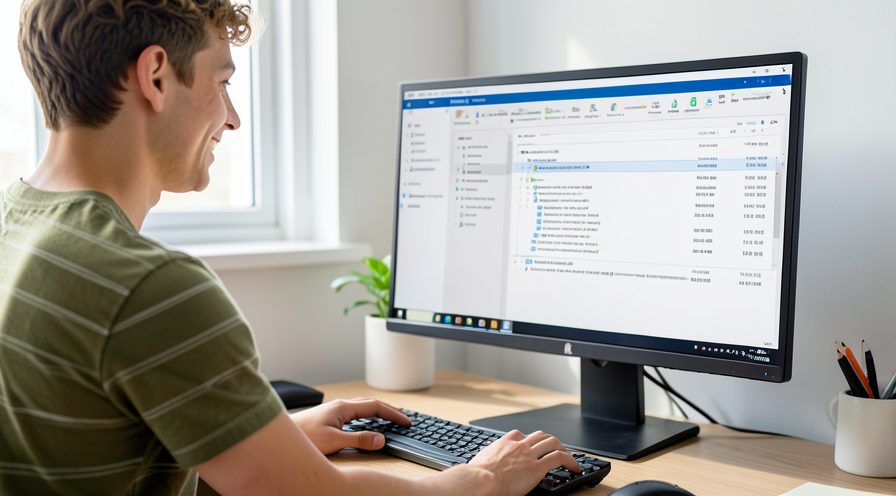
Step 7: Review services using credentials
Open the Services console and check services configured to log on with an account whose password may have changed.
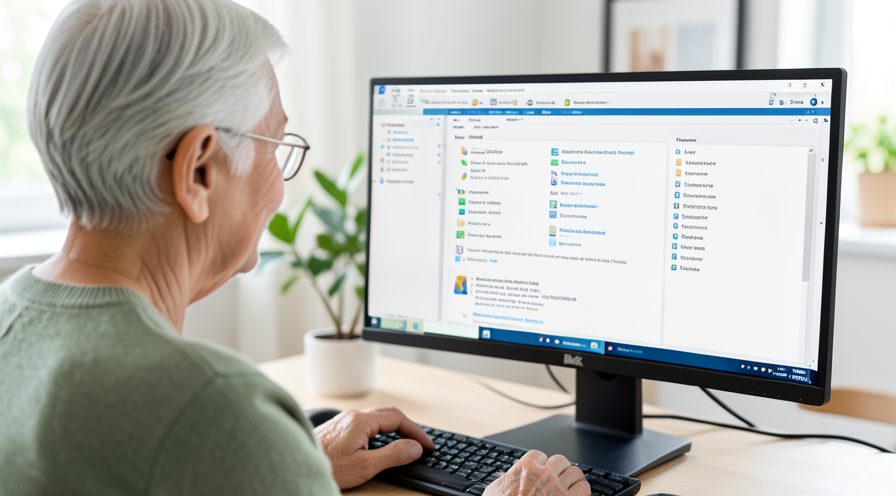
Step 8: Correct stale credentials
Update the stored password for any service or task sending bad logons so the retries stop.

Step 9: Watch CPU again
Return to Task Manager and confirm lsass CPU drops once the bad logon loop is fixed.

Method 2 of 2: Scan for Malware and Repair System Files
Step 10: Open Windows Security
Open the Start menu and launch Windows Security to begin a virus and threat check.

Step 11: Run a full scan
Choose Virus and threat protection, Scan options, Full scan, and start a complete malware scan.

Step 12: Review scan results
Wait for the scan to finish and remove or quarantine anything it detects.

Step 13: Open elevated command prompt
Search for Command Prompt in the Start menu and choose Run as administrator.
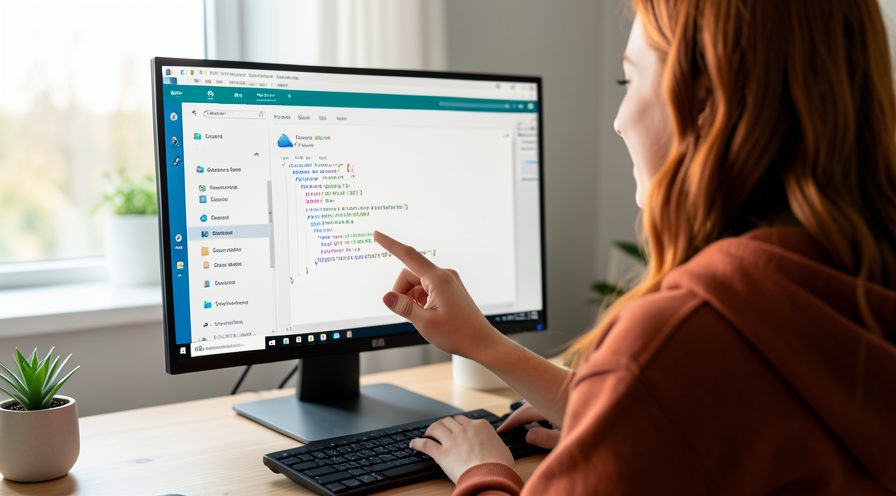
Step 14: Run System File Checker
Type the sfc scannow command and press Enter to repair any corrupted system files lsass relies on.

Step 15: Run DISM restore health
Run the DISM restore health command to fix the underlying Windows image if SFC found problems.

Step 16: Restart and recheck
Restart Windows, then confirm in Task Manager that lsass.exe CPU has returned to a low level.

Tips
- lsass.exe is critical to Windows security and must never be ended manually.
- A burst of failed logon events is the most common cause of sustained lsass CPU.
- A genuine lsass.exe always lives in C:\Windows\System32.
Warnings
- Never try to end lsass.exe in Task Manager; Windows will shut down or restart immediately.
- Do not download a replacement lsass.exe from the web; it is a common malware trap.
- Changing credential providers can lock you out, so note your current sign-in method first.
Frequently asked questions
Is lsass.exe a virus?
lsass.exe is a legitimate, protected Windows process in C:\Windows\System32 that handles security and logons. Malware often uses lookalike names or odd paths, so check Open file location in Task Manager; anything outside System32 should be scanned immediately.
Can I end lsass.exe to stop the CPU usage?
No. lsass.exe is essential to Windows security, and trying to end it triggers an immediate shutdown or restart by design. Investigate the cause of the load instead of killing the process.
Why would failed logons raise lsass CPU?
Every logon attempt, valid or not, is verified by lsass, so a service, scheduled task or device repeatedly sending bad credentials keeps it busy. Event Viewer will show a stream of failure entries that identify the source.
Can malware hide inside lsass.exe?
Yes, credential-stealing malware often injects into or mimics lsass to capture passwords. A full Windows Security scan plus verifying the file path and signature helps confirm the process is genuine and clean.
References
- Microsoft Support — Stay protected with Windows Security. https://www.microsoft.com/en-us/windows/comprehensive-security
- Microsoft Support — Use System File Checker to repair files. https://support.microsoft.com/en-us/topic/use-the-system-file-checker-tool-to-repair-missing-or-corrupted-system-files-79aa86cb-ca52-166a-92a3-966e85d4094e
- Microsoft Learn — Event Viewer. https://learn.microsoft.com/en-us/windows/win32/eventlog/event-logging
- wikiHow — How to Fix lsass.exe High CPU on Windows 11. https://www.wikihow.com/Reduce-CPU-Usage
Every guide is reviewed against its sources. See our editorial policy.


Reader comments
0 so farFinished this guide? Tell other readers what worked, what didn't, and what you would change.