Herbs wilt because they are treated as one category. Basil, parsley, and cilantro behave like cut flowers and want a drink; rosemary and thyme hate sitting wet and prefer a cool, slightly humid wrap. Sorting the bunch before it goes in the fridge usually doubles its life.
This guide covers the sorting pass, the soft-herb jar method, and the woody-herb routine plus longer-term options.
How to use this guide
Work through the illustrated steps in order. Every step has its own picture, so you can check what a finished stage should look like before you move on. If you only have a minute, skim the Quick steps box above and come back for the details.
Related guides
- How to Grill Chicken Breast Without Drying It Out
- How to Cook Rice on the Stove
- How to Make Fluffy Scrambled Eggs
- How to Meal Prep for the Week
- Browse all Food & Cooking guides
- All HowCompass guides
Trusted external resources
- Harvard T.H. Chan School of Public Health — Healthy Eating Plate
- Academy of Nutrition and Dietetics — food and nutrition guidance
- U.S. Centers for Disease Control and Prevention — food safety
A note on sources
We check each guide against the official resources listed in References at the end of this article. External links open in a new tab; the related guides above stay on this site.
Quick steps
- Sort soft herbs from woody ones as soon as you get home
- Stand soft herbs in a jar of water with a loose bag over the top
- Wrap woody herbs in a barely damp towel inside a loosely closed bag
Things you'll need
- A clean glass jar
- A reusable or paper bag
- Paper towels
- Kitchen scissors
- Labels or masking tape
- Optional ice cube tray and olive oil
Step-by-step
Method 1 of 3: Sort and Prep the Bunch Immediately :: Five minutes on day one prevents most waste.
Step 1: Tip the bunch onto a clean board
A loose pile makes it easy to see what is actually in there. When in doubt, pause and compare against the picture above before continuing.

Step 2: Separate soft stems from woody stems
Basil, parsley, cilantro, mint, and dill go one way, rosemary, thyme, and sage the other. Use a timer or a quick count rather than guessing, especially on your first few attempts.

Step 3: Pick out yellowed or slimy leaves
One decaying leaf spreads quickly through a sealed bag. Note what you changed, because the same adjustment usually applies the next time you work on your herbs.

Step 4: Remove tight bands and shop ties
Elastic bands crush stems and trap moisture. Let it settle for a moment before judging the result, since the first impression often changes.

Step 5: Trim about a centimetre off the stems
A fresh cut lets soft herbs take up water. Check the edges and the parts you cannot see easily; those are where most beginners miss something.

Step 6: Leave the herbs unwashed for now
Rinse only the amount you are about to use. Put the tools back in the same place afterward, so the next session starts without a search.

Step 7: Label two containers with today's date
A date stops you guessing a week later. Repeat the same motion at a steady pace rather than varying it, which keeps the finish consistent.

Step 8: Choose a fridge shelf away from raw food
A clean middle shelf is ideal for the jar method. A slightly imperfect result here is fine and can be corrected later; a rushed fix usually costs more time.

Step 9: Decide what you will use in three days
Put that small amount within easy reach. Give this stage a couple of minutes before moving on, because rushing here is the usual reason your herbs ends up uneven.

Step 10: Note which bunch you bought most of
The largest bunch is the one worth freezing later. Work in small passes and look at the result after each one, so a slip is easy to fix while it is still small.
Keep going: How to Cook Rice on the Stove uses the same illustrated format and is a good next read. More checklists live in the Food & Cooking category.

Method 2 of 3: Keep Soft Herbs Like Cut Flowers :: This is the jar method for basil, parsley, cilantro, mint, and dill.
Step 11: Fill a clean jar with a few centimetres of water
Only the stem ends should sit in the water, not the leaves. Photograph or jot down the finished stage once, which gives you a reference for the next attempt.

Step 12: Stand the bunch upright in the jar
Keep it loose rather than compressing the stems together. If you are unsure, do less than you think you need and check again; you can always repeat the step.
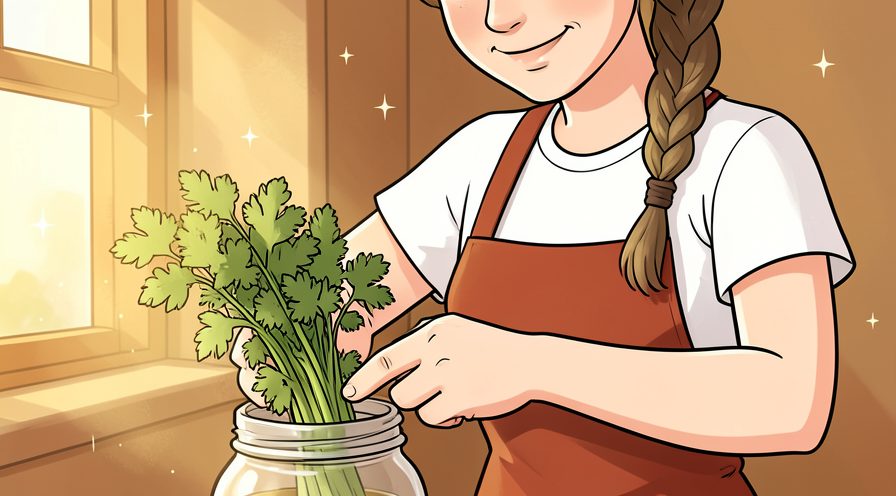
Step 13: Keep basil on the counter instead
Cold fridge air blackens basil leaves within a day. Keep the same order every time, since a fixed sequence is easier to repeat than a list of separate decisions.

Step 14: Put the other soft herbs in the fridge
Cooler air slows wilting for parsley, cilantro, and dill. Choose the gentlest option that still works, then increase only if the result is not holding.
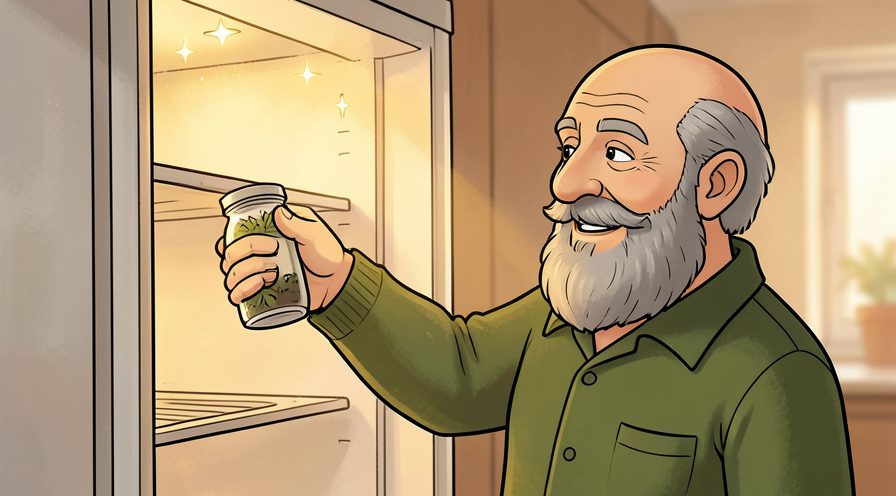
Step 15: Cover the top loosely with a bag
A loose cover holds humidity without trapping condensation. Finish with a quick check of the whole area rather than only the part you just handled.

Step 16: Leave a small gap for air
A fully sealed bag encourages mould on the leaves. Stop and tidy up as soon as this part is done, so the next stage starts from a clear surface.

Step 17: Change the water every two days
Cloudy water is a sign bacteria are building up. If conditions are different today, adjust one thing at a time and leave everything else unchanged.
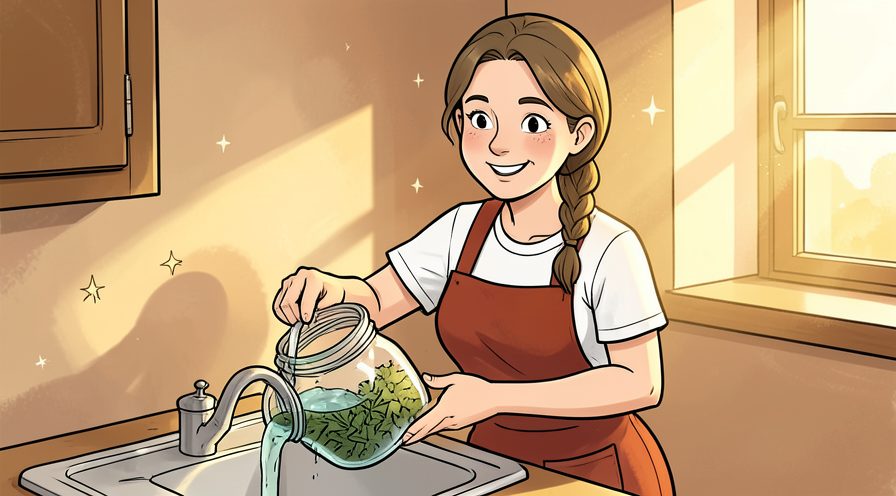
Step 18: Re-trim the stems when you change it
A fresh cut restores water uptake. Read the label or the guidance for your herbs once before acting, since small differences matter here.
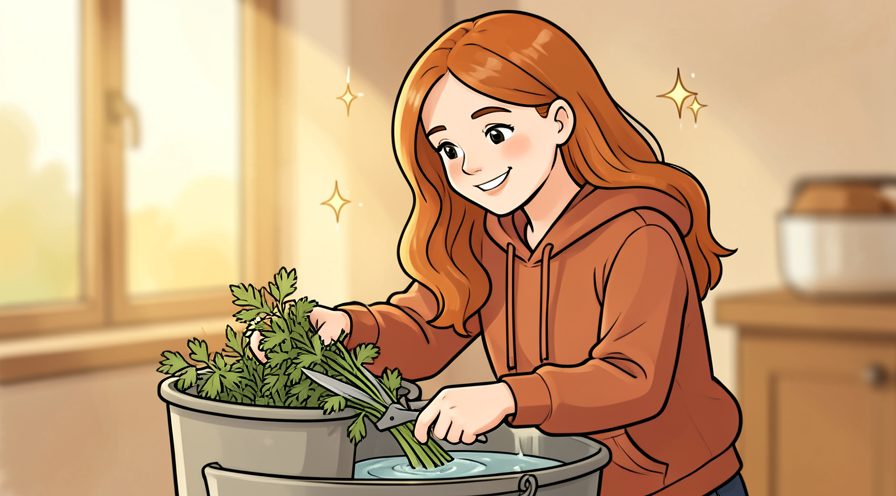
Step 19: Remove any leaf that touches the water
Submerged leaves rot quickly and foul the jar. Use a light touch first; pressure and extra material are much easier to add than to remove.

Step 20: Rinse only what you need just before cooking
A quick rinse and a gentle shake is enough. Keep everything you might need within reach before starting, so you are not searching mid-step.

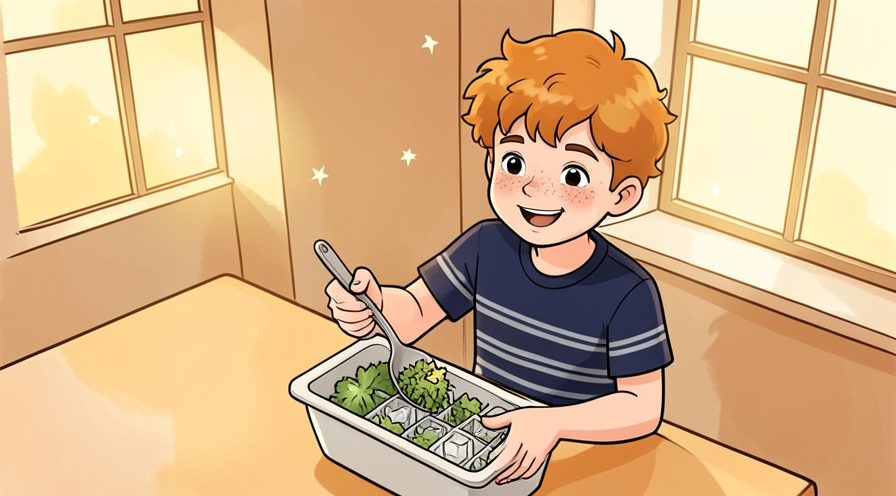
Step 21: Freeze surplus in oil for cooking
Chopped herbs in an ice cube tray with oil keep for months. When in doubt, pause and compare against the picture above before continuing.
Step 22: Blend extra basil into a quick pesto
A small jar in the fridge uses up a large bunch fast. Work in small passes and look at the result after each one, so a slip is easy to fix while it is still small.

Step 23: Check the bunch each time you open the fridge
A ten second look catches a drooping stem early. Use a light touch first; pressure and extra material are much easier to add than to remove.
Keep going: How to Make Fluffy Scrambled Eggs uses the same illustrated format and is a good next read. More checklists live in the Food & Cooking category.

Method 3 of 3: Store Woody Herbs and Plan Ahead :: Rosemary, thyme, sage, and oregano need less water and more airflow.
Step 24: Dampen a paper towel and wring it out hard
It should feel barely damp, never wet. Check the edges and the parts you cannot see easily; those are where most beginners miss something.
Step 25: Lay the woody sprigs in a single row
Overlapping sprigs trap moisture and turn black. Stop and tidy up as soon as this part is done, so the next stage starts from a clear surface.

Step 26: Roll the towel loosely around them
A gentle roll keeps humidity without crushing the leaves. If conditions are different today, adjust one thing at a time and leave everything else unchanged.

Step 27: Slide the roll into a loosely closed bag
Leave one end open so air can move. Finish with a quick check of the whole area rather than only the part you just handled.

Step 28: Store it in the crisper drawer
Cooler stable humidity suits woody herbs well. Use a timer or a quick count rather than guessing, especially on your first few attempts.

Step 29: Check the towel after four days
Re-dampen only if it has completely dried out. Photograph or jot down the finished stage once, which gives you a reference for the next attempt.

Step 30: Pull off leaves just before cooking
Woody stems strip easily with a backward swipe. If you are unsure, do less than you think you need and check again; you can always repeat the step.

Step 31: Dry a spare bunch for long storage
Hang small bundles in a dry airy spot away from sun. A slightly imperfect result here is fine and can be corrected later; a rushed fix usually costs more time.

Step 32: Store dried leaves in a labelled jar
Whole dried leaves hold flavour longer than powdered ones. Let it settle for a moment before judging the result, since the first impression often changes.

Step 33: Freeze whole sprigs on a tray first
Freezing separately stops them clumping into a block. Put the tools back in the same place afterward, so the next session starts without a search.

Step 34: Make herb butter with the last of a bunch
Softened butter and chopped herbs freeze well in a log. Choose the gentlest option that still works, then increase only if the result is not holding.

Step 35: Note the date you stored each batch
A single line prevents mystery bags at the back of the fridge. Keep the same order every time, since a fixed sequence is easier to repeat than a list of separate decisions.

Step 36: Rotate older bunches to the front
First in, first out wastes far less. Note what you changed, because the same adjustment usually applies the next time you work on your herbs.
Keep going: How to Meal Prep for the Week uses the same illustrated format and is a good next read. More checklists live in the Food & Cooking category.

Tips
- Do not wash herbs before storing, since extra surface water speeds up slime; rinse just before using.
- Basil prefers the counter rather than a cold fridge, which blackens its leaves. For another walkthrough, see How to Grill Chicken Breast Without Drying It Out.
- Change the jar water every two days and re-trim the stems at the same time.
Warnings
- Throw away any bunch with a sour smell or visible slime rather than trimming around it. Official guidance: Harvard T.H. Chan School of Public Health.
- Keep herb jars away from raw meat in the fridge.
Frequently asked questions
Can I freeze herbs? Yes, chop and freeze in oil or water in an ice cube tray for cooking.
Why did my basil turn black? It was too cold; keep basil at room temperature in water.
How long should they last? Soft herbs about a week with care, woody herbs up to two weeks.
References
- Harvard T.H. Chan School of Public Health — Healthy Eating Plate. https://nutritionsource.hsph.harvard.edu/healthy-eating-plate/
- Academy of Nutrition and Dietetics — food and nutrition guidance. https://www.eatright.org/
- U.S. Centers for Disease Control and Prevention — food safety. https://www.cdc.gov/foodsafety/
- USDA Food Safety and Inspection Service — safe food handling. https://www.fsis.usda.gov/
- U.S. Environmental Protection Agency — reducing food waste. https://www.epa.gov/recycle
Every guide is reviewed against its sources. See our editorial policy.



Reader comments
0 so farFinished this guide? Tell other readers what worked, what didn't, and what you would change.