Rubbery scrambled eggs are a heat problem, not an ingredient problem. High heat sets the proteins fast, squeezes out water, and leaves dry curds before you have time to react. A lower flame and an early finish give you soft large folds instead.
This guide covers the short prep, the cook itself, and the small adjustments for richer, lighter, or more reliable results.
How to use this guide
Work through the illustrated steps in order. Every step has its own picture, so you can check what a finished stage should look like before you move on. If you only have a minute, skim the Quick steps box above and come back for the details.
Related guides
- How to Grill Chicken Breast Without Drying It Out
- How to Cook Rice on the Stove
- How to Bake a Loaf of Bread at Home
- How to Meal Prep for the Week
- Browse all Food & Cooking guides
- All HowCompass guides
Trusted external resources
- Harvard T.H. Chan School of Public Health — Healthy Eating Plate
- Academy of Nutrition and Dietetics — food and nutrition guidance
- U.S. Centers for Disease Control and Prevention — food safety
A note on sources
We check each guide against the official resources listed in References at the end of this article. External links open in a new tab; the related guides above stay on this site.
Quick steps
- Whisk eggs until completely uniform and season just before cooking
- Cook over low heat, folding gently with a spatula
- Pull the pan while the eggs still look slightly underdone
Things you'll need
- Two or three fresh eggs per person
- A nonstick skillet
- A silicone spatula
- A bowl and whisk or fork
- Butter or a neutral oil
- Salt and pepper
Step-by-step
Method 1 of 2: Prep the Eggs and Pan
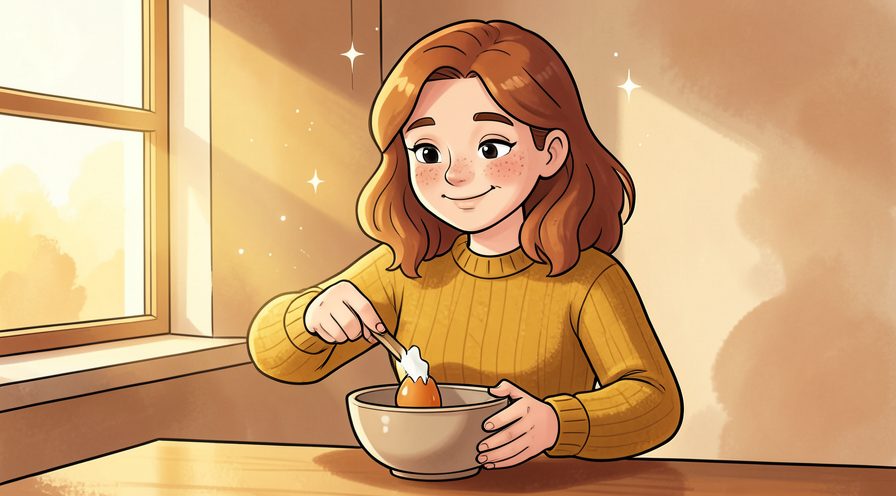
Step 1: Crack the eggs into a bowl
A bowl lets you check for shell before anything hits the pan. When in doubt, pause and compare against the picture above before continuing.
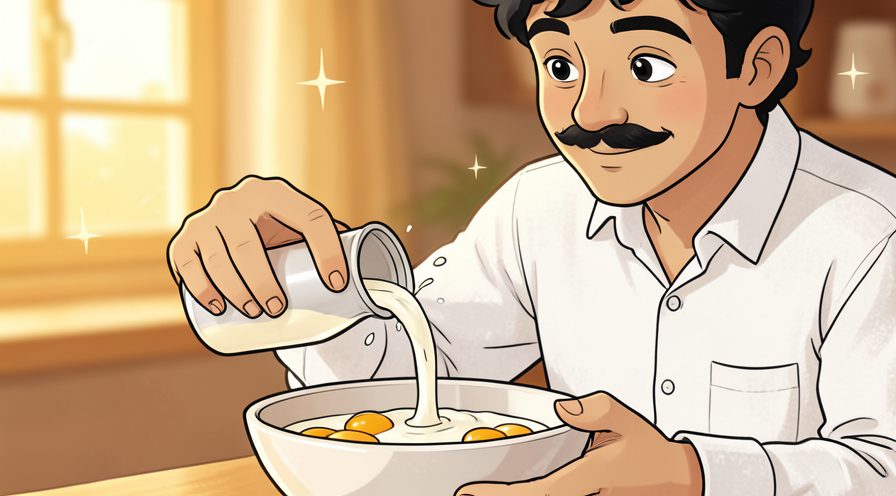
Step 2: Add a small splash of dairy only if you want
One tablespoon per two eggs is plenty, since more liquid makes them weep. Finish with a quick check of the whole area rather than only the part you just handled.
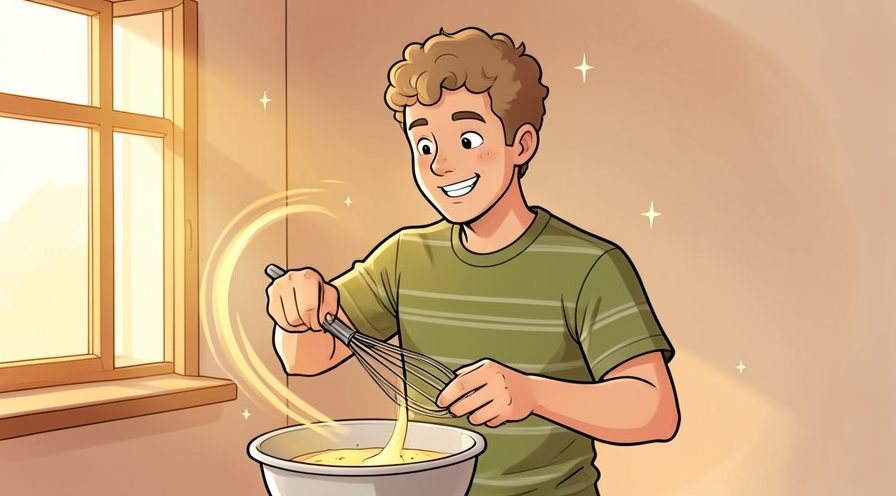
Step 3: Whisk until no streaks of white remain
A fully uniform mixture sets into even soft curds. If conditions are different today, adjust one thing at a time and leave everything else unchanged.
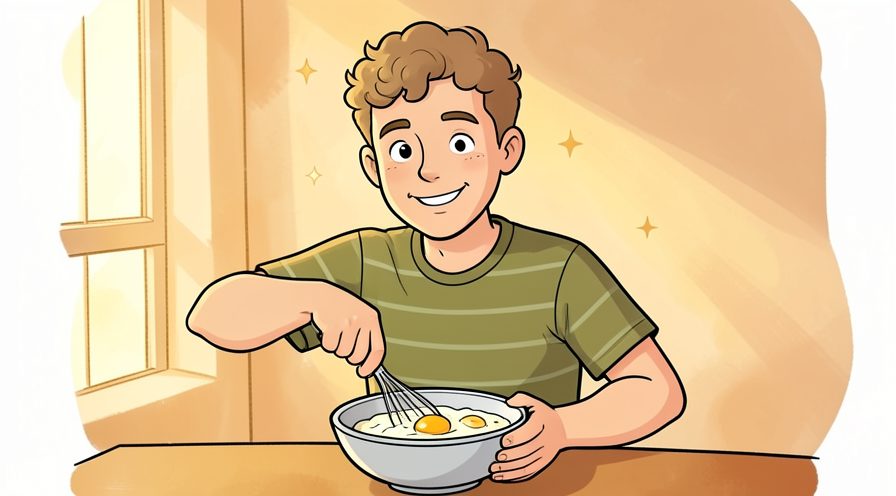
Step 4: Season just before cooking
Salt and pepper go in now rather than at the table. A slightly imperfect result here is fine and can be corrected later; a rushed fix usually costs more time.
Step 5: Choose a nonstick skillet sized to the batch
Too large a pan spreads the eggs thin and cooks them dry. Stop and tidy up as soon as this part is done, so the next stage starts from a clear surface.
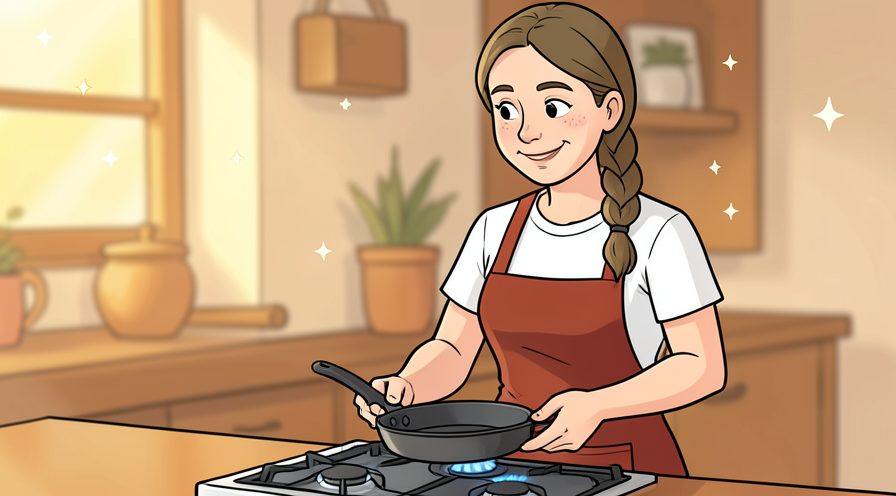
Step 6: Add butter while the pan is still cool
Warming the fat with the pan gives you a longer low heat window. Keep the same order every time, since a fixed sequence is easier to repeat than a list of separate decisions.
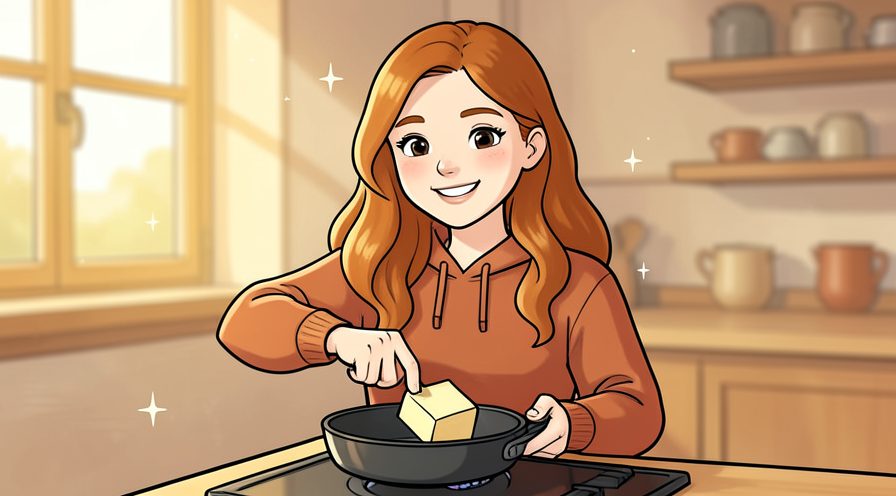
Step 7: Set the burner to low
Scrambled eggs need gentle heat from start to finish. Repeat the same motion at a steady pace rather than varying it, which keeps the finish consistent.

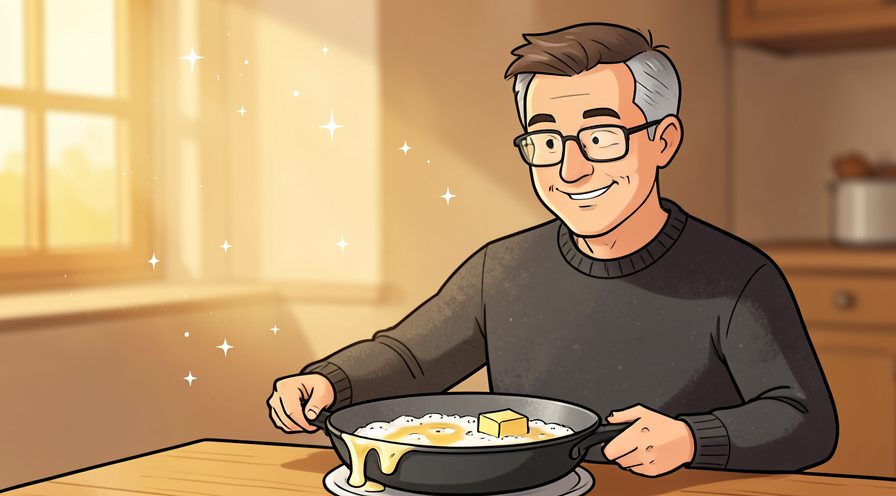
Step 8: Wait until the butter foams without browning
Foaming means the pan is ready, while browning means it is already too hot. Use a light touch first; pressure and extra material are much easier to add than to remove.
Keep going: How to Cook Rice on the Stove uses the same illustrated format and is a good next read. More checklists live in the Food & Cooking category.
Method 2 of 2: Cook, Pull Early, and Adjust
Step 9: Pour the eggs into the pan in one go
Let them sit for a few seconds so the edges just begin to set. If you are unsure, do less than you think you need and check again; you can always repeat the step.
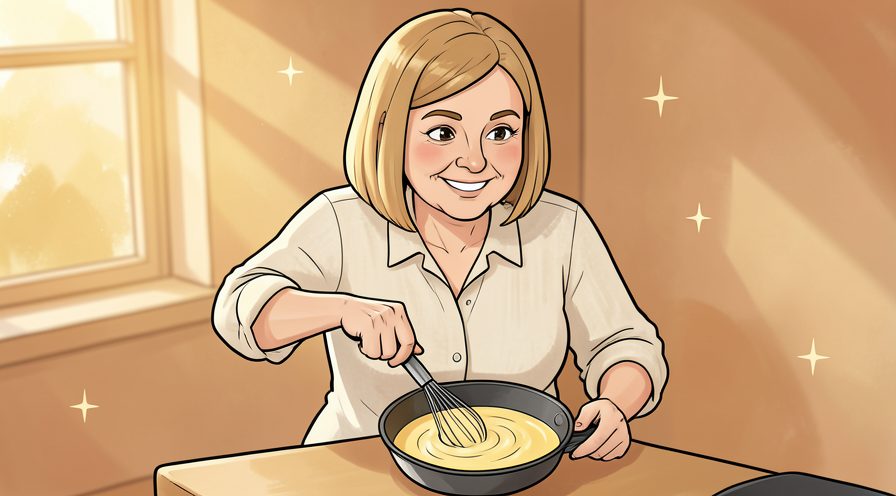
Step 10: Draw the spatula slowly across the bottom
Push the set edge toward the middle and let liquid egg fill the gap. Note what you changed, because the same adjustment usually applies the next time you work on your eggs.
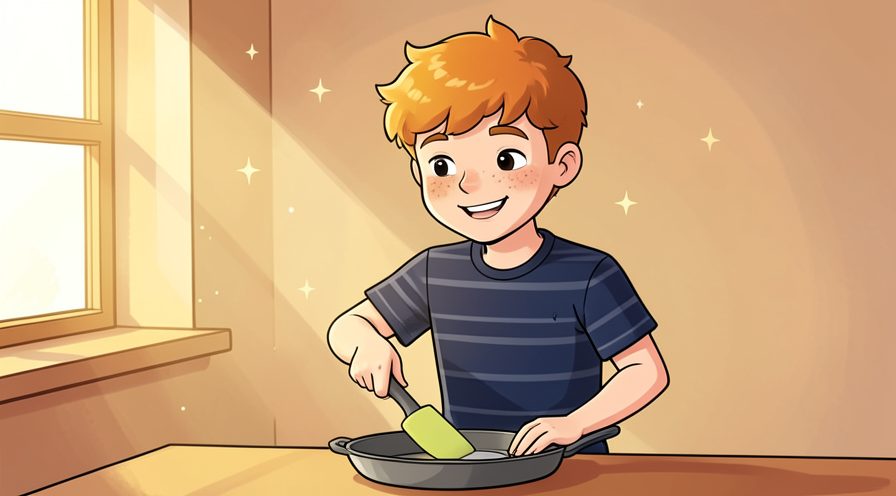
Step 11: Fold rather than stir in circles
Large soft curds come from a few broad folds, not vigorous whisking in the pan. Keep everything you might need within reach before starting, so you are not searching mid-step.
Step 12: Tilt the pan to spread uncooked egg
A small tilt sends liquid to the hot surface without extra stirring. Check the edges and the parts you cannot see easily; those are where most beginners miss something.
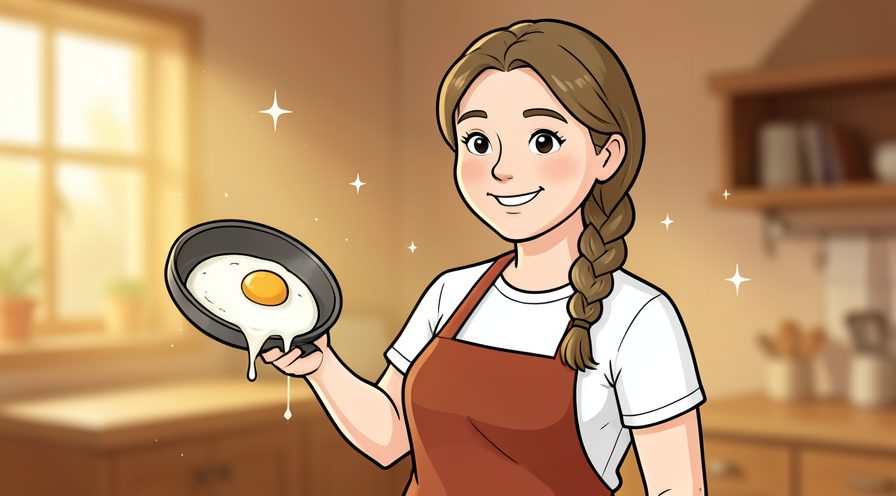
Step 13: Lift the pan off the heat if it moves too fast
A ten second rest stops browning without stopping the cook completely. Use a timer or a quick count rather than guessing, especially on your first few attempts.
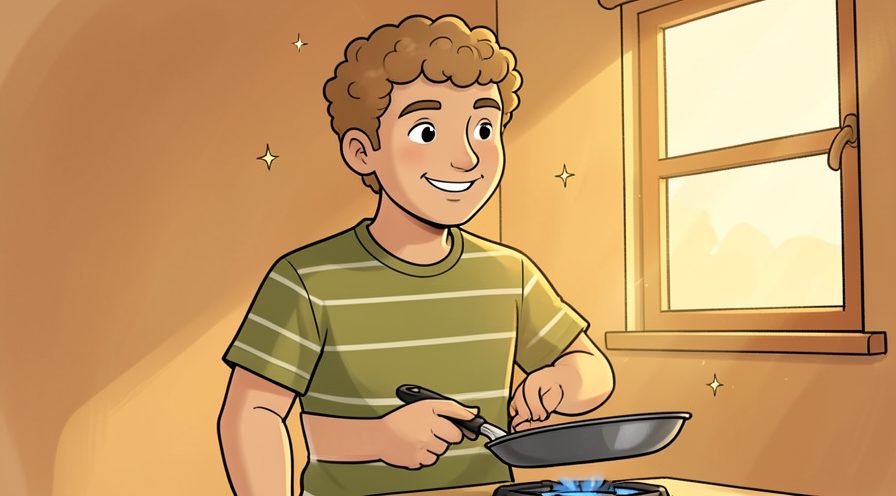
Step 14: Watch for a glossy slightly wet surface
That sheen is the sign to stop, not a sign of undercooking. Put the tools back in the same place afterward, so the next session starts without a search.
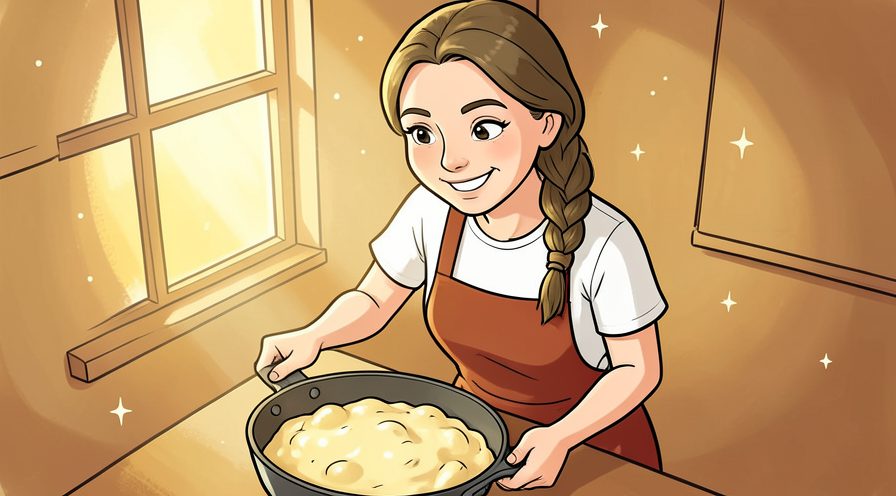
Step 15: Pull the pan while they still look a little underdone
Carryover heat finishes the last bit in the pan or on the plate. Work in small passes and look at the result after each one, so a slip is easy to fix while it is still small.
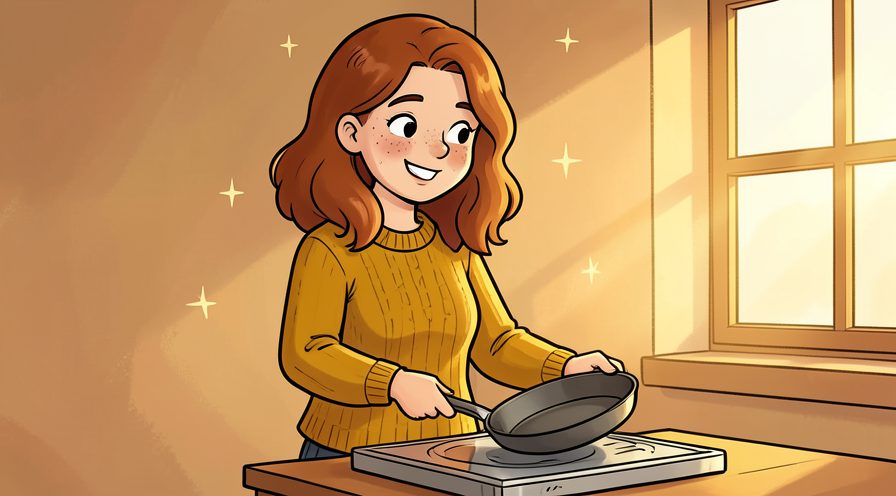
Step 16: Fold in butter or cheese off the heat
Remaining warmth melts it without another minute of cooking. Read the label or the guidance for your eggs once before acting, since small differences matter here.
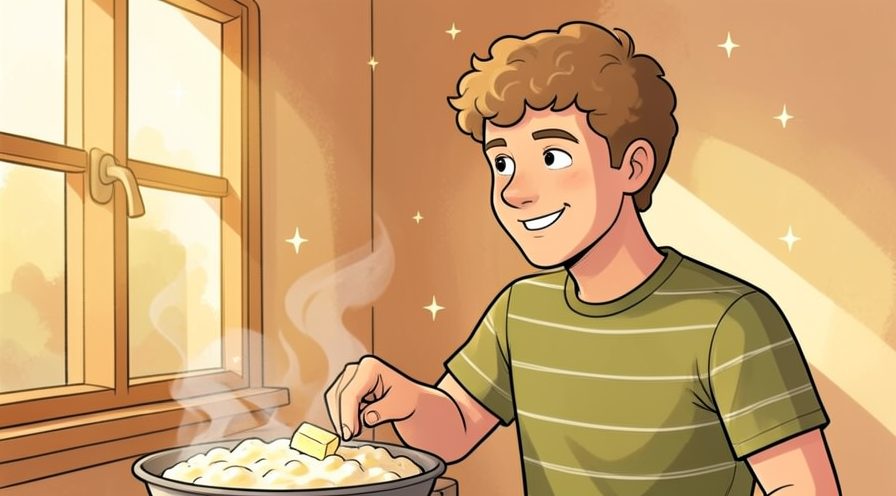
Step 17: Serve immediately onto a warm plate
Soft eggs keep setting and cooling for a minute after plating. Give this stage a couple of minutes before moving on, because rushing here is the usual reason your eggs ends up uneven.

Step 18: Note the heat setting that worked
One line in a notebook makes the next batch repeatable. Photograph or jot down the finished stage once, which gives you a reference for the next attempt.

Step 19: For a firmer version leave it ten seconds longer
Small timing changes are easier to control than turning up the heat. Choose the gentlest option that still works, then increase only if the result is not holding.
Keep going: How to Bake a Loaf of Bread at Home uses the same illustrated format and is a good next read. More checklists live in the Food & Cooking category.

Tips
- A cold pan with the fat added first gives you a wider window before the eggs set.
- Take the pan off the heat for a few seconds if the curds start browning, then return it. For another walkthrough, see How to Grill Chicken Breast Without Drying It Out.
- Warm the plates briefly, since soft eggs cool faster than almost anything else.
Warnings
- Cook eggs until the watery translucent parts are set, especially for young children, older adults, or anyone pregnant. Official guidance: Harvard T.H. Chan School of Public Health.
- Do not leave a hot nonstick pan unattended on a live burner.
Frequently asked questions
Should I add milk? A splash makes them softer but also wetter; cream gives richness without as much water.
When do I salt? Just before cooking is fine, though salting very early can make the texture slightly looser.
Why are my eggs watery? Usually too much liquid added, or the pan was crowded and never came up to temperature.
References
- Harvard T.H. Chan School of Public Health — Healthy Eating Plate. https://nutritionsource.hsph.harvard.edu/healthy-eating-plate/
- Academy of Nutrition and Dietetics — food and nutrition guidance. https://www.eatright.org/
- U.S. Centers for Disease Control and Prevention — food safety. https://www.cdc.gov/foodsafety/
- USDA Food Safety and Inspection Service — safe food handling. https://www.fsis.usda.gov/
- U.S. Environmental Protection Agency — reducing food waste. https://www.epa.gov/recycle
Every guide is reviewed against its sources. See our editorial policy.
Reader comments
0 so farFinished this guide? Tell other readers what worked, what didn't, and what you would change.