Chicken breast is unforgiving on a grill because the tapered end can be leather while the thick center is still pale. Most people try to fix that with more sauce or longer marinating, when the real problem is shape and heat control. A few minutes of prep and a thermometer solve it without any special equipment.
This guide starts with the prep that keeps moisture in, walks through a full grill session with a two-zone fire, and finishes with fixes for the times a breast still comes out dry.
How to use this guide
Work through the illustrated steps in order. Every step has its own picture, so you can check what a finished stage should look like before you move on. If you only have a minute, skim the Quick steps box above and come back for the details.
Related guides
- How to Cook Rice on the Stove
- How to Make Fluffy Scrambled Eggs
- How to Bake a Loaf of Bread at Home
- How to Meal Prep for the Week
- Browse all Food & Cooking guides
- All HowCompass guides
Trusted external resources
- Harvard T.H. Chan School of Public Health — Healthy Eating Plate
- Academy of Nutrition and Dietetics — food and nutrition guidance
- U.S. Centers for Disease Control and Prevention — food safety
A note on sources
We check each guide against the official resources listed in References at the end of this article. External links open in a new tab; the related guides above stay on this site.
Quick steps
- Pound breasts to an even thickness and salt them 30 minutes ahead
- Grill over direct heat briefly, then move to the cooler side to finish
- Pull at 70 degrees Celsius and rest for five minutes before slicing
Things you'll need
- Two similarly sized chicken breasts
- Kosher salt and a neutral oil
- A meat thermometer
- A rolling pin or heavy pan
- Long tongs
- A clean plate and foil
Step-by-step
Method 1 of 3: Prep the Breasts So They Cook Evenly
Step 1: Choose breasts of similar size and weight
Pick two pieces that match closely so they finish together instead of one waiting while the other overcooks. Put the tools back in the same place afterward, so the next session starts without a search.
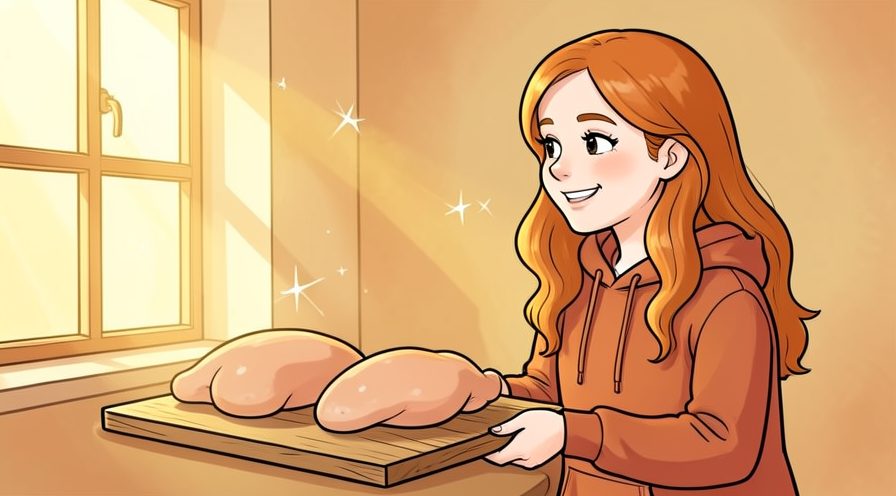
Step 2: Trim away stray fat and cartilage
Remove dangling pieces that would curl and burn against the grates. Choose the gentlest option that still works, then increase only if the result is not holding.
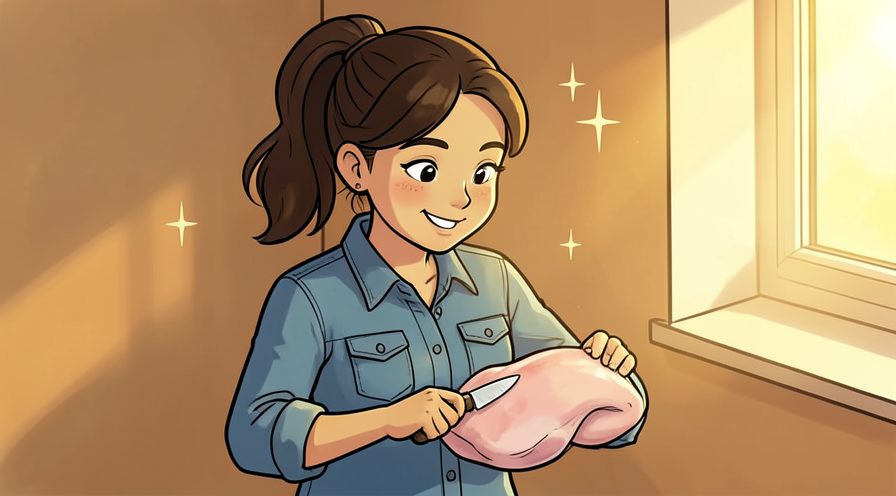
Step 3: Flatten each breast to an even half inch
Place the meat between parchment sheets and press gently from the center outward until the tapered end matches the rest. Stop and tidy up as soon as this part is done, so the next stage starts from a clear surface.
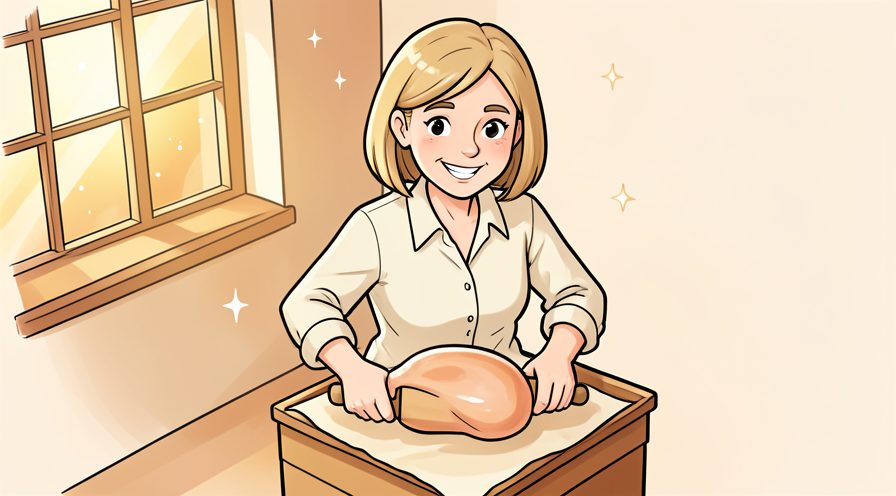
Step 4: Pat the surface completely dry
Press with paper towels until no moisture transfers, because surface water turns into steam and blocks browning. If you are unsure, do less than you think you need and check again; you can always repeat the step.
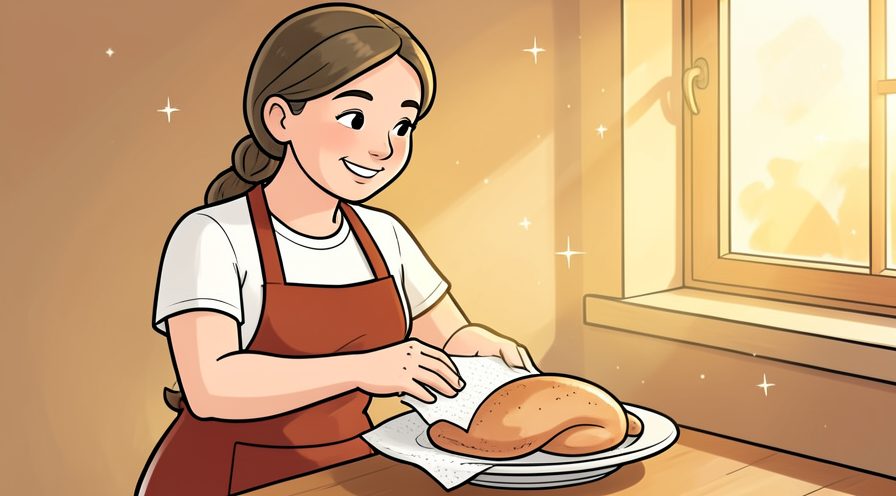
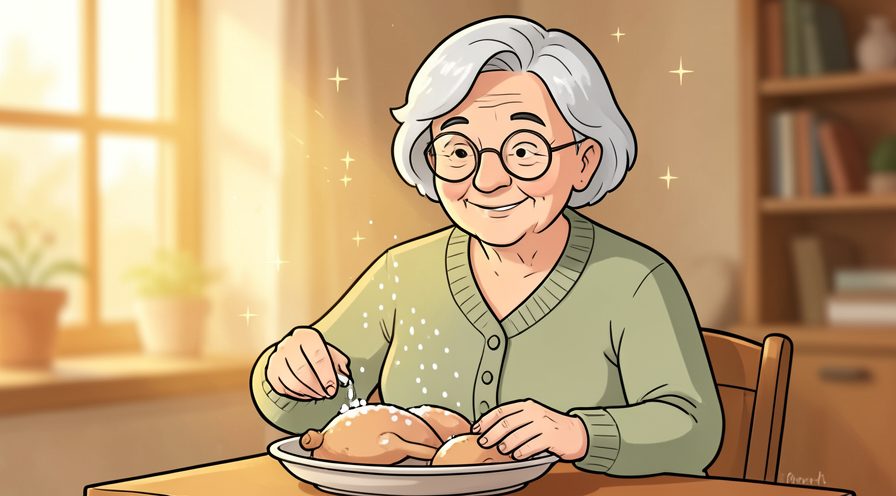
Step 5: Salt both sides at least thirty minutes early
Use about half a teaspoon of kosher salt per breast and leave it uncovered in the fridge. Finish with a quick check of the whole area rather than only the part you just handled.
Step 6: Rub on a thin film of neutral oil
Coat lightly with canola or vegetable oil so the meat releases from the grate without a sticky glaze. Use a light touch first; pressure and extra material are much easier to add than to remove.

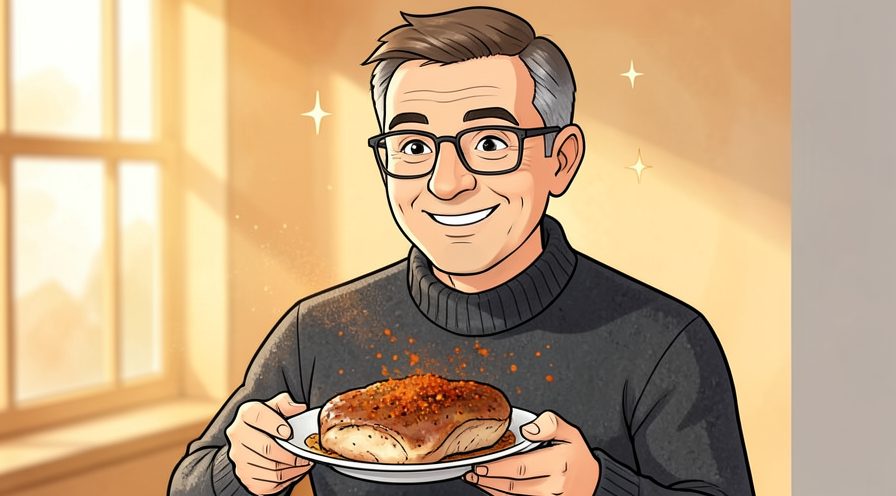
Step 7: Add dry spices but skip wet sugar
Pepper, paprika, and garlic powder are fine, while honey or brown sugar will scorch over direct flame. Note what you changed, because the same adjustment usually applies the next time you work on the chicken.
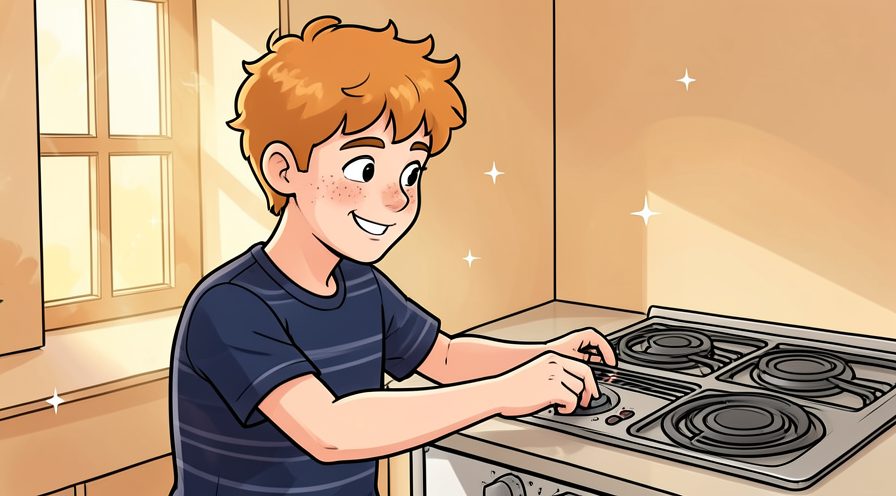
Step 8: Preheat the grill with two heat zones
Bank the coals on one side or leave one burner on low, giving you a hot side for color and a cool side for gentle finishing. Read the label or the guidance for the chicken once before acting, since small differences matter here.
Keep going: How to Make Fluffy Scrambled Eggs uses the same illustrated format and is a good next read. More checklists live in the Food & Cooking category.
Method 2 of 3: Grill, Rest, and Slice Without Losing Juices
Step 9: Oil and scrape the hot grates
Wipe a folded oiled towel across the bars with tongs, then let the grill recover its heat. Keep everything you might need within reach before starting, so you are not searching mid-step.
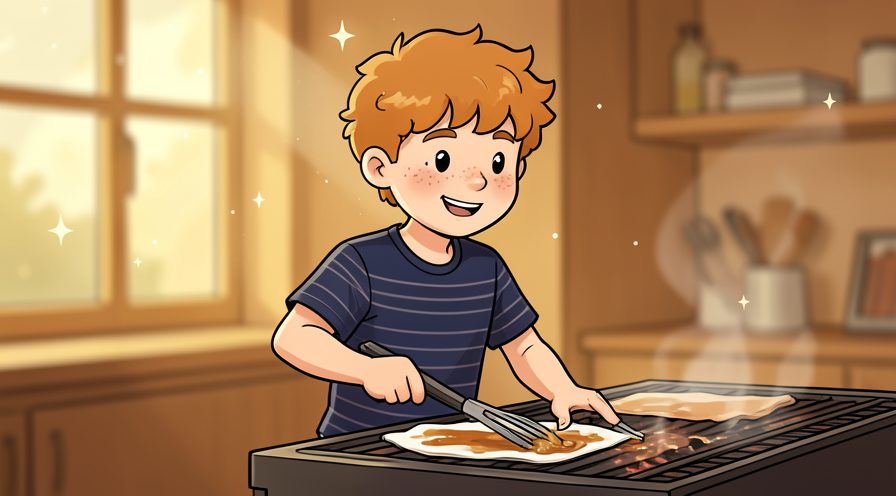
Step 10: Lay the breasts on the hot side diagonally
Set them at an angle to the bars and do not move them for two minutes. Check the edges and the parts you cannot see easily; those are where most beginners miss something.
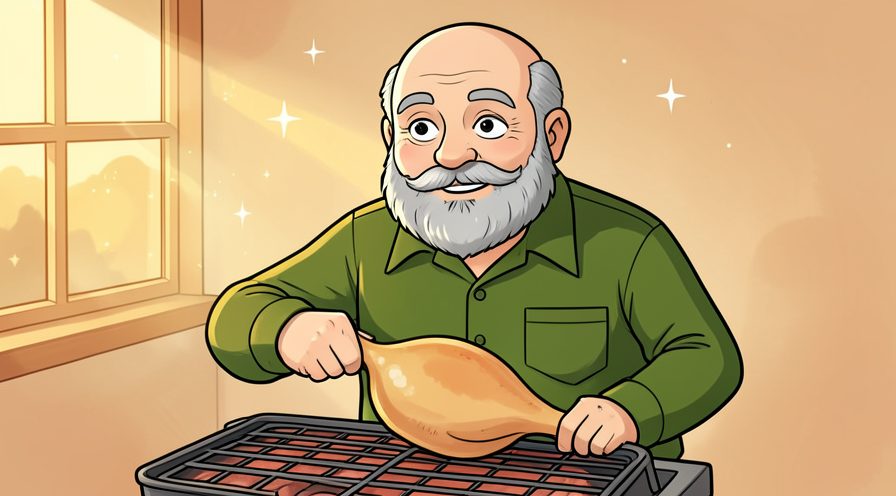
Step 11: Close the lid and set a two minute timer
Trapped heat cooks the top while the bottom picks up grill marks. Let it settle for a moment before judging the result, since the first impression often changes.
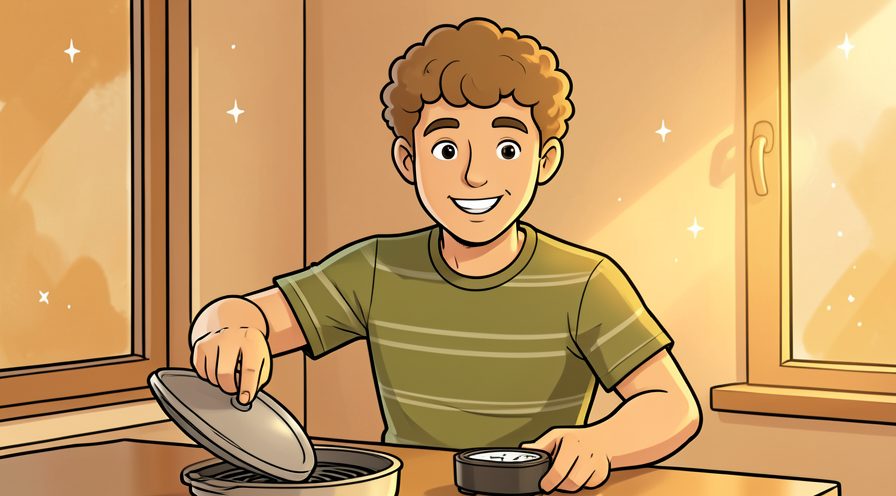
Step 12: Turn once with tongs rather than a fork
Slide under the breast, lift, and flip in a single motion so no juices are pierced out. When in doubt, pause and compare against the picture above before continuing.
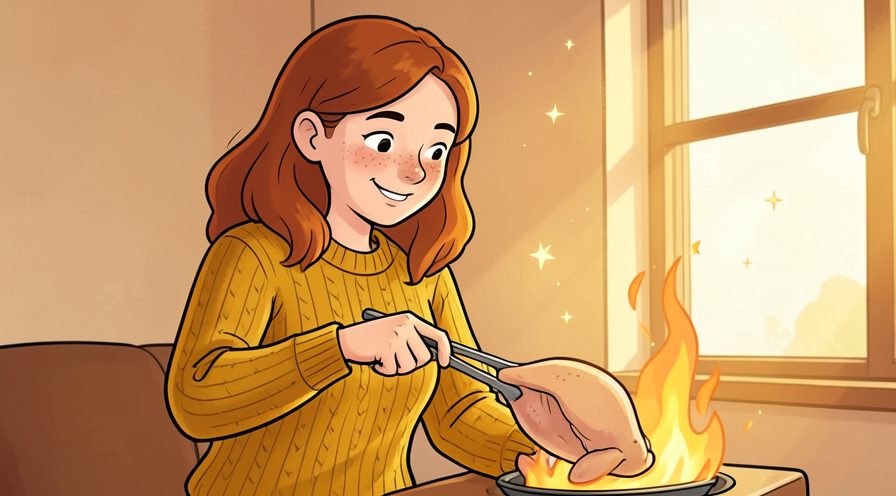
Step 13: Check for deep golden grill marks
Look for defined color before moving on, since pale meat will not brown later on the cool side. A slightly imperfect result here is fine and can be corrected later; a rushed fix usually costs more time.
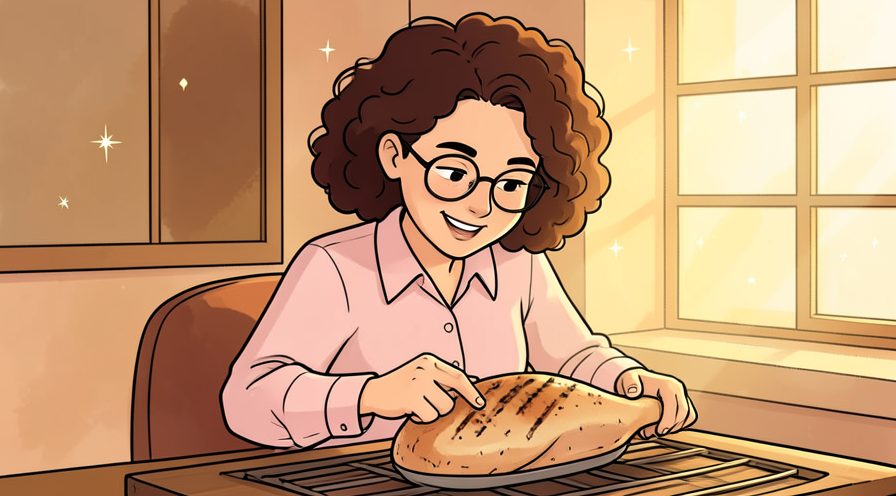
Step 14: Move the meat to the cooler zone
Shift it away from direct flame as soon as both sides have color. If conditions are different today, adjust one thing at a time and leave everything else unchanged.
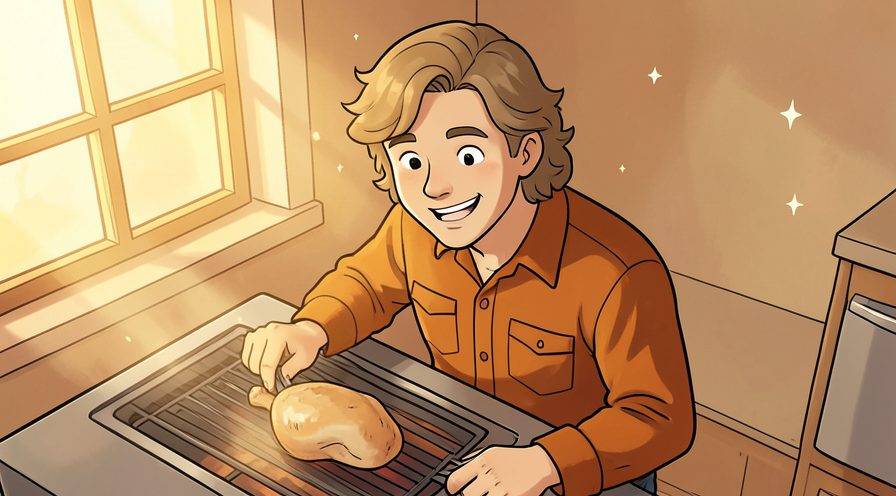
Step 15: Brush on any sauce only now
Add glazes in the last minutes so they set without burning. Photograph or jot down the finished stage once, which gives you a reference for the next attempt.
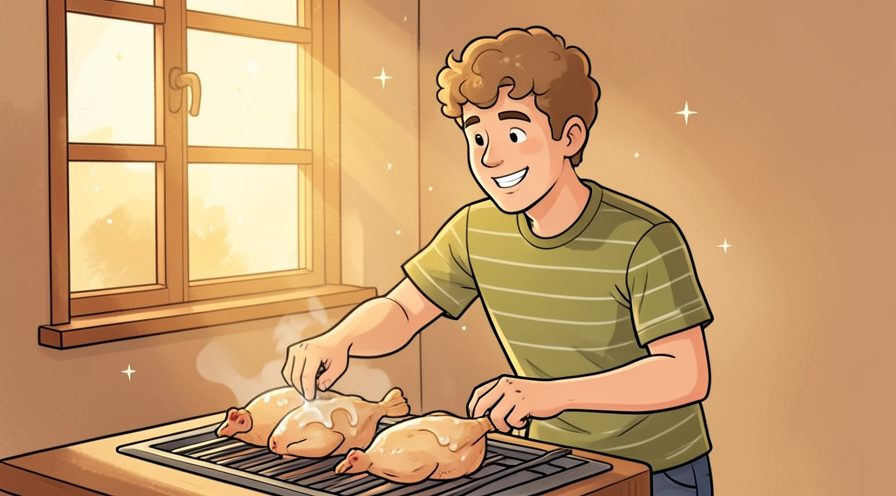
Step 16: Close the lid again and cook gently
Let indirect heat bring the center up slowly, which is what keeps the fibers from squeezing dry. Keep the same order every time, since a fixed sequence is easier to repeat than a list of separate decisions.
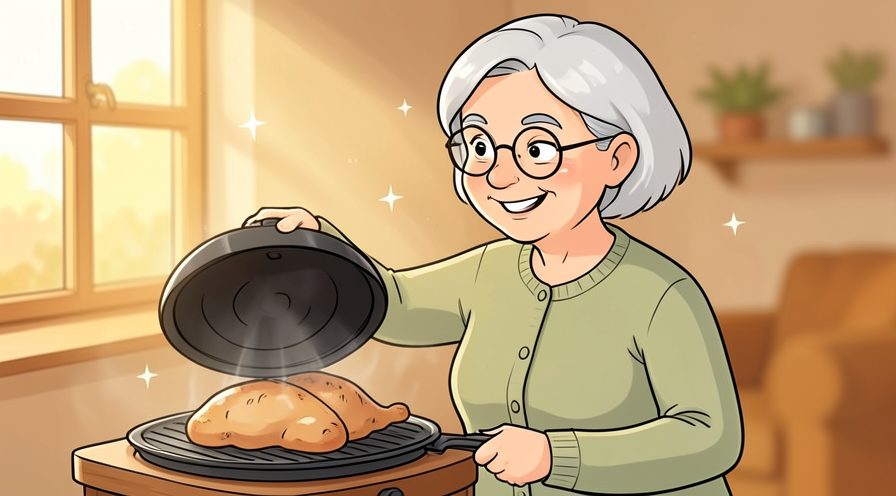
Step 17: Insert the thermometer into the thickest part
Go in horizontally from the side so the probe sits in the center rather than through to the grate. Give this stage a couple of minutes before moving on, because rushing here is the usual reason the chicken ends up uneven.
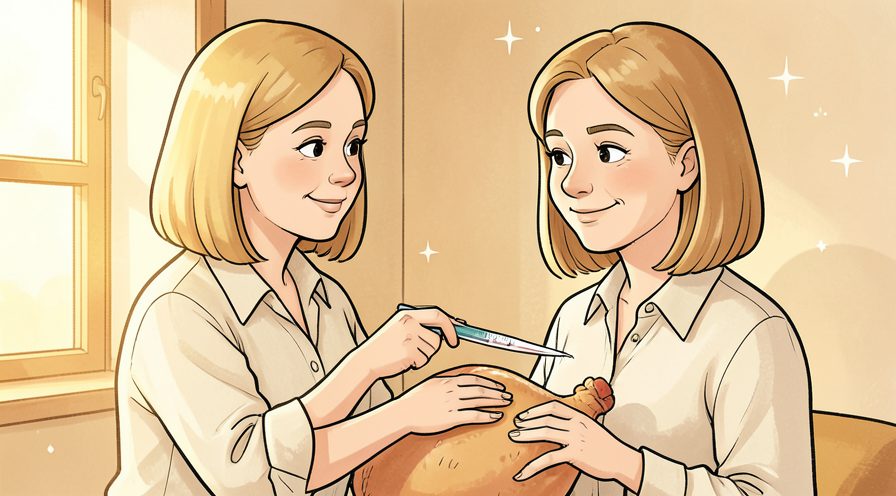
Step 18: Pull the chicken at about 70 degrees Celsius
Carryover heat will finish the climb to a safe 74 degrees while it rests. Repeat the same motion at a steady pace rather than varying it, which keeps the finish consistent.

Step 19: Transfer to a warm clean plate
Use a plate that never held raw meat and keep the juices that collect. Use a timer or a quick count rather than guessing, especially on your first few attempts.

Step 20: Tent loosely with foil for five minutes
A loose cover keeps the surface warm without steaming off the crust you built. Work in small passes and look at the result after each one, so a slip is easy to fix while it is still small.
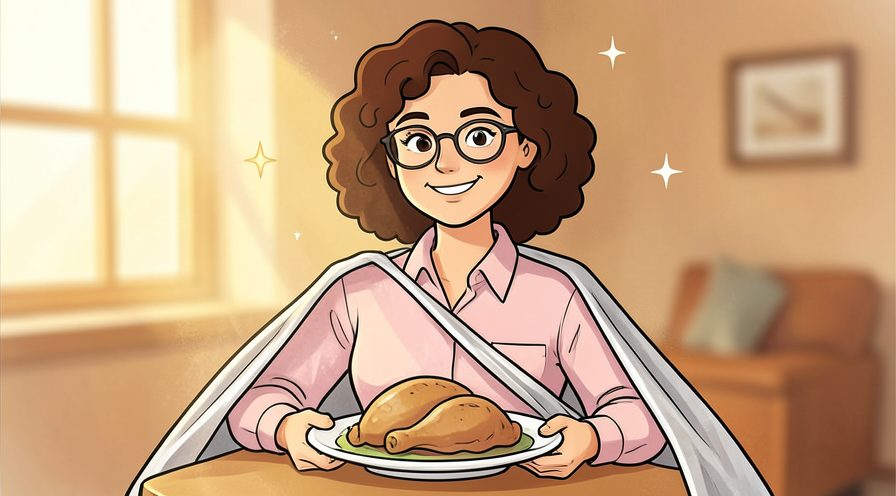
Step 21: Slice across the grain on a slight angle
Cut against the visible fibers so each bite stays tender. Keep the same order every time, since a fixed sequence is easier to repeat than a list of separate decisions.
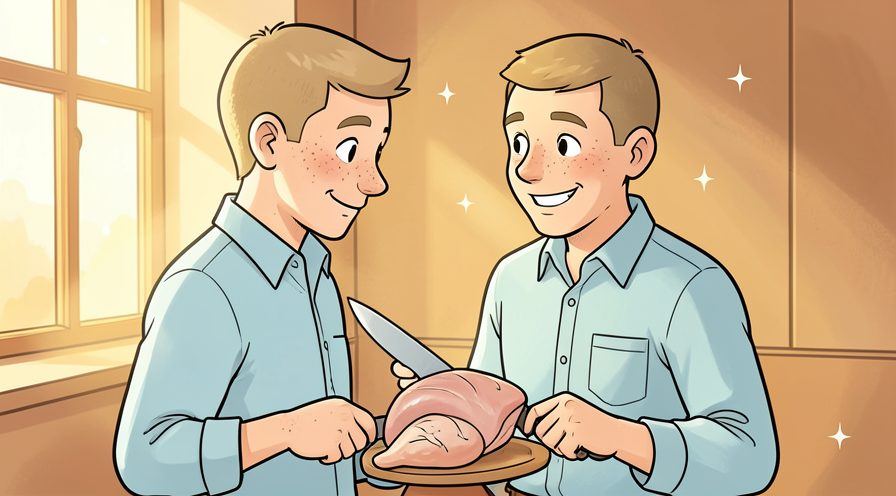
Step 22: Spoon the resting juices over the slices
The liquid on the plate is the simplest sauce and keeps cut surfaces moist. Put the tools back in the same place afterward, so the next session starts without a search.
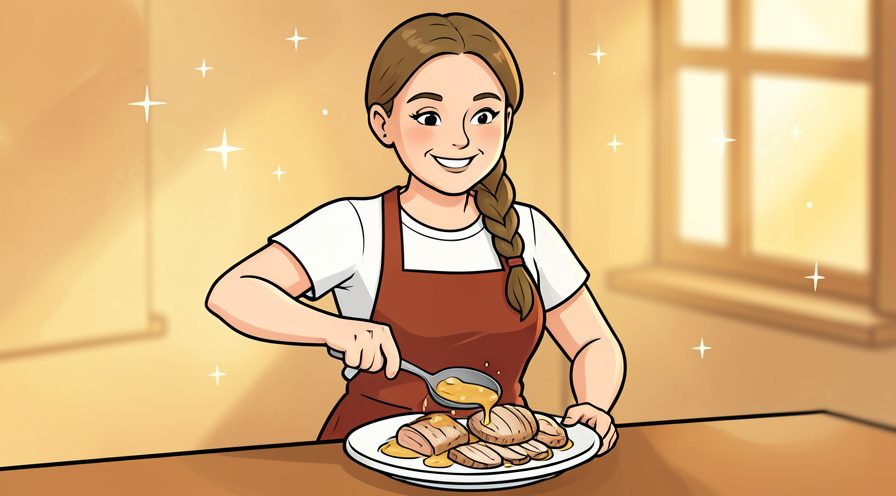
Step 23: Serve promptly while the slices are warm
Grilled breast firms up as it cools, so plate it within a few minutes. Finish with a quick check of the whole area rather than only the part you just handled.
Keep going: How to Bake a Loaf of Bread at Home uses the same illustrated format and is a good next read. More checklists live in the Food & Cooking category.

Method 3 of 3: Troubleshoot Dryness and Make It Repeatable
Step 24: Note what the breast looked like before cooking
Record thickness and weight once, since that single number predicts your timing better than any recipe. A slightly imperfect result here is fine and can be corrected later; a rushed fix usually costs more time.

Step 25: Calibrate the thermometer in ice water
A probe reading a few degrees high is a common reason chicken stays on the grill too long. Photograph or jot down the finished stage once, which gives you a reference for the next attempt.

Step 26: Check the actual grill temperature
Lid thermometers are often off, so use an oven gauge on the grate for a real reading. Repeat the same motion at a steady pace rather than varying it, which keeps the finish consistent.
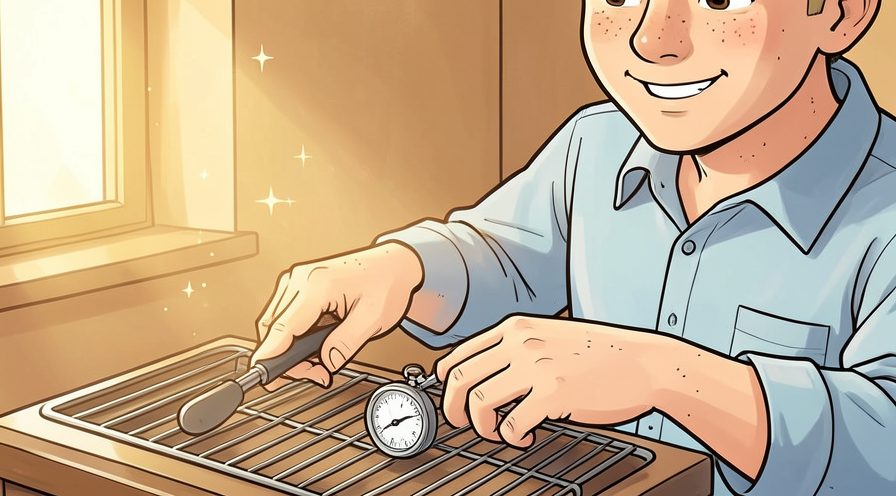
Step 27: Use a short salt brine for very thick pieces
Twenty minutes in lightly salted water adds margin when a breast is over an inch thick. Work in small passes and look at the result after each one, so a slip is easy to fix while it is still small.
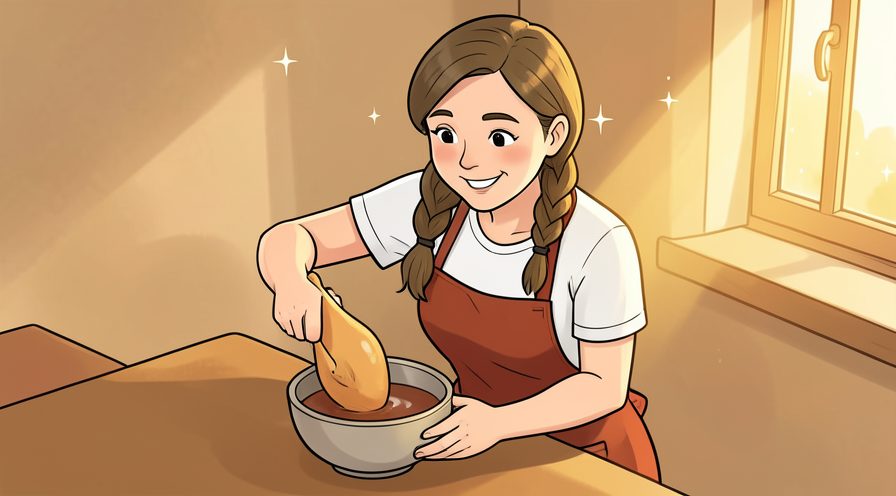
Step 28: Lower the heat instead of extending the time
If the outside is dark but the center is pale, finish on the cool side rather than over the flame. Read the label or the guidance for the chicken once before acting, since small differences matter here.
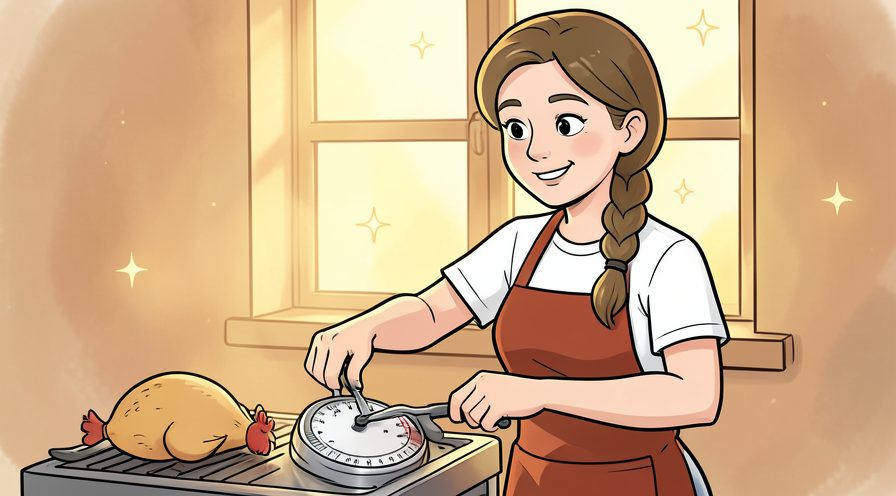
Step 29: Rest leftovers in their own container juices
Store slices with a spoonful of liquid so reheating does not pull out more moisture. Check the edges and the parts you cannot see easily; those are where most beginners miss something.
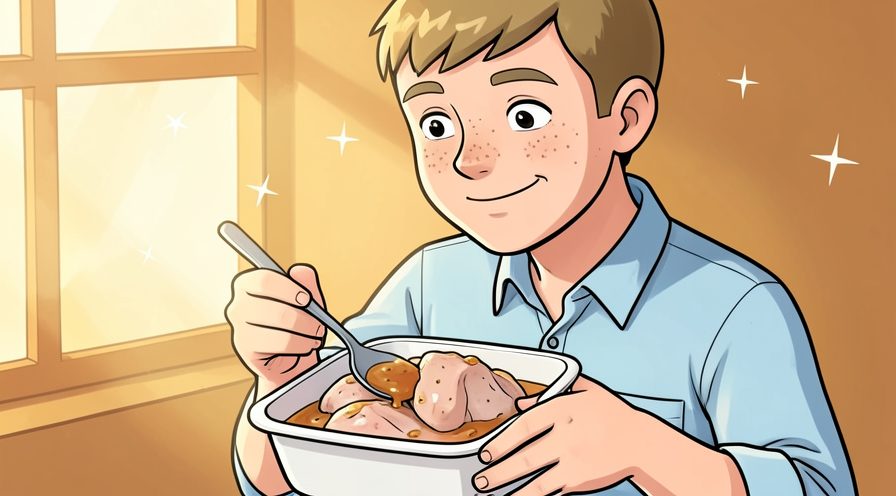
Step 30: Reheat gently with a splash of stock
Low heat and a little liquid bring slices back without a second cook. Note what you changed, because the same adjustment usually applies the next time you work on the chicken.
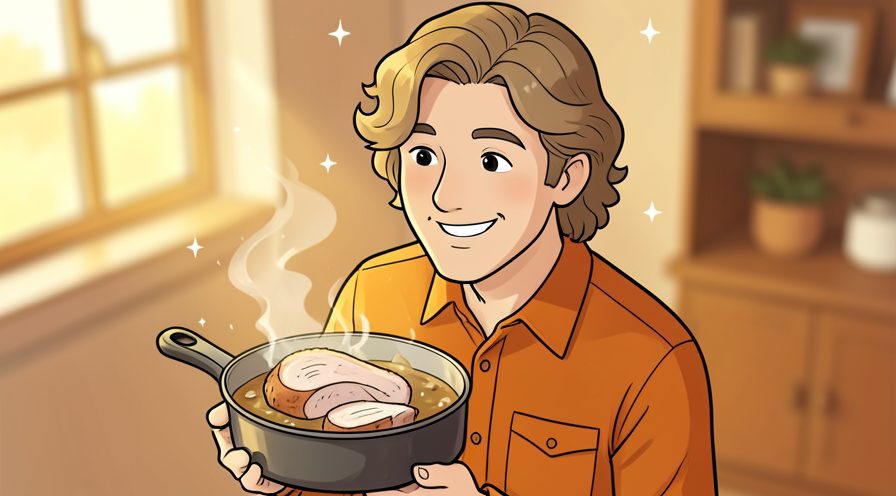
Step 31: Add moisture at the table, not on the grill
Salsa, yogurt sauce, or a squeeze of lemon fixes a dry slice faster than another minute of cooking. Let it settle for a moment before judging the result, since the first impression often changes.

Step 32: Compare two cooks side by side
Change only one variable next time, such as pull temperature, so you know what actually helped. Use a timer or a quick count rather than guessing, especially on your first few attempts.
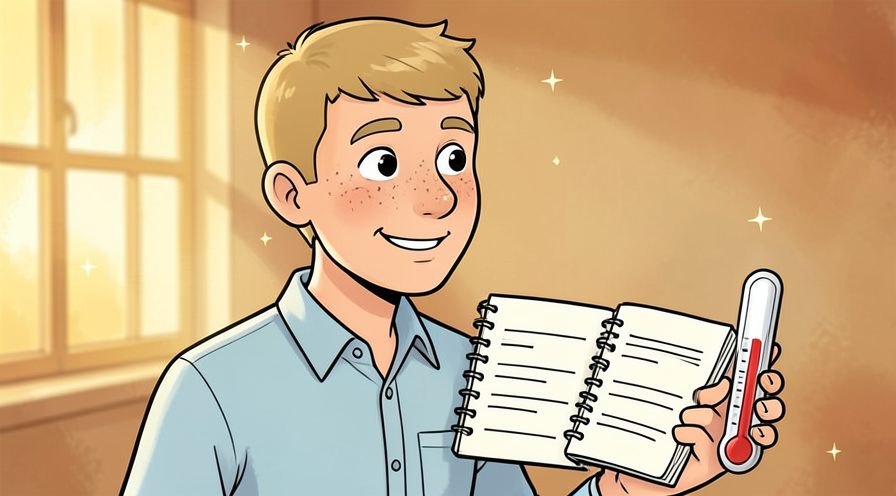
Step 33: Write down the winning timing
Keep a short note of thickness, heat zone, and pull temperature for the next session. When in doubt, pause and compare against the picture above before continuing.
Keep going: How to Meal Prep for the Week uses the same illustrated format and is a good next read. More checklists live in the Food & Cooking category.

Tips
- Skip sugary marinades for the main cook, since they scorch before the inside is done and the char hides a pale center.
- Let the rested chicken sit in its own juices for a minute, then spoon them over the slices instead of reaching for a bottled sauce. For another walkthrough, see How to Cook Rice on the Stove.
- Brining in a simple salt-and-water mix for twenty minutes gives extra insurance if you are cooking for a crowd.
Warnings
- Cook poultry to a safe internal temperature of 74 degrees Celsius and never judge doneness by color alone. Official guidance: Harvard T.H. Chan School of Public Health.
- Do not reuse a plate or tongs that touched raw chicken without washing them first.
Frequently asked questions
How long should I grill a chicken breast? Usually four to six minutes per side over direct heat, then another five to eight minutes on the cooler side, but thickness matters more than the clock.
Should I pound the chicken first? Yes, an even half inch keeps the thin end from drying out while the center cooks through.
Is a brine necessary? No, salting thirty minutes ahead is enough for most weeknight grilling, though a short brine helps if the breasts are very thick.
References
- Harvard T.H. Chan School of Public Health — Healthy Eating Plate. https://nutritionsource.hsph.harvard.edu/healthy-eating-plate/
- Academy of Nutrition and Dietetics — food and nutrition guidance. https://www.eatright.org/
- U.S. Centers for Disease Control and Prevention — food safety. https://www.cdc.gov/foodsafety/
- USDA Food Safety and Inspection Service — safe food handling. https://www.fsis.usda.gov/
- U.S. Environmental Protection Agency — reducing food waste. https://www.epa.gov/recycle
Every guide is reviewed against its sources. See our editorial policy.


Reader comments
0 so farFinished this guide? Tell other readers what worked, what didn't, and what you would change.