Bread recipes look fussy because they describe dozens of small variables, but a basic loaf is four ingredients and two rises. The things that actually matter are measuring by weight, letting the dough rise until it has visibly doubled, and giving the oven enough time to get fully hot.
This guide takes you from mixing to a cooled loaf, then covers the small checks that make the second attempt more reliable.
How to use this guide
Work through the illustrated steps in order. Every step has its own picture, so you can check what a finished stage should look like before you move on. If you only have a minute, skim the Quick steps box above and come back for the details.
Related guides
- How to Grill Chicken Breast Without Drying It Out
- How to Cook Rice on the Stove
- How to Make Fluffy Scrambled Eggs
- How to Meal Prep for the Week
- Browse all Food & Cooking guides
- All HowCompass guides
Trusted external resources
- Harvard T.H. Chan School of Public Health — Healthy Eating Plate
- Academy of Nutrition and Dietetics — food and nutrition guidance
- U.S. Centers for Disease Control and Prevention — food safety
A note on sources
We check each guide against the official resources listed in References at the end of this article. External links open in a new tab; the related guides above stay on this site.
Quick steps
- Weigh ingredients and aim for a soft, slightly tacky dough
- Knead about ten minutes and let the dough double in a warm spot
- Bake in a fully preheated oven and cool completely before slicing
Things you'll need
- Bread flour or all-purpose flour
- Instant or active dry yeast
- Fine salt
- Lukewarm water
- A kitchen scale
- A large mixing bowl and a loaf tin or baking stone
Step-by-step
Method 1 of 2: Mix, Knead, and Rise :: This stage builds the structure that holds the gas the yeast makes.
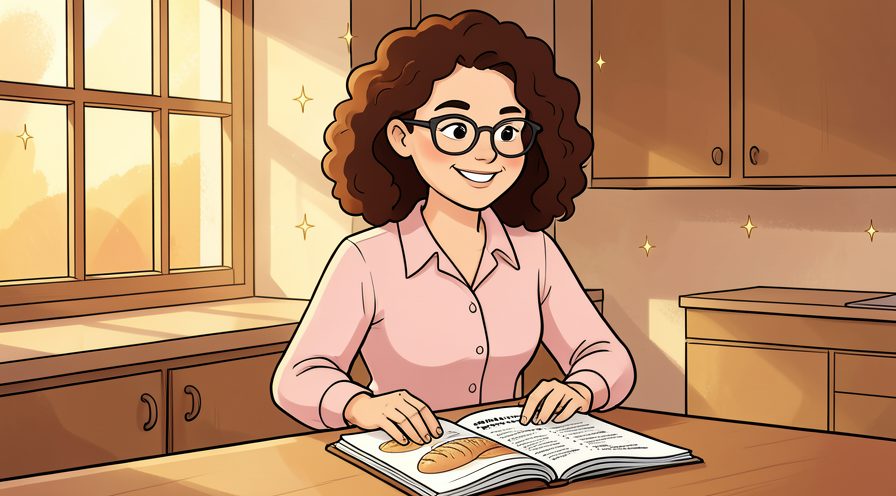
Step 1: Choose one simple four ingredient recipe
A plain white loaf teaches the method without extra variables. When in doubt, pause and compare against the picture above before continuing.
Step 2: Weigh the flour instead of scooping
A cup can vary by twenty percent, which changes the dough completely. Photograph or jot down the finished stage once, which gives you a reference for the next attempt.

Step 3: Check the yeast is still active
If using active dry yeast, a pinch in warm water should foam within ten minutes. Repeat the same motion at a steady pace rather than varying it, which keeps the finish consistent.

Step 4: Mix flour, yeast, and salt separately
Keep salt from direct contact with the yeast until the flour is between them. Put the tools back in the same place afterward, so the next session starts without a search.
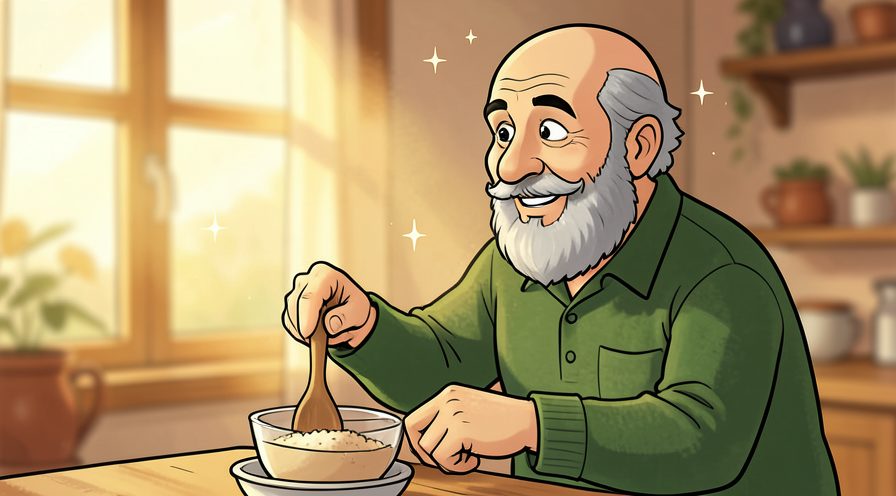
Step 5: Add lukewarm water gradually
Hold back a splash so you can adjust for a slightly tacky dough. A slightly imperfect result here is fine and can be corrected later; a rushed fix usually costs more time.
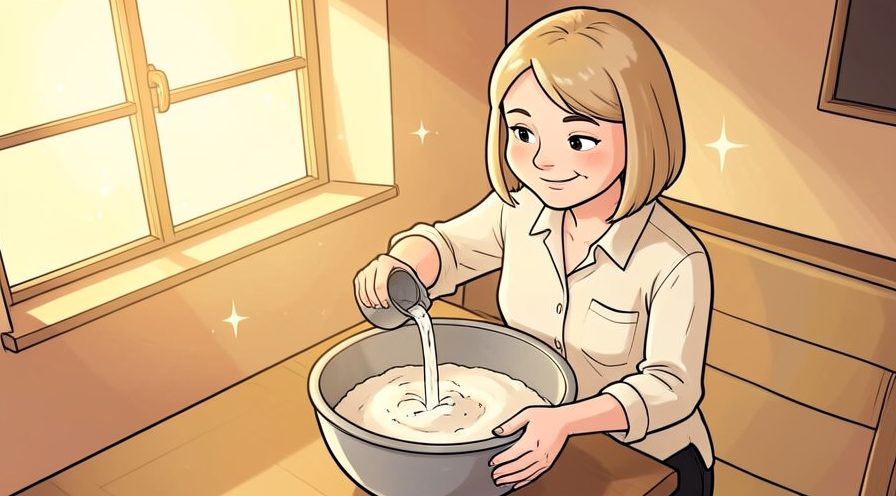
Step 6: Bring it together into a rough shaggy dough
Stop mixing once no dry flour remains, then rest it for ten minutes. Keep the same order every time, since a fixed sequence is easier to repeat than a list of separate decisions.
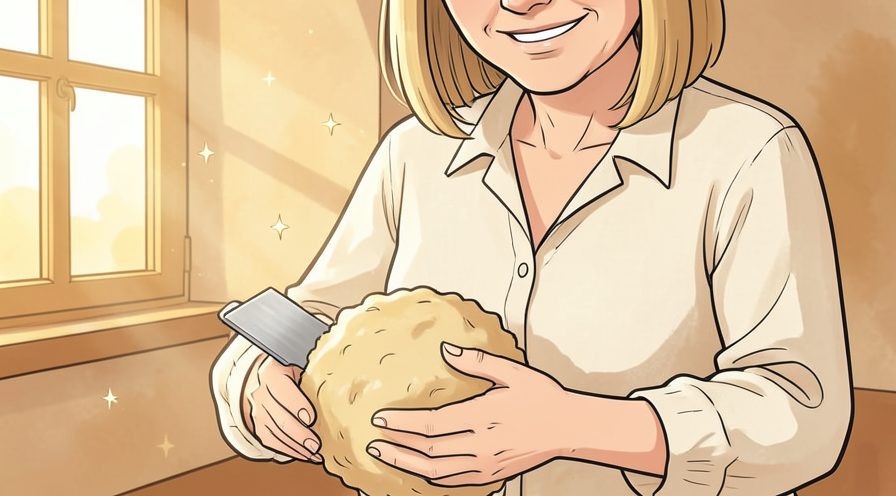
Step 7: Knead for about ten minutes
Push, fold, and turn until the surface turns smooth and springy. Work in small passes and look at the result after each one, so a slip is easy to fix while it is still small.
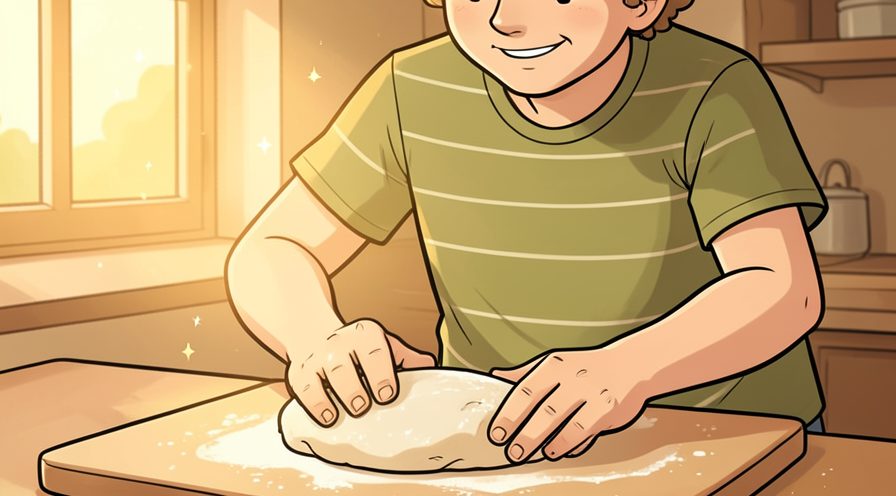
Step 8: Test with a gentle windowpane stretch
A thin stretched patch that holds without tearing means the gluten is ready. Give this stage a couple of minutes before moving on, because rushing here is the usual reason your bread ends up uneven.

Step 9: Leave it covered in a warm spot to double
A bowl lightly oiled and covered with a damp towel keeps the surface from drying. If conditions are different today, adjust one thing at a time and leave everything else unchanged.
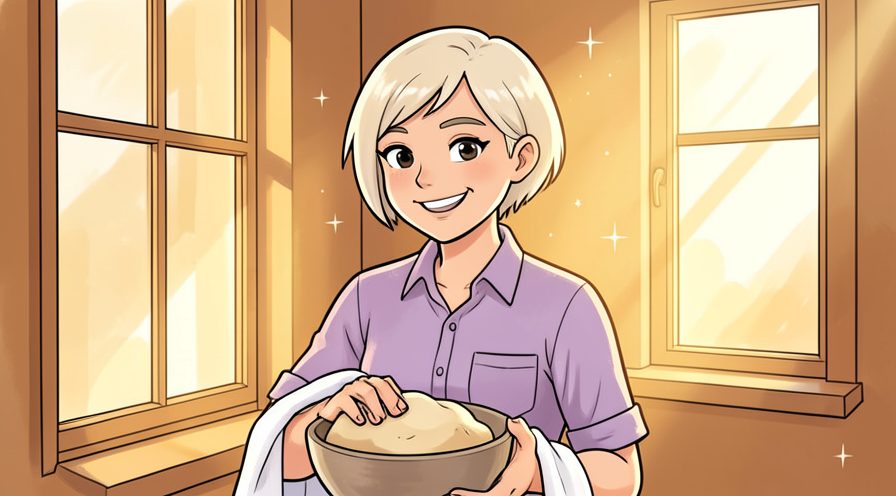
Step 10: Press a finger in to check the rise
A slow spring back that leaves a slight dent means it is ready. Note what you changed, because the same adjustment usually applies the next time you work on your bread.
Keep going: How to Cook Rice on the Stove uses the same illustrated format and is a good next read. More checklists live in the Food & Cooking category.

Method 2 of 2: Shape, Bake, and Cool :: The second half is mostly heat management and patience.
Step 11: Tip the dough out and press out large bubbles
A gentle fold deflates it without knocking out all the gas. Read the label or the guidance for your bread once before acting, since small differences matter here.
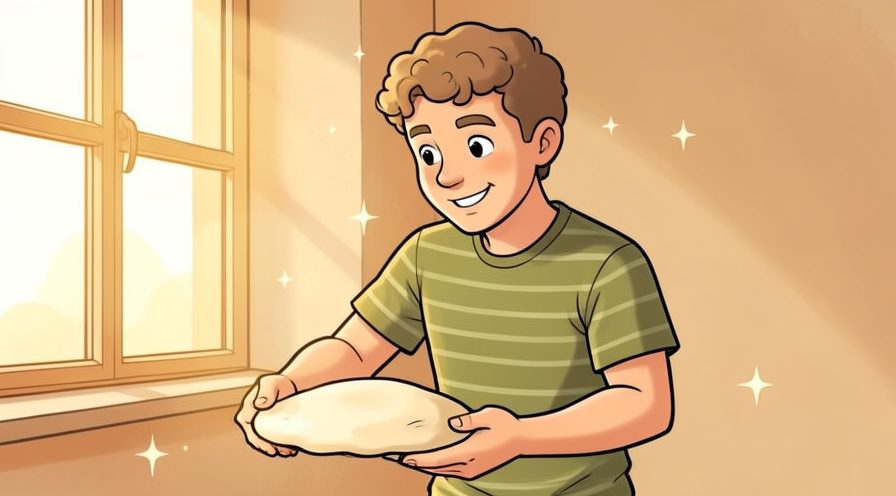
Step 12: Shape it into a tight loaf
Fold the edges under and roll slightly to build surface tension. Let it settle for a moment before judging the result, since the first impression often changes.
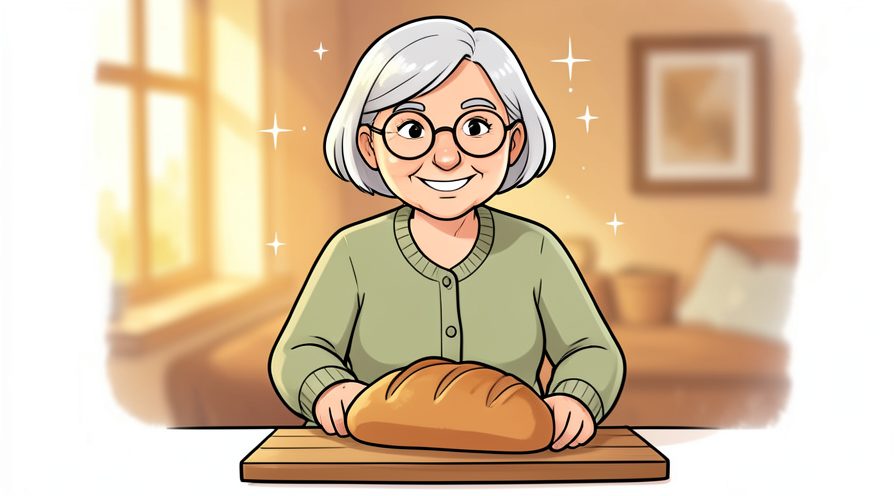
Step 13: Place it in a greased tin or on a lined tray
Leave room at the top for the final rise. Use a timer or a quick count rather than guessing, especially on your first few attempts.
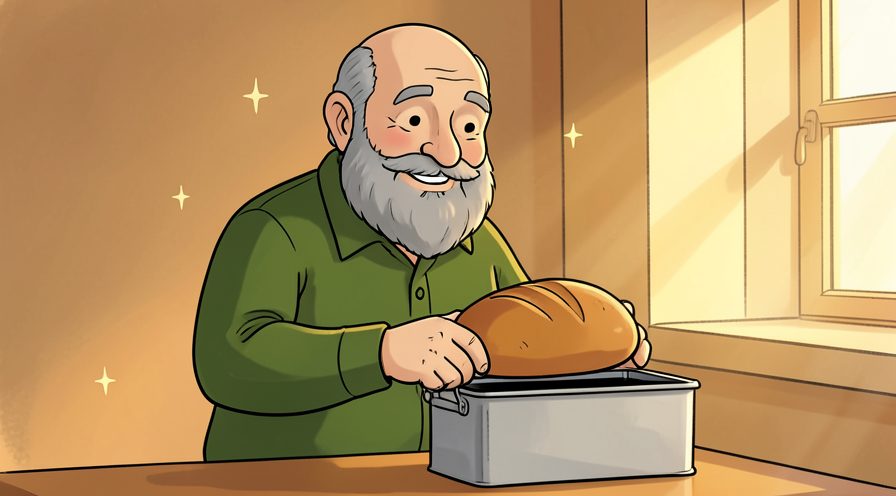
Step 14: Let it rise again until puffy
A second rise of roughly forty five minutes gives a lighter crumb. Keep everything you might need within reach before starting, so you are not searching mid-step.

Step 15: Preheat the oven fully for at least thirty minutes
A cold oven is the most common reason a loaf comes out dense. If you are unsure, do less than you think you need and check again; you can always repeat the step.
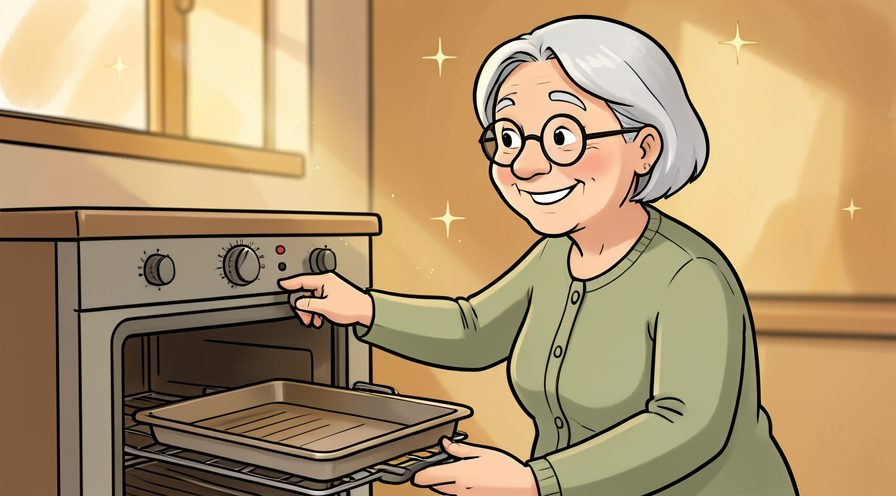
Step 16: Score the top with a shallow slash
A controlled cut lets the loaf expand without tearing at the side. Check the edges and the parts you cannot see easily; those are where most beginners miss something.

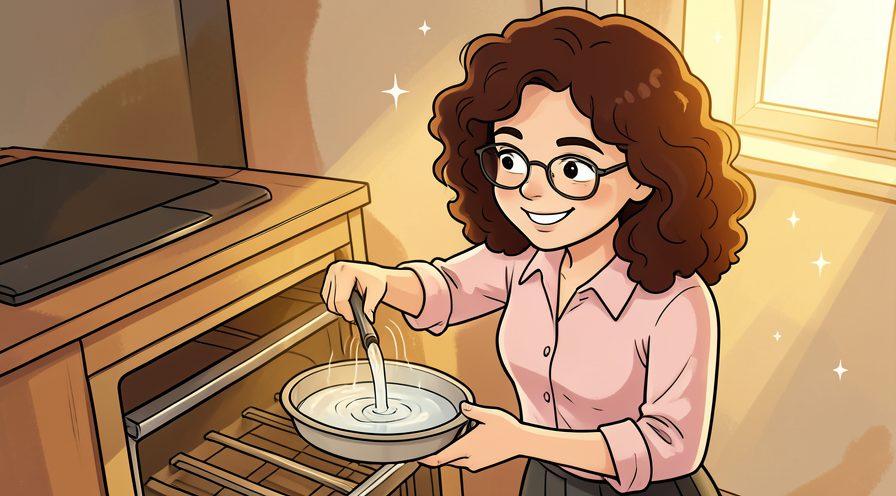
Step 17: Add steam with a tray of hot water
A humid first ten minutes keeps the crust flexible so the loaf can expand. Stop and tidy up as soon as this part is done, so the next stage starts from a clear surface.
Step 18: Bake until deeply browned
Pale bread is usually underbaked even if the clock says otherwise, and the base should sound hollow when tapped. Choose the gentlest option that still works, then increase only if the result is not holding.

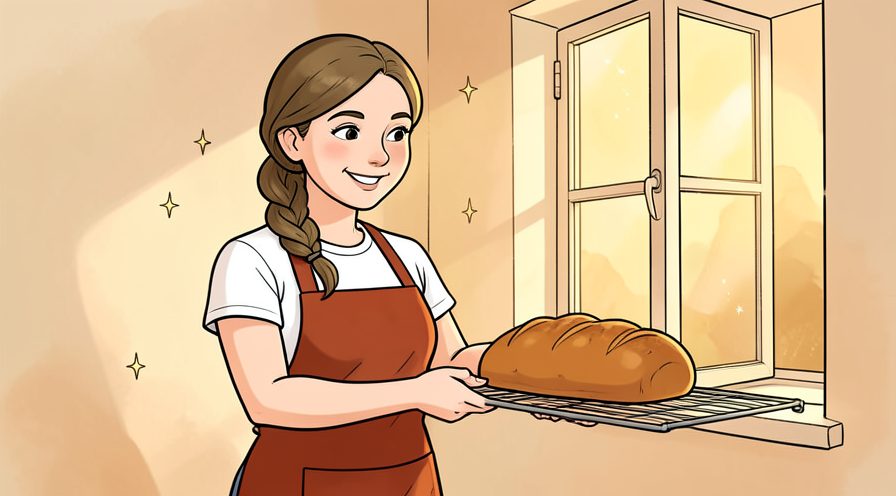
Step 19: Cool completely on a wire rack
Steam needs to escape or the crumb turns gummy. Use a light touch first; pressure and extra material are much easier to add than to remove.
Keep going: How to Make Fluffy Scrambled Eggs uses the same illustrated format and is a good next read. More checklists live in the Food & Cooking category.
Tips
- Go by how the dough feels and how much it has risen rather than the exact clock, since kitchen temperature changes everything.
- A hot oven with a tray of water underneath gives a better crust than any special wash. For another walkthrough, see How to Grill Chicken Breast Without Drying It Out.
- Slice only after the loaf is fully cool, because cutting hot bread makes the inside gummy.
Warnings
- Do not touch a hot tin or baking stone without proper oven mitts, and keep steam away from your face when opening the oven. Official guidance: Harvard T.H. Chan School of Public Health.
- Very hot water can kill yeast, so use lukewarm water that feels comfortable on your wrist.
Frequently asked questions
Why did my loaf not rise? Usually old yeast, water that was too hot, or a cold room.
Can I knead less? A longer slow rise partly replaces kneading, but a first loaf is easier with a proper ten minute knead.
How do I know it is baked? A hollow tap on the base and a deeply browned crust are good signs.
References
- Harvard T.H. Chan School of Public Health — Healthy Eating Plate. https://nutritionsource.hsph.harvard.edu/healthy-eating-plate/
- Academy of Nutrition and Dietetics — food and nutrition guidance. https://www.eatright.org/
- U.S. Centers for Disease Control and Prevention — food safety. https://www.cdc.gov/foodsafety/
- USDA Food Safety and Inspection Service — safe food handling. https://www.fsis.usda.gov/
- U.S. Environmental Protection Agency — reducing food waste. https://www.epa.gov/recycle
Every guide is reviewed against its sources. See our editorial policy.

Reader comments
0 so farFinished this guide? Tell other readers what worked, what didn't, and what you would change.