A map lasts longer when you fold along the original creases and use an accordion pattern that opens with one hand. This illustrated guide covers 3 methods and 20 steps, with a separate picture for every step.
This guide walks through the process in clear illustrated steps, from the first preparation to a finished result. Each step has its own picture, so you can compare your progress as you go.
How to use this guide
Work through the steps in order. Method 1 of 3: Use the Original Creases covers the basics, and the later methods offer alternatives and finishing touches. If you only have a minute, skim the Quick steps box above and come back for the details.
Related guides
- How to Pack a Carry-On
- How to Read a Road Map
- How to Navigate Without GPS
- How to Plan a Weekend Trip on a Budget
- Browse all Travel & Outdoors guides
- All 52runoob guides
Trusted external resources
A note on sources
We check each guide against the official resources listed in References at the end of this article. External links open in a new tab; the related guides above stay on this site.
Quick steps
- Lay the map face-up and find the original factory creases
- Fold into a repeating accordion so panels open one at a time
- Finish with a crosswise fold so the title stays on top
Things you'll need
- A paper road or trail map
- A flat, clean table
- A ruler or the edge of a book
- A light cloth to wipe the surface
Step-by-step
Method 1 of 3: Use the Original Creases :: Let the map's own folds do most of the work.
Step 1: Clear a flat work surface
Use a table large enough to hold the whole map so the edges do not hang over and pull the paper out of shape.
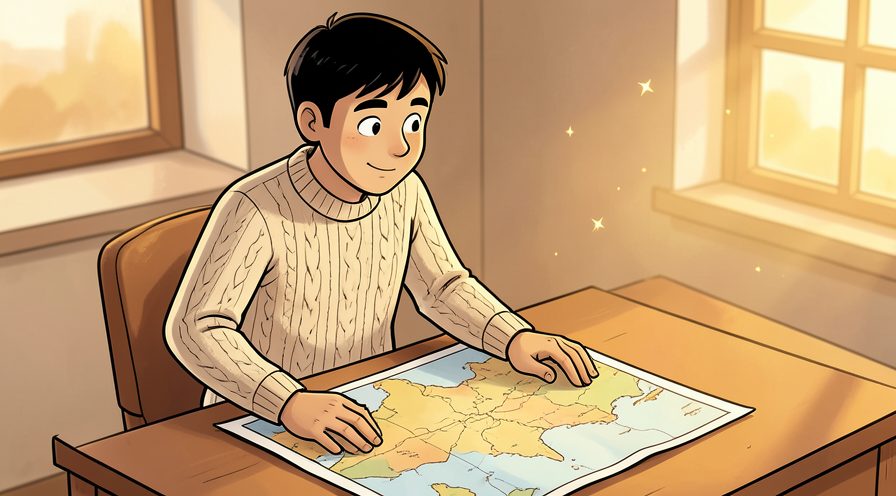
Step 2: Lay the map face-up
Place the printed side toward you and smooth it gently so you can see the existing fold lines.
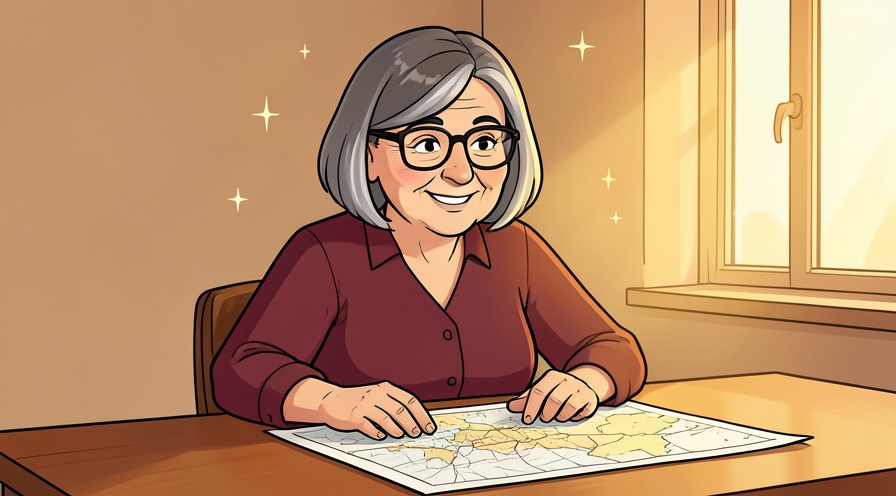
Step 3: Find the factory creases
Hold the map to the light and look for the faint grid of folds made at the printer.
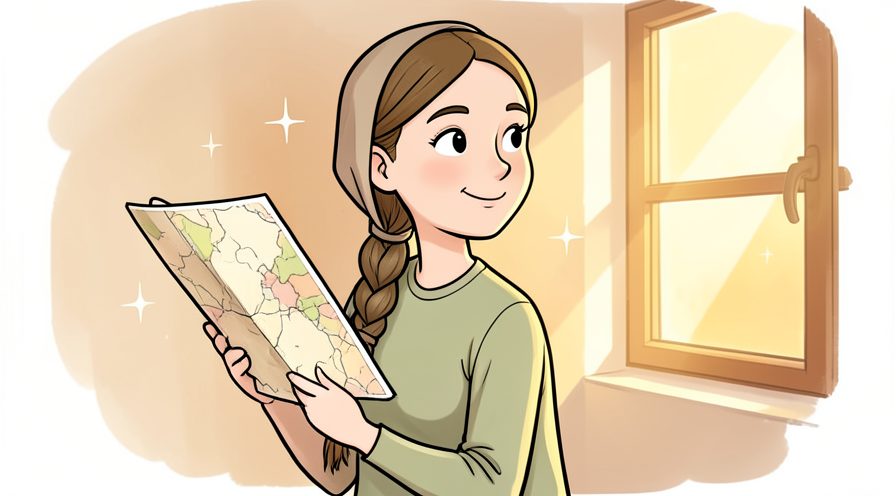
Step 4: Fold along each existing crease once
Refolding the original lines makes the map fold back into a neat rectangle instead of a lumpy bundle.
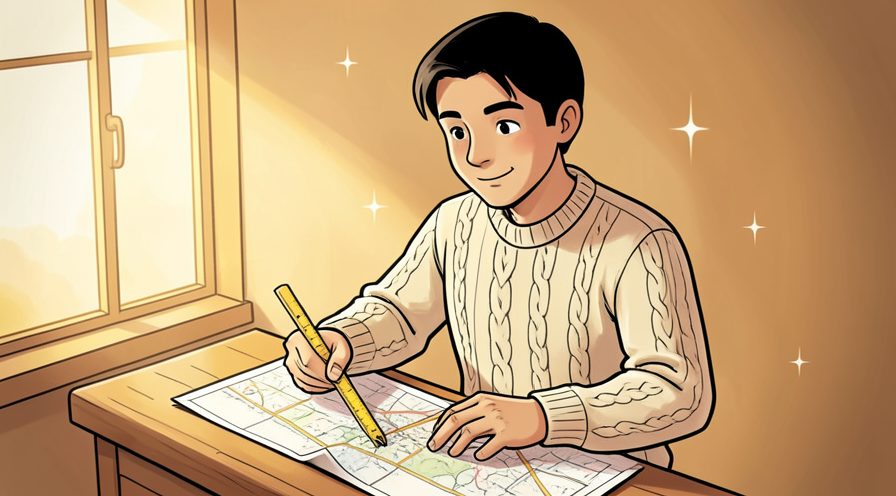
Step 5: Make each crease sharp
Run a ruler or the edge of a book along the fold so the paper remembers the line.
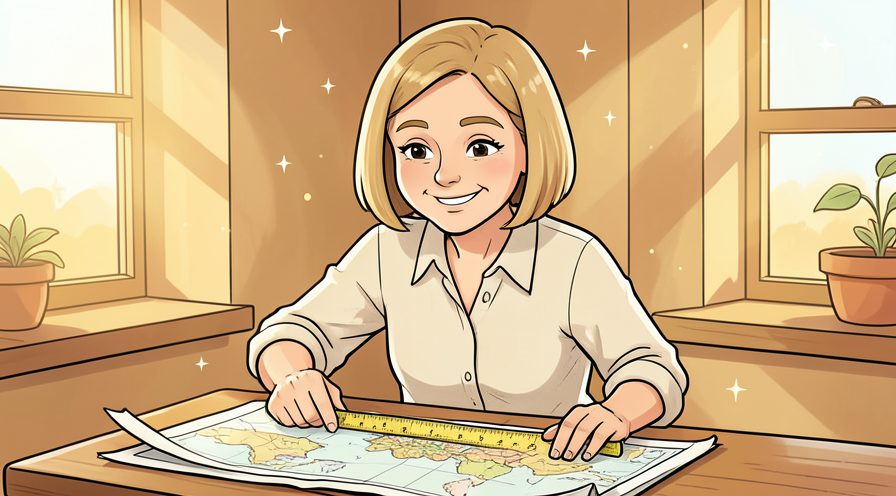
Step 6: Check the panel alignment
The printed border should line up evenly along every fold before you continue.
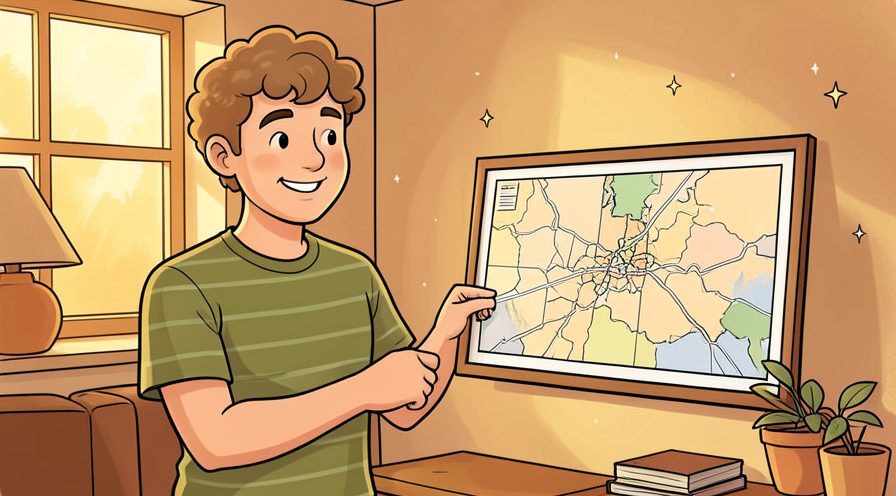
Method 2 of 3: Make an Accordion Fold :: Create panels that open one at a time.
Step 7: Fold the map in half crosswise
Bring the left edge over to the right and crease the middle so you have two equal halves.
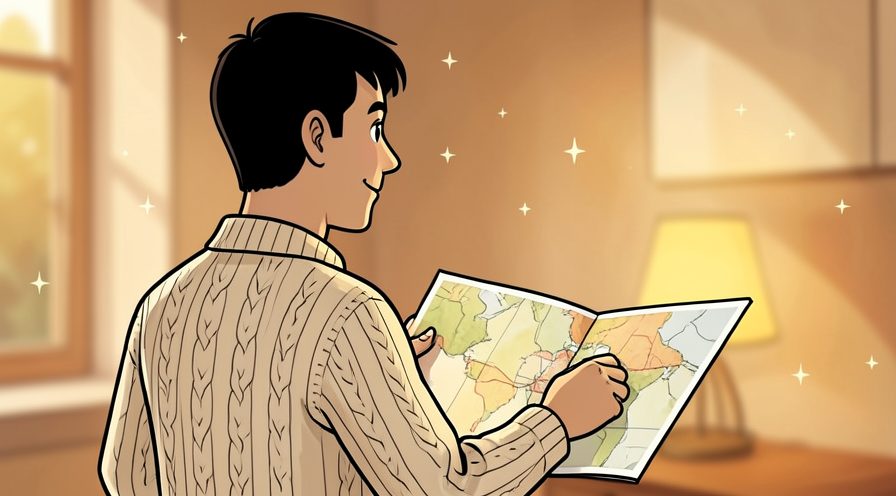
Step 8: Fold one outer edge to the centre
Bring the left edge in to meet the middle crease and press it flat.
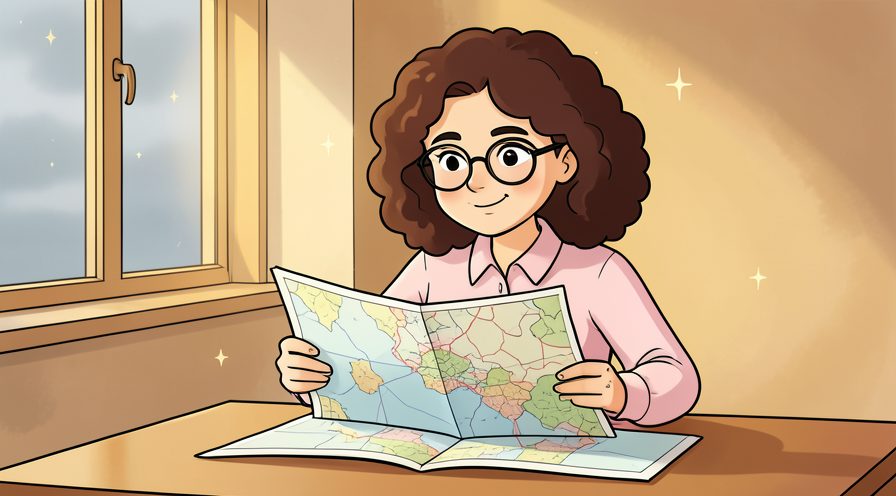
Step 9: Fold the edge back toward you
Take the new outer edge and fold it back over itself to make the first accordion pleat.
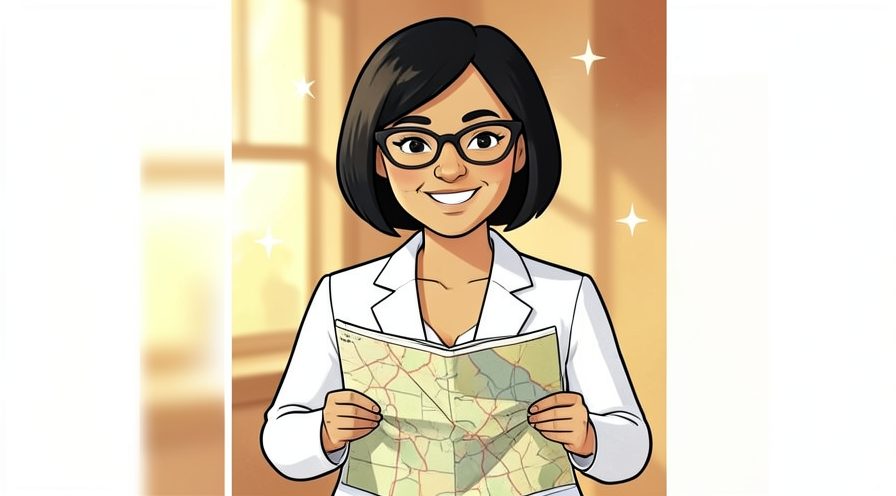
Step 10: Repeat on the other half
Mirror the same two folds on the right side so both halves have matching pleats.

Step 11: Press the whole fan flat
Run your hand down the folded fan to even out all the pleats at once.
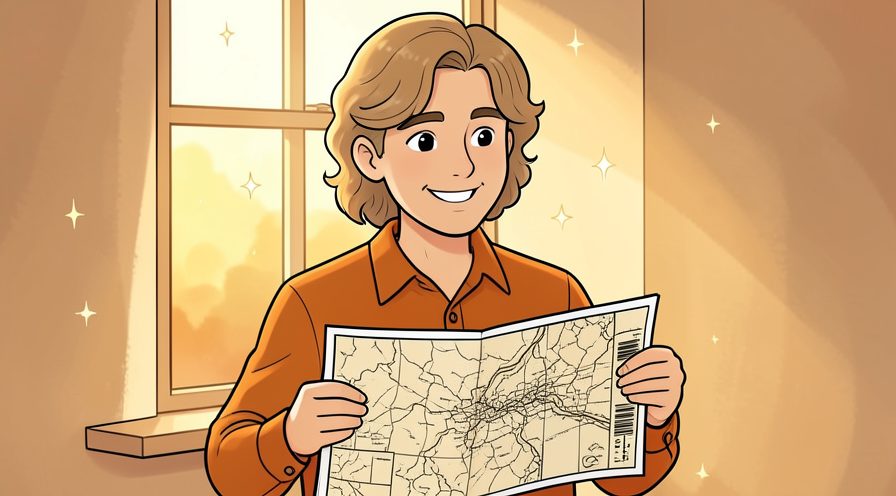
Step 12: Fold the fan into thirds
Fold the pleated strip into three equal parts crosswise so it fits a pocket or bag.
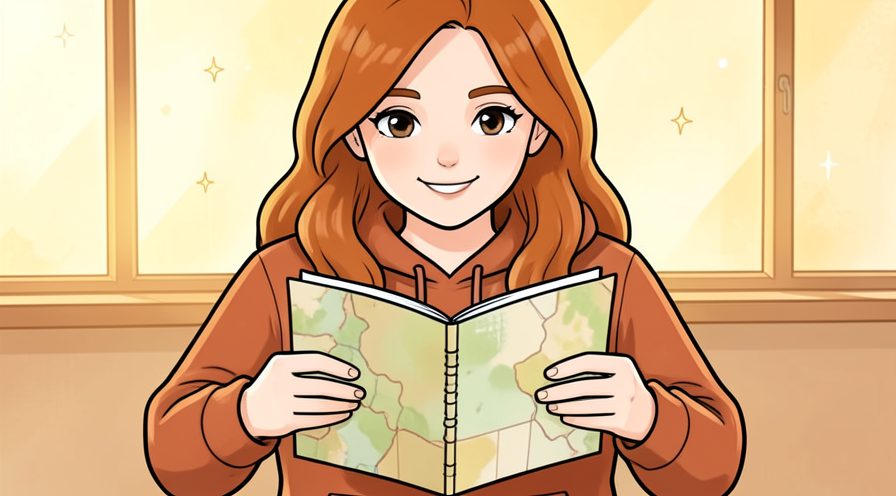
Step 13: Leave the title panel outside
Arrange the last fold so the map name faces outward for quick identification.
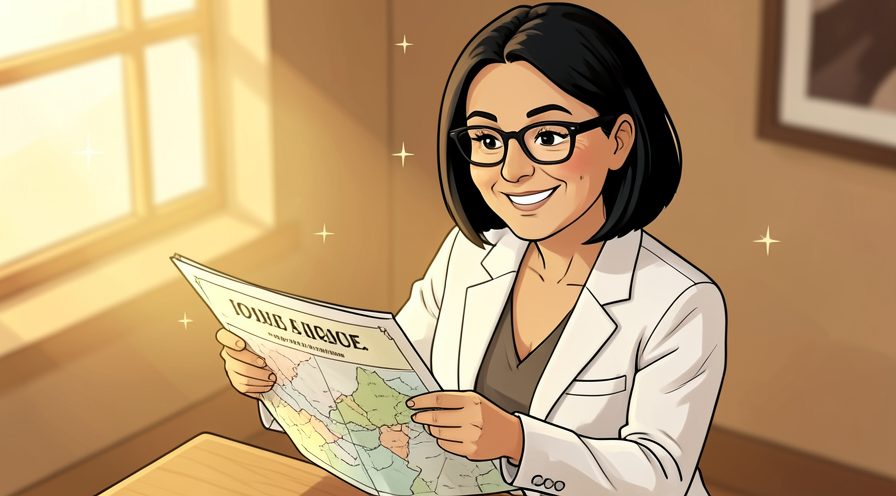
Method 3 of 3: Store and Refresh the Fold :: Keep the map readable trip after trip.
Step 14: Slide the map into a sleeve
A thin plastic sleeve protects the folds from dirt and moisture on the road.

Step 15: Keep it in a consistent spot
Store the map in the same pocket of your bag so it is easy to find.
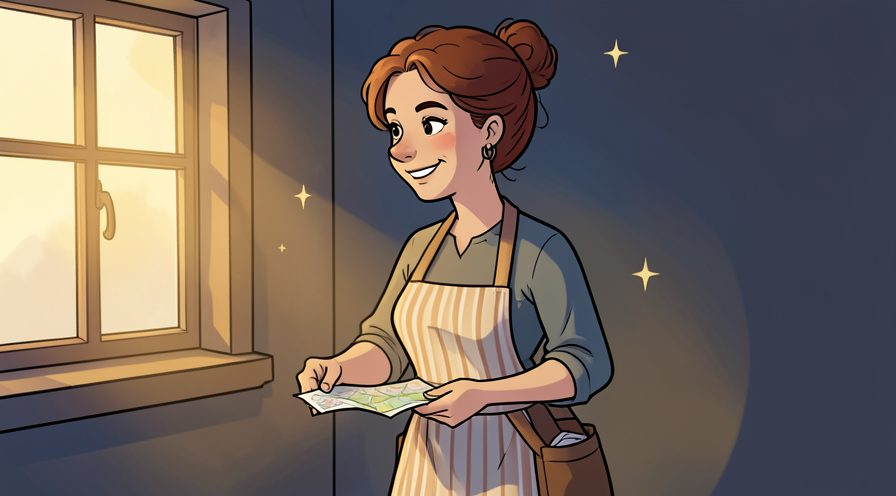
Step 16: Avoid creasing over the legend
Fold around key information so the scale and key stay easy to read.
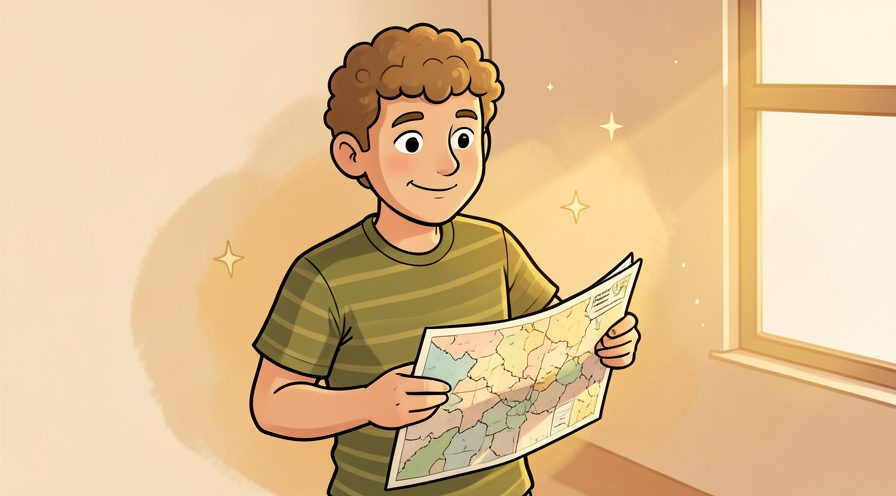
Step 17: Unfold gently at the creases
Open the map panel by panel rather than pulling it apart all at once.
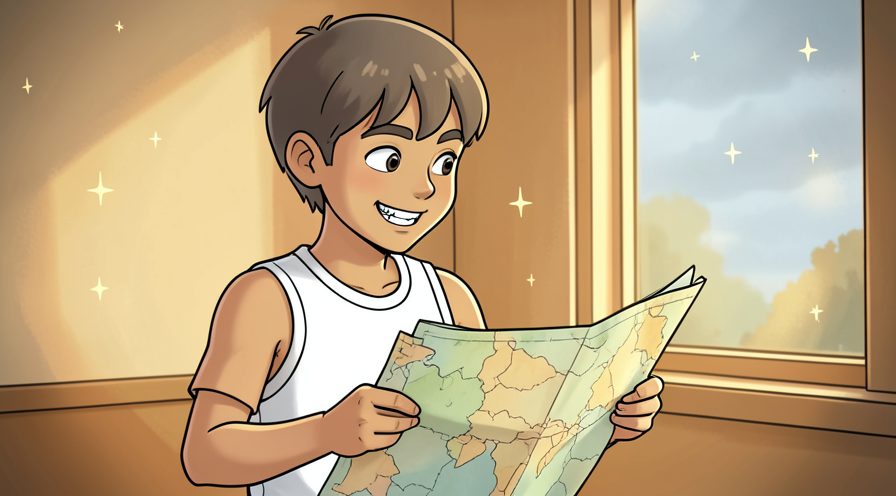
Step 18: Re-press soft folds after a trip
If the folds have relaxed, run a ruler over them again before storing.
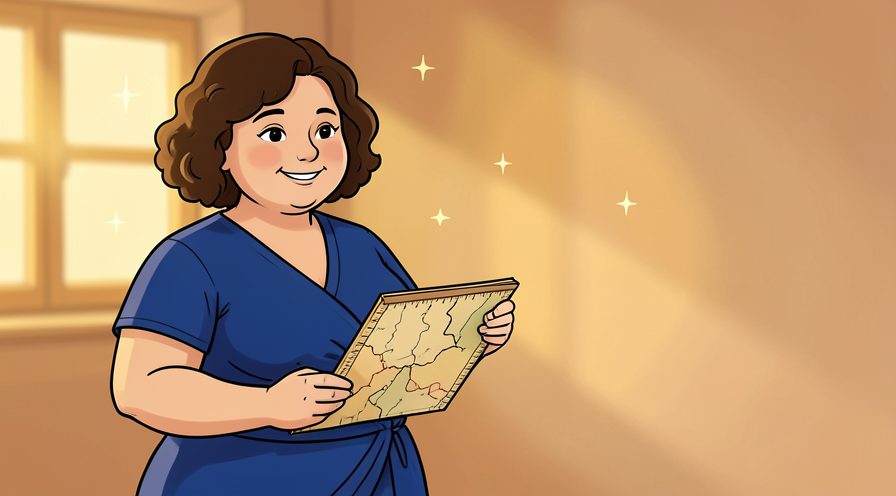
Step 19: Flatten under a book for long storage
For seasonal maps, keep the folded map under a stack of books to stay crisp.
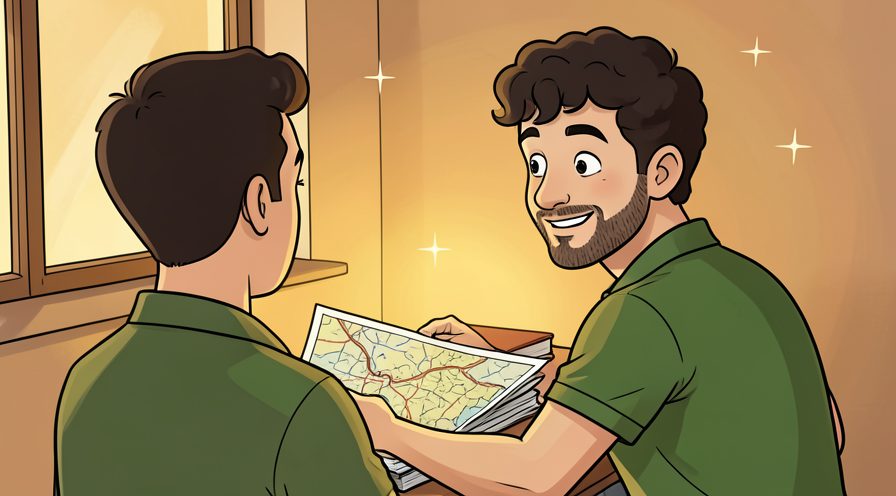
Tips
- Follow the existing creases; maps are scored at the factory to fold back neatly.
- Keep the title panel facing out so you can spot the right map in a bag.
- See How to Pack a Carry-On for packing it flat.
Warnings
- Do not force a new crease across a printed legend, since ink can crack over time.
- A damp map tears easily at fold lines; let it dry fully before refolding.
Frequently asked questions
What is the best way to fold a map? An accordion fold with the original creases is the easiest to open and refold.
How do I keep the title visible? Finish with the title panel folded to the outside.
Can I fold a wet map? Dry it first, since wet paper tears at the creases.
References
- National Geographic — maps and geography. https://www.nationalgeographic.org/
- USGS — topographic maps and guidance. https://www.usgs.gov/
- Wikipedia — map folding. https://en.wikipedia.org/wiki/Map_folding
- wikiHow — How to Fold a Map. https://www.wikihow.com/fold-a-map
Every guide is reviewed against its sources. See our editorial policy.
Reader comments
0 so farFinished this guide? Tell other readers what worked, what didn't, and what you would change.