After a feature update, the search indexer and update servicing rebuild caches in the background, which can peg the disk at 100% for hours. This is usually temporary, so give the PC time before changing settings. If it persists, run DISM and SFC, pause updates, and reset Windows Update components.
This guide walks through the process in clear illustrated steps, from the first preparation to a finished result. Each step has its own picture, so you can compare your progress as you go.
How to use this guide
Work through the steps in order. Method 1 of 3 covers the basics, and the later methods offer alternatives and finishing touches. If you only have a minute, skim the Quick steps box above and come back for the details.
Related guides
- How to Treat dry skin in winter
- How to Start a blog
- How to Apply blush naturally
- How to Start birdwatching
- Browse all Windows Troubleshooting guides
- All 52runoob guides
Trusted external resources
- Microsoft Learn — Overview of Windows as a service
- Microsoft Support — Troubleshoot problems updating Windows
- Microsoft Learn — Windows Update additional resources
A note on sources
We check each guide against the official resources listed in References at the end of this article. External links open in a new tab; the related guides above stay on this site.
Quick steps
- Let the PC run for a few hours so indexing and servicing can finish.
- Check Task Manager to confirm which process is using the disk.
- Pause Windows Update and keep the PC plugged in during a rebuild.
- Run DISM /RestoreHealth followed by sfc /scannow.
- Reset Windows Update components if downloads are stuck.
- Rebuild the search index if indexing remains the cause.
Things you'll need
- A Windows PC with administrator access
- Task Manager and Windows Update settings
- An internet connection for repair and update downloads
- Several hours of patience for background rebuild tasks
Step-by-step
Method 1 of 3: Confirm the Post-Update Cause
Step 1: Open Task Manager
Press Ctrl+Shift+Esc and open the Processes tab after the update completes.

Step 2: Sort by Disk
Click the Disk column to see which process is using the drive most heavily.
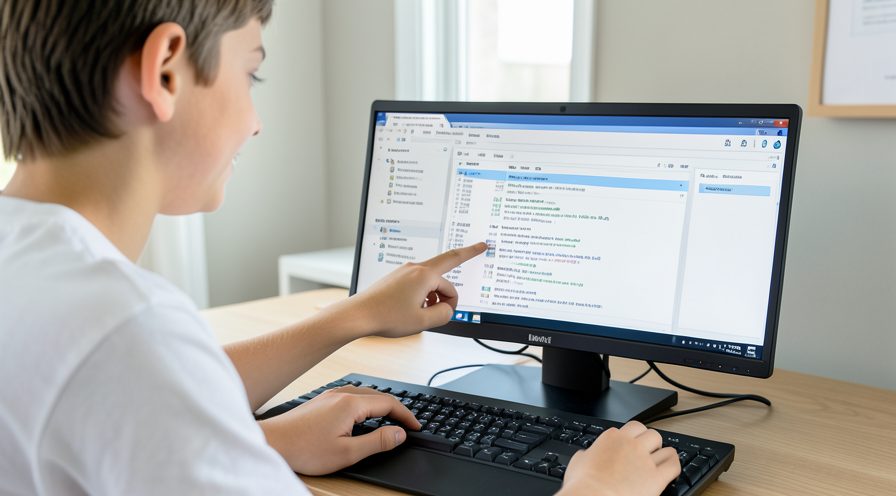
Step 3: Identify the indexer
Look for the search indexer process and note whether it is reading heavily.

Step 4: Check Windows Update
Open Windows Update settings to see whether an update is still installing or restarting.

Step 5: Expand Service Host
Expand any busy Service Host group to reveal the underlying update or servicing task.

Step 6: Give it time
Leave the PC running and plugged in for a few hours before changing settings.

Step 7: Check the update history
Open Windows Update history to confirm the feature update installed cleanly and note any failed entries.

Method 2 of 3: Repair Windows After the Update
Step 8: Open an administrator terminal
Right-click the Start button and open Windows Terminal or Command Prompt as administrator.

Step 9: Run DISM repair
Type DISM /Online /Cleanup-Image /RestoreHealth and press Enter to repair the image.

Step 10: Run System File Checker
Type sfc /scannow and press Enter to repair damaged system files.

Step 11: Pause Windows Update
In Windows Update settings, pause updates briefly so maintenance can finish.

Step 12: Reset update components
Stop the update services, rename the SoftwareDistribution folder, then restart the services and reboot.

Step 13: Restart and recheck
Reboot the PC and confirm disk activity in Task Manager has returned to normal.

Step 14: Run the update troubleshooter
Open Settings, System, Troubleshoot, and run the Windows Update troubleshooter to fix lingering update errors.

Step 15: Check free disk space
Open Storage settings and free space so update servicing and repairs have room to finish.

Step 16: Review system logs
Open Event Viewer and check the System log for servicing errors that explain ongoing disk activity.

Method 3 of 3: Rebuild the Search Index
Step 17: Open Indexing Options
Open the Control Panel and search for Indexing Options to access index settings.
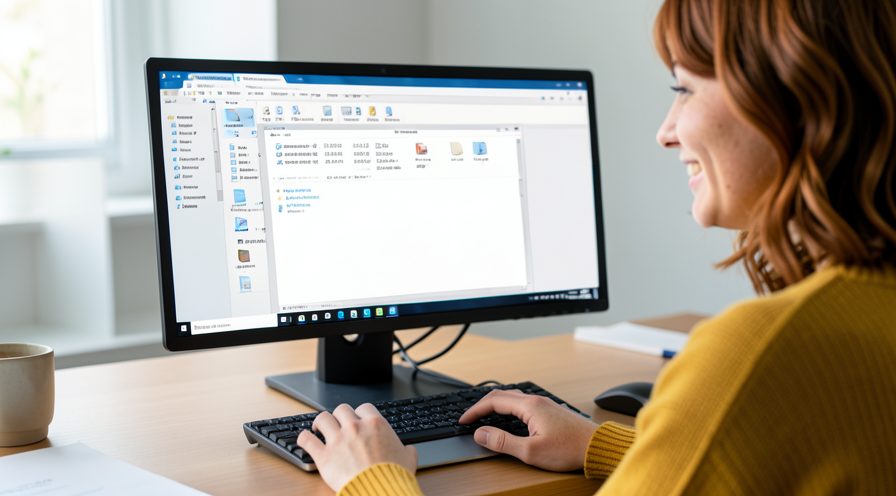
Step 18: Review indexed locations
Check which folders are indexed and remove large folders that do not need searching.
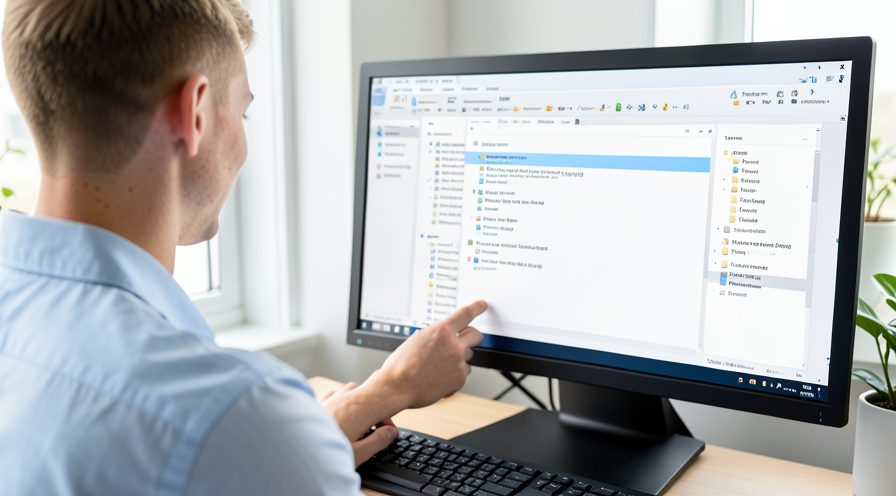
Step 19: Start a rebuild
Click Modify or Rebuild in Indexing Options so the index is recreated cleanly.

Step 20: Let indexing complete
Allow the rebuild to finish, which may take time depending on the amount of data.

Step 21: Verify search works
Test Start menu and File Explorer search to confirm results appear correctly.

Step 22: Monitor disk usage
Reopen Task Manager and confirm the indexer is no longer pinning the disk.

Tips
- Disk usage often peaks for a day after a feature update and then settles by itself.
- Keep the laptop plugged in so the rebuild is not interrupted by sleep.
- Check the search indexer first; rebuilding the index after an update is very common.
Warnings
- Do not force-shut down the PC during the first hours after an update; it can corrupt servicing.
- Resetting Windows Update components requires administrator rights and a reboot.
- Back up important files before making changes to update services.
Frequently asked questions
How long should 100% disk usage last after a feature update?
It is normal for heavy disk activity to last several hours, and occasionally up to a day, while Windows rebuilds the search index and finalizes update servicing. If usage stays high for more than a day, treat it as a problem and identify the process in Task Manager.
Why does the search indexer work so hard after an update?
A feature update can change system files and settings, so the indexer re-scans and re-catalogs content to keep search results accurate. This background rebuild can saturate the disk on a mechanical drive. It normally finishes on its own.
Should I reset Windows Update components?
Only if updates are stuck or repeatedly failing, which keeps servicing active. The process involves stopping update services, renaming the SoftwareDistribution folder, restarting them, and rebooting. It is safe when done with administrator rights.
Will disabling indexing permanently fix it?
It will reduce disk load if the indexer is the cause, but you lose fast Start menu and File Explorer search. A better option is to let the rebuild finish or exclude large folders from the index. You can rebuild the index once the update fully settles.
References
- Microsoft Learn — Overview of Windows as a service. https://learn.microsoft.com/en-us/windows/deployment/update/waas-overview
- Microsoft Support — Troubleshoot problems updating Windows. https://support.microsoft.com/windows/troubleshoot-problems-updating-windows-10-188c2b0f-10a7-d72f-65b8-32d177eb136c
- Microsoft Learn — Windows Update additional resources. https://learn.microsoft.com/en-us/troubleshoot/windows-client/installing-updates-features-roles/additional-resources-for-windows-update
- wikiHow — How to Fix 100% Disk Usage After a Windows 11 Feature Update. https://www.wikihow.com/Fix-a-Slow-Computer
Every guide is reviewed against its sources. See our editorial policy.



Reader comments
0 so farFinished this guide? Tell other readers what worked, what didn't, and what you would change.