Cooking on weeknights collapses when you are tired, hungry, and staring into a fridge with no plan. Most failed attempts start with ambitious recipes, a scattered shopping list, and good food that spoils before it is eaten. A workable week of meals comes from a small menu built on shared ingredients and one organized cooking session.
Following a single repeatable routine leaves you with a fridge of portioned, ready-to-heat meals instead of daily decisions about what to cook. You will spend less on takeout, waste less produce, and know exactly what is for lunch on a busy Wednesday. This guide covers planning, shopping, batch cooking, and the storage rules that keep everything safe.
How to use this guide
Work through the illustrated steps in order. Every step has its own picture, so you can check what a finished stage should look like before you move on. If you only have a minute, skim the Quick steps box above and come back for the details.
Related guides
- How to Speed Up a Slow Windows PC
- How to Make a Budget
- How to Study for a Test
- Browse all Food & Cooking guides
- All HowCompass guides
Trusted external resources
- Harvard T.H. Chan School of Public Health — Healthy Eating Plate
- Academy of Nutrition and Dietetics — food and nutrition guidance
- U.S. Centers for Disease Control and Prevention — food safety
A note on sources
We check each guide against the official resources listed in References at the end of this article. External links open in a new tab; the related guides above stay on this site.
Quick steps
- Pick a short menu built on shared ingredients and write one sorted grocery list.
- Cook proteins, grains, and vegetables in batches, then cool food quickly before sealing.
- Portion meals into airtight containers and reheat leftovers until steaming hot throughout.
Things you'll need
- Matching airtight meal containers
- Two rimmed sheet pans
- A large pot with a lid
- A sharp knife and two cutting boards
- A food thermometer
- Reusable labels or masking tape
Step-by-step
Method 1 of 1: Plan and Batch-Cook a Week of Meals
Step 1: Pick Recipes That Share Ingredients
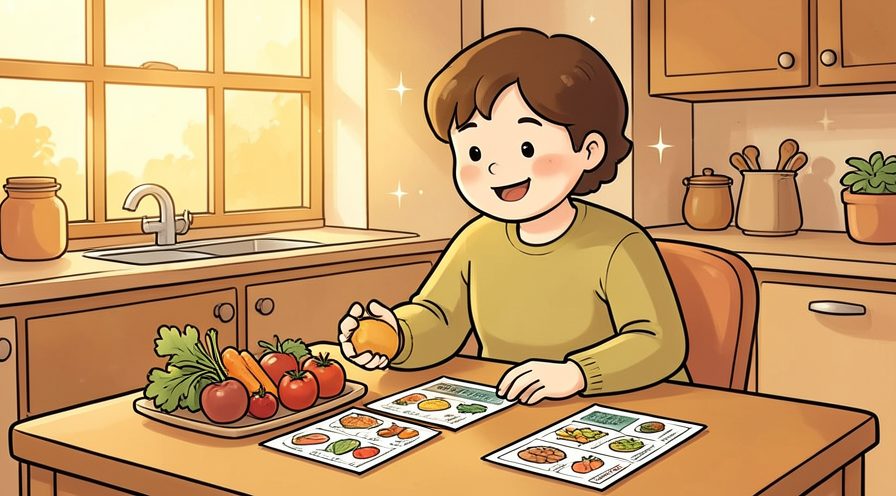
Choose two or three recipes built around the same base ingredients, such as chicken, rice, and broccoli, so one shopping trip covers every meal. Limit yourself to one protein, one grain, and two vegetables for the week. This keeps costs down, cuts prep time, and reduces the chance that unused produce spoils before you cook it.
Step 2: Write a Weekly Menu and Grocery List
Map out which meals you will eat over the next five to seven days, counting breakfasts, lunches, and dinners. Turn the menu into a grocery list grouped by store section: produce, protein, pantry, and dairy. Check your pantry first and cross off anything you already have, so you buy only what the plan actually needs.

Step 3: Shop Once With a Sorted List
Do the entire week's shopping in a single trip, working through your sorted list aisle by aisle to avoid backtracking. Buy shelf-stable staples like rice, oats, and canned beans in larger quantities, and pick produce that keeps well, such as carrots, cabbage, and apples. Avoid impulse buys that are not on the list.

Step 4: Prep Proteins, Grains, and Vegetables First
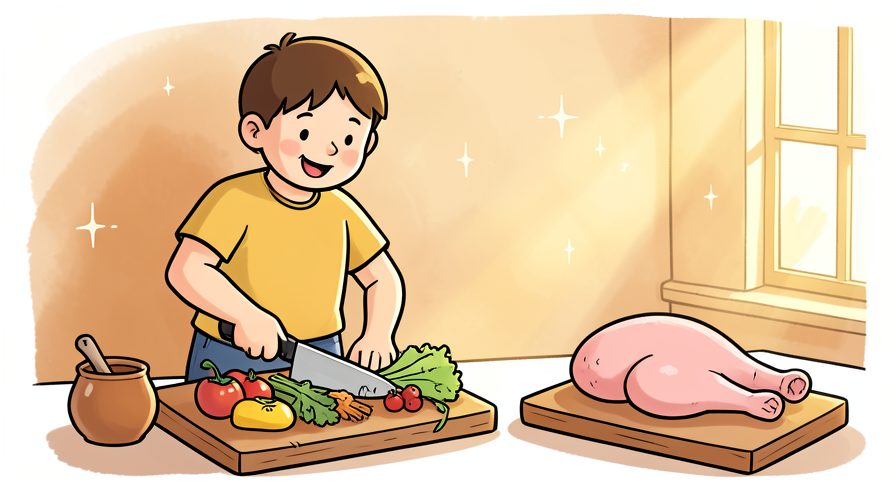
Start by washing and chopping all vegetables, then trimming and seasoning proteins, and finally measuring grains, so raw and ready-to-eat items never share a cutting board. Use separate boards for raw meat and produce, and wash hands between tasks. Getting every component ready before the stove goes on makes the actual cooking fast and orderly.
Step 5: Cook Components in Batches on Sheet Pans
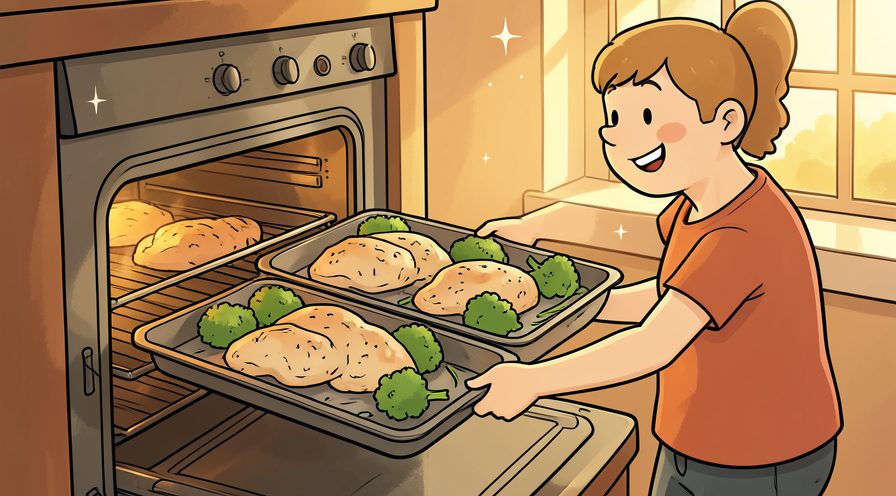
Roast vegetables and proteins on two sheet pans at 200 degrees Celsius while a large pot of grains simmers at the same time. Cook plain, lightly seasoned components rather than full dishes, so the same chicken and rice can become several different meals. Cook until a food thermometer reads 74 degrees Celsius in the thickest part of the chicken.
Step 6: Cool Food Quickly Before Sealing Containers
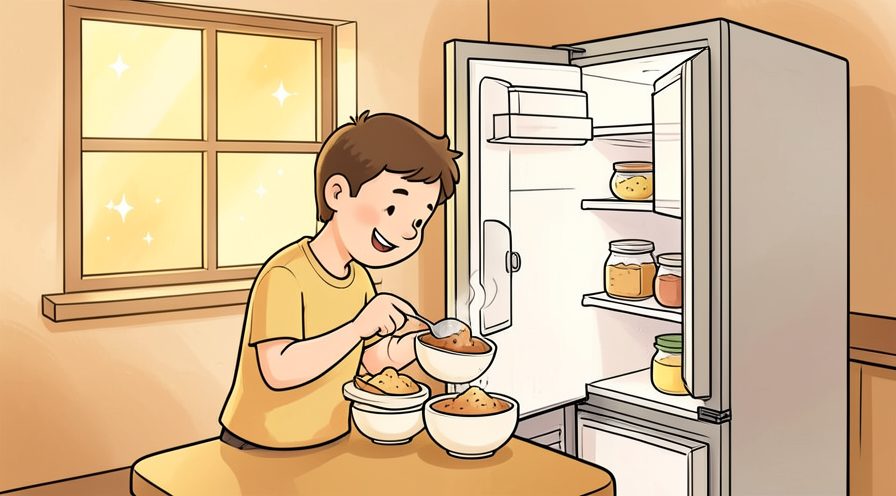
Spread hot food in shallow containers and refrigerate it within two hours of cooking, because sealing steaming meals traps heat and speeds up bacterial growth. Divide large batches into smaller portions so they cool fast, and never leave cooked food on the counter overnight. Getting food out of the temperature danger zone quickly is the key safety step.
Step 7: Portion Meals Into Labeled Airtight Containers
Divide cooled components into single-serving airtight containers, pairing a protein, a grain, and a vegetable in each. Mark each container with the meal name and the date it was cooked, and keep sauces or crunchy toppings in separate small containers so nothing turns soggy. Stack the portions in the fridge with the oldest meals at the front.
Step 8: Store and Reheat Meals Safely Through the Week
Keep cooked meals in the fridge at 4 degrees Celsius or below and eat them within three to four days, freezing anything meant for later in the week. Reheat leftovers until they are steaming hot throughout, and only reheat a portion once. Plan to thaw frozen portions in the fridge the night before you need them.
Keep going: How to Make a Budget uses the same step-by-step format and is a good next read. More checklists live in the Food & Cooking category.
Tips
- Cook components plain and lightly seasoned, then change the sauce each day so the same chicken and rice never taste repetitive.
- Keep dressings, crunchy toppings, and fresh herbs in separate small containers so nothing turns soggy by the third day. For a related walkthrough, see How to Speed Up a Slow Windows PC.
- Freeze half the portions on day one and thaw them in the fridge overnight, so later meals taste freshly made.
- Line sheet pans with parchment and roast two trays at once to cut both cooking time and washing up.
- Weigh or measure one portion on the first batch, then eyeball the rest so every container holds a consistent serving.
Warnings
- Refrigerate cooked food within two hours of cooking and never leave it on the counter overnight, since warm sealed containers breed bacteria quickly. Official guidance: Harvard T.H. Chan School of Public Health.
- Use separate boards for raw meat and ready-to-eat produce, and reheat leftovers only once, because repeated cooling and warming raises food-safety risk.
Frequently asked questions
How long do meal-prepped meals last in the fridge?
Most cooked meals keep for three to four days in a fridge held at 4 degrees Celsius or below. Cool food quickly in shallow containers before sealing, label each portion with the date it was cooked, and freeze anything you plan to eat later in the week.
120 found this helpful · 5 did not
Should I freeze meals or just refrigerate them?
Refrigerate what you will eat within three to four days and freeze the rest. Portion everything before freezing, leave a little headspace for expansion, and thaw frozen meals overnight in the fridge rather than on the counter. Reheat until steaming hot throughout.
120 found this helpful · 5 did not
How do I keep prepped meals from getting soggy?
Store wet and dry parts separately. Keep sauces, dressings, and crunchy toppings in small containers and add them just before eating. Let hot components cool fully before closing the lid, since trapped steam condenses and softens grains, greens, and roasted vegetables.
120 found this helpful · 5 did not
References
- Harvard T.H. Chan School of Public Health — Healthy Eating Plate. https://nutritionsource.hsph.harvard.edu/healthy-eating-plate/
- Academy of Nutrition and Dietetics — food and nutrition guidance. https://www.eatright.org/
- U.S. Centers for Disease Control and Prevention — food safety. https://www.cdc.gov/foodsafety/
- USDA Food Safety and Inspection Service — safe food handling. https://www.fsis.usda.gov/
- U.S. Environmental Protection Agency — reducing food waste. https://www.epa.gov/recycle
Every guide is reviewed against its sources. See our editorial policy.



Reader comments
0 so farFinished this guide? Tell other readers what worked, what didn't, and what you would change.