Clutter rarely arrives all at once; it accumulates as unopened post, outgrown clothes, duplicate gadgets, and just-in-case purchases settle onto every flat surface. The usual mistake is trying to tidy a whole house in one frantic day, which spreads mess into other rooms and leaves the job half done. A methodical, zone-by-zone clear-out works far better.
Following two linked passes, first removing the excess and then organizing what remains, leaves you with rooms that are genuinely easier to use and keep clean. You will spend less time hunting for things, and a short daily reset will hold the result. The goal is not a bare home but one where everything has a place.
How to use this guide
Work through the illustrated steps in order. Every step has its own picture, so you can check what a finished stage should look like before you move on. If you only have a minute, skim the Quick steps box above and come back for the details.
Related guides
- How to Make a Budget
- How to Study for a Test
- How to Meal Prep for the Week
- Browse all Home & Garden guides
- All HowCompass guides
Trusted external resources
- U.S. Environmental Protection Agency — indoor air quality
- U.S. Environmental Protection Agency — reducing household waste
- Habitat for Humanity — home and housing resources
A note on sources
We check each guide against the official resources listed in References at the end of this article. External links open in a new tab; the related guides above stay on this site.
Quick steps
- Work one small zone at a time and empty it fully before sorting items.
- Sort into keep, donate, and discard piles, then remove giveaways the same day.
- Give everything a labelled home and reset the room for ten minutes nightly.
Things you'll need
- Sturdy donation boxes or bags
- Heavy-duty rubbish and recycling bags
- A marker and masking tape
- Microfiber cloths and all-purpose cleaner
- Clear stackable storage bins
- A timer or phone clock
Step-by-step
Method 1 of 2: Sort and Remove Clutter Room by Room
Step 1: Set a Clear Goal and a Realistic Schedule
Write down what you want the room to be used for, such as a clear dining table or a walkable hallway floor, then break the work into short sessions. Block out one or two hours per weekend or thirty minutes per weekday on your calendar. A concrete target and a fixed slot keep the project from stalling halfway.

Step 2: Gather Sorting Supplies Before You Begin
Before you touch a single shelf, set out sturdy bags or boxes for donations, a bin for rubbish, a marker and tape for quick labels, and cleaning cloths. Having everything within arm's reach stops constant trips to find supplies and keeps you from pausing mid-sort. Put a donated-goods box and the recycling bin by the door.
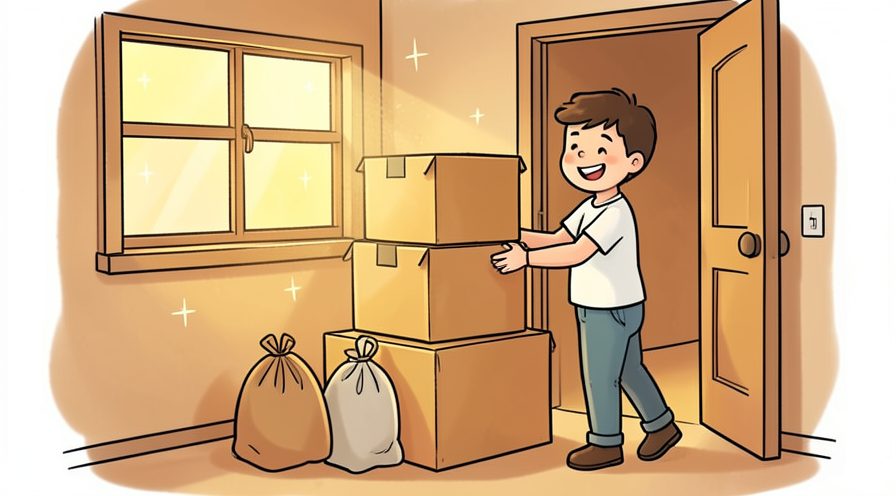
Step 3: Start With One Small Area at a Time
Begin with a single drawer, one shelf, or a two-square-metre patch of counter rather than an entire room. Small zones deliver a visible win in under an hour, which makes it far easier to start the next session. Resist jumping to another corner until the one in front of you is completely finished.
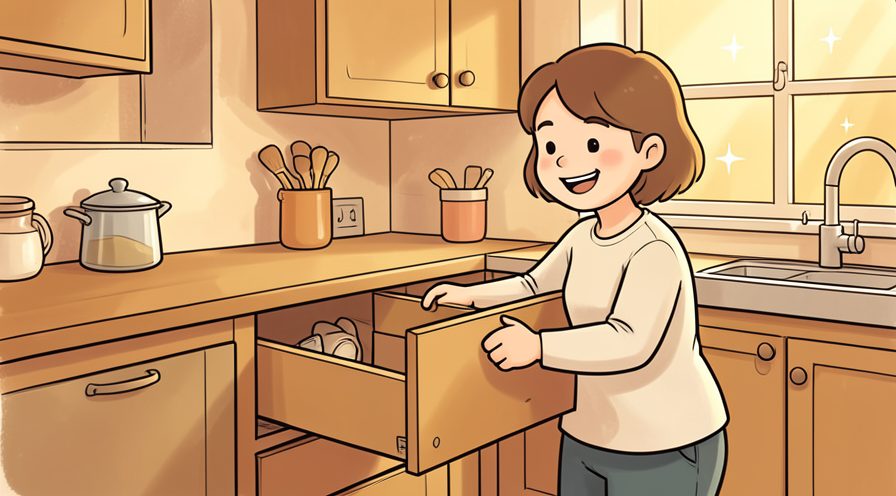
Step 4: Empty the Space Completely Before Sorting
Take everything out of the chosen area and place it on a clear surface or an old sheet on the floor, so you can see the full volume at once. Sorting inside a half-full cupboard hides what you own and usually ends with items being pushed back. An empty space also lets you wipe the shelf before anything returns.

Step 5: Sort Items Into Keep, Donate, and Discard Piles
Handle each object once and place it into one of three piles: keep, donate or sell, and discard or recycle. Add a fourth relocate pile for things that belong in another room, but do not walk them there yet. Move quickly and trust your first reaction instead of re-reading or re-testing every item.

Step 6: Decide With Quick, Consistent Rules
Use a few fixed questions to decide fast: have I used this in the past year, does it fit, and would I buy it again today? Keep duplicates to a sensible count, such as two spare mugs rather than ten. Consistency matters more than any single rule, so apply the same standard to sentimental items too.

Step 7: Remove Donations and Trash the Same Day
Load donation boxes into your car or book a pickup, take rubbish and recycling to the bins, and drop off anything headed for another room in one short walk. Bags left by the front door for weeks tend to get unpacked again. Removing items from the house the same day makes the cleared space real and permanent.

Step 8: Clean the Emptied Space Before You Restock
Vacuum, dust, and wipe the emptied shelf, drawer, or floor before a single item goes back, since you will rarely get another chance this easy. Line a drawer or shelf if you use liners, and let surfaces dry fully. Only then return the keep pile, placing items deliberately rather than tipping the box out.
Keep going: How to Study for a Test uses the same step-by-step format and is a good next read. More checklists live in the Home & Garden category.
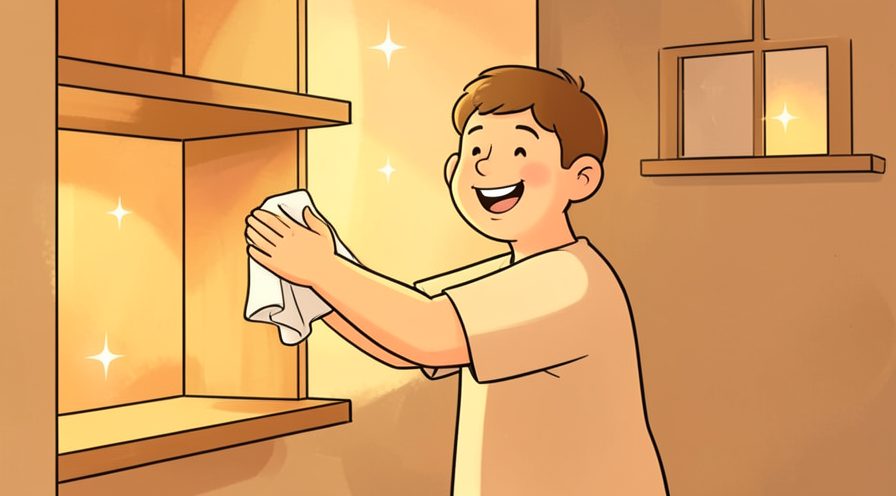
Method 2 of 2: Organize What Stays and Keep It Tidy
Step 9: Group Similar Items Into Clear Categories
Lay out everything you plan to keep and group it by how it is used: all cleaning products together, all cables together, all baking tools together. Seeing a category in one place reveals duplicates you missed and shows how much storage it actually needs. Match container sizes to the real volume of each group.
Step 10: Choose Storage That Fits Each Space
Assign a specific spot for each category and keep it there every time, choosing locations close to where the item is used. Store mugs beside the kettle, not across the kitchen, and keep spare batteries near the devices that use them. A defined home removes the guesswork that creates random piles.

Step 11: Store Frequently Used Items Within Easy Reach
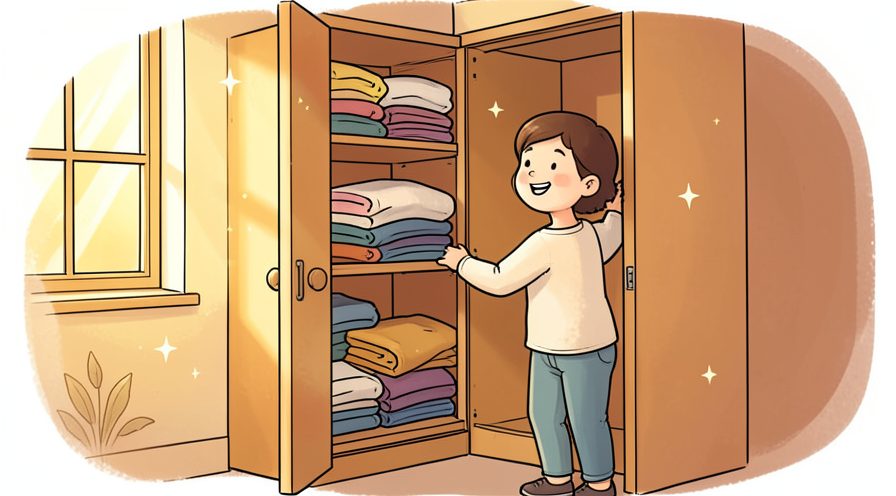
Put everyday items at eye level or in the front of drawers, and reserve high shelves, deep cupboards, and the back of closets for things used a few times a year. Keep heavy objects low so lifting is safe. If you must stretch or unpack three boxes to reach something, that spot is wrong.
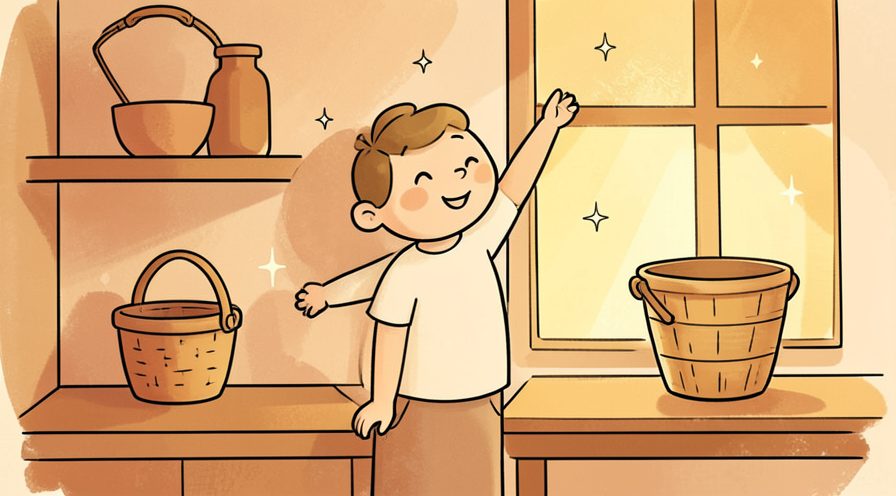
Step 12: Label Bins and Shelves for Fast Retrieval
Mark bins, baskets, and shelf edges with plain words or a simple colour code so anyone in the household can tell where things go. Labels turn a vague put-it-away into a specific target and make it obvious when a container is overfull. Keep wording short and use the same system in every room.
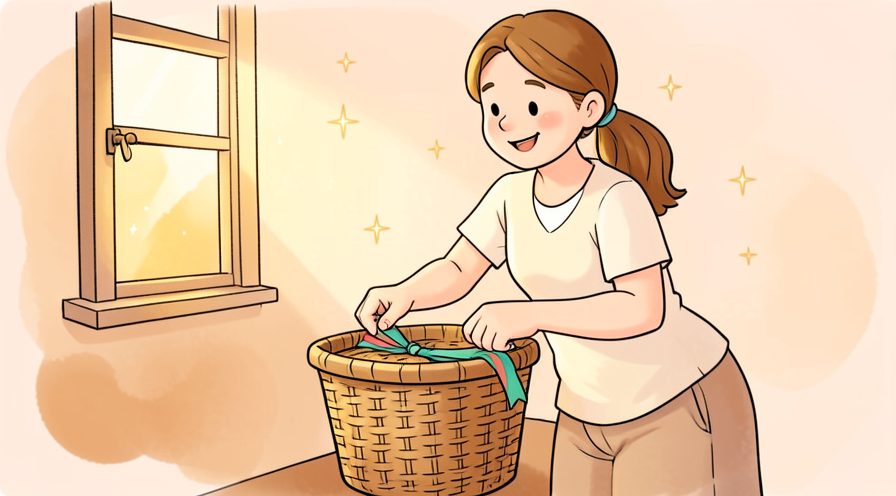
Step 13: Create a Drop Zone for Daily Essentials
Set up one tray, hook, or small bowl near the entrance for keys, wallets, glasses, and post, so daily essentials never scatter across tables. Empty and reset the drop zone as part of your evening routine. A single catch-all spot contains the clutter that otherwise spreads into every room.
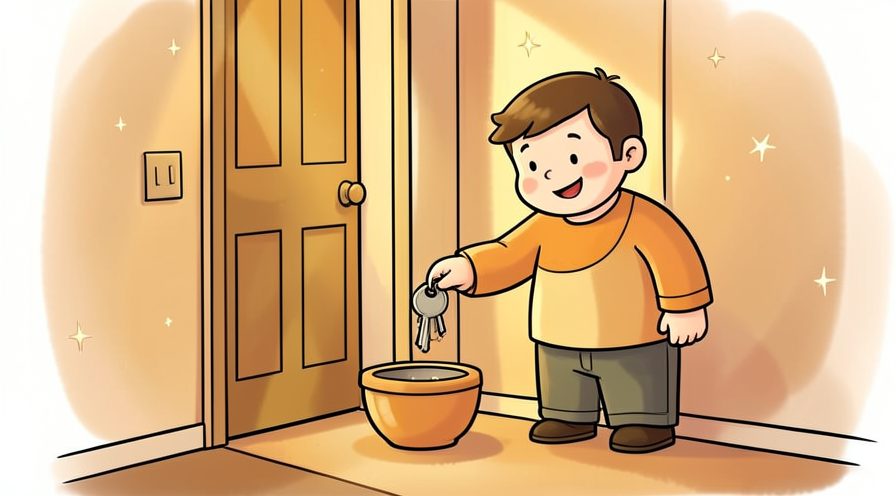
Step 14: Adopt a One-In, One-Out Habit
For each new non-consumable item you bring home, choose one similar item to donate, sell, or recycle. This keeps the total volume roughly steady instead of slowly growing after every shopping trip. Apply it to clothes, books, mugs, and gadgets, and pause before accepting free items you do not actually need.
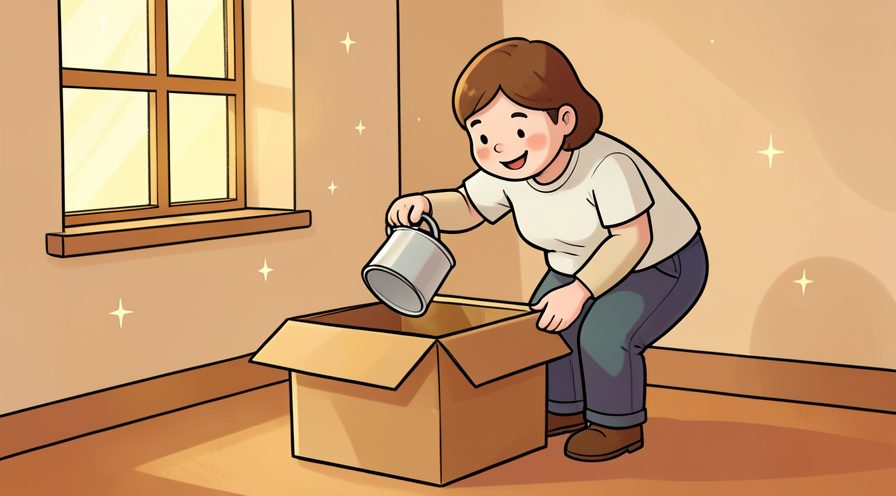
Step 15: Spend Ten Minutes Resetting Each Evening
Spend ten minutes each evening returning stray items to their labelled homes, wiping one surface, and emptying the drop zone. Set a timer so the reset stays short and does not become a second cleaning session. Small daily resets stop a tidy room from sliding back into a weekend-long clear-out.

Step 16: Schedule a Seasonal Review to Stay Tidy
Once each season, walk through the house with a donation box and re-check the categories that grow fastest: clothes, paperwork, cosmetics, and cords. Revisit your keep rules, since needs change over a year. A brief scheduled review catches drift early and keeps the results of your big clear-out intact.
Keep going: How to Meal Prep for the Week uses the same step-by-step format and is a good next read. More checklists live in the Home & Garden category.
Tips
- Photograph a finished shelf or drawer and keep the image as a reference so resetting the space later takes seconds.
- Sort paper by acting on it immediately: recycle, shred, file, or deal with it today rather than stacking it again. For a related walkthrough, see How to Make a Budget.
- Keep a permanent donation box in a closet so items leaving the house never need a special trip or a second decision.
- Apply the one-year rule gently to sentimental objects, keeping a single memory box rather than dispersing keepsakes through every room.
- Declutter in the same order you clean, top to bottom and back to front, so dust and displaced items do not undo finished areas.
Warnings
- Do not throw away important documents, medication, or items that belong to someone else without checking first, since some losses cannot be undone. Official guidance: U.S. Environmental Protection Agency.
- Avoid buying storage containers before you sort, because organizing clutter you plan to discard only adds more things to manage later.
Frequently asked questions
Where should a beginner start decluttering?
Start with a small, low-emotion area such as a bathroom drawer, a single shelf, or the hallway table, and finish it completely before moving on. Quick visible wins build momentum for harder spaces like wardrobes and sentimental boxes. Avoid starting with photographs or inherited items, which slow decisions down.
120 found this helpful · 5 did not
How do I decide what to keep?
Ask whether you have used the item in the past year, whether it fits your life now, and whether you would buy it again today. Keep a sensible number of duplicates and one box for genuine keepsakes. Apply the same standard to every object so decisions stay quick and consistent.
120 found this helpful · 5 did not
How do I keep clutter from coming back?
Give every category a defined home, follow a one-in one-out rule for new purchases, and spend ten minutes each evening returning stray items. Schedule a seasonal review with a donation box to catch build-up early. These small habits matter more than any single big clear-out.
120 found this helpful · 5 did not
References
- U.S. Environmental Protection Agency — indoor air quality. https://www.epa.gov/indoor-air-quality-iaq
- U.S. Environmental Protection Agency — reducing household waste. https://www.epa.gov/recycle
- Habitat for Humanity — home and housing resources. https://www.habitat.org/
- Consumer Reports — home and garden advice. https://www.consumerreports.org/
- U.S. Centers for Disease Control and Prevention — cleaning and hygiene. https://www.cdc.gov/hygiene/
Every guide is reviewed against its sources. See our editorial policy.


Reader comments
0 so farFinished this guide? Tell other readers what worked, what didn't, and what you would change.