A password alone is one leaked database away from being public. A second factor means a stolen password is not enough to sign in, which is why it blocks the majority of everyday account takeovers. The setup takes a few minutes per account, and the important part is saving a way back in.
This guide locks down your most valuable accounts first, then covers what to keep for the day your phone is lost or replaced.
How to use this guide
Work through the illustrated steps in order. Every step has its own picture, so you can check what a finished stage should look like before you move on. If you only have a minute, skim the Quick steps box above and come back for the details.
Related guides
- How to Make Your Phone Battery Last Longer
- How to Free Up Storage on Your Phone
- How to Create a Strong Password You Can Remember
- How to Speed Up a Slow Windows PC
- Browse all Technology guides
- All HowCompass guides
Trusted external resources
- Microsoft Support — Windows help and troubleshooting
- Microsoft Learn — Windows documentation
- Microsoft Windows — official product guidance
A note on sources
We check each guide against the official resources listed in References at the end of this article. External links open in a new tab; the related guides above stay on this site.
Quick steps
- Install an authenticator app and start with your email account
- Save recovery codes offline, not in a screenshot on the same phone
- Add a second method such as a passkey or backup key
Things you'll need
- Your phone and its passcode
- An authenticator app
- A password manager
- Paper and a pen for recovery codes
- Access to your account security settings
- A second device if available
Step-by-step
Method 1 of 2: Lock Down Your Most Important Accounts
Step 1: List the accounts that would hurt most
Email, banking, your password manager, and any store with saved card details come first. Note what you changed, because the same adjustment usually applies the next time you work on your accounts.

Step 2: Install an authenticator app
Choose one that supports encrypted cloud backup or a clean export path. Read the label or the guidance for your accounts once before acting, since small differences matter here.

Step 3: Check whether the account offers passkeys
A passkey is stronger than a code and resists phishing, so take it when available. Work in small passes and look at the result after each one, so a slip is easy to fix while it is still small.
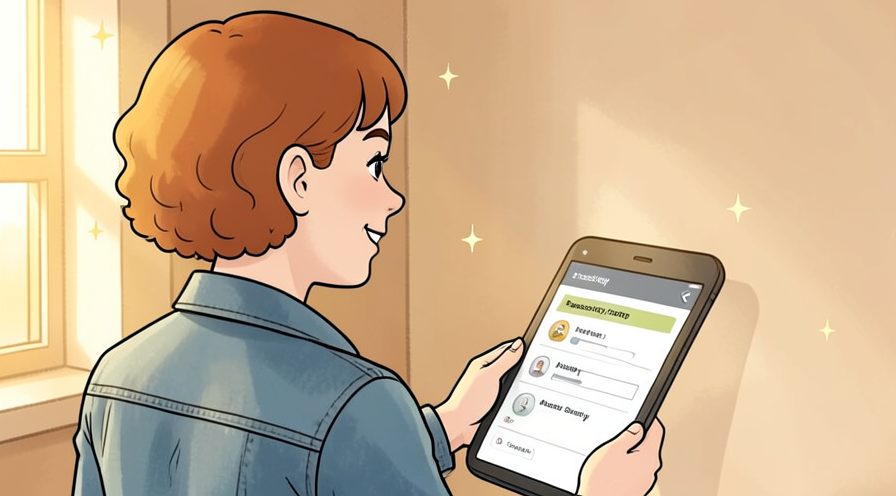
Step 4: Open security settings from a bookmarked address
Type the address yourself to avoid a lookalike login page. Photograph or jot down the finished stage once, which gives you a reference for the next attempt.

Step 5: Find the two-step verification section
It is usually under Sign-in and security rather than Profile. When in doubt, pause and compare against the picture above before continuing.

Step 6: Choose authenticator app over text message
App codes are generated on your device and are not tied to your phone number. Let it settle for a moment before judging the result, since the first impression often changes.
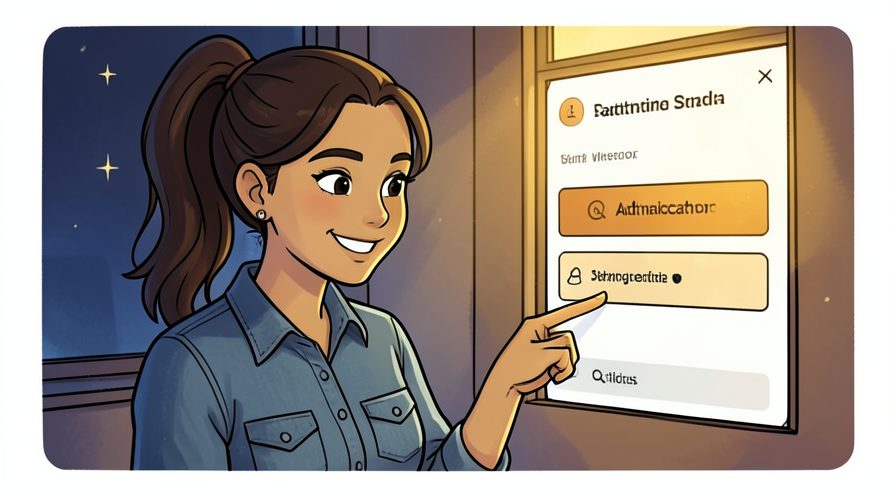
Step 7: Scan the QR code with the app
Hold the phone steady and let the account appear in the app list. Check the edges and the parts you cannot see easily; those are where most beginners miss something.

Step 8: Enter the six digit code to confirm
This proves the app and the account are in sync before anything is locked down. Use a light touch first; pressure and extra material are much easier to add than to remove.

Step 9: Save the recovery codes immediately
Download or copy them before closing the setup window. If you are unsure, do less than you think you need and check again; you can always repeat the step.

Step 10: Write the codes on paper and store them offline
A screenshot on the same phone is useless if that phone is lost. A slightly imperfect result here is fine and can be corrected later; a rushed fix usually costs more time.

Step 11: Add a backup phone number if offered
A trusted family number gives you a second route back in. Put the tools back in the same place afterward, so the next session starts without a search.

Step 12: Sign out and test one full sign-in
Confirm the flow works before you rely on it. Keep the same order every time, since a fixed sequence is easier to repeat than a list of separate decisions.

Step 13: Review trusted devices and remove old ones
Old laptops and tablets may stay signed in without a new prompt. Give this stage a couple of minutes before moving on, because rushing here is the usual reason your accounts ends up uneven.

Step 14: Repeat for the next account on your list
Work down the priority order in short sessions rather than all at once. Repeat the same motion at a steady pace rather than varying it, which keeps the finish consistent.
Keep going: How to Free Up Storage on Your Phone uses the same illustrated format and is a good next read. More checklists live in the Technology category.
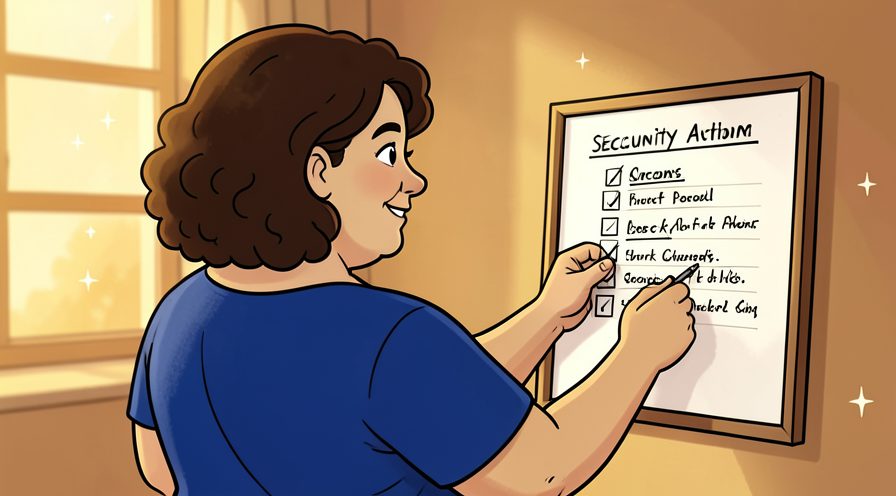
Method 2 of 2: Plan for Loss, Phishing, and New Devices
Step 15: Set up a second factor on a spare device
An old phone kept at home can hold the same accounts. Choose the gentlest option that still works, then increase only if the result is not holding.

Step 16: Consider a hardware security key
A physical key blocks phishing sites because it will not authenticate a fake domain. Stop and tidy up as soon as this part is done, so the next stage starts from a clear surface.

Step 17: Plan a phone replacement in advance
Know which apps and codes must be migrated before you hand over an old device. Keep everything you might need within reach before starting, so you are not searching mid-step.

Step 18: Learn what a phishing code request looks like
Any caller asking you to read a code aloud is trying to sign in as you. If conditions are different today, adjust one thing at a time and leave everything else unchanged.

Step 19: Check the domain before entering any code
A real login page will never arrive through a shortened link in a text. Use a timer or a quick count rather than guessing, especially on your first few attempts.

Step 20: Review recent login activity monthly
Most services show unfamiliar locations and devices in one screen. Finish with a quick check of the whole area rather than only the part you just handled.

Step 21: Revoke sessions you do not recognize
Signing out everywhere forces a fresh second factor on every device. Work in small passes and look at the result after each one, so a slip is easy to fix while it is still small.

Step 22: Update recovery email and phone each year
An outdated recovery route can lock you out permanently. Repeat the same motion at a steady pace rather than varying it, which keeps the finish consistent.
Keep going: How to Create a Strong Password You Can Remember uses the same illustrated format and is a good next read. More checklists live in the Technology category.
Tips
- Protect your email first, since whoever controls your inbox can reset the passwords for almost everything else.
- Prefer an authenticator app over SMS where possible, because text codes can be intercepted through SIM swapping. For another walkthrough, see How to Make Your Phone Battery Last Longer.
- Store recovery codes somewhere you would find in an emergency, such as a labeled envelope with important documents.
Warnings
- Never read a two-factor code aloud to someone who calls you, and never enter one on a page you reached through a link in a message. Official guidance: Microsoft Support.
- Codes are time limited and single use, so treat any unexpected code request as a sign someone already has your password.
Frequently asked questions
What if I lose my phone? Recovery codes or a backup factor let you back in, which is why saving them before you need them matters.
Is SMS two-factor better than nothing? Yes, substantially, though an app or passkey is stronger.
Do I need this on every account? Prioritize email, banking, password manager, and any account holding payment details.
References
- Microsoft Support — Windows help and troubleshooting. https://support.microsoft.com/en-us/windows
- Microsoft Learn — Windows documentation. https://learn.microsoft.com/en-us/windows/
- Microsoft Windows — official product guidance. https://www.microsoft.com/en-us/windows/
- NIST — cybersecurity fundamentals. https://www.nist.gov/
- CISA — cyber hygiene for home users. https://www.cisa.gov/
Every guide is reviewed against its sources. See our editorial policy.


Reader comments
0 so farFinished this guide? Tell other readers what worked, what didn't, and what you would change.