在 Windows 下,WireGuard 不仅可以用 GUI 客户端操作,也支持 命令行(wg / wg-quick) 方式管理。
下面我给你梳理完整的命令行使用方法(适用于 Windows 10+ 且已安装 WireGuard 官方客户端的情况)。
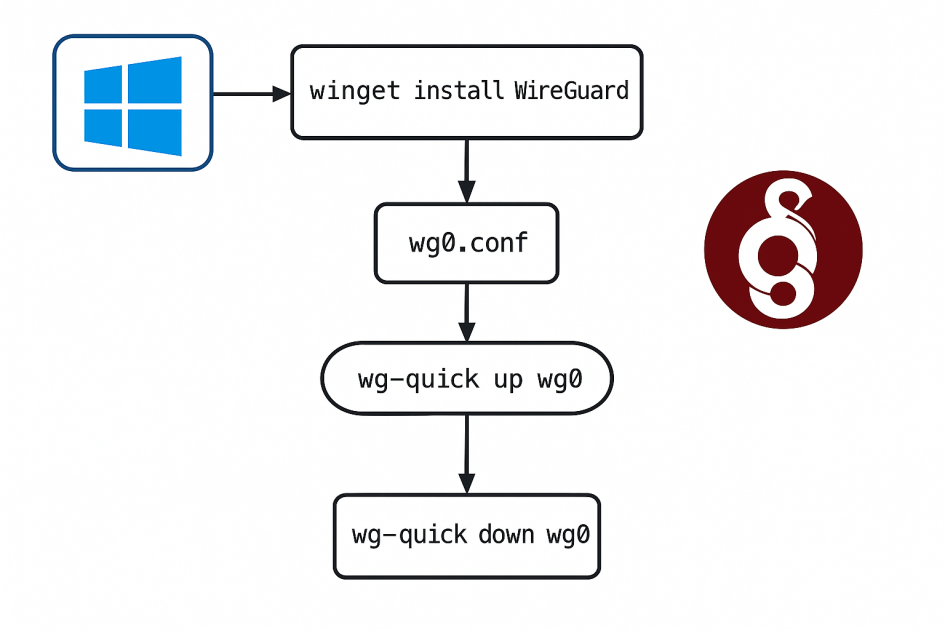
1. 安装与环境准备
- 从官网下载安装 Windows 版 WireGuard:https://www.wireguard.com/install
- 安装时会附带
wg.exe和wg-quick.exe(通常在安装目录下,例如:C:\Program Files\WireGuard\ - 安装会自动将其路径加入 环境变量,可直接在
cmd或PowerShell运行命令。
2. 查看 WireGuard 版本
wg --version
3. 查看当前接口状态
wg
- 显示当前已加载的接口(虚拟网卡)、公私钥、对端信息、流量统计等。
4. 启动与停止接口
Windows 下推荐用 wg-quick 来启动和管理(自动读取配置文件)。
4.1 启动
wg-quick up wg0
wg0是配置文件名(不包含.conf后缀)- 配置文件位置(Windows 默认路径):
C:\Users\<用户名>\AppData\Local\WireGuard\也可以自己放到一个目录,然后运行时用绝对路径:wg-quick up "D:\vpn\wg0.conf"
4.2 停止
wg-quick down wg0
5. 添加 / 修改配置
配置文件示例(wg0.conf):
[Interface]
PrivateKey = <你的私钥>
Address = 10.0.0.2/24
DNS = 1.1.1.1

[Peer]
PublicKey = <对端公钥>
AllowedIPs = 0.0.0.0/0, ::/0
Endpoint = example.com:51820
PersistentKeepalive = 25
[Interface]:本地接口配置[Peer]:对端(服务器)配置
修改配置后,需要:
wg-quick down wg0
wg-quick up wg0
6. 动态修改参数(无需重启)
WireGuard 支持在运行时动态修改,例如:
wg set wg0 peer <对端公钥> allowed-ips 192.168.1.0/24
wg set wg0 private-key "C:\path\to\privatekey"
7. 开机自动连接
Windows 下可以用 任务计划程序:
- 创建新任务
- 设置 触发器:开机或登录时执行
- 操作:运行
wg-quick up wg0 - 勾选 以最高权限运行(管理员权限)
8. 常用命令速查表
| 功能 | 命令示例 |
|---|---|
| 查看版本 | wg --version |
| 查看状态 | wg |
| 启动接口 | wg-quick up wg0 |
| 停止接口 | wg-quick down wg0 |
| 动态修改参数 | wg set wg0 peer <公钥> allowed-ips ... |
| 重新加载配置 | wg-quick down wg0 && wg-quick up wg0 |
发表回复